Simple Carrying Tote
Wanted to further test my hand tool skills, and thought that building Paul Sellers Carrying Tote Project (https://woodworkingmasterclasses.com/videos/carrying-tote-project-info/) would be an excellent opportunity to try it out. This could be used for the Garden, for woodworking tools, for toys, or anything else someone want to “tote” around.
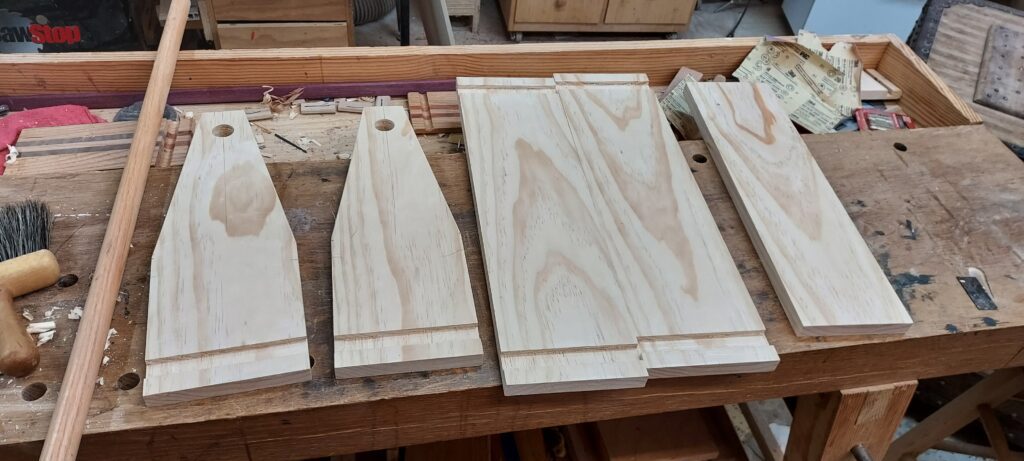
Utilized “off the shelf” wood from one of the big box stores. After milling it down to the correct length and width, it was time to start the simple joinery.

Tote is built with just six dados (two in each side, one each in the front/back pieces for the bottom). I used a marking knife to layout the dados, then used a chisel and crosscut saw to cut out most of the waste. Finished them off with a router plane.

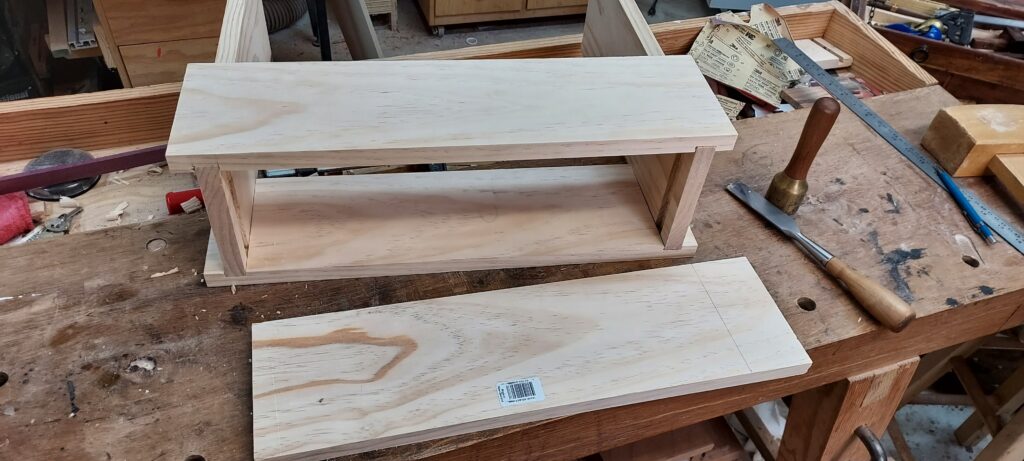
Once they were all done, I did a dry assembly to make sure they were all correct, and all fit. I used this opportunity to mark for the final length/width of the bottom piece and cut that out. I also laid out the two angled cuts on the front/back pieces and the location of the dowel hole.

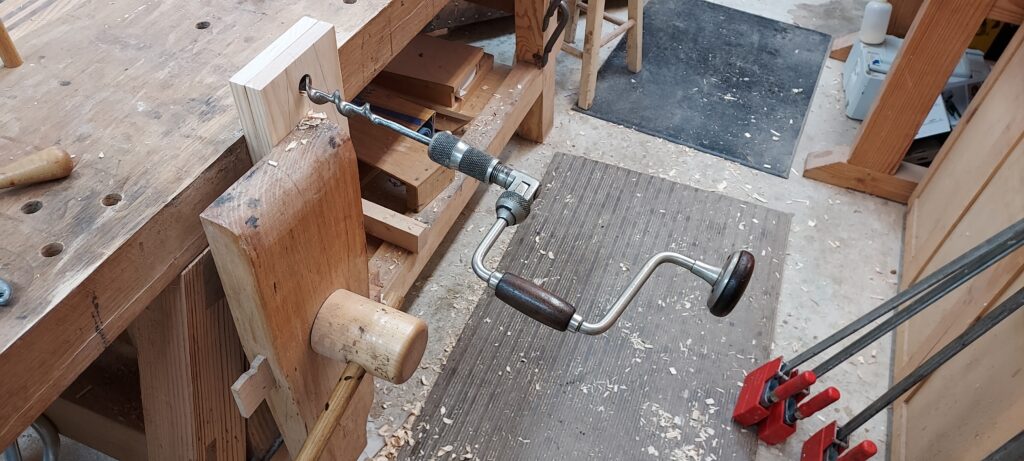
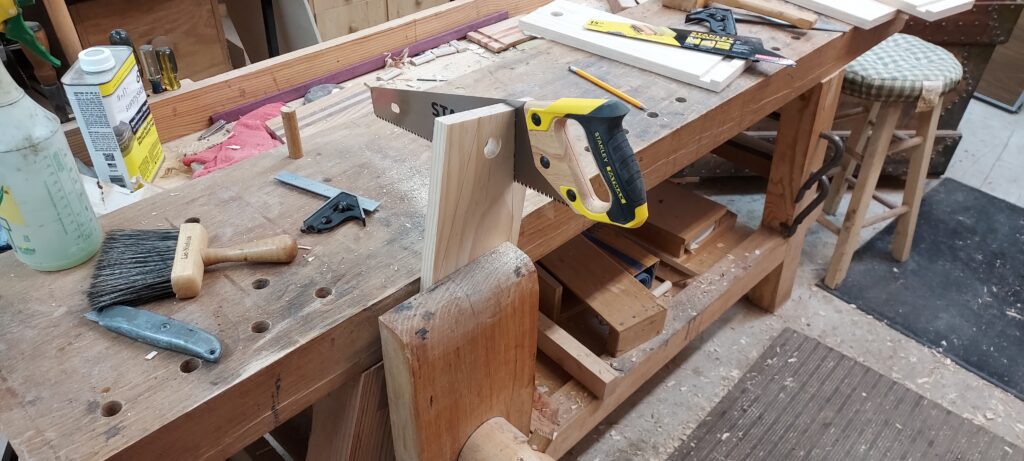
From there it was drilling out the dowel hole with a Bit & Brace and 1” Jennings bit, and sawing out the angle of the front/back pieces. Keep at least 1/8” of space from the saw line to the final line. Then use the Smoothing plane #4 to clean up the angled pieces down to the line.

With the pieces all completed, you do the glue up, measure the dowel for length, cut it to size and drill two holes for smaller dowels on the inside to “fix” the dowel in place. The reason you do it on the inside is because there is less chance of the dowel splitting, and it is a better method to keep the dowel in place.