
I wanted to make a simple tool tote to see how it might go together easier for potential students. In this case I built the “I can do that” tool tote from Popular Woodworking, with a few small changes: https://www.popularwoodworking.com/projects/i-can-do-that-tool-tote/
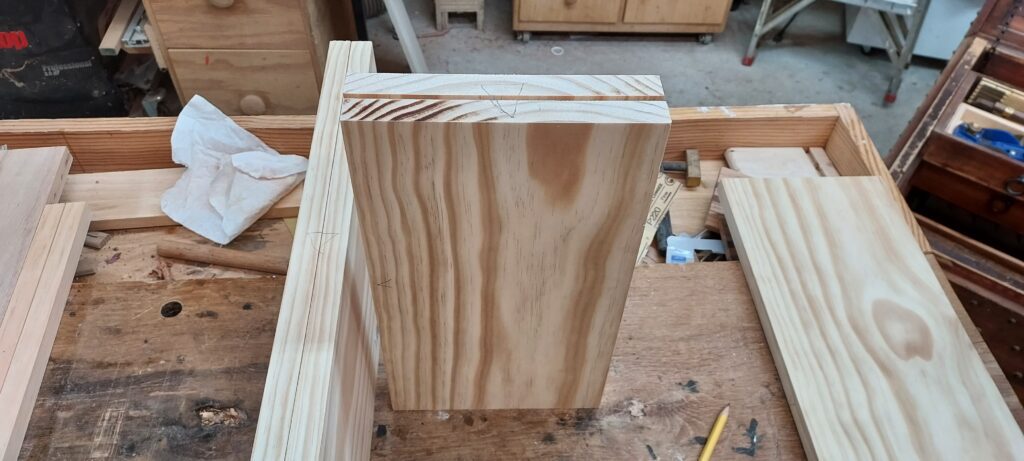
First step is to mill the wood to dimension (length & width). Going to stick with the Pop WW plan and just use big box dimensioned lumber, so it will be ¾” thick straight off the shelf. From there, you mark up the pieces with the “design triangle” so you can keep track of the orientation of boards, which ones are front, sides, etc.

Also took the opportunity to take a block plane and put a small chamfer in the edges of the outside of the boards, to reduce splintering/spelching.
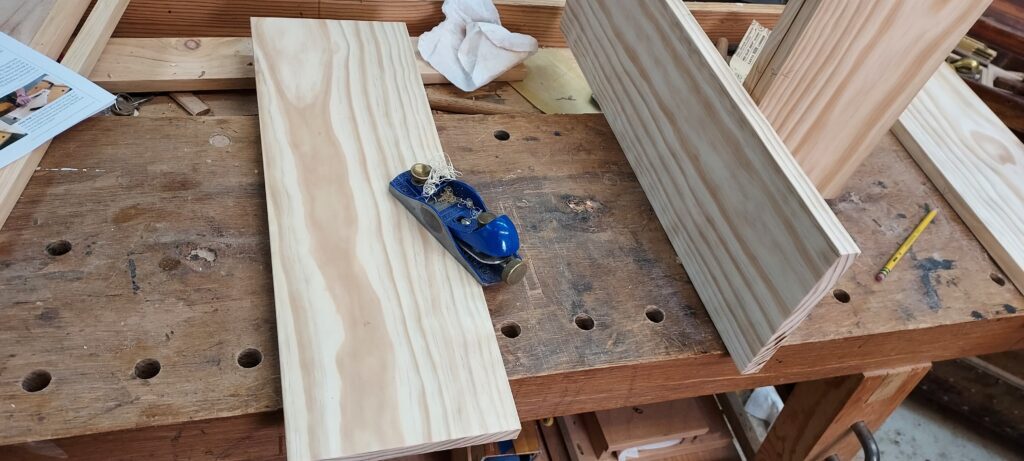
After than, we laid out the through-mortises and curves on the two end pieces. From there, I used a set of chisels (1/2”, 1”) to chop out and refine the mortises, and then a jigsaw to cut out the curves on the sides. I used a rasp, spokeshave and sandpaper to further refine the curve.
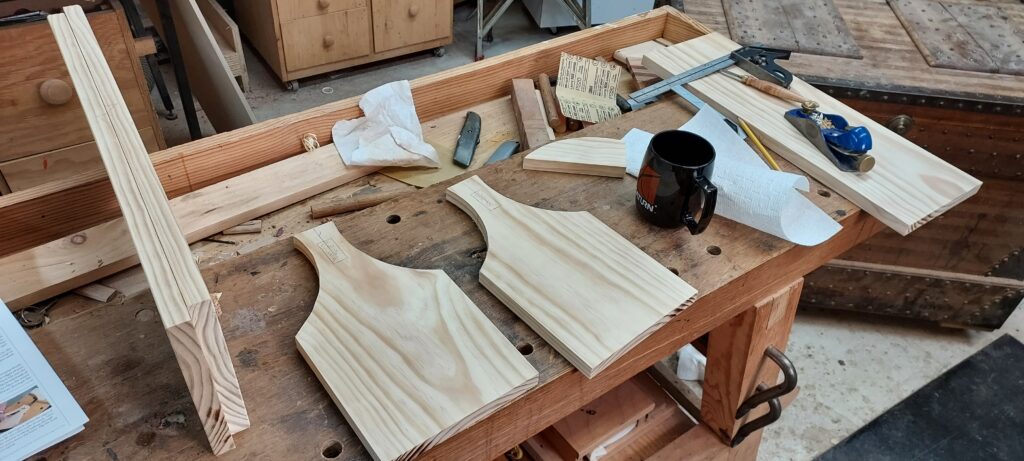

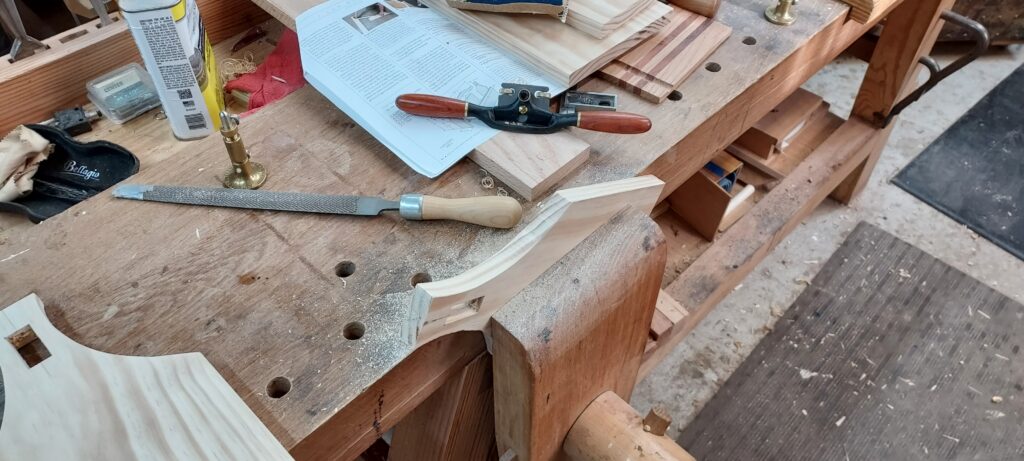
From there is was on to the handle. The original plan called for a 1-1/2” thick handle, but my mortises ended up starting a 1-5/8” – so it was good I didn’t cut out the handle till the mortises were done. I used a hardwood for this, white oak, and put a gentle curve on it. Once it was cut out, I test fit it into the mortise and enlarged the through-mortise till it was a Hand-snug fit. After that, I used a block plane, spokeshave and sandpaper to even out the curve and smooth the surface. Final test fit looked good.


The side panels had a small ¾” x ¾” cleat at the bottom to hold the bottom in place (again PWW had a very simple design. These were glued and then nailed on with 1” finish nails. I also sawed a 3/8” kerf in the ends of each handle, to hold a wedge (which will help seat the handle).

The final assembly called for me to clamp it up without gluing, making sure I had the handle in place. Then putting in three (3) finish nails in each side, and gluing in wedges in the handle to enlarge it in the mortise and help “seat” it. The bottom can then be measured and put into place. It isn’t secured/nailed in – just held in with gravity.

Overall, a very simple but useful tool tote, and another way to enhance your skills on sawing, through mortises and dealing with curves! Not sure If I will apply a finish (paint?) or just leave it natural. It is a tool tote after all.

Kevin