
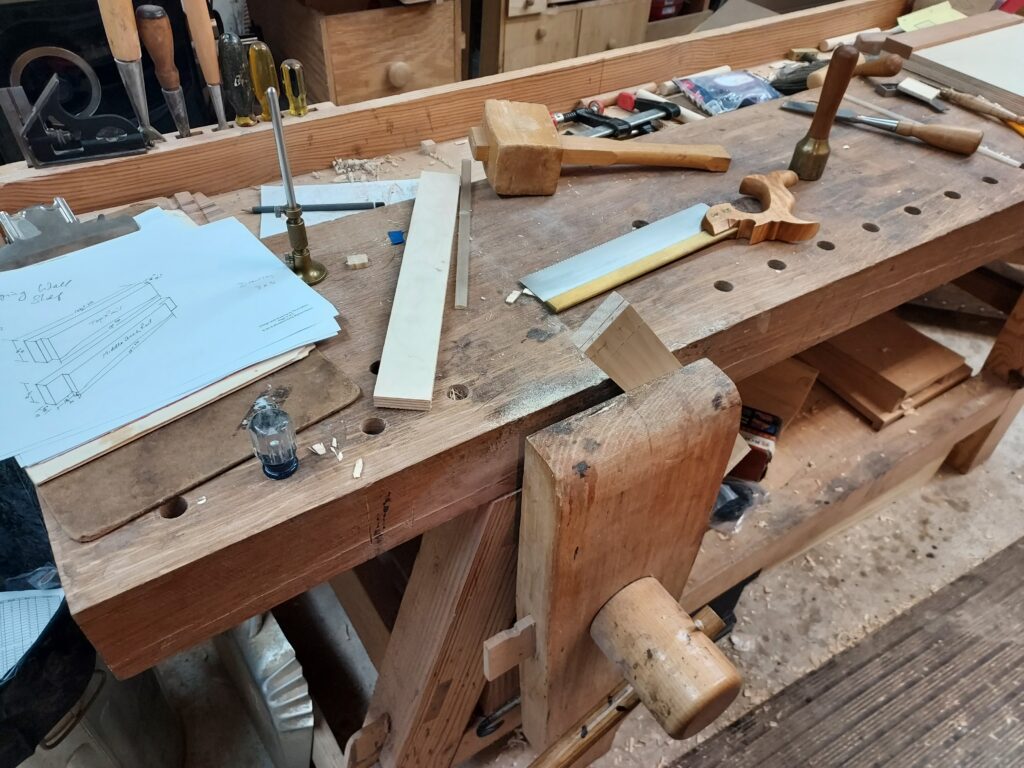
I wanted to build something with just hand tools to improve my skills and demonstrate that I could do it. Many folks don’t understand that, if you are building 10, 20, 100 of an item, then machinery and power tools certainly help. Once they are set up, you can run the same part over and over again.
But if you are building one-of-a-kind pieces, building by hand is actually more efficient. In the time it takes you to setup the tablesaw, do test cuts and finally start running, you can take a hand saw and just make the cut – provide you are skilled enough (and use some easy to make jigs) to make the cut accurately.
Since I try to make one-of-a-kind pieces for a lot of my customers, hand tools work.
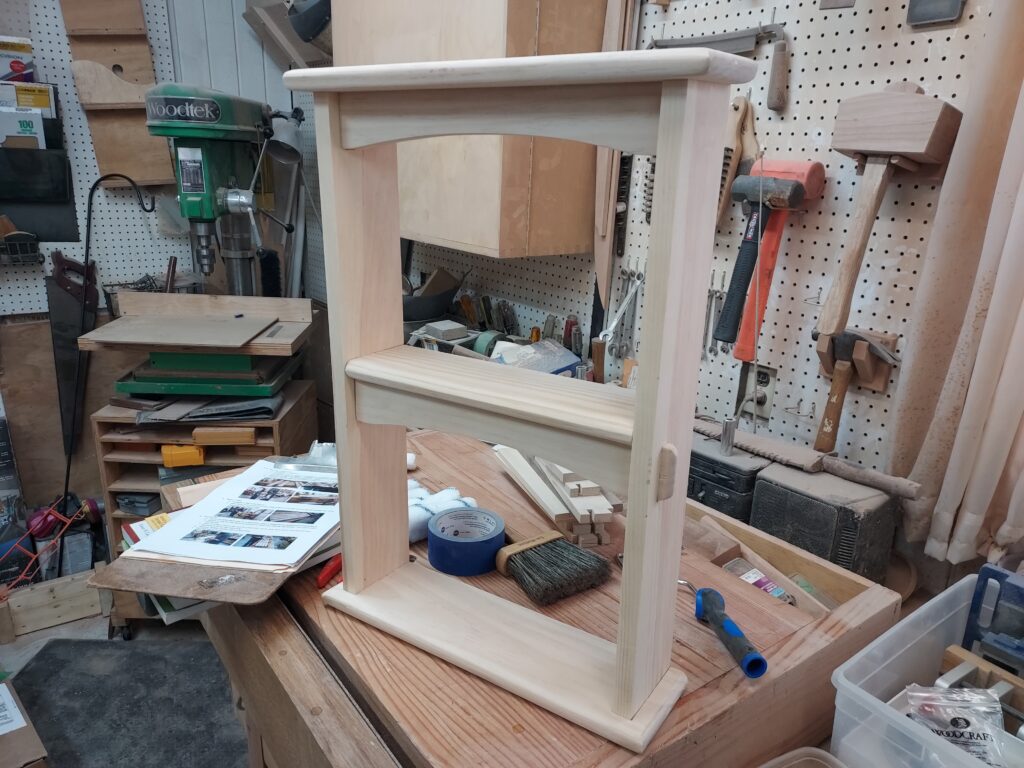
In this case, I was building a simple hanging shelf which someone could use to display items, store books, or have kitchen items in place.
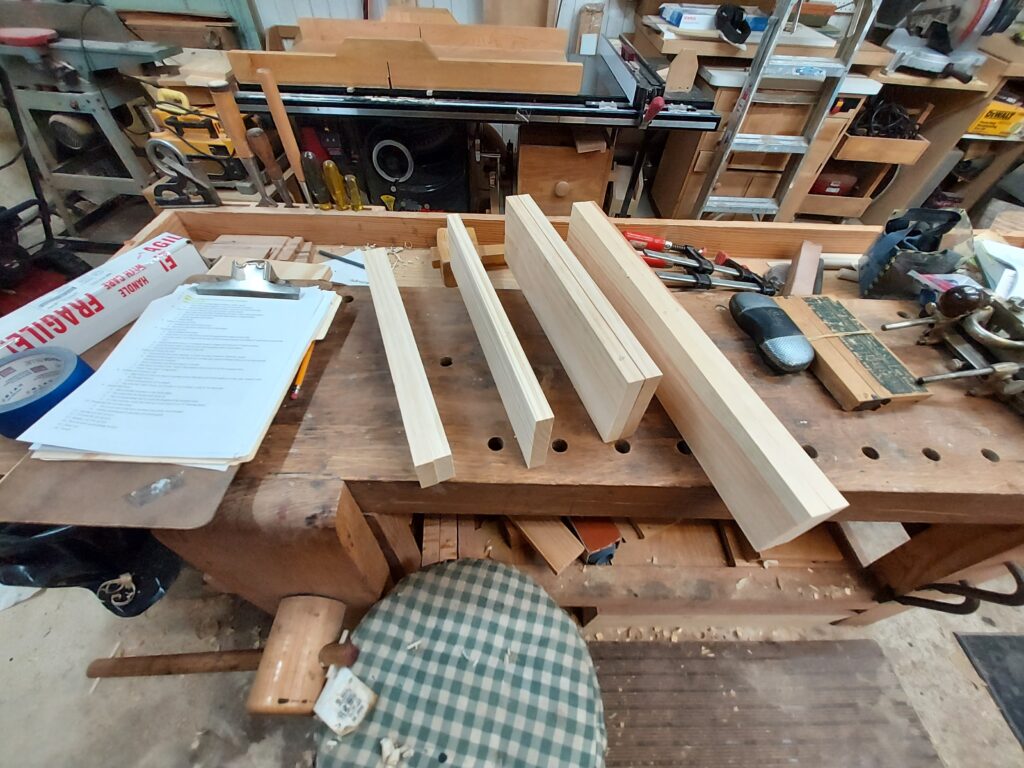
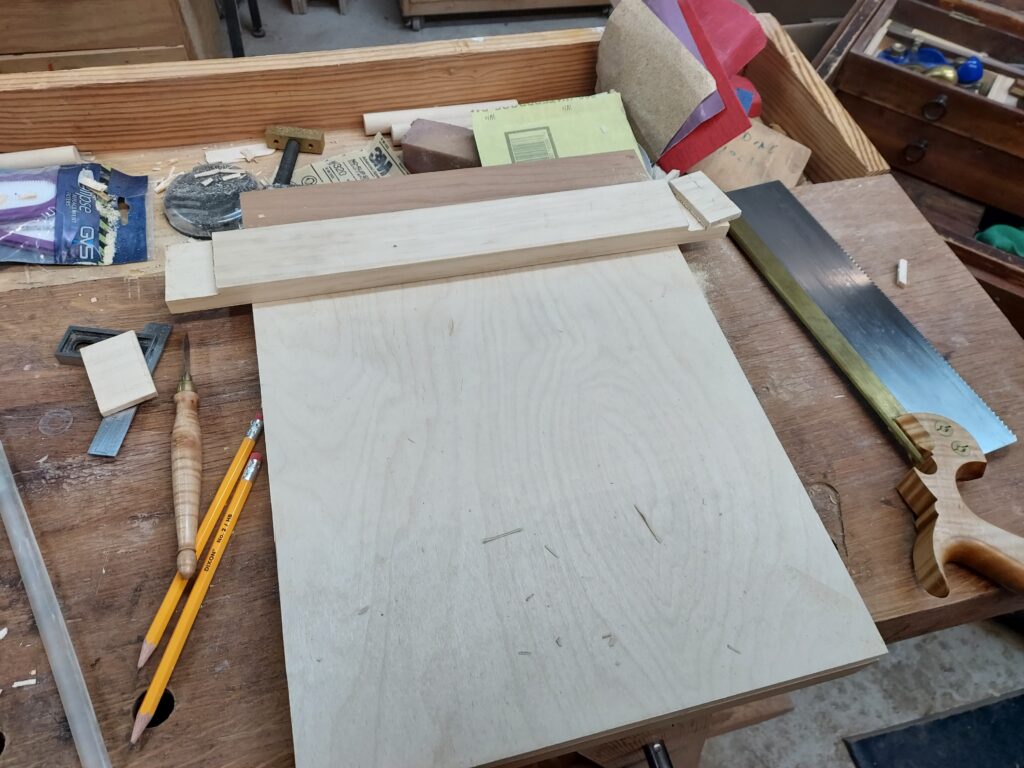
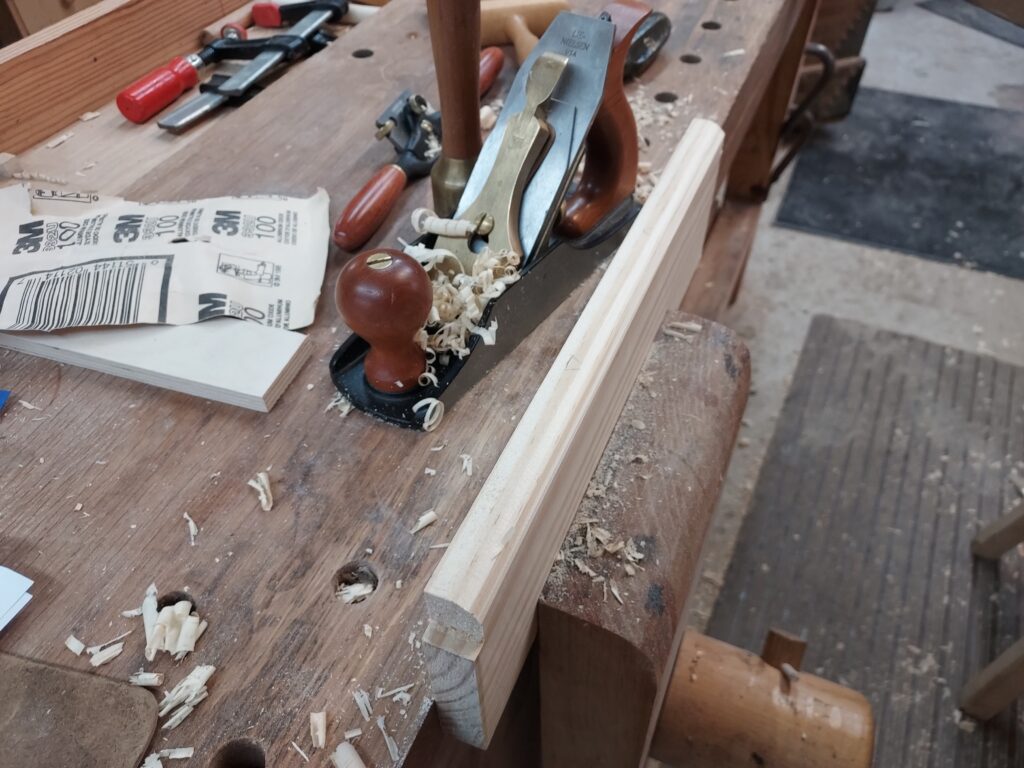
To start I milled the pieces to size, leaving a few items oversized to I could fit them in. I checked the pieces and determined the orientation I wanted them in (which pieces will be on top, which side faces which way, etc.) and marked them with the woodworker’s triangle.
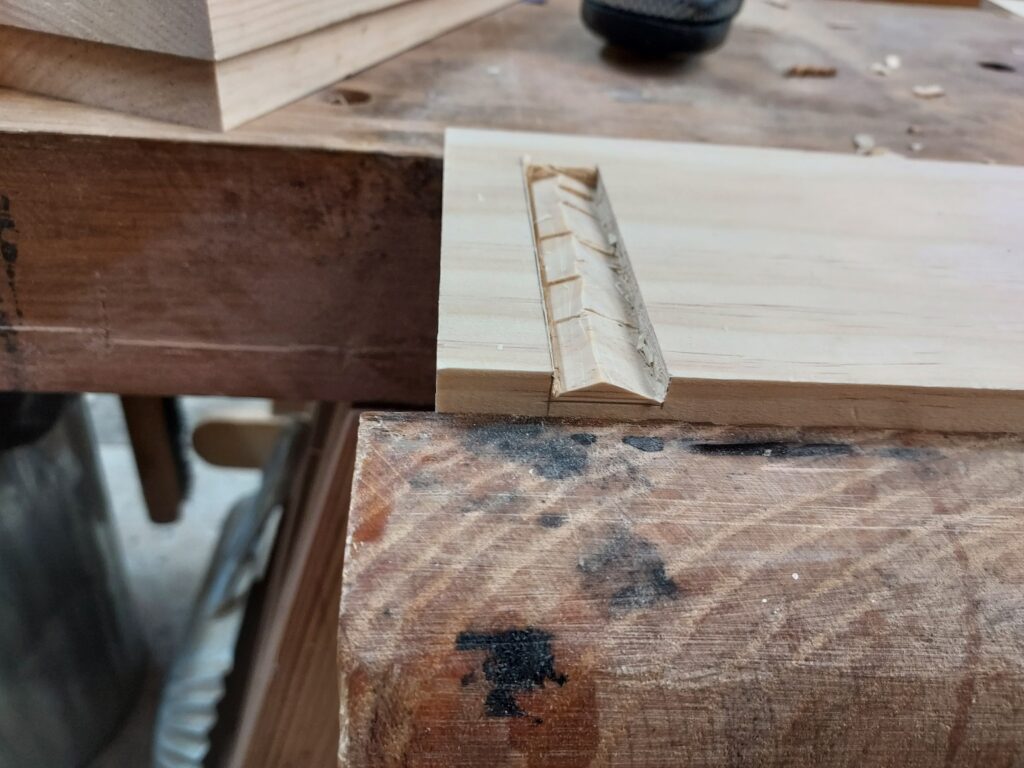
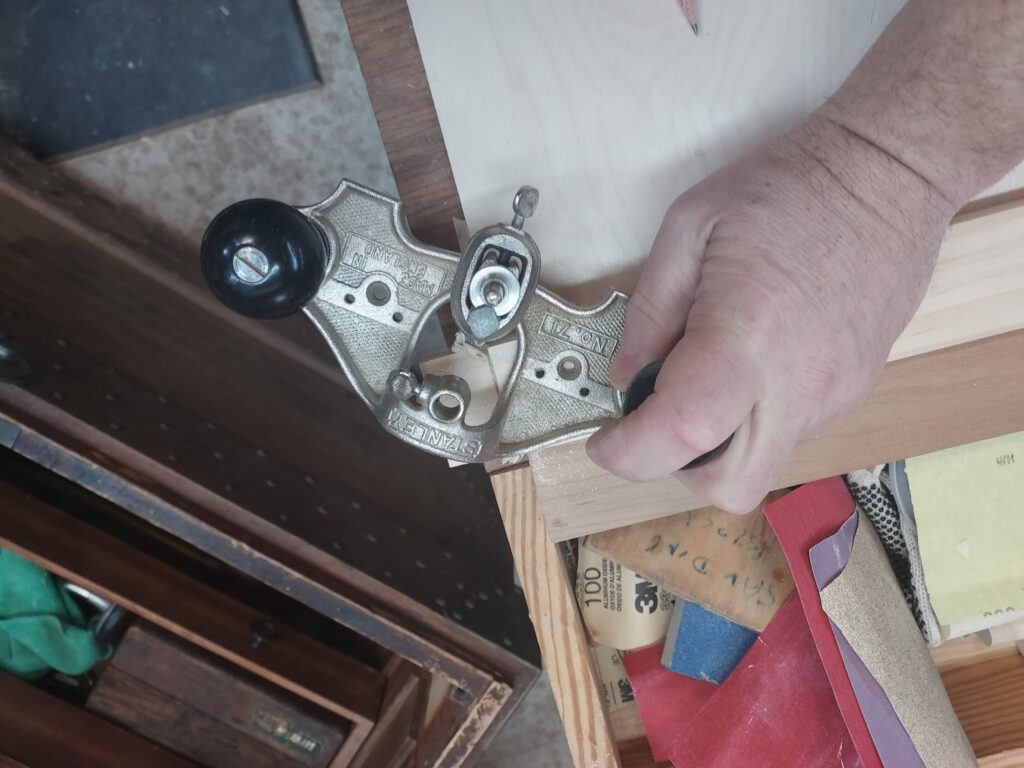
Then I had to create “stopped dados” which the side pieces will fit into. I used a marking knife to lay them out, then used a chisel to them out. One outlined I could use a router plane to clean out the bottom and make it level.
3
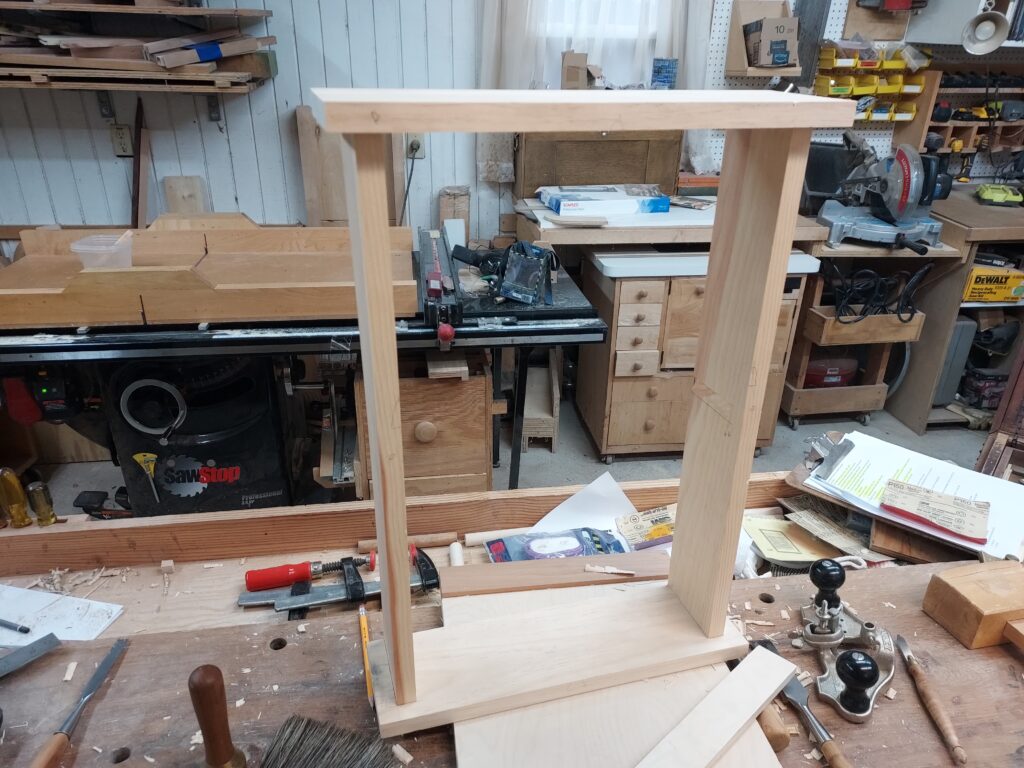
With that done, it was time to layout the center shelf. This was going to have a stopped dado which allowed the shelf to come up even with the two side pieces. So after measuring it against the side, I cut the shelf to length on my bench hook. Then I built the stopped dado the same way as above
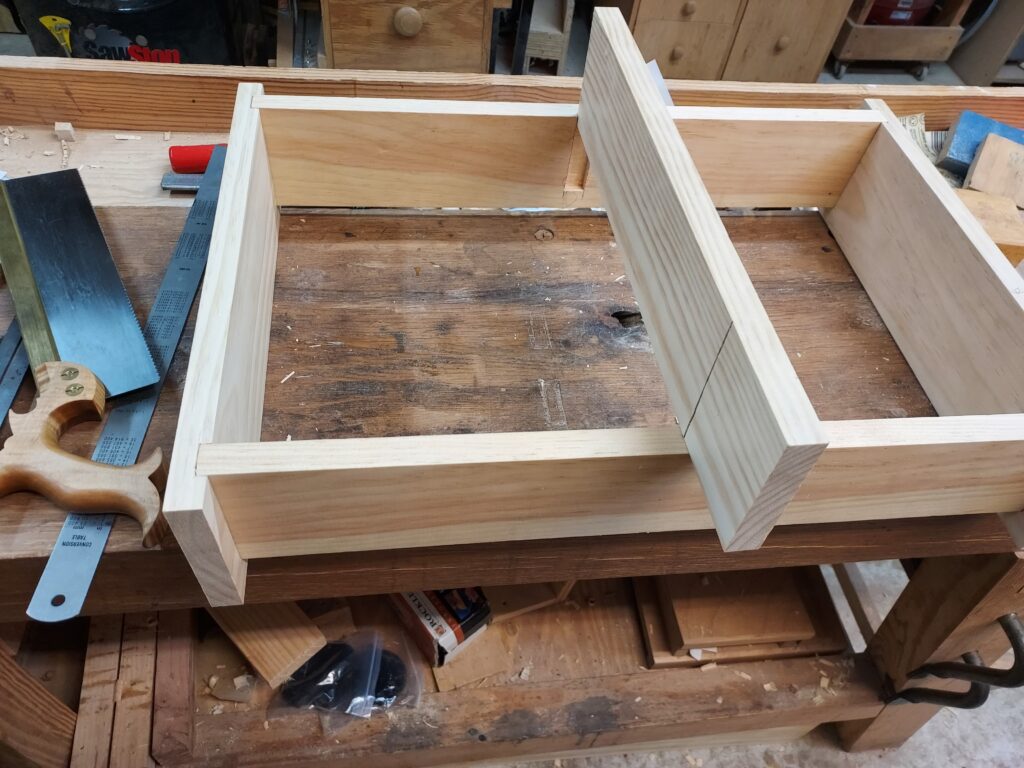

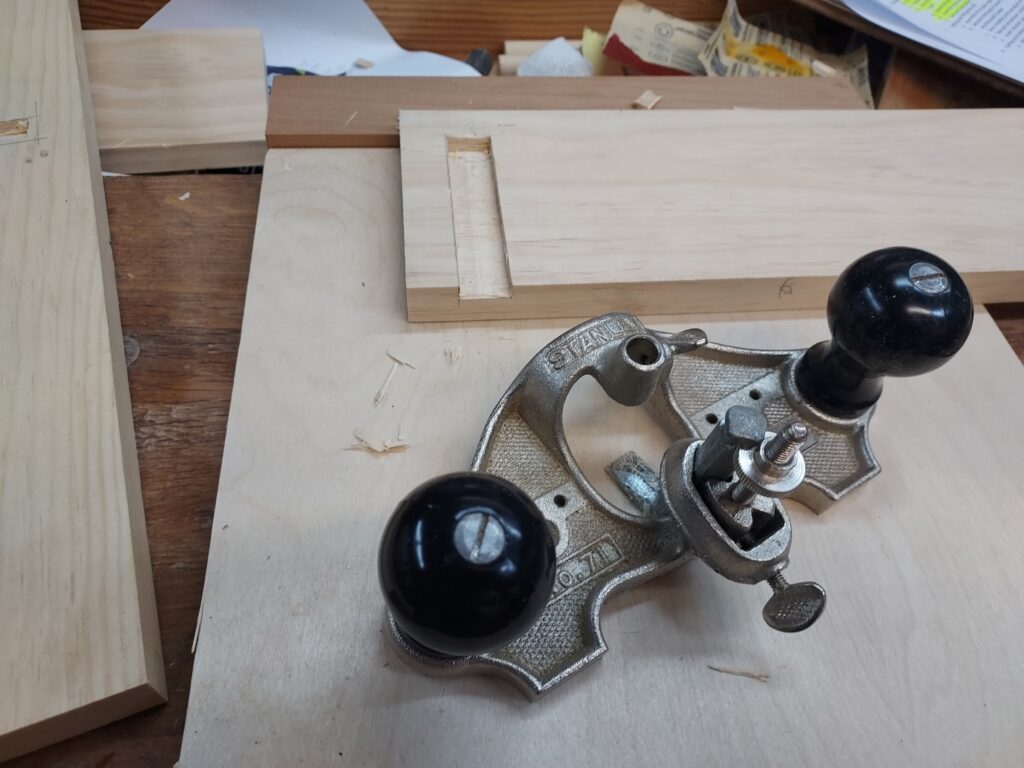
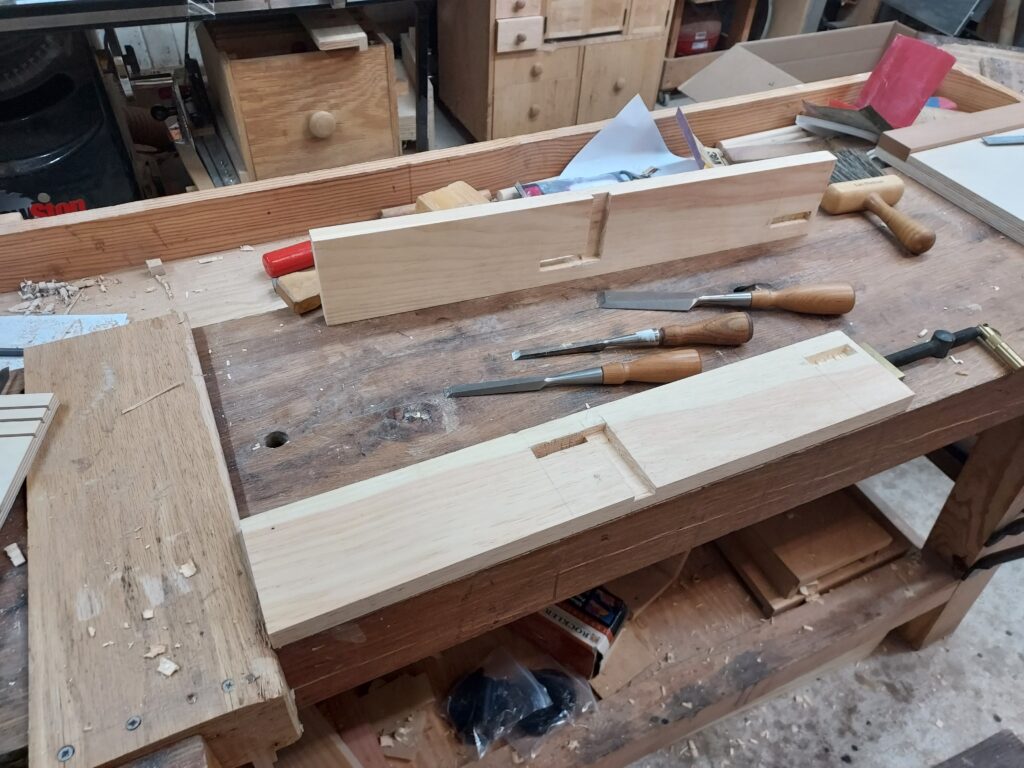
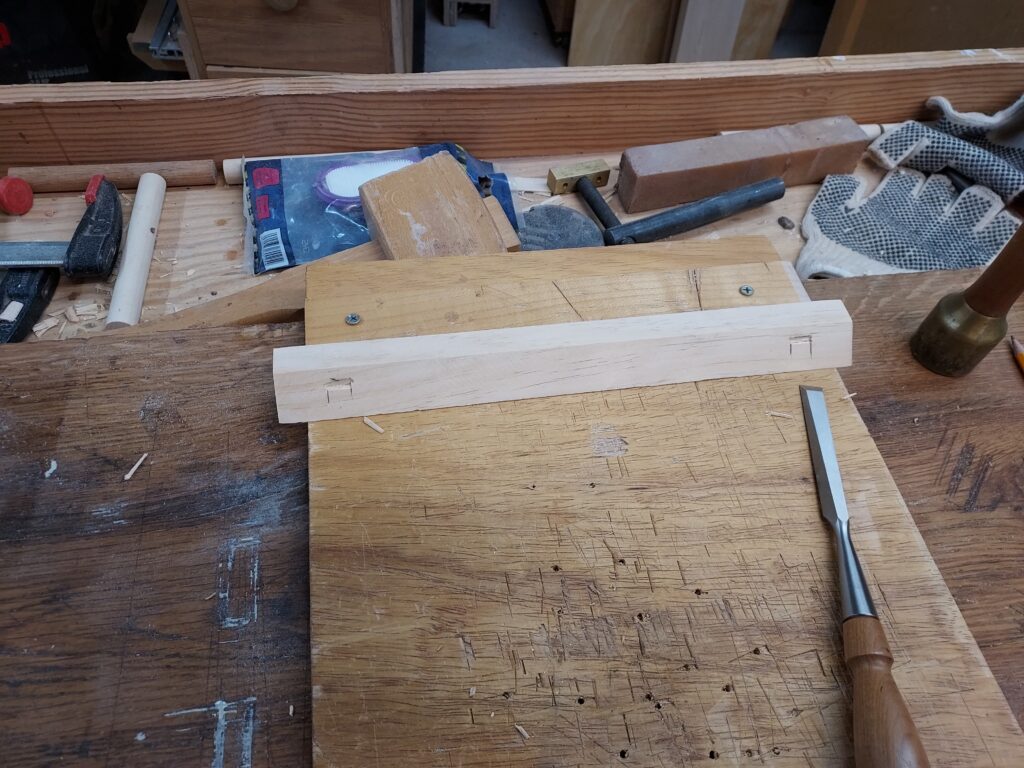
I then added two rails to the shelf. The top one would be just sit in a regular dado, but the center one would have a “through dado” which will stick out on each side. The mortises were cut with a series of chisels. The tenons were first cut with a saw using my bench vise and the bench hook, then cleaned up with my router plane to make sure its level
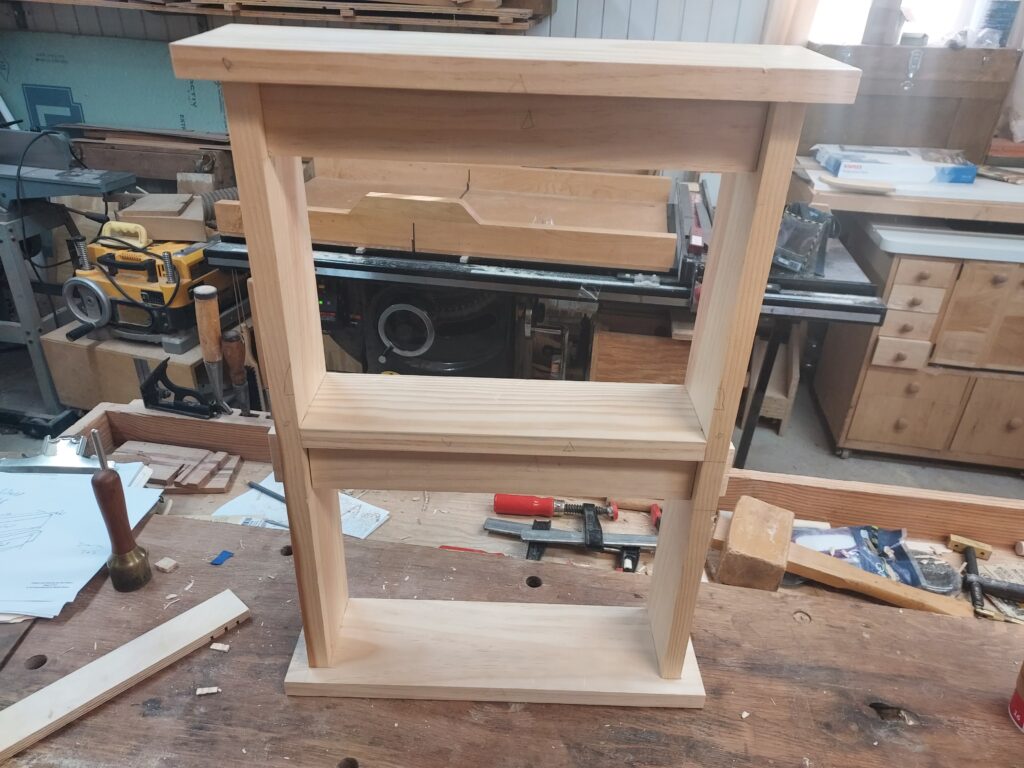
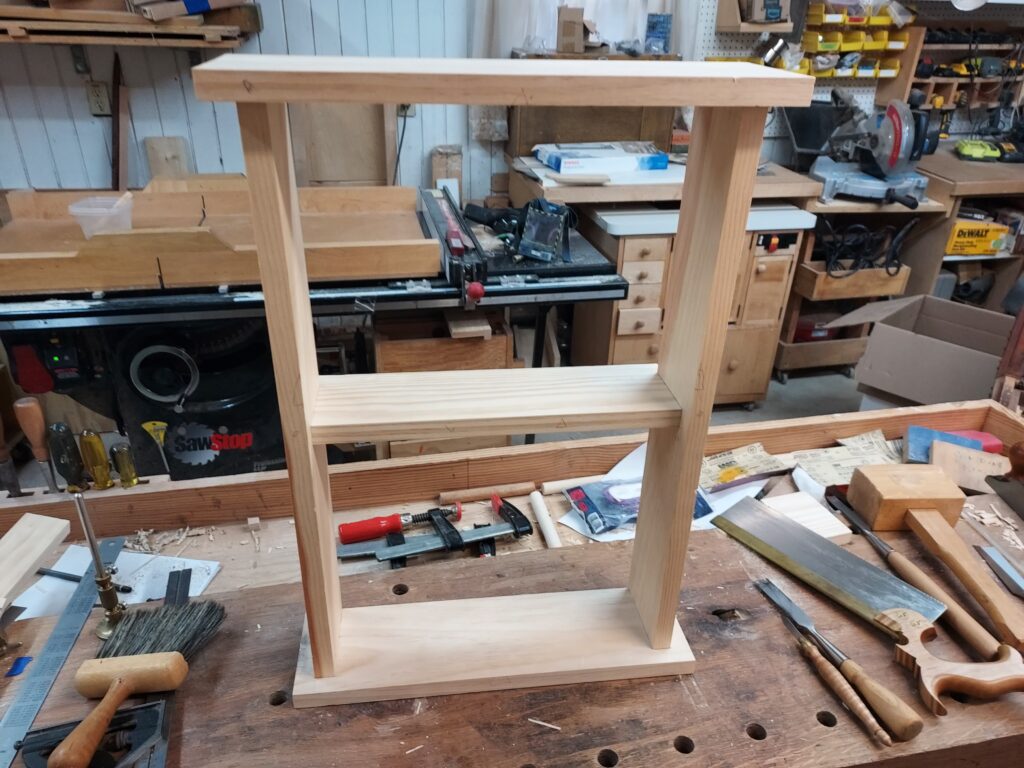
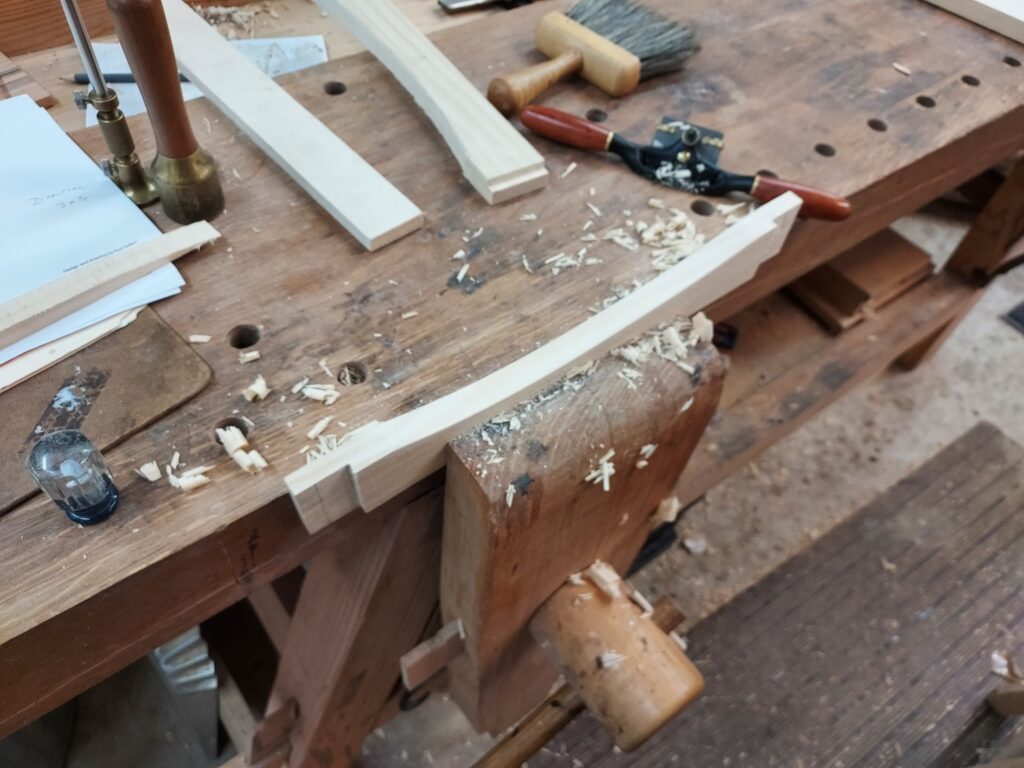
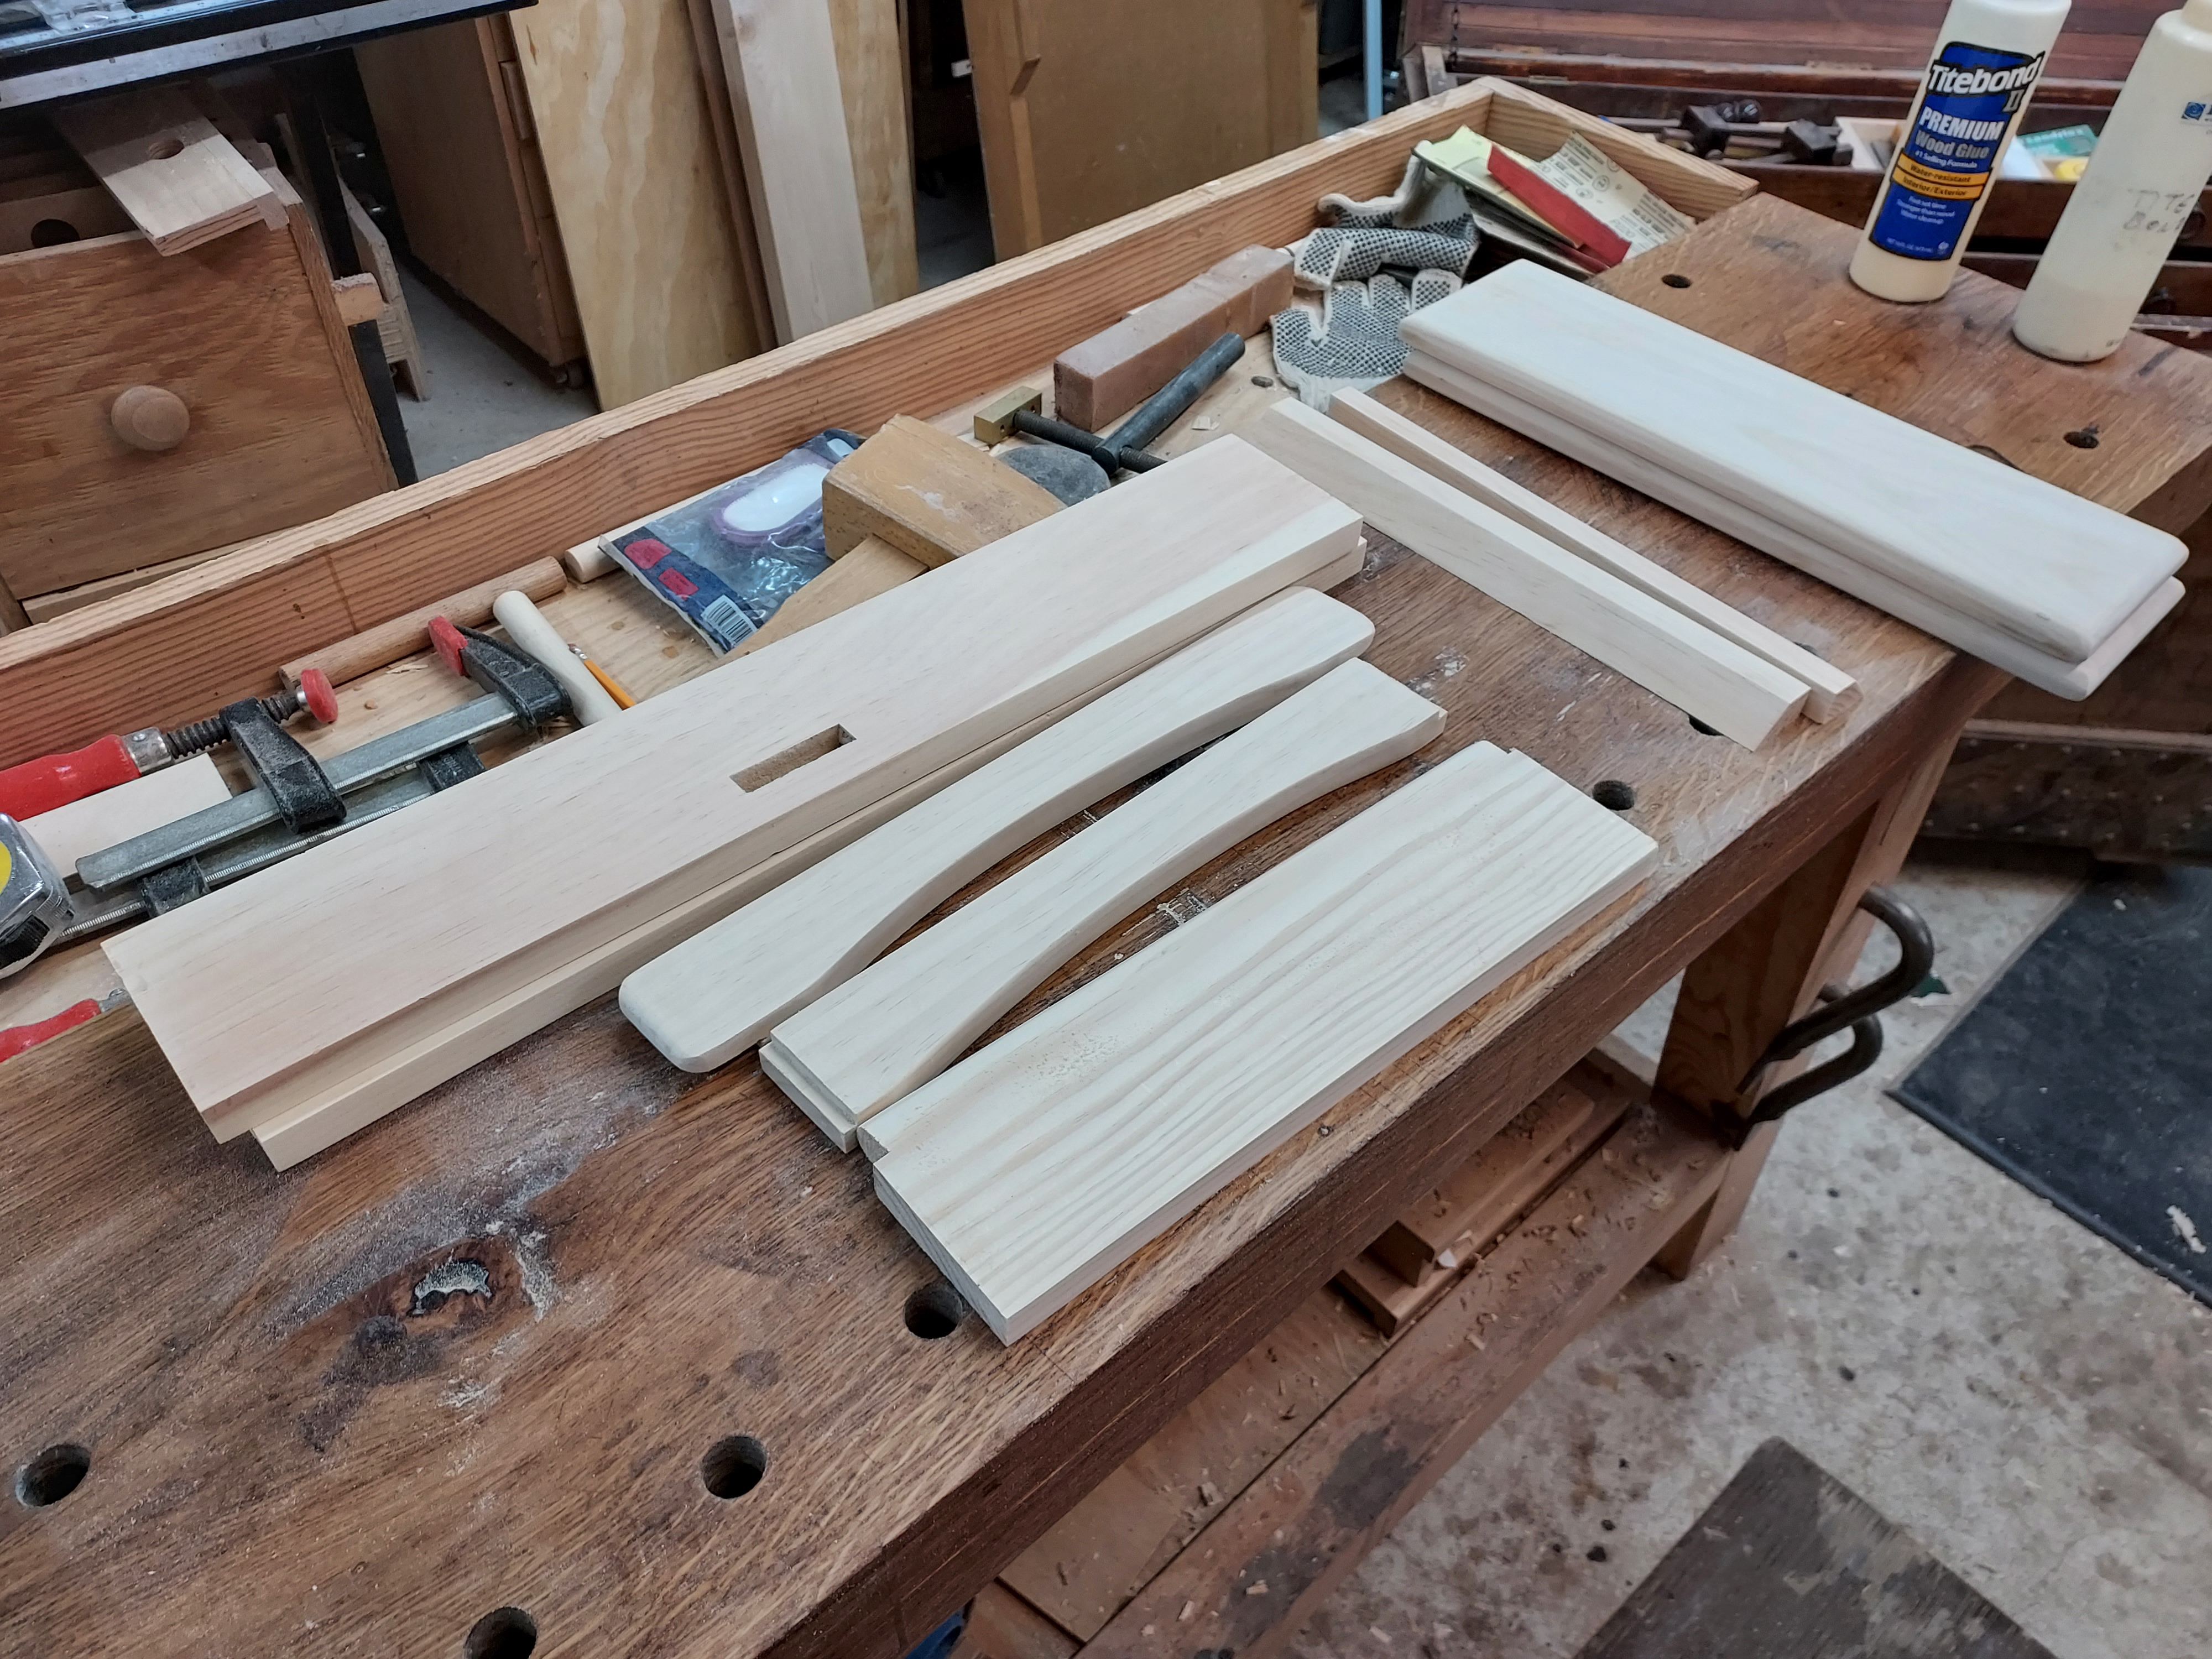
With that done, it was time to so some finishing touches. I rounded over the top and center shelves with a handplane. I cut a shallow curve in the two rails
I also created a hanging rail with a “French cleat”. The French cleat is a piece with a 45-degree angle cut into it. You mount a second piece in the wall with an opposite 45-degree cut, and then you can hang the shelf on it. It makes it a lot easier to mount the shelf.
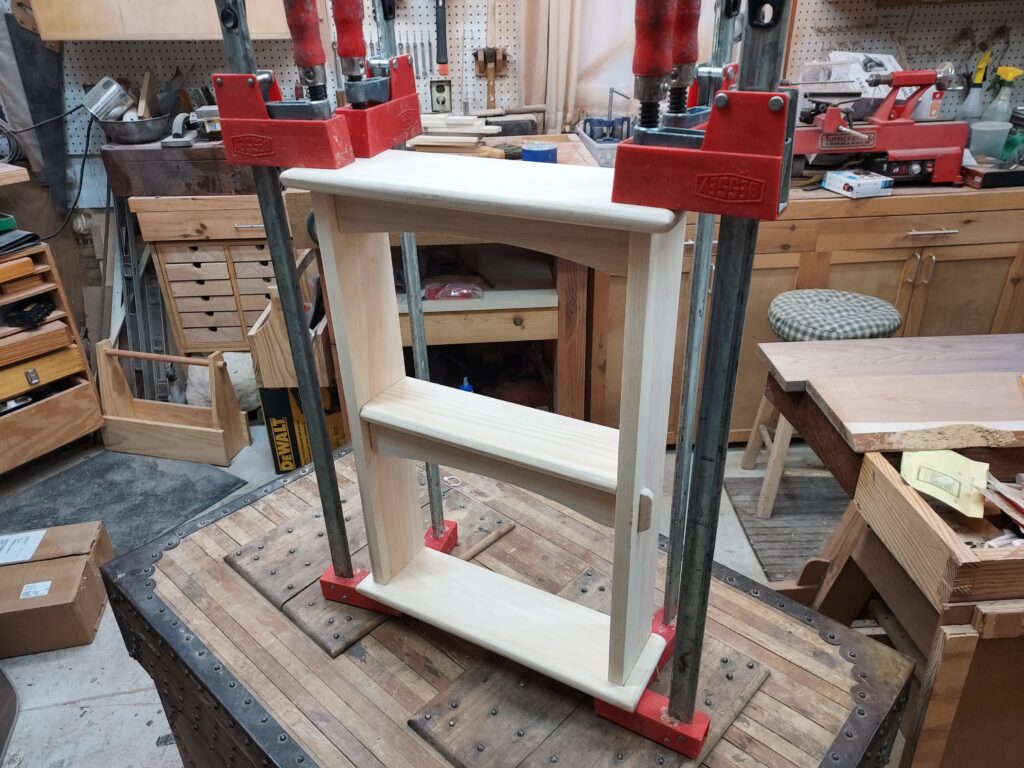
With the pieces all ready, it was time to glue it up. After letting it sit overnight, I cleaned up and remaining pieces and prepped it for finish
I will probably do just a simple dewaxed shellac finish on it. This finish seals the wood but enables you to apply other finishes over the top of it (paint, varnish, etc.)
A great project, with additional lessons learned.
Kevin