
Tools Required:
- Dovetail saw
- #4 Plane
- Sholder Plane, 5/8”
- Chisels (1/4”, ¾”, 1”)
- Chisel Hammer
- Knife
- Pencil
- Cutting Gauge
- Square
- Dovetail Marker or Bevel Gauge
- Sandpaper & sanding block
- Steel Rule
- Screwdriver
- Awl
Materials:
- 2ea sides: 11” x 3-1/2” x ½”
- 2ea front: 5” x 3-1/2” x ½”
- 2ea Lid/Base: 11-3/4” x 5-3/4” x 5/8”
- 2ea hinges, 1-1/2” x 3/8”
Steps:
- After milling down, you mark triangles on the pieces in order to keep the orientation correctly.
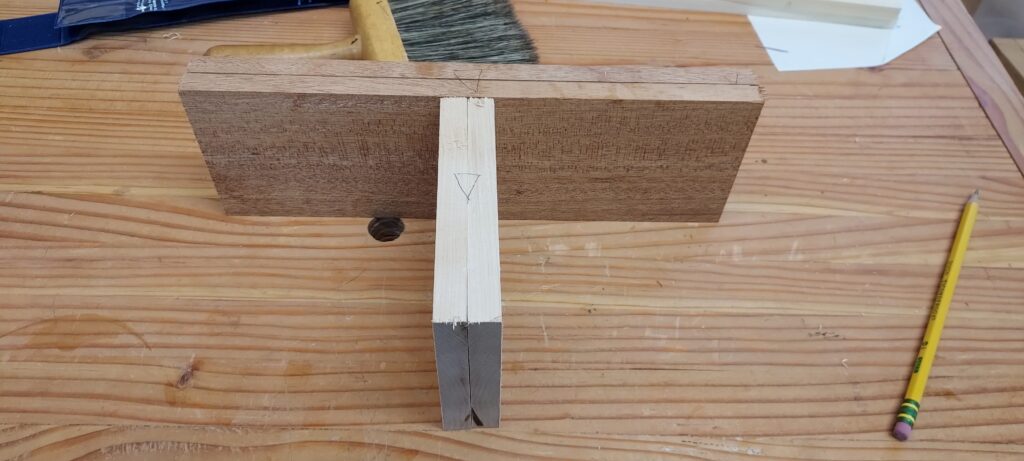
- Now use the pieces to make a pencil mark on each for the depth of the dovetails
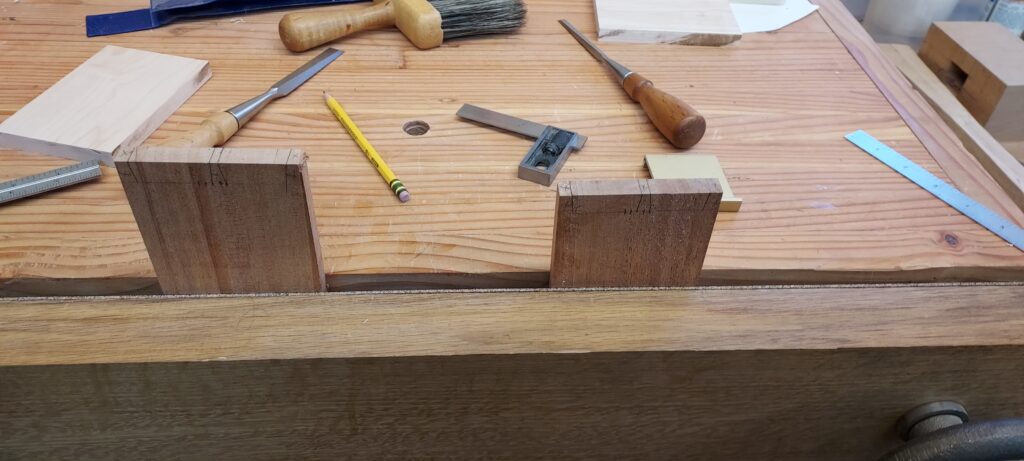
- I cut “tails first” when I make dovetails. So you lay them out with a dovetail marker or bevel gauge, going in ½” from the sides to start, and putting in the angle. After sawing them out, use a saw to cut out the two side pieces
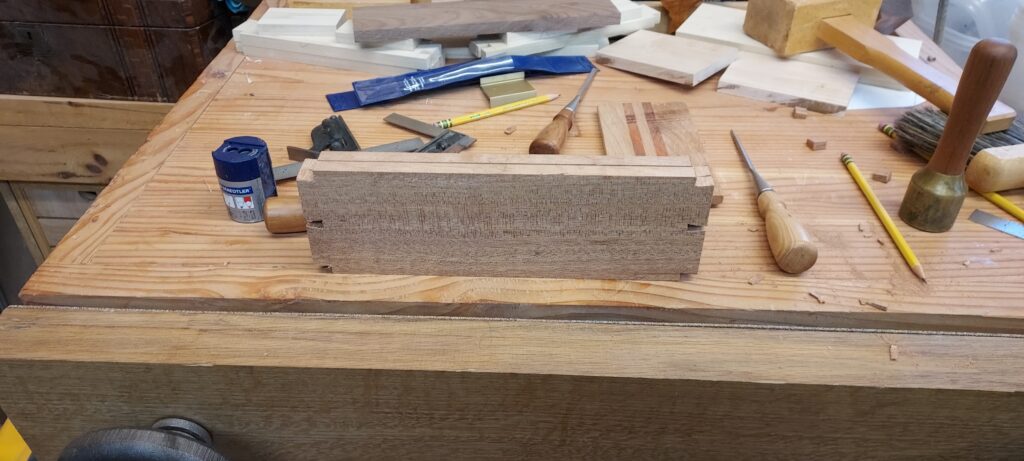
- Now use the plane and the bench vise to make the “tail” section even, and place the “tail” piece on the top of it. You can then use a pencil (for soft woods) or a knife (for hardwoods) to mark out where the tails are cut
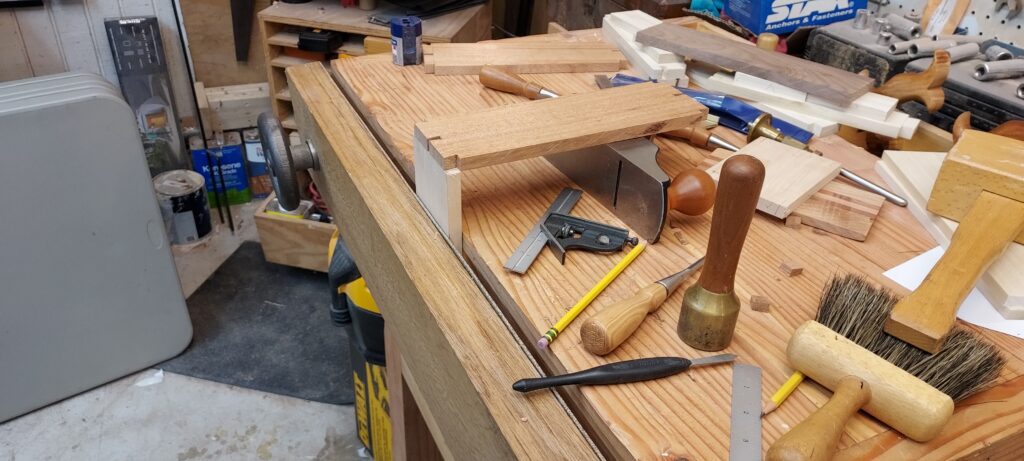
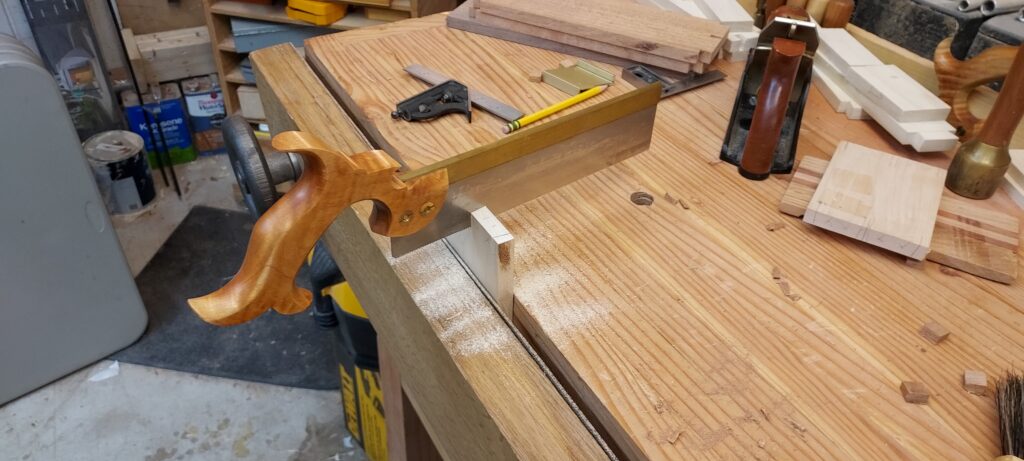
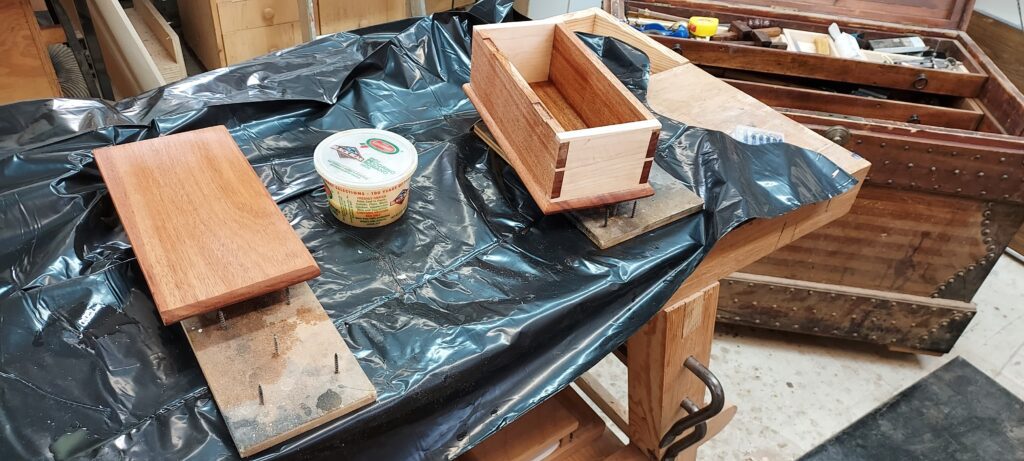
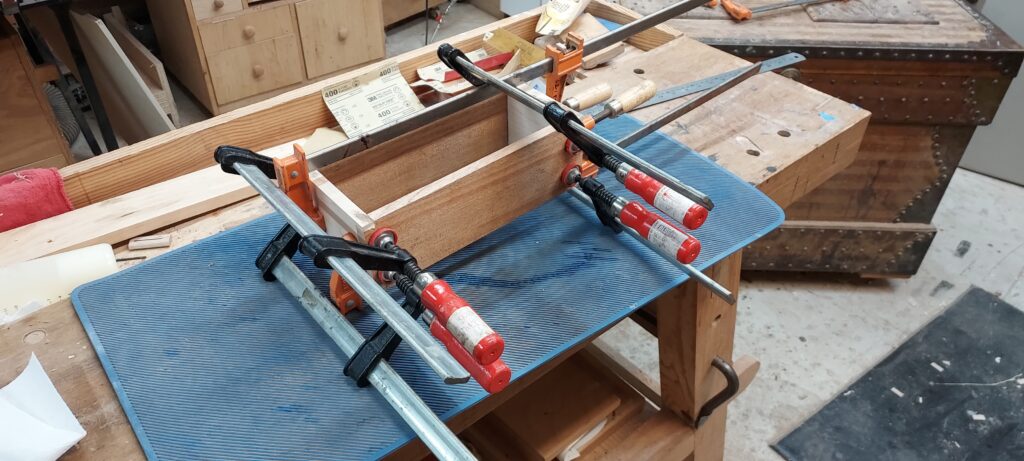
- Test fit it together and clean up the tails and pins in order for the joint to fit in. Then glue up the box. Check to make sure it is square. Afterwards, use a #4 smoothing plane to clean up the tails and pins which stick out, so the side is smooth and even. Also run the plane around the bottom to make sure that is level and even.
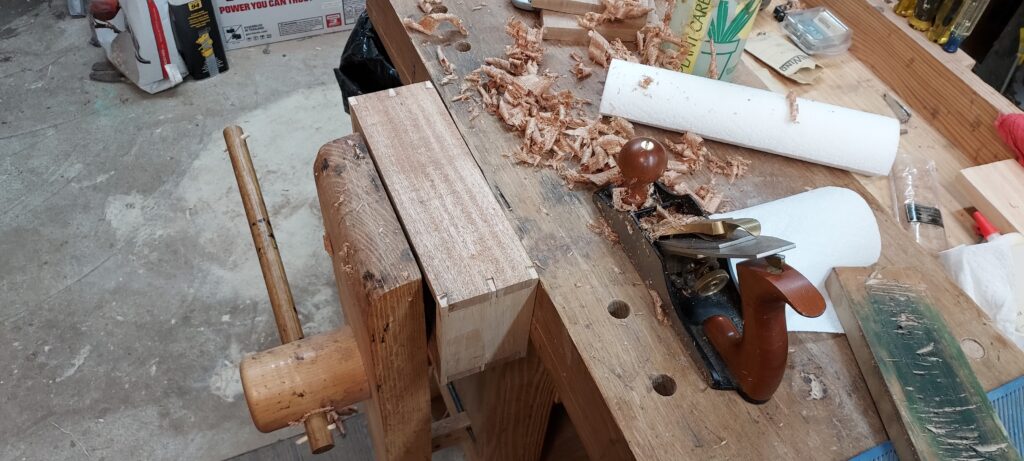
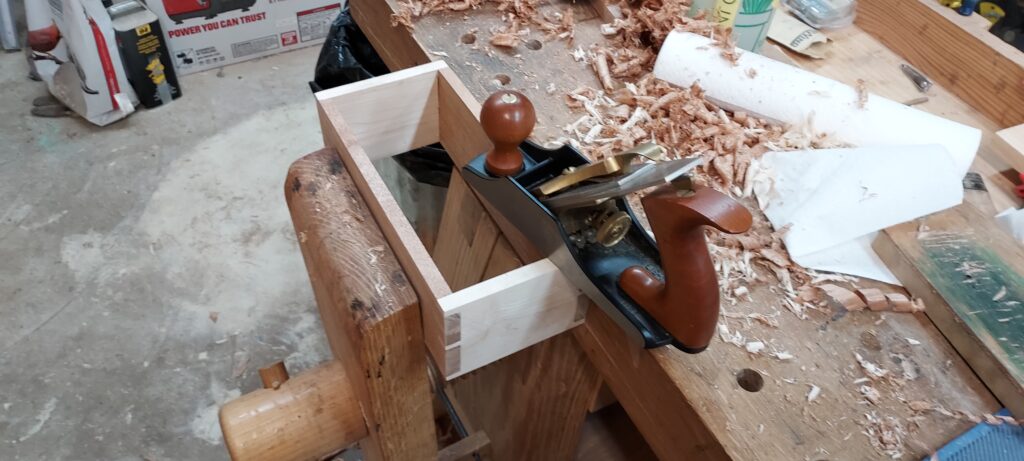
- Cut the bottom piece to size, the use the #4 Smooth plane to create a rounded edge on the short sides and then long sides.
- Test to make sure it sits flat on the bottom. Adjust as needed, then glue up
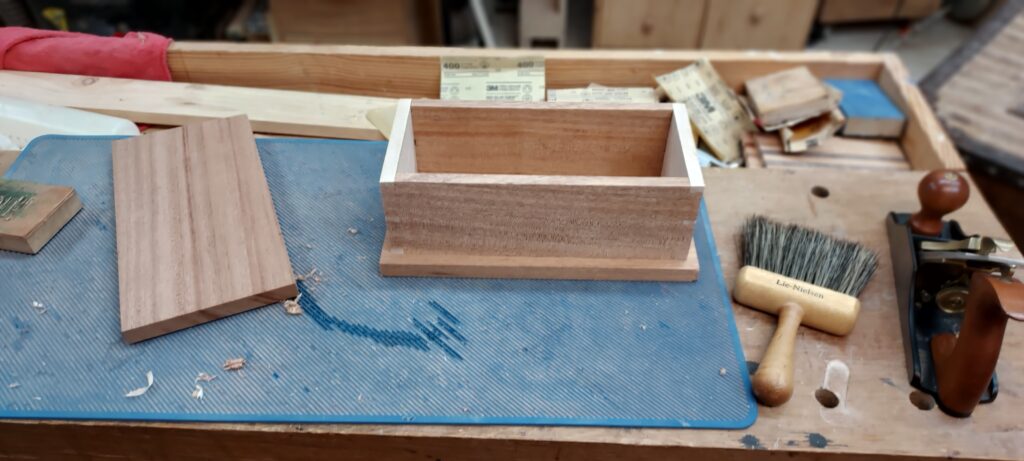
- Cut the lid to the same size as the bottom piece. the use the #4 Smooth plane to create a rounded edge on the short sides and then one of the long sides. The second long side will be used for the hinges
- Use your #4 plane to clean off the top of the box, to make sure it is level. Also plane off the lid to make sure it is flat.
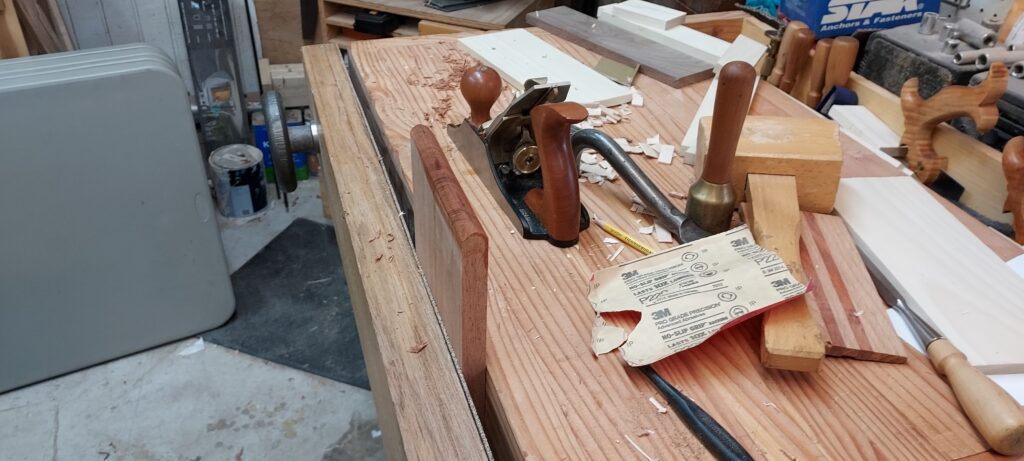
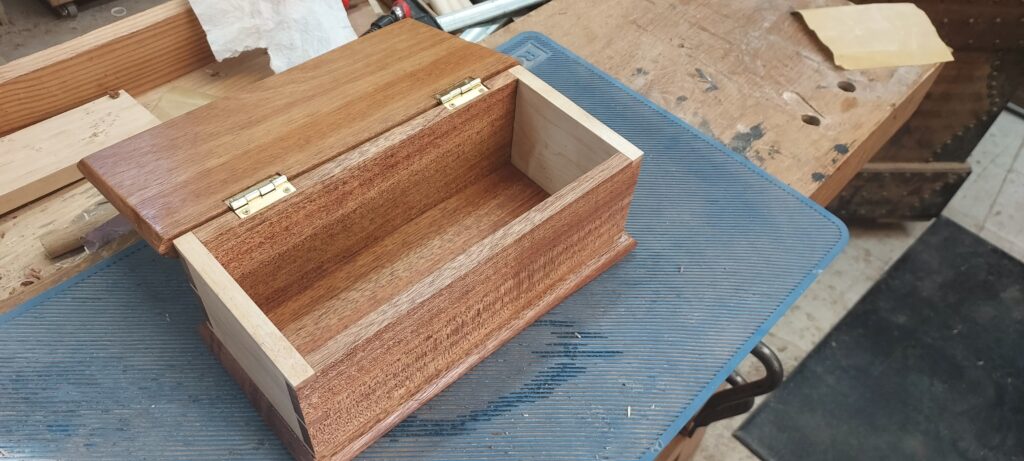
- Now to the hinges. Place the box in a vise and use the hinge to layout how to cut the mortise. Go in about one inch from the edge of the box and make a small notch on the lid. Lay the hinge against this mark to determine its layout. Using the hinge as a square, make knife marks in the two sides of each hinge, and then against the back
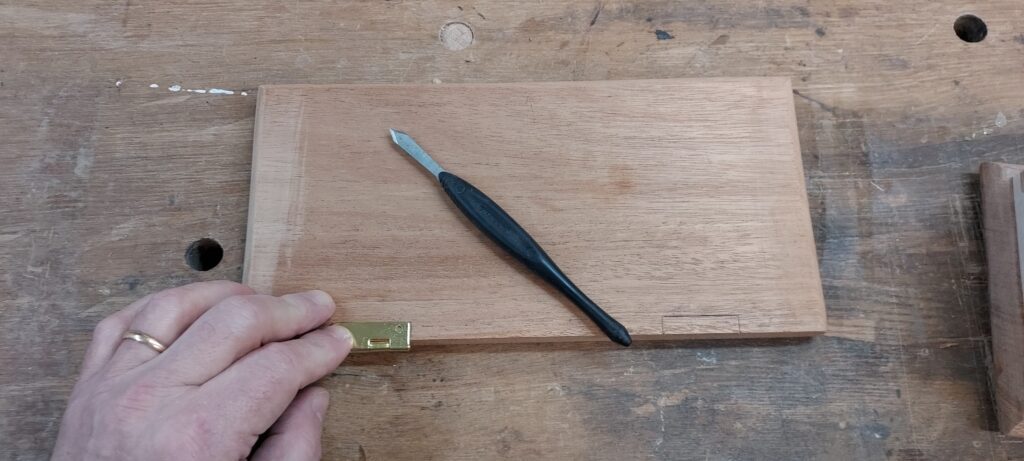
- Measure the depth of the hinge, and use a cutting gauge to layout the depth you need to cut the hinge
- Use a chisel to clean out the majority of the waste, and then a router plane to clean it up to final depth
- Place the hinge in the mortise, use an awl to ream out the holes for the screws, and then install the screws on the lid
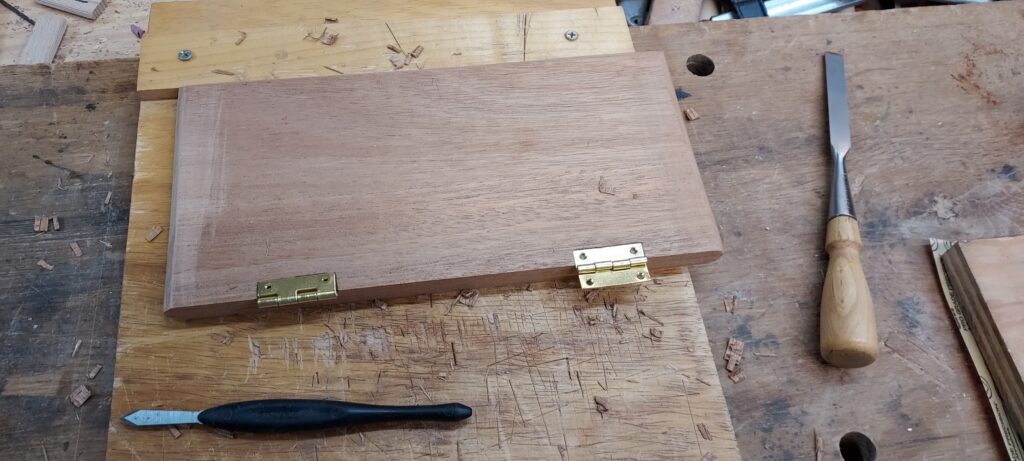
- Place the lid on the box to determine layout for the mortises, and use the same setting on the cutting gauge to get the depth. Chop out the mortises in the same manner
- Test fit, use awl in same manner and screw in
- To finish, sand it down to 220 grit, then I put on three layers of Shellac, and polished/buffed out the final finish.