
Been out of town on trips with spouse and to visit family in Tennessee. This is a continuation of the Humidor project, first part was Humidor I. Second part was Humidor II.
The hinges required me to use a chisel, mallet, combination square and marking knife to lay them out and cut them.
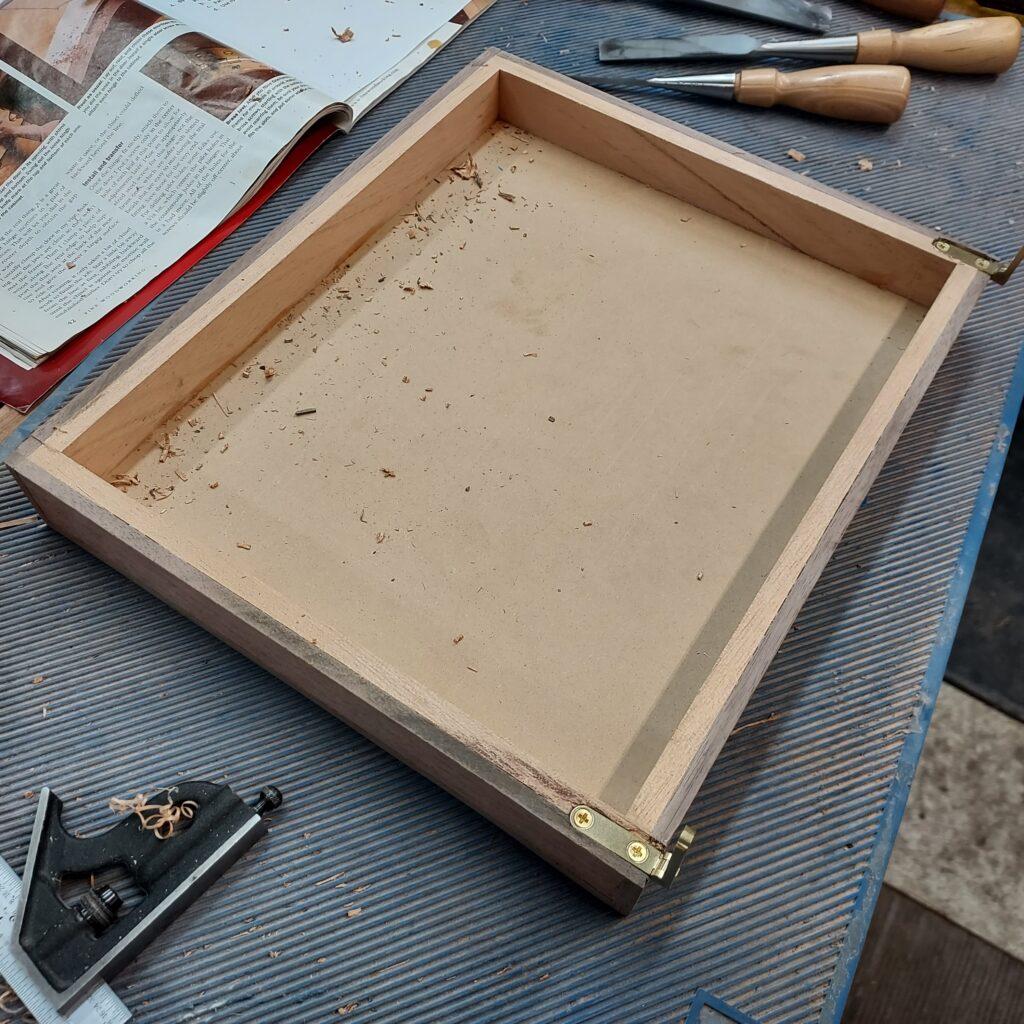
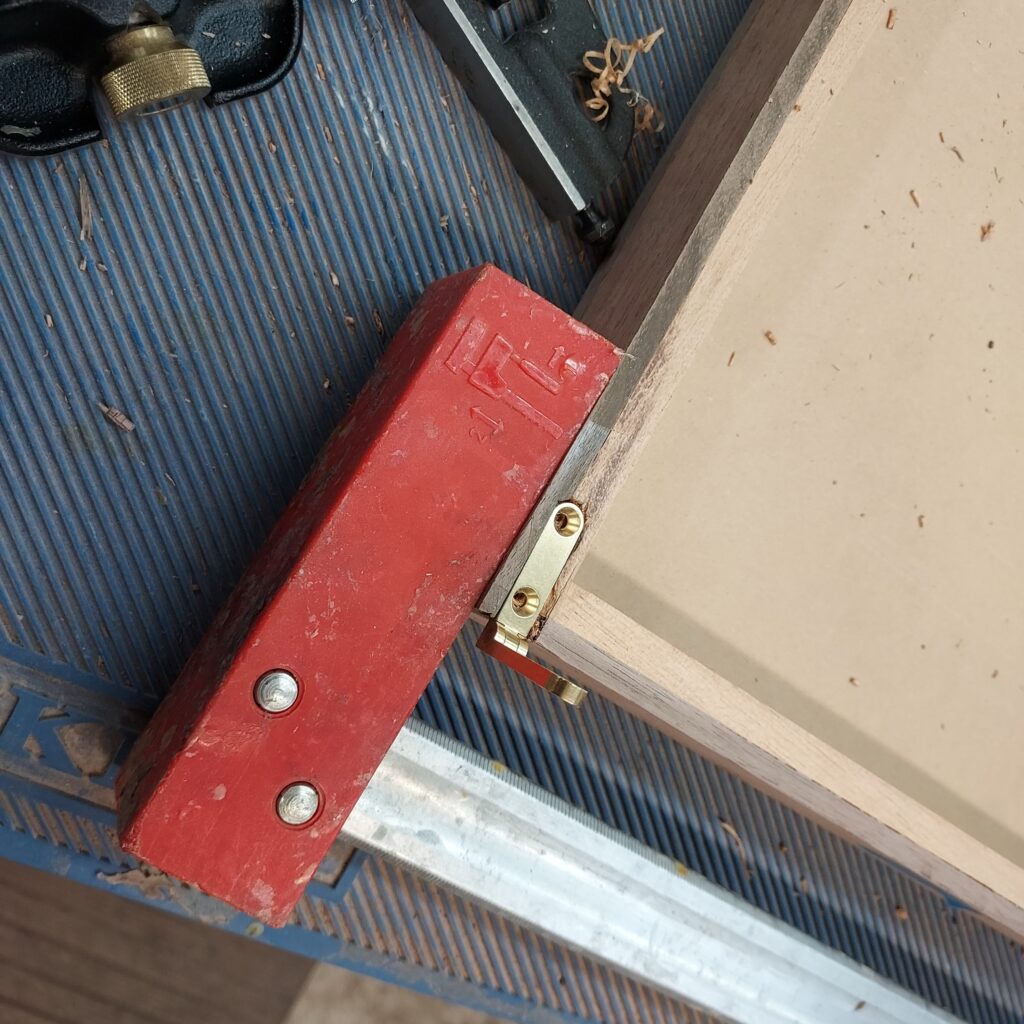
I placed the hinges on top and used a pencil to identify the location to start. After that, I used a combination square and a marking knife to create a knife line that I could drop the edge of my chisels into. With that, it was a lot of hand chiseling to make sure they fit. I had to put a clamp on the ends to keep from “blowing out” the edges, and the hinges were very close to the side.

I repeated the process for the lid as well, and it came out fairly well.
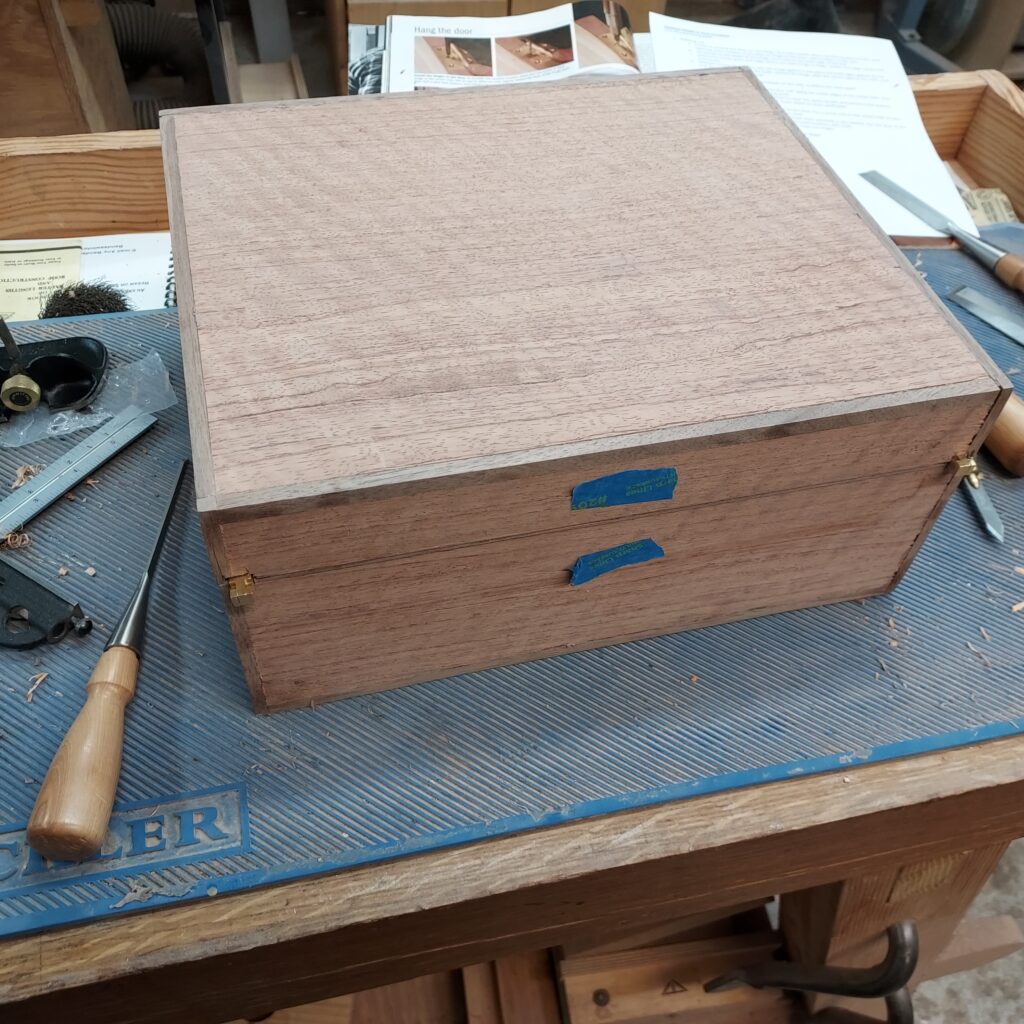
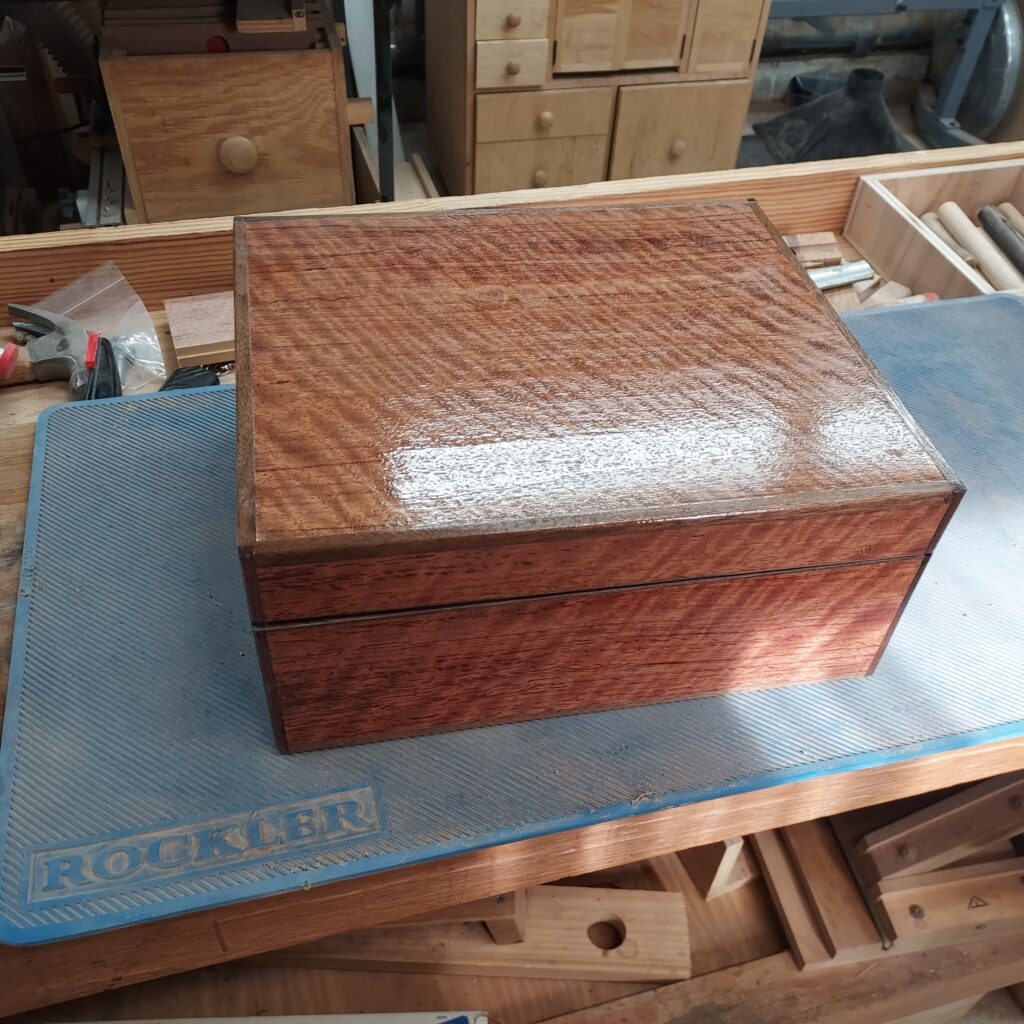
Once that was done, it was time to finish the box. I put on a single layer of shellac to “raise the grain” and then sanded that down with 320 grit sandpaper. After cleaning off the dust, I added six (6) more layers of shellac over two days to bring the shine up. I will need to let the finish sit for a week to harden, before I can “rub out the finish” to make it really smooth and semi-glossy.
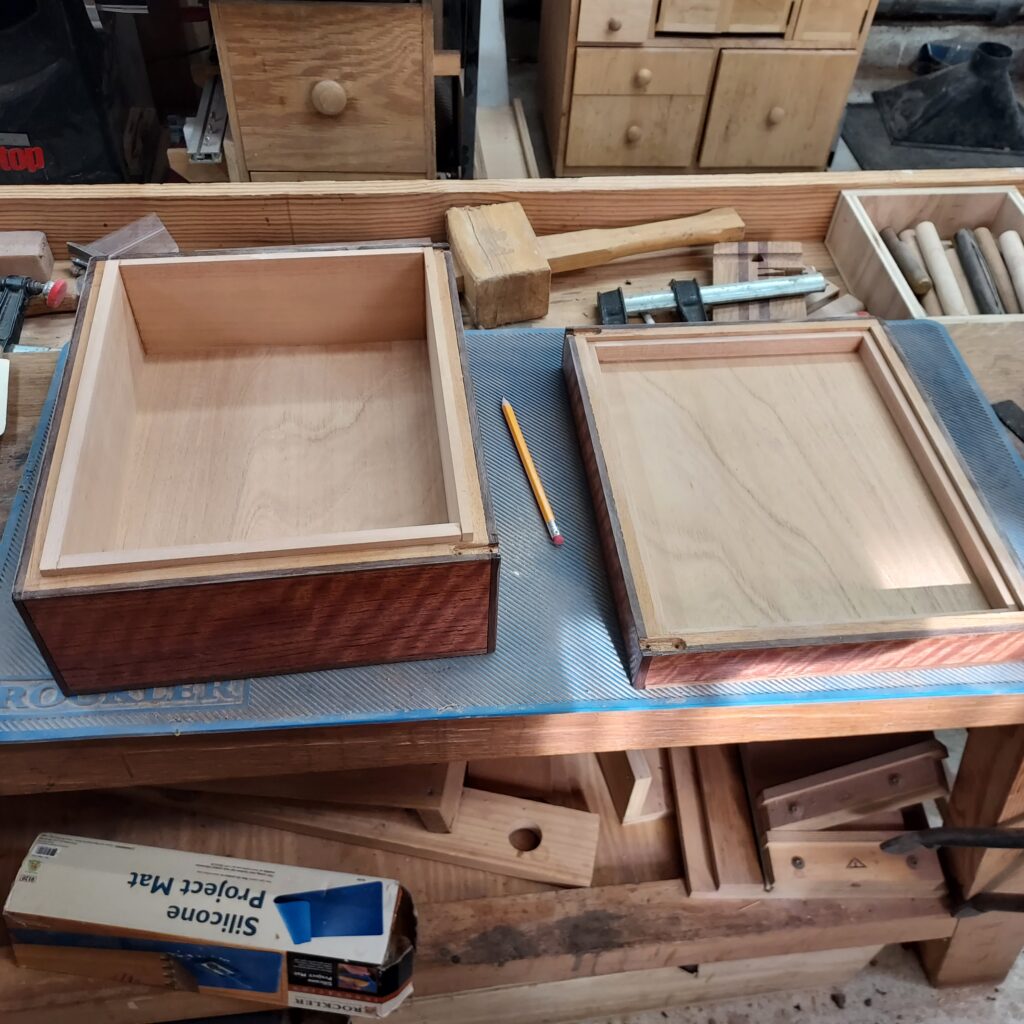
While waiting for that, I had to cut the Spanish Cedar lining pieces out. These will help absorb moisture and keep it even inside the humidor. I cut the bottoms with a little “give” so they can expand/contract with moisture. After gluing those in, I cut the sides and front/back to exact amounts and glued them in. The fit will need to be adjusted with a hand plane to ensure it seats correctly once the hinges are in place.
Kevin