
I have been accumulating and using tools for green woodworking, which is a traditional way of working wood that has not been kiln dried, but is green from the tree and then air dried over an extended period of time (years in some cases). The wood is used for bowls, furniture, chests, and other items. Some of the tools are used to split logs, joint the wood and carve it with gouges.
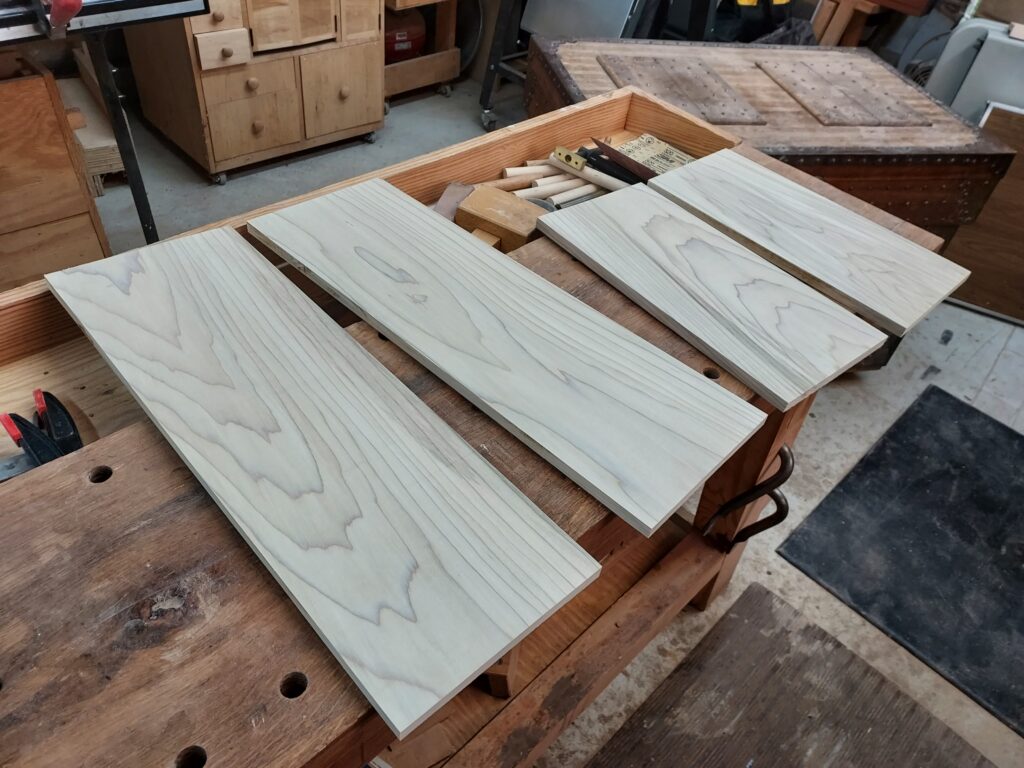
Since I volunteer at Pennsbury manor, I wanted to create a chest I could use to transport the tools to and from the site, and be ready to use them. I also wanted to make the chest shallow (less than 8 inches tall) in order to have it fit under my workbench. In order to fit all the tools, I ended up making the chest 24” long and 16” wide, with 5/8” thick wood for the chest walls. The bottom would be ½” thick pieces, while the lid would end up being ¾” thick. I would use poplar, a traditional wood for these type of tool chests.
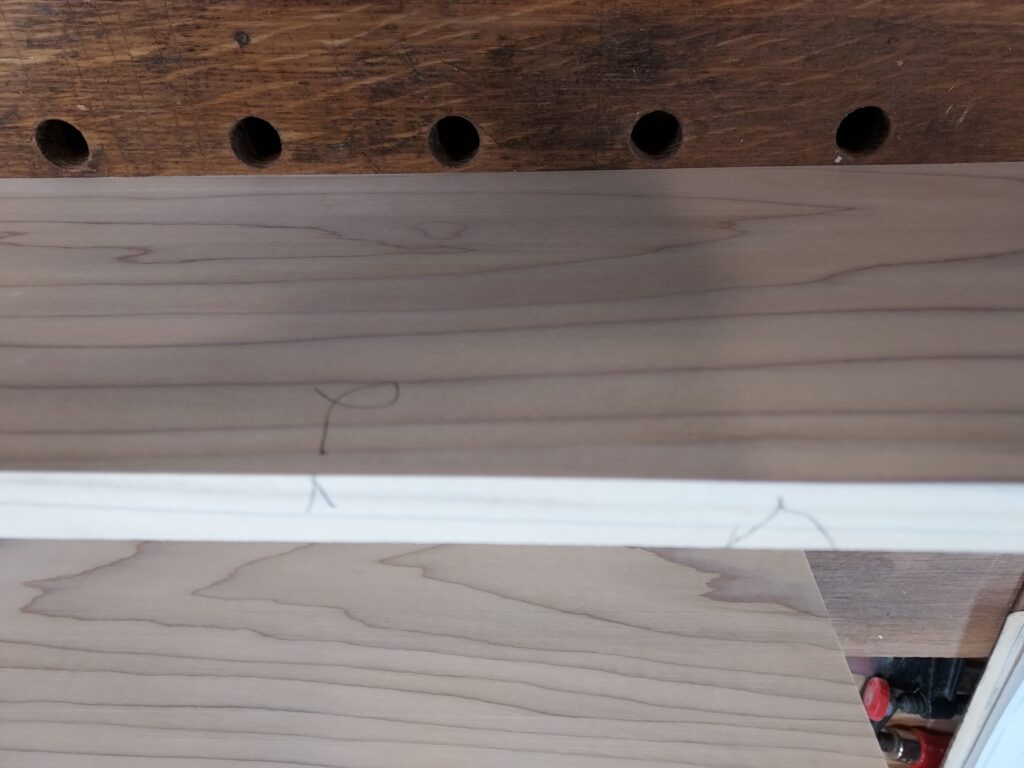
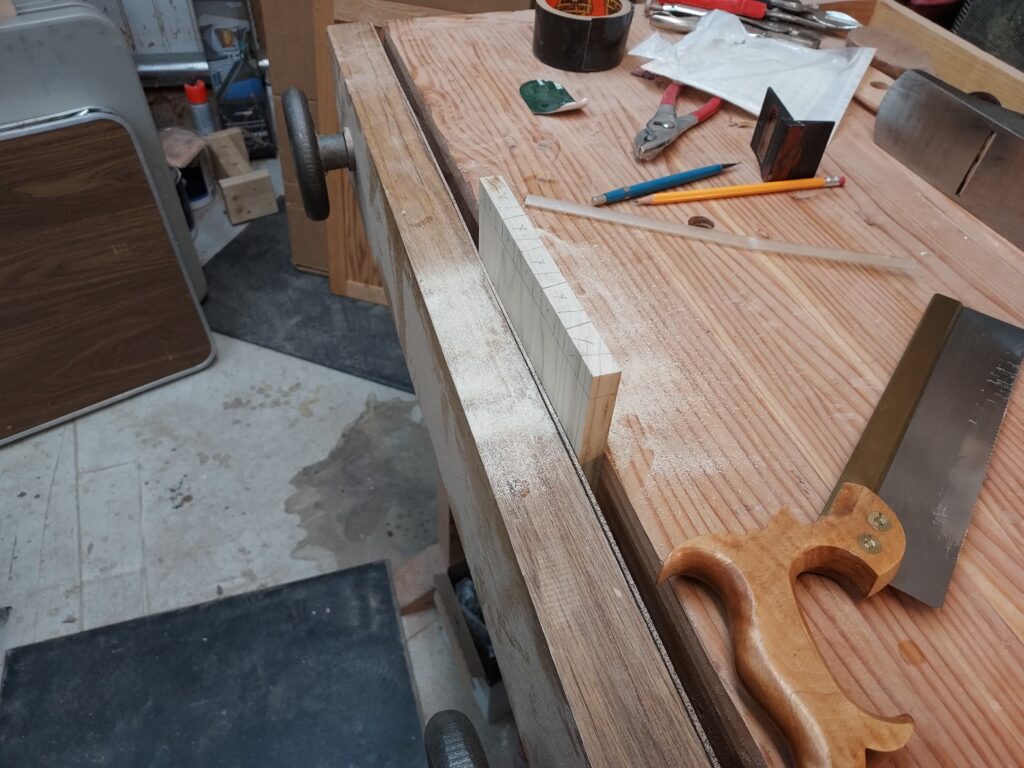
So I milled the front, back and side pieces to size, then put on the layout marks (triangles) which show the orientation of the boards to each other (triangles facing the front of the chest). I also used the traditional marks to designate the face and edge pieces, where all measurements will be made off of.

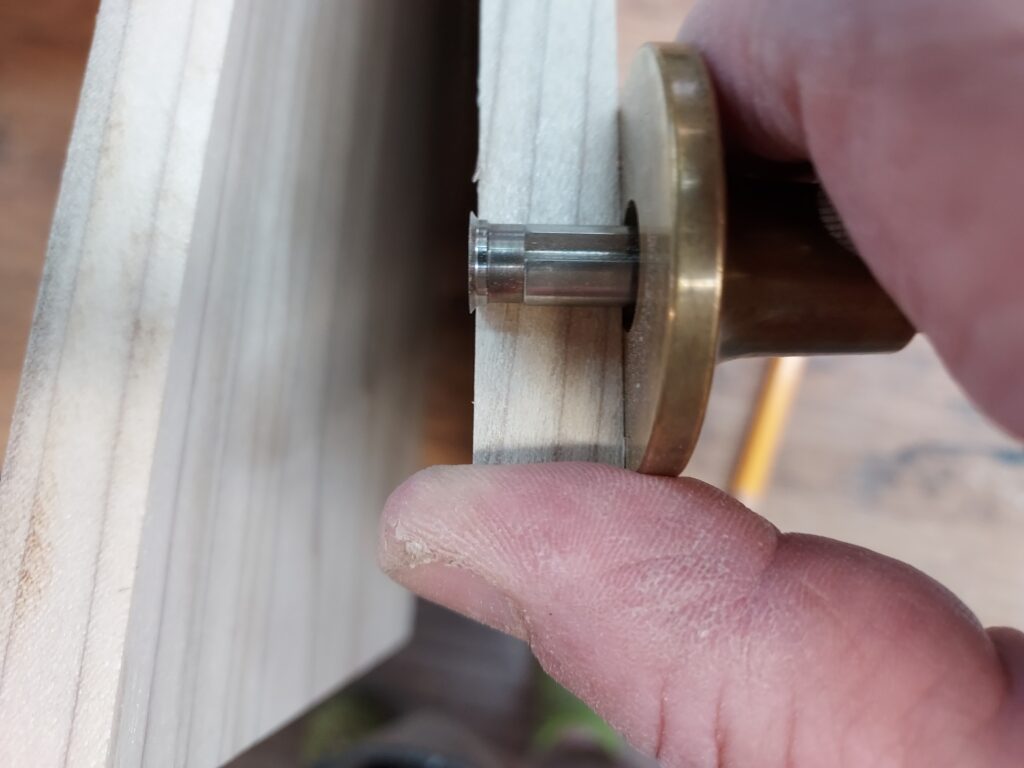
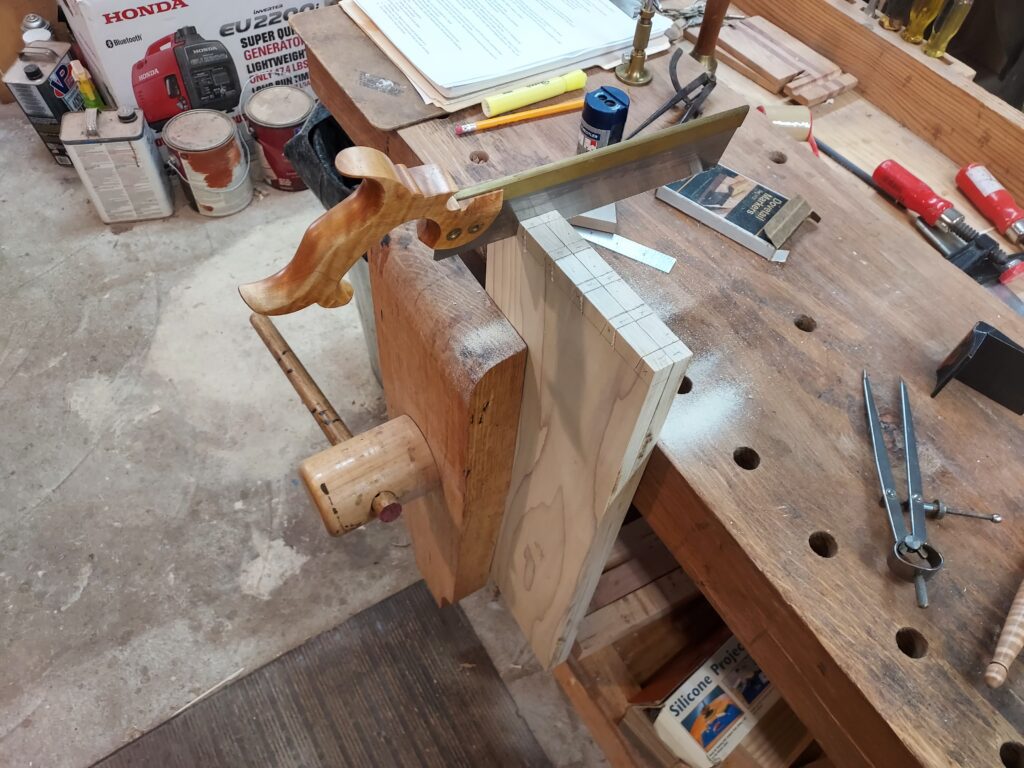
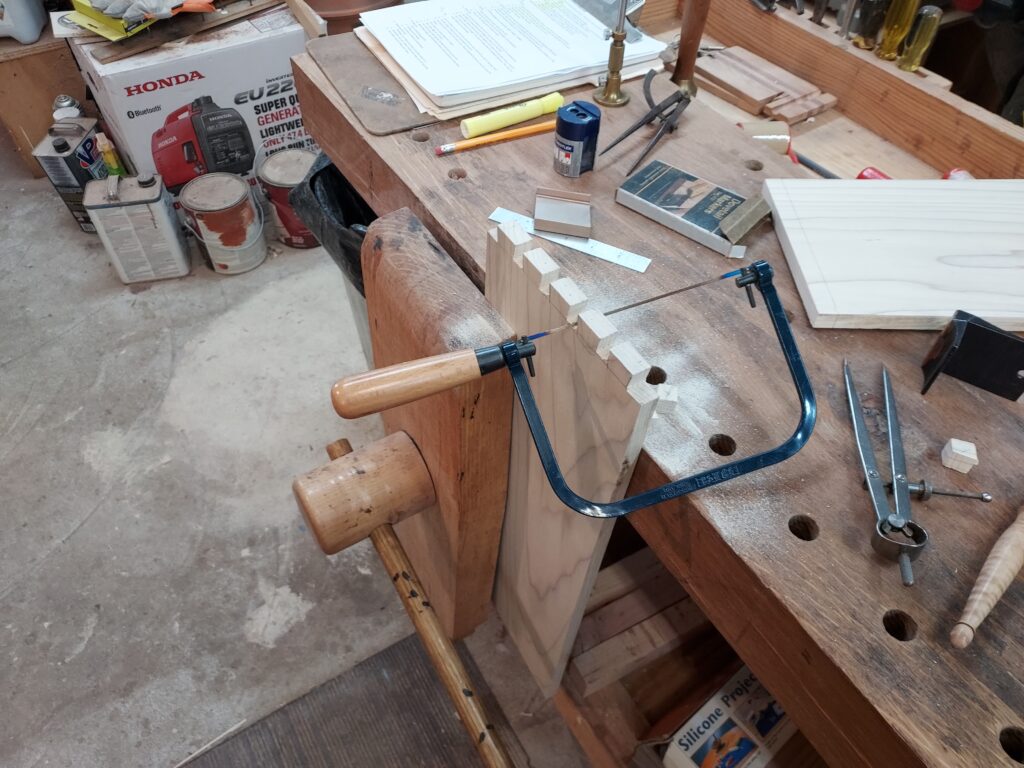
Time for dovetails. I made a reference line with a cutting gauge, based on the thickness of the boards. After layout, it was time to saw the tails (I do my tails first). After sawing the lines, I used a coping saw and chisels to clean them out.
You use the cut out tails to layout the location of the pins. I used a pencil to mark out what needed to be cut out. You place the tail board on top of the pin board and use it to figure out where you need to saw. This is where the orientation triangles really pay off, as they help you align the boards properly so you are cutting the pins properly. I then used chisels to clean out the pins.

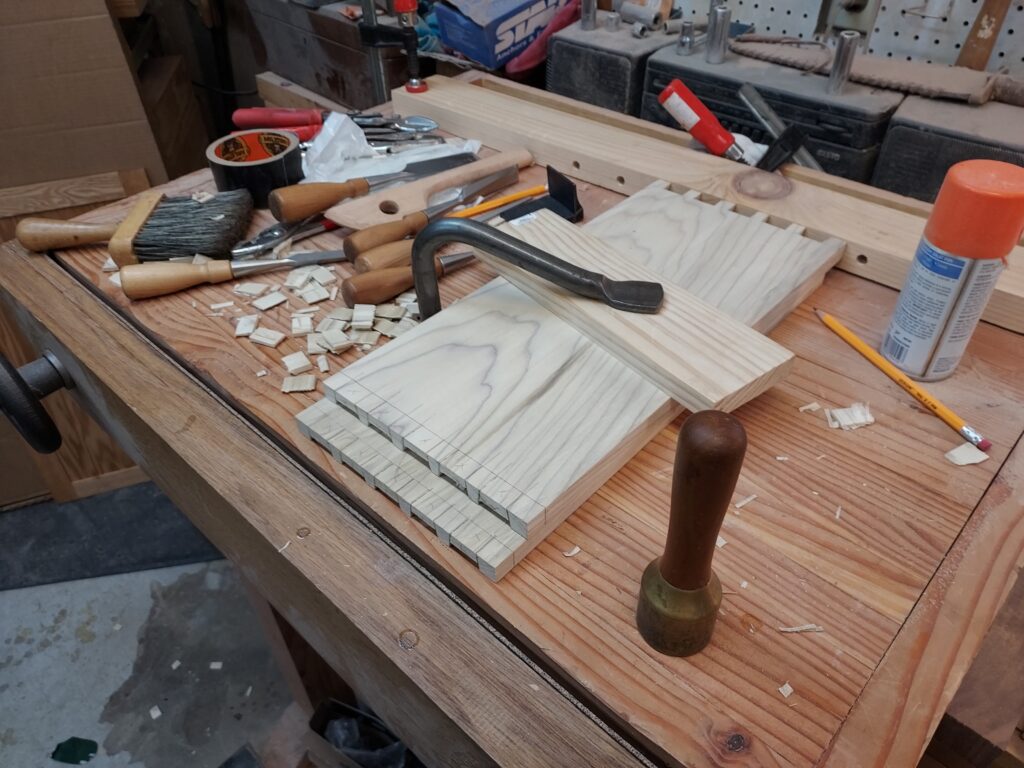
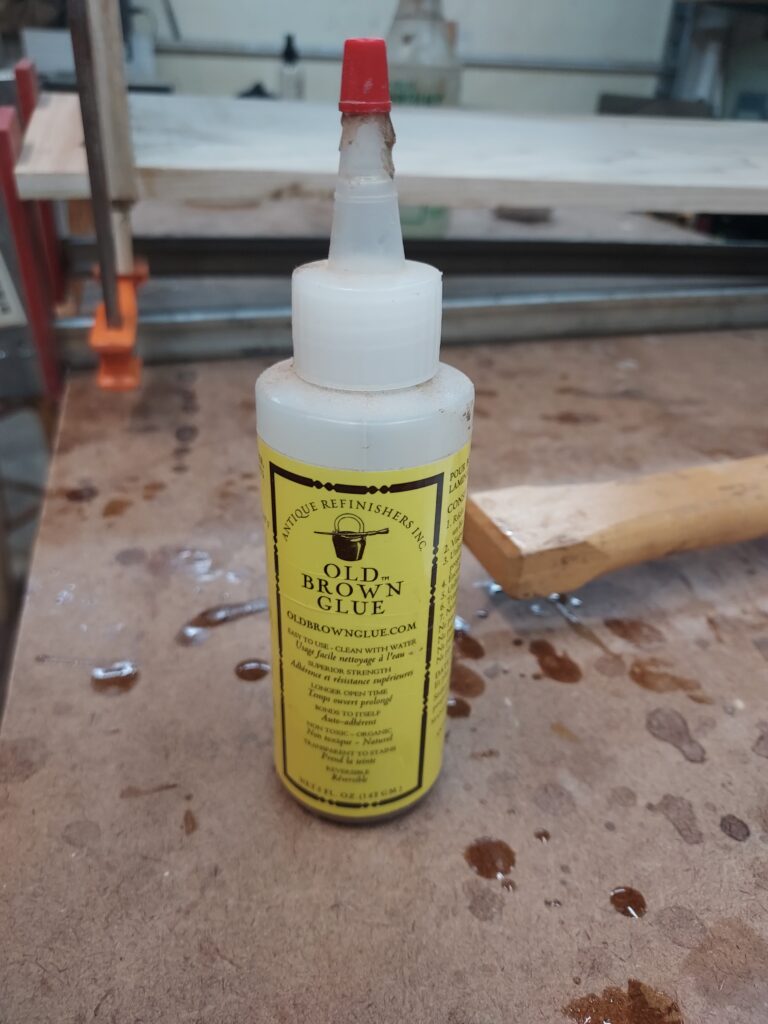
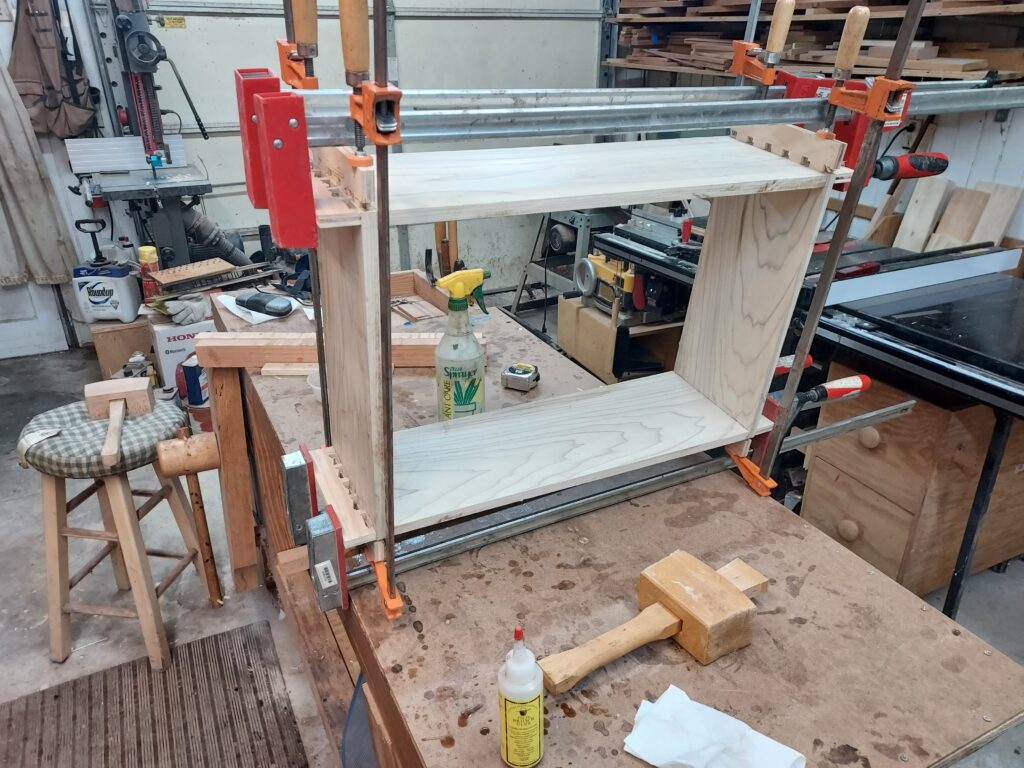
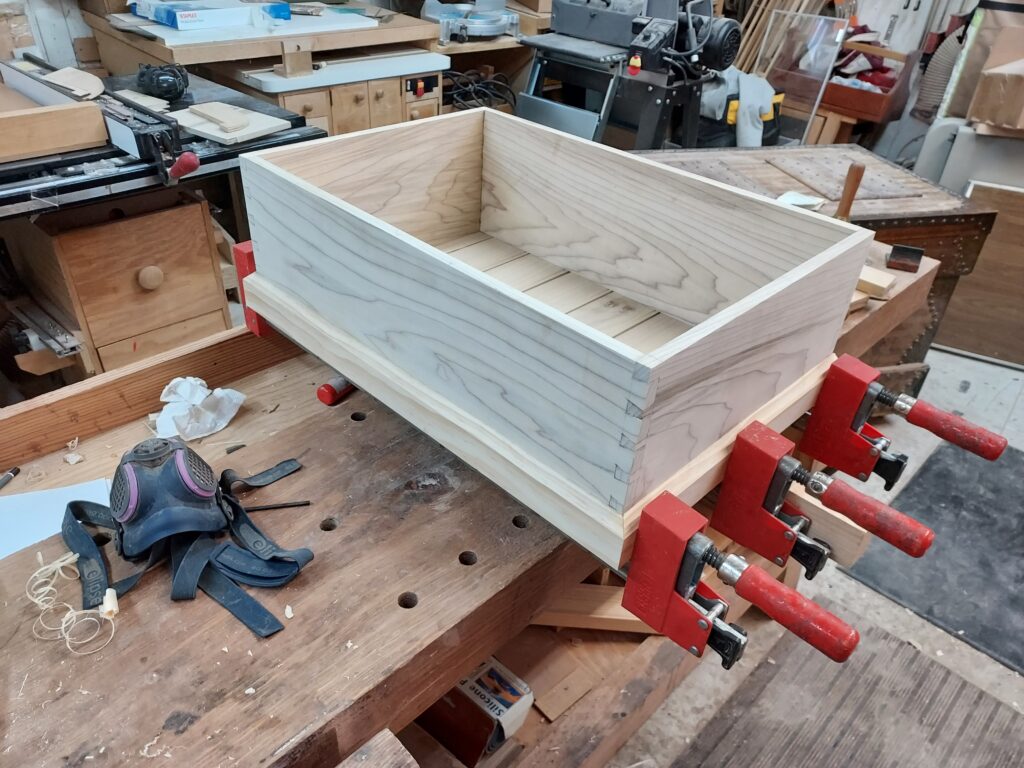
With that done, I test fitted the four boards together. I had to do some cleanup work on each of the boards. After all the test fitting, I used “old brown” hide glue to glue up the dovetails. Hide glue gives me a longer time to make everything close up, and is reversable (i.e if you apply heat, you can ‘free up” the joint. I then use a series of glue bocks and clamps to them tight. I then left the overnight.
The next day, I cleaned it up with a block plane at each corner to lower it down, and to get rid of pencil marks.
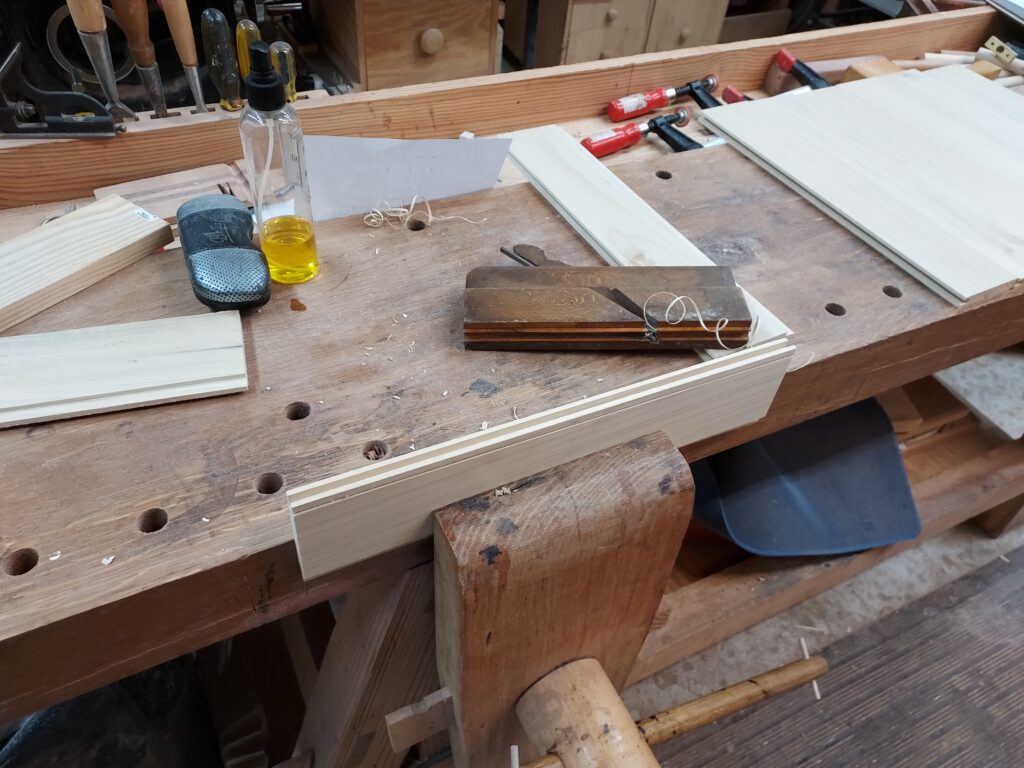
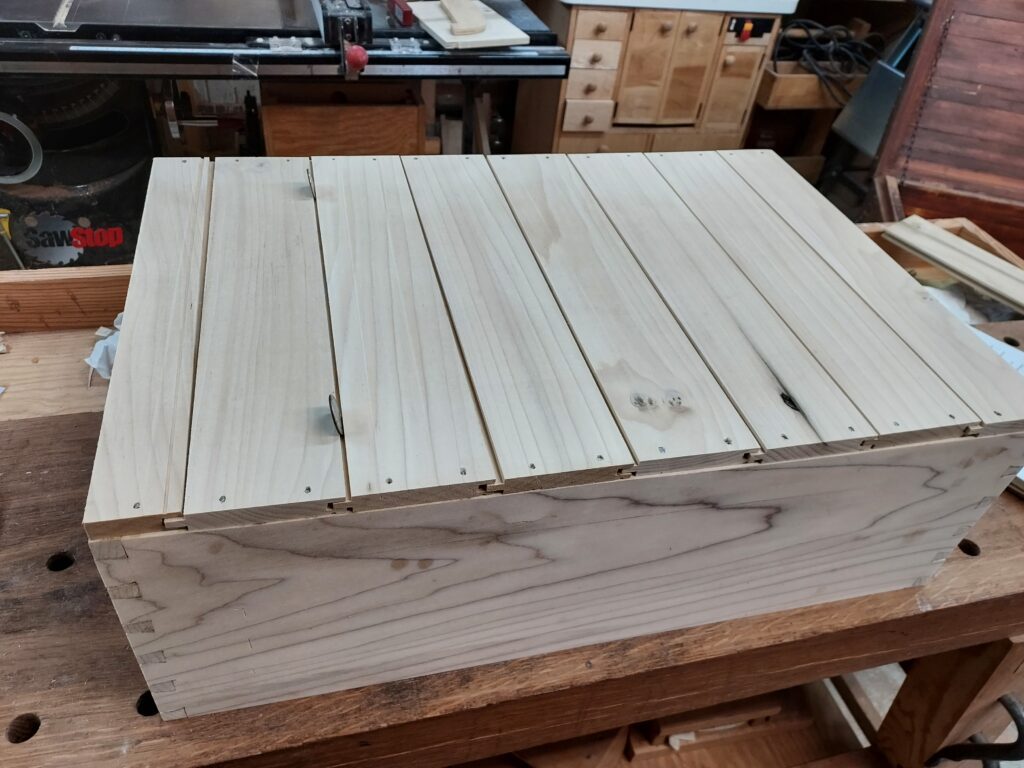
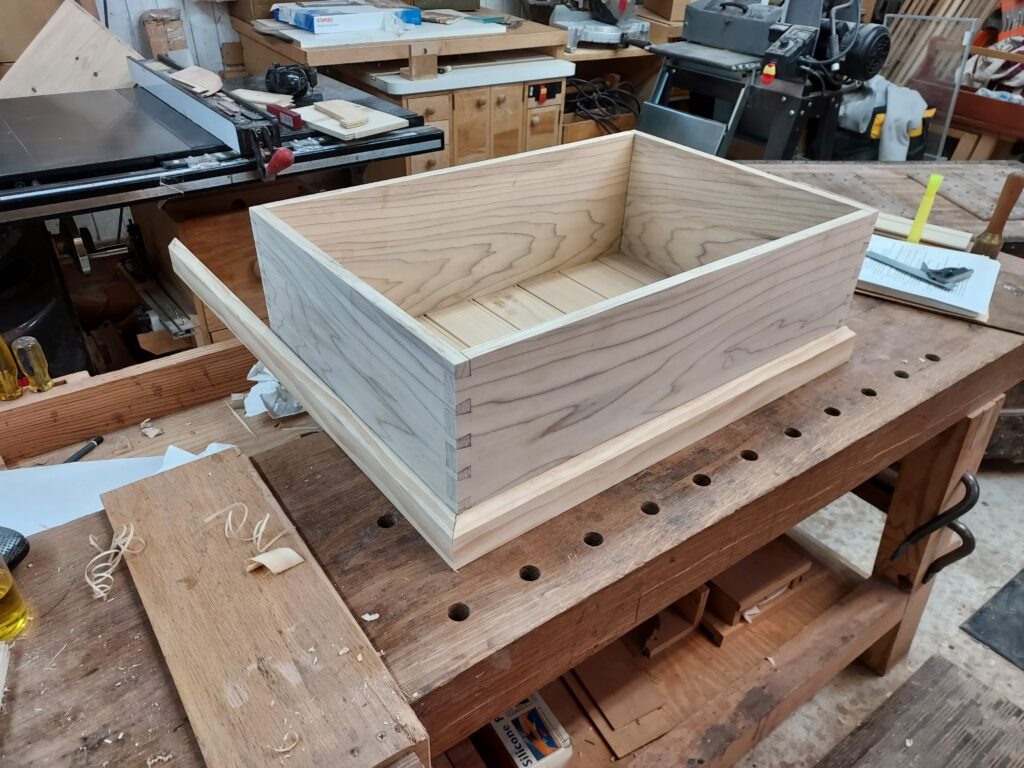
For the bottom, I used a combination plane (#45) to make tongue & groove in 7 pieces for bottom. I then used a beading plane to put a bead on top of the groove, to help hide wood movement. I cut the boards to length to match the width of chest. They will be covered up by molding
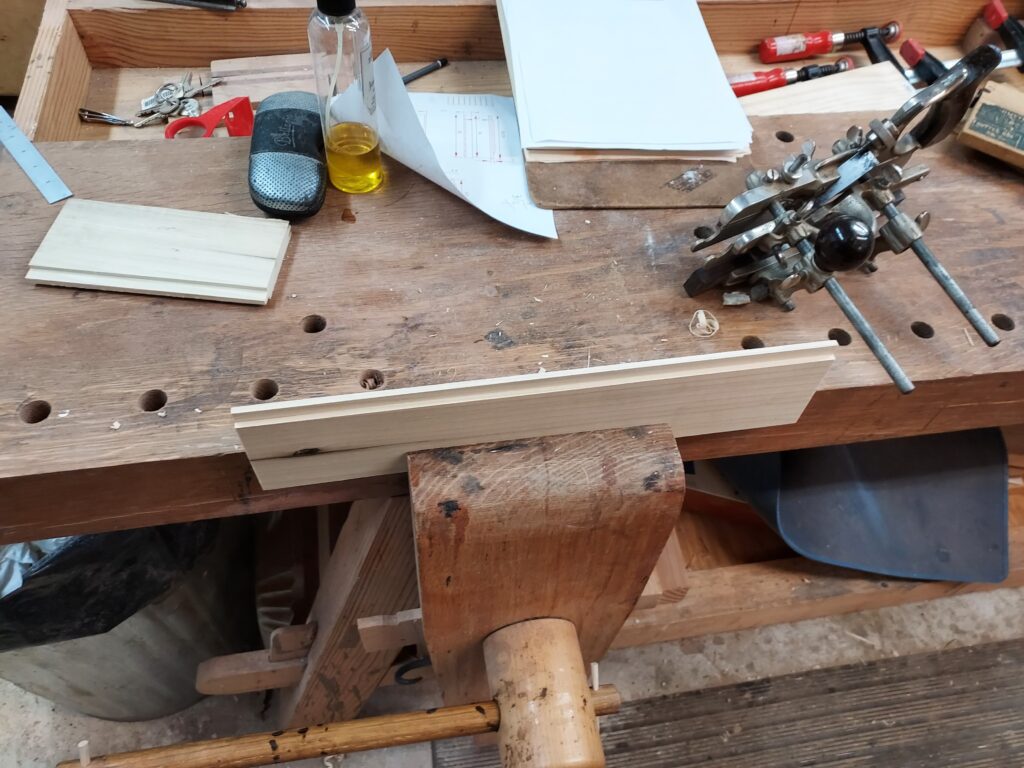
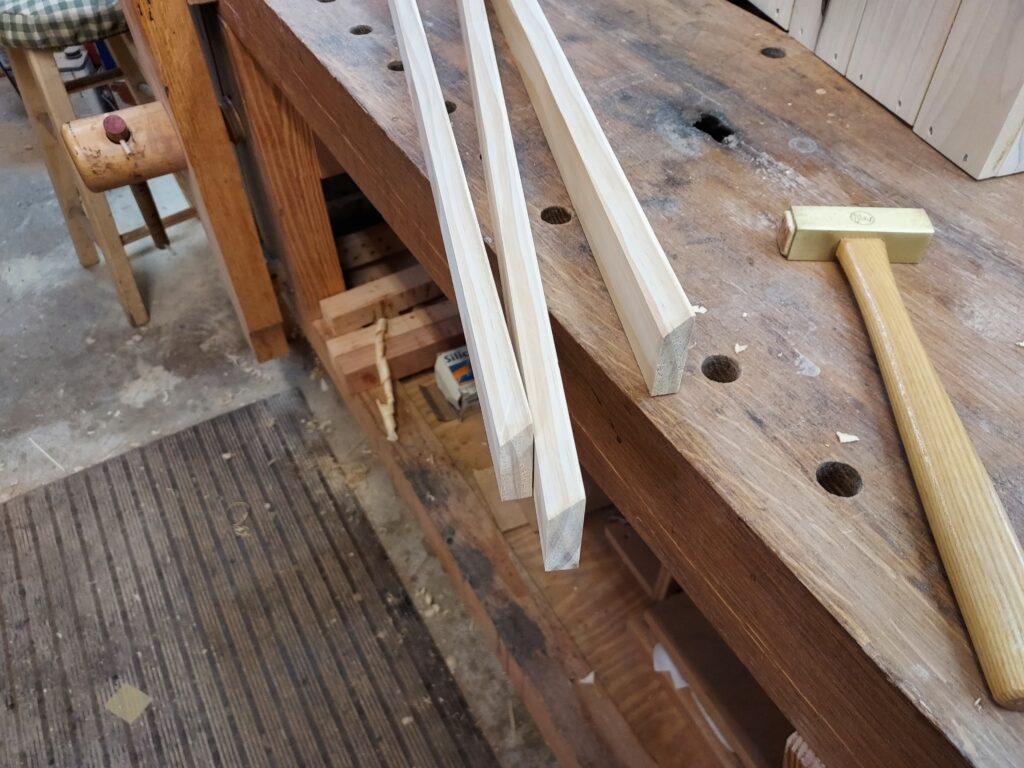
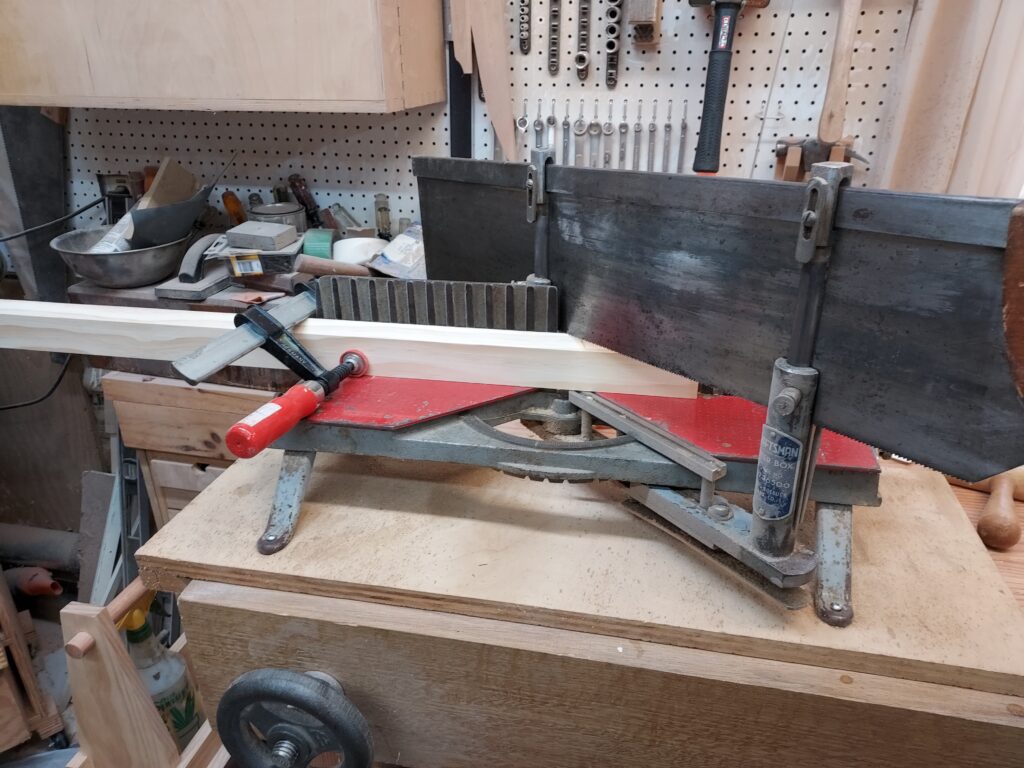
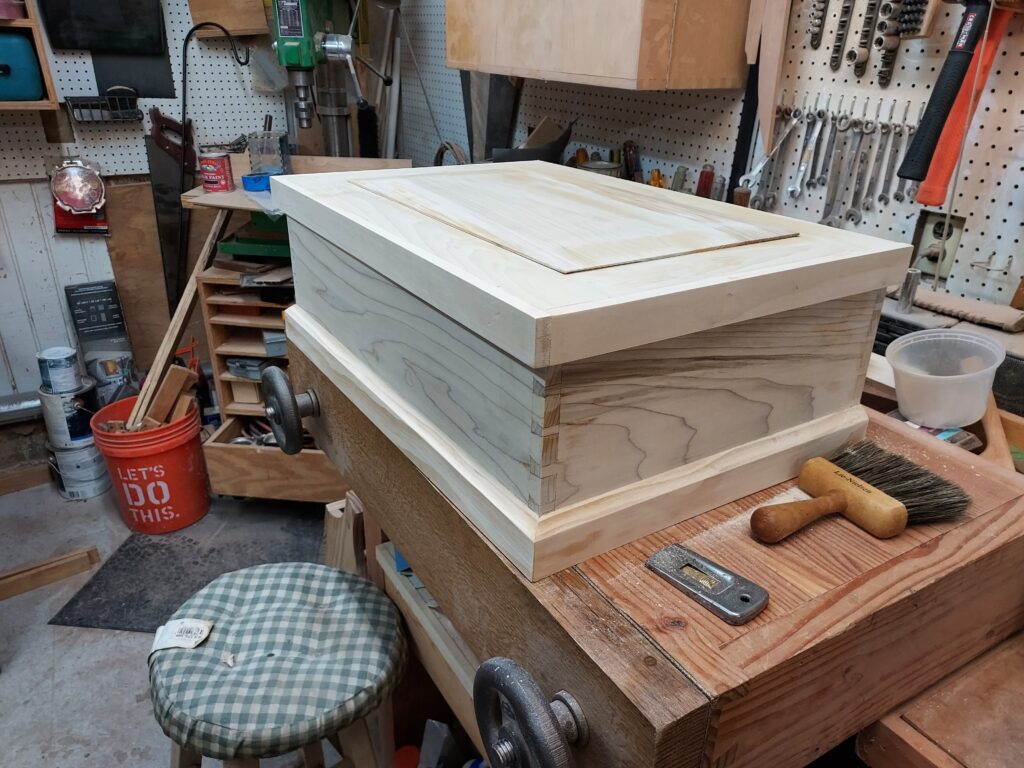
Next it was on to the trim around the bottom. This is to guard the sides as the chest gets moved/kicked around over time. I took straight grained pine and cut a 45-degree bevel in it for a simple piece of trim. I then used my miter saw (yes the old kind) to cut 45-degree angles on the corners.
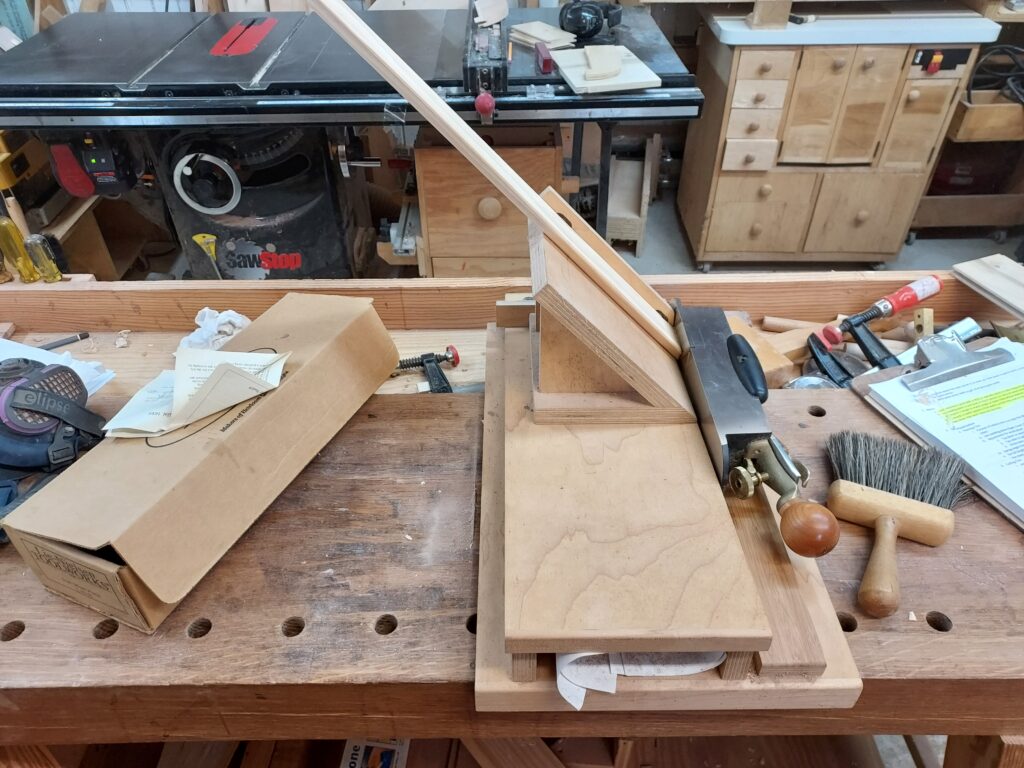
The trim will wrap around 3-sides (the back will not have trim). I used my shooting board to make sure the 45-degree corners lined up perfectly. Then I glued on the trim and clamped it up. I will put finish nails in it later.
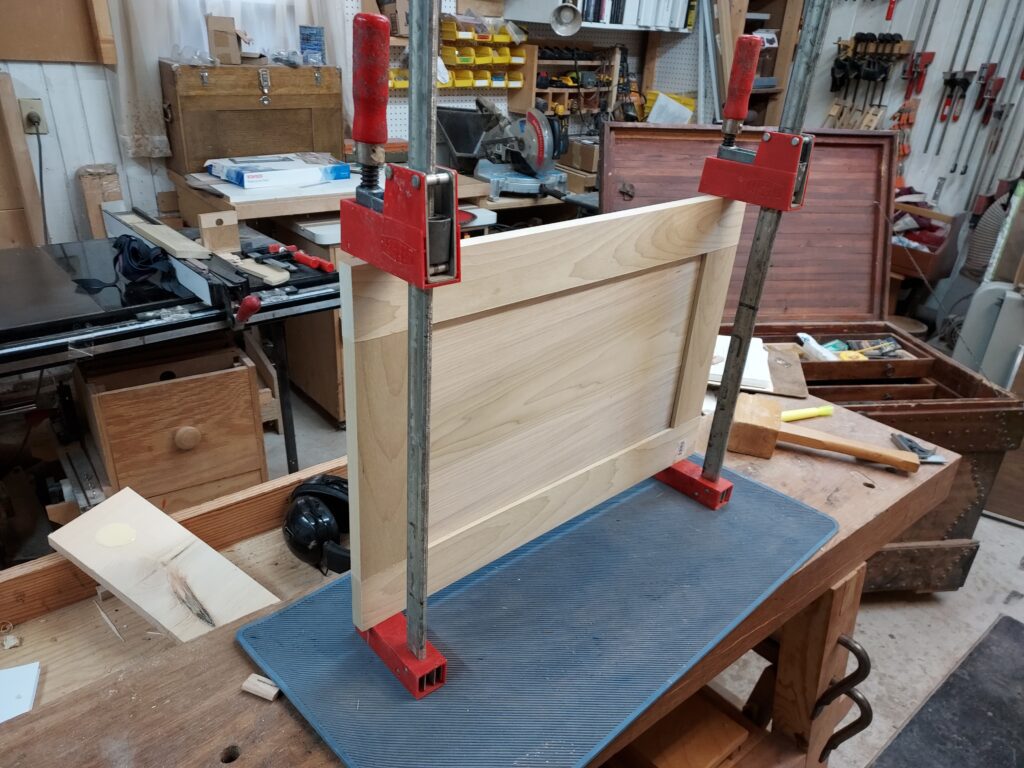
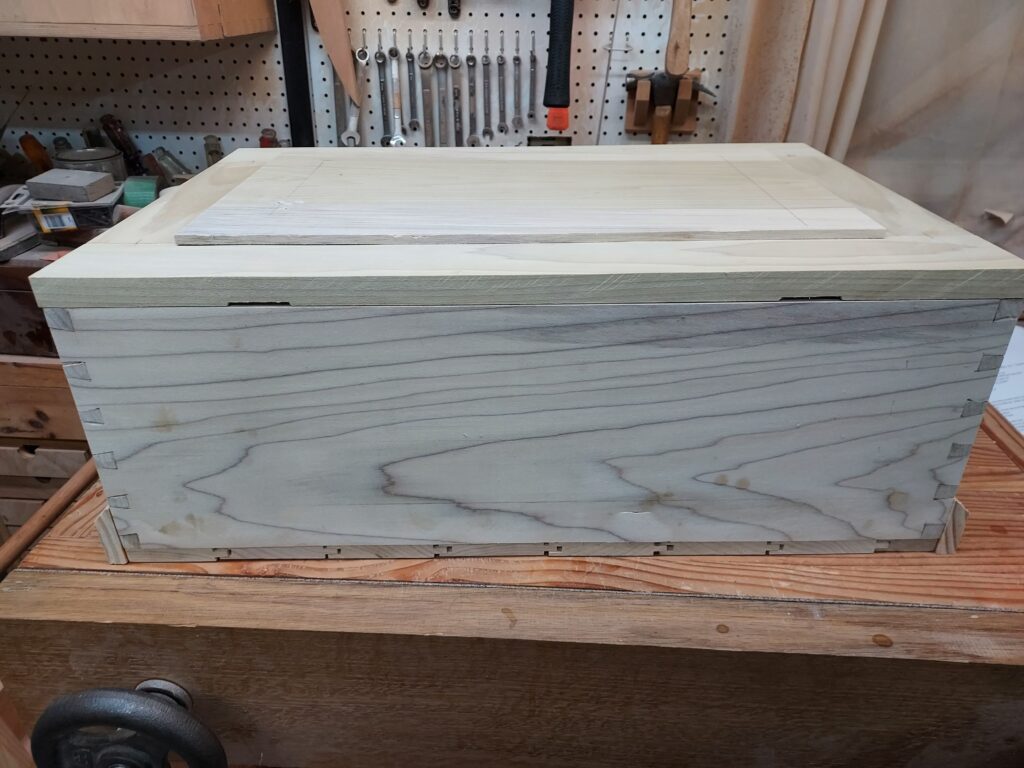
For the lid, one of the concerns is wood movement. When you have a large panel, no matter how much finish you put on, the panel is going to move, which can lead to either the lid not closing properly, or cracks developing in the wood. The traditional way this is solved is to create a wooden square frame and to “float” a panel in grooves in this frame. The large panel will be able to expand and contract without affecting the lid.
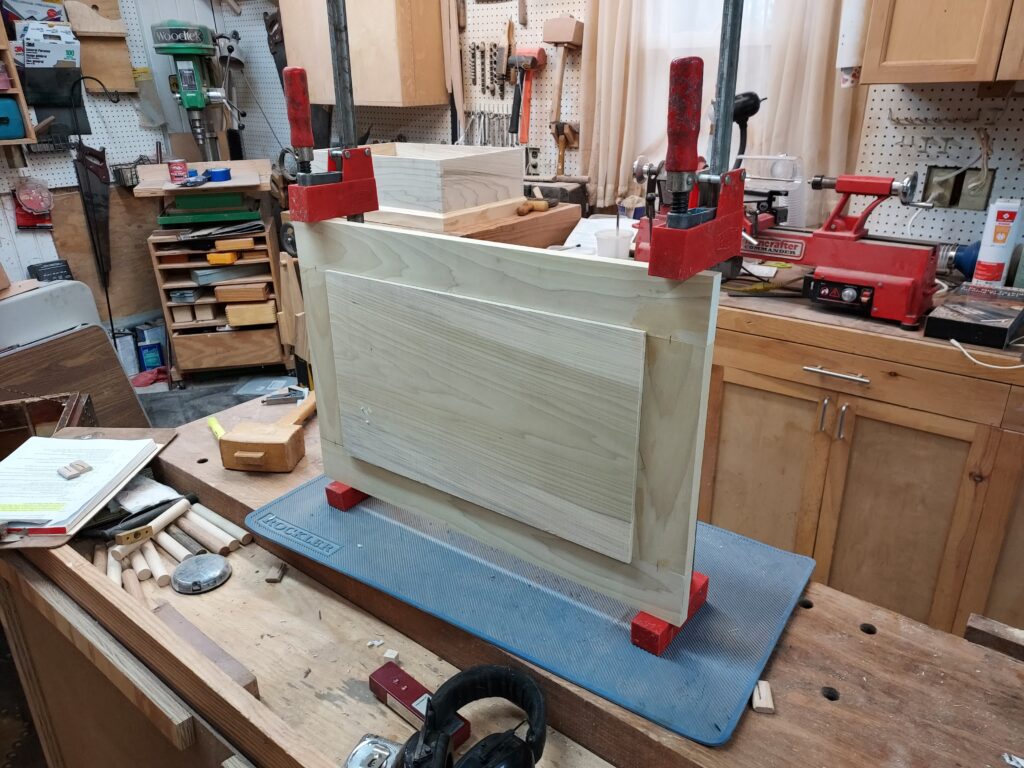
So I made four 2” wide outer pieces, and a center panel. I used a mortise and tenon joint to attach them together, and ran a groove on the inside of them to house the panel. After checking the fit, I then glued and clamped it up.

For the hinges, I used chisels and a small router plane to cut out the mortises out. I attach them to the top first, and then use that to align it to the box. Once they were done, I did a test fit to make sure it worked.
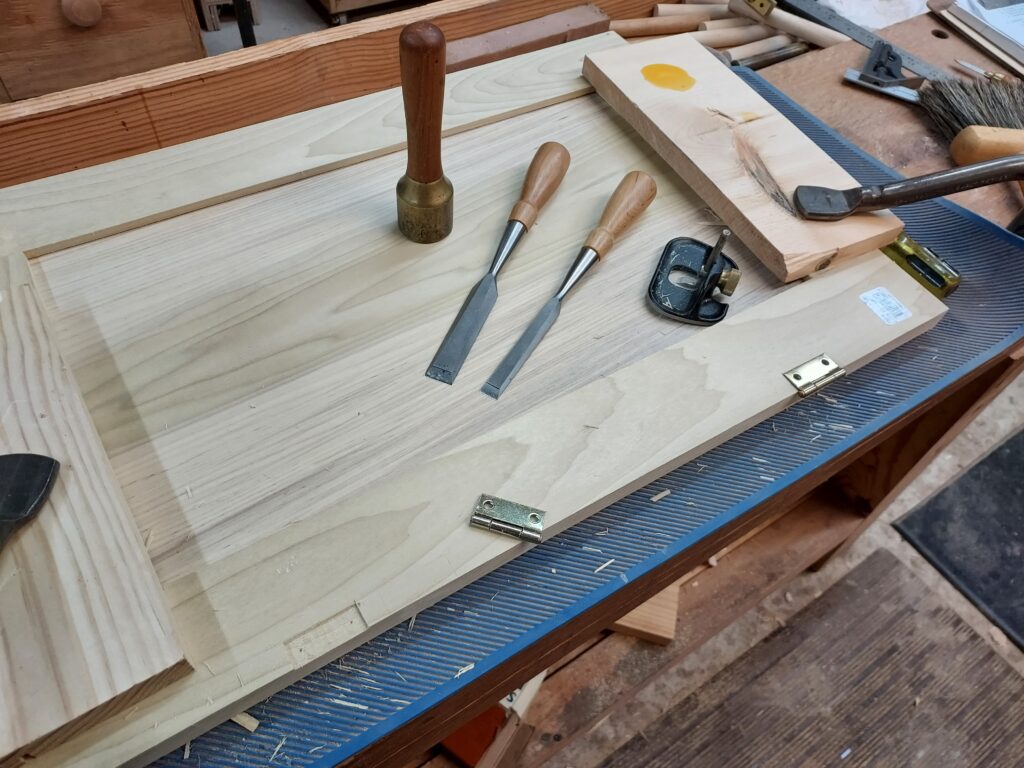
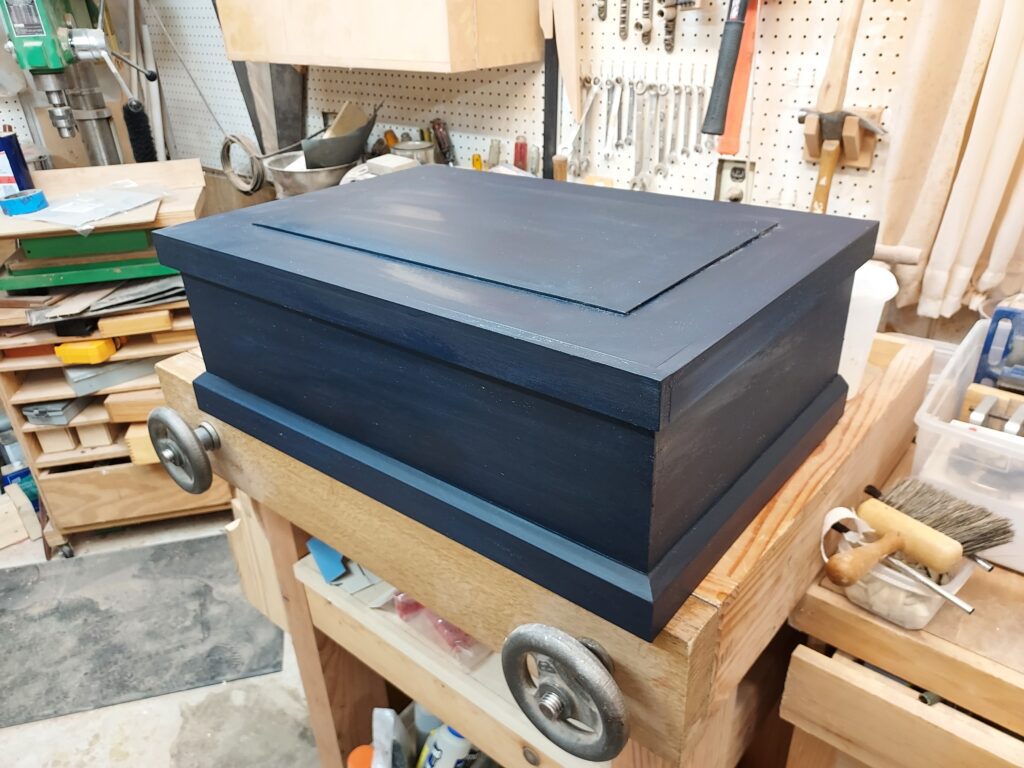
For the lid, I marked a line in pencil about two inches in, and then used a plane to “feather” a shallow angle in the top so it would not just stick out at 90 degrees.

With everything done, it was time to apply a finish. I used a traditional milk paint finish on the outside (two coats), while leaving the inner part unfinished (which was traditional)
I also added runners and a tool tray for chisels/gouges, and then loaded it with tools. As planned, it fit under the workbench (just barely).
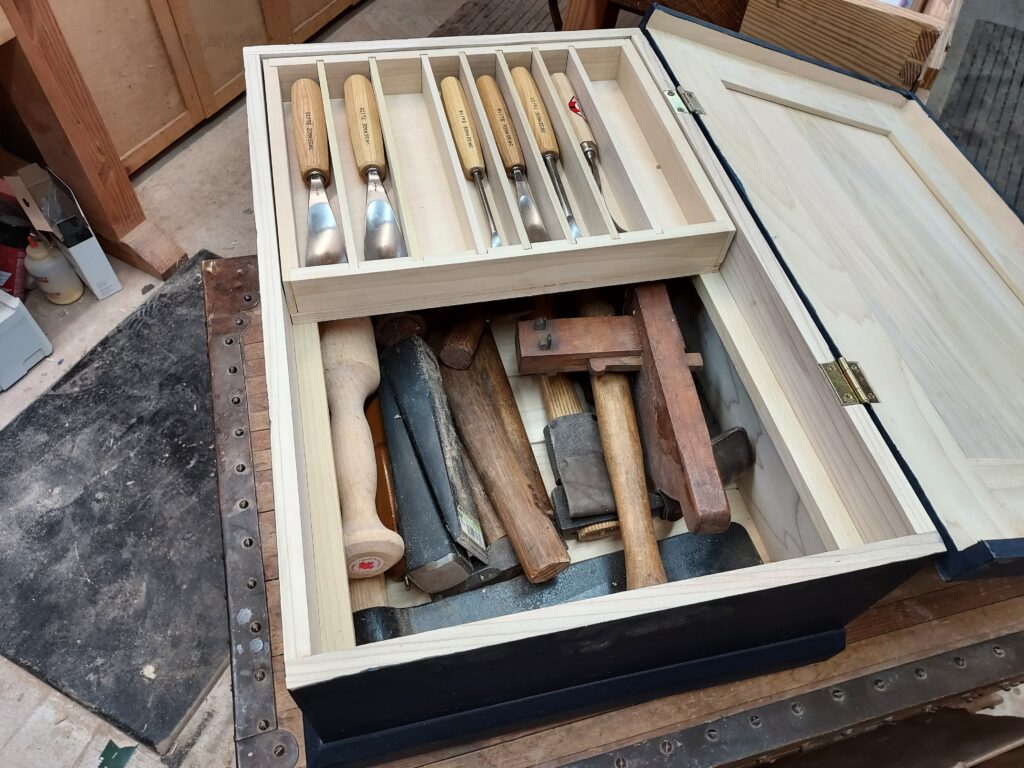
Great project to practice my hand tool skills
Kevin