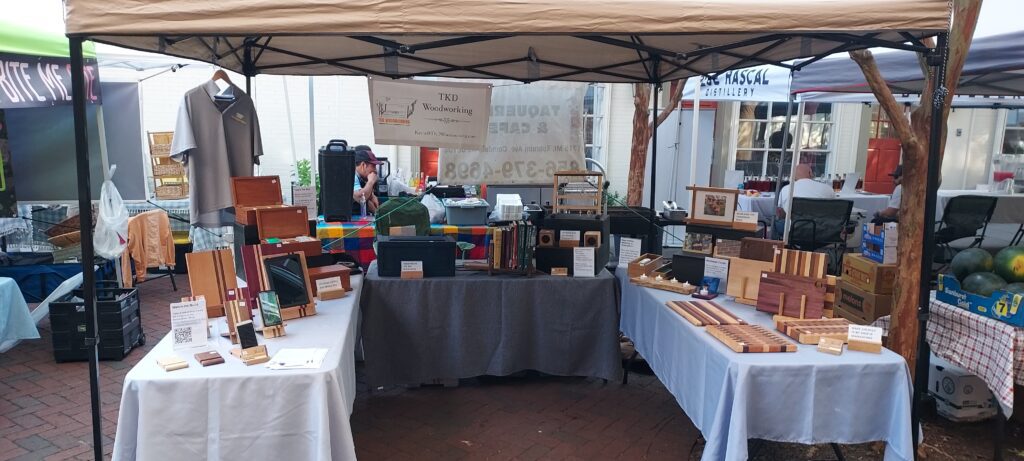
Moorestown Farmer’s Market
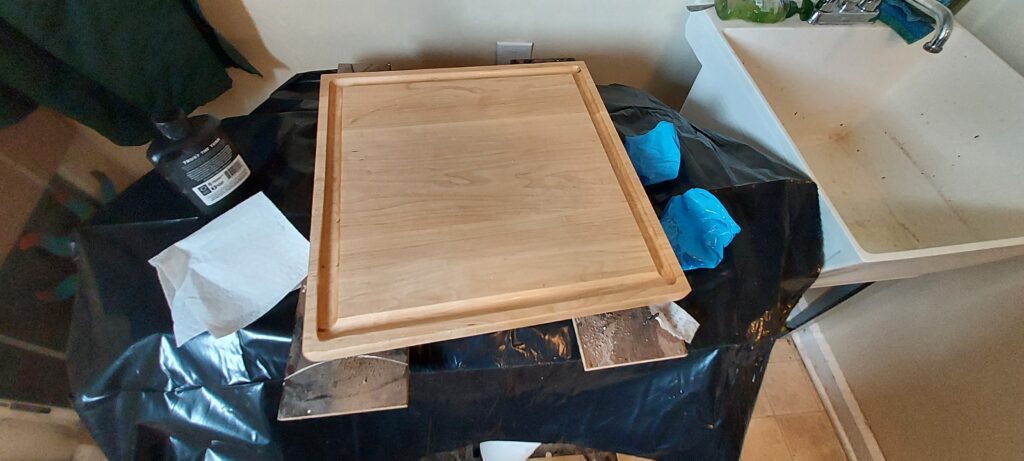
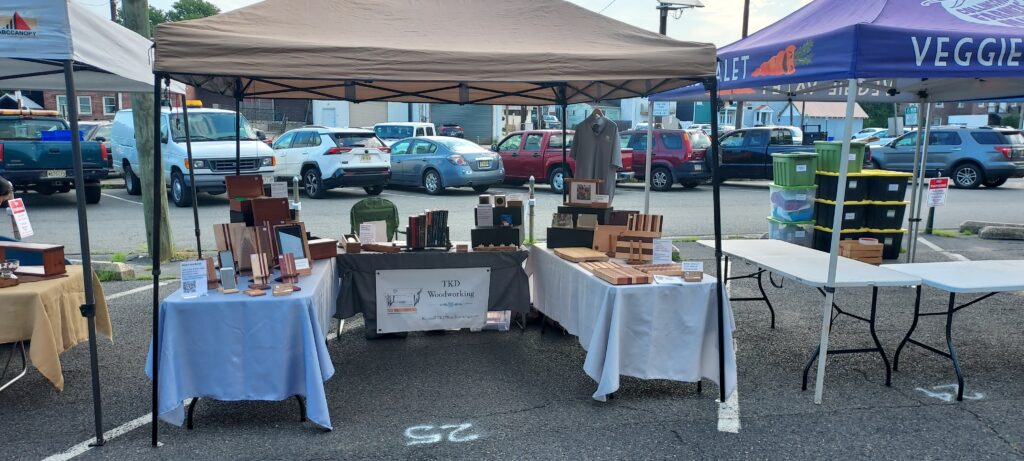
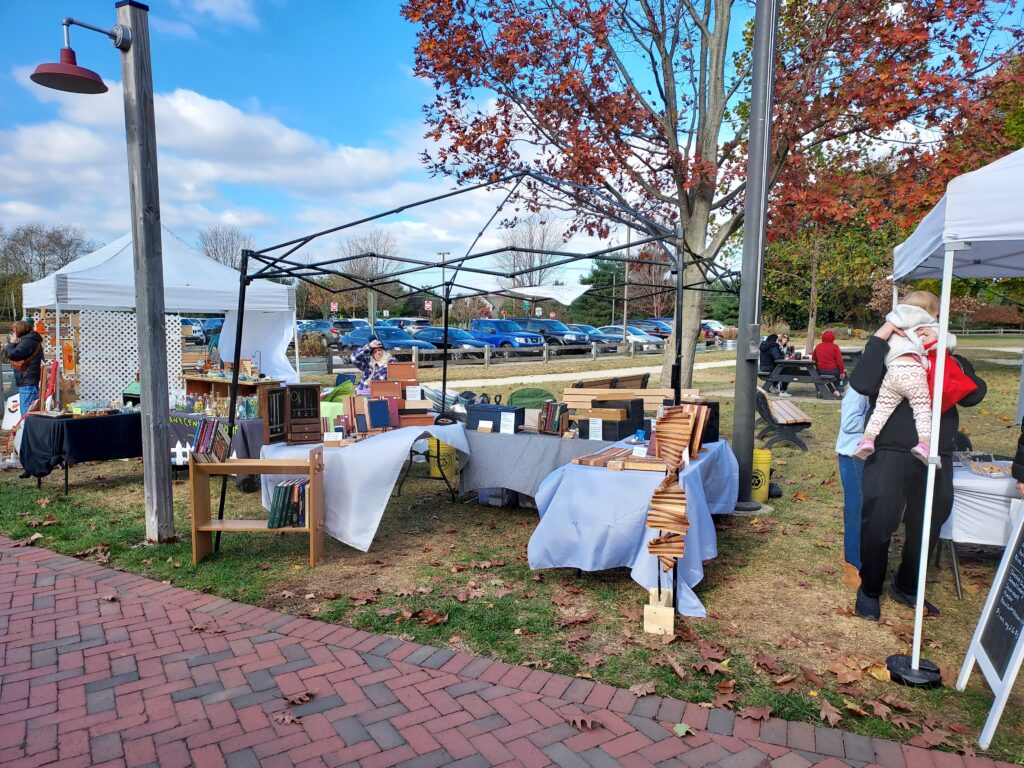
This week I prepped for and sold at the local farmer’s market. While a good day (60 degree temps, clear) it was very windy, and my 10×10 canopy blew over and actually hit the folks across the way. So I had to “pop off” the fabric top and bask in the sun for the rest …