
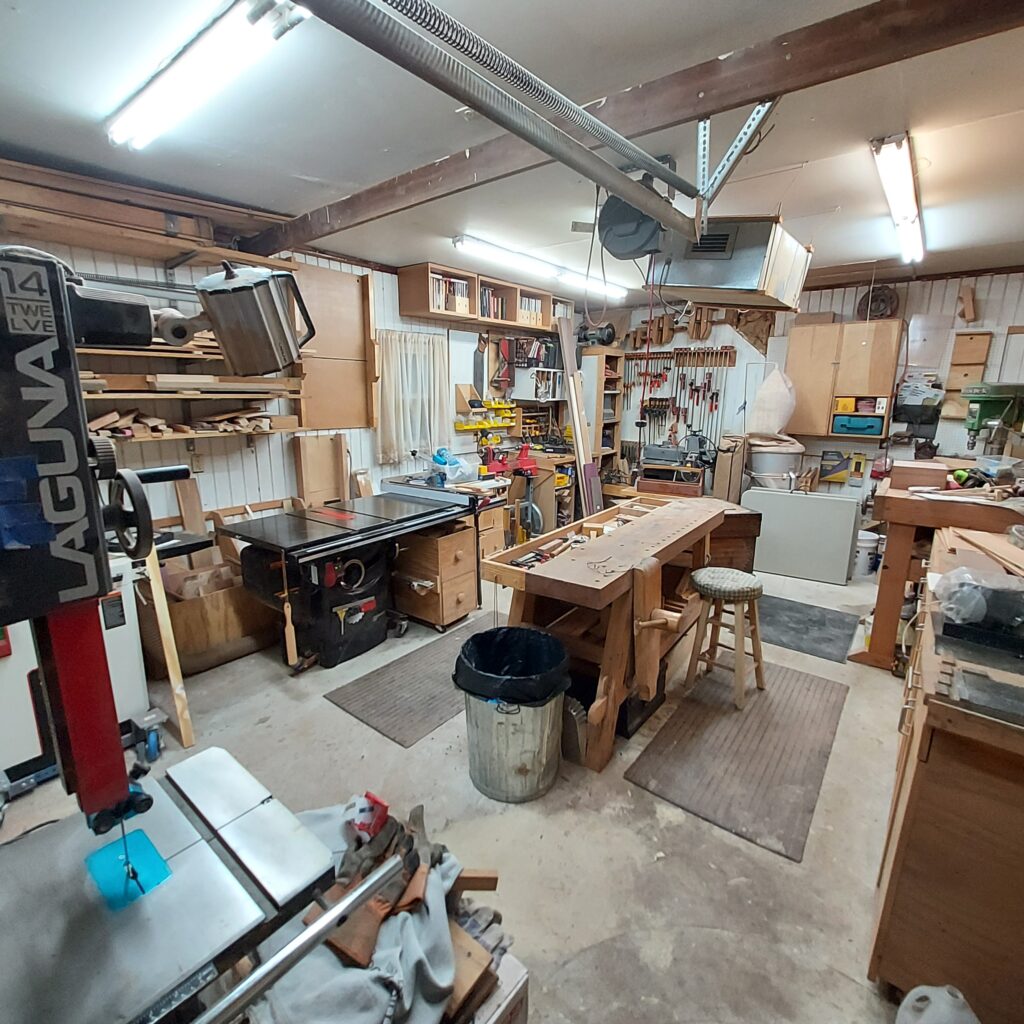
I’ve spoken before about setting aside one weekend a month to do shop maintenance and improvement. Clean up the shop, fix up or sharpen tools and build jigs to make the work flow better. Its been something that I have enjoyed and a chance to “reset” my brain for the work.
This month, I had a couple of tools I wanted to sharpen and set up.
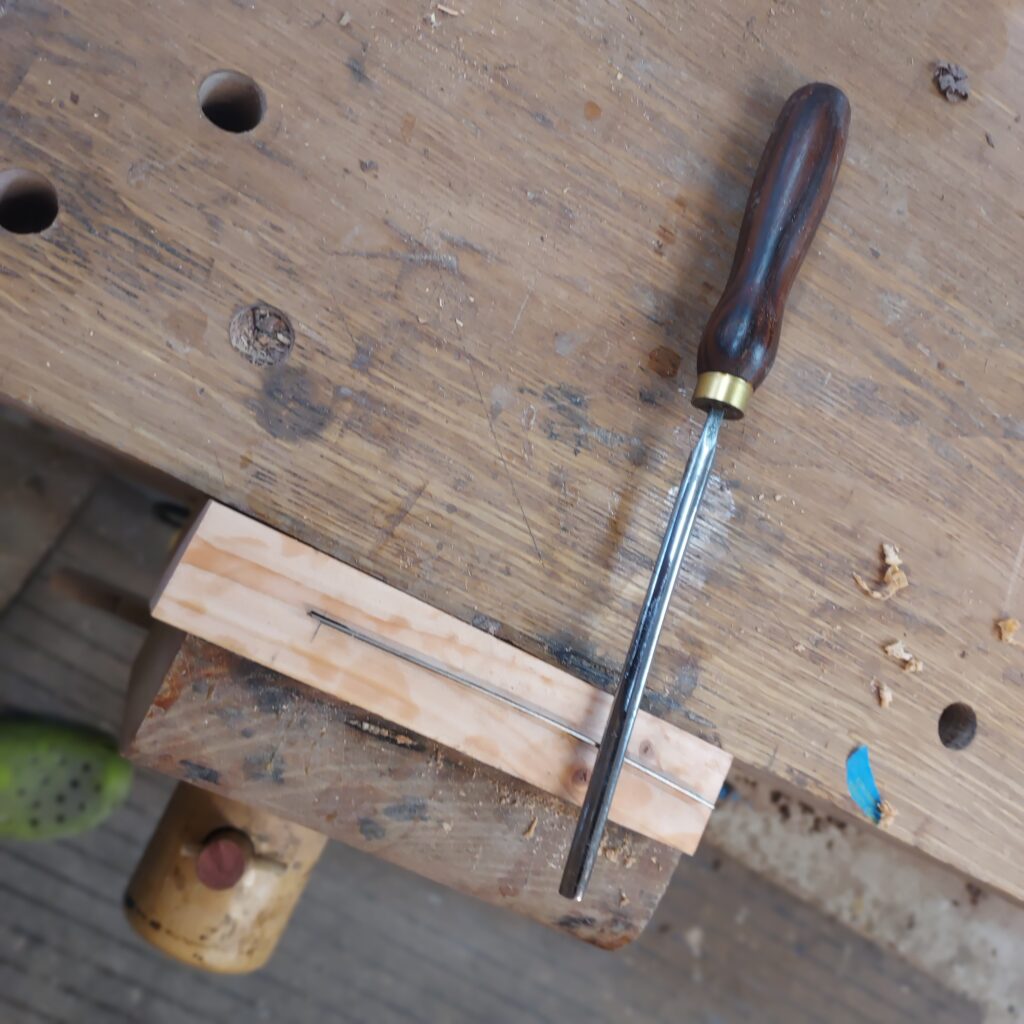
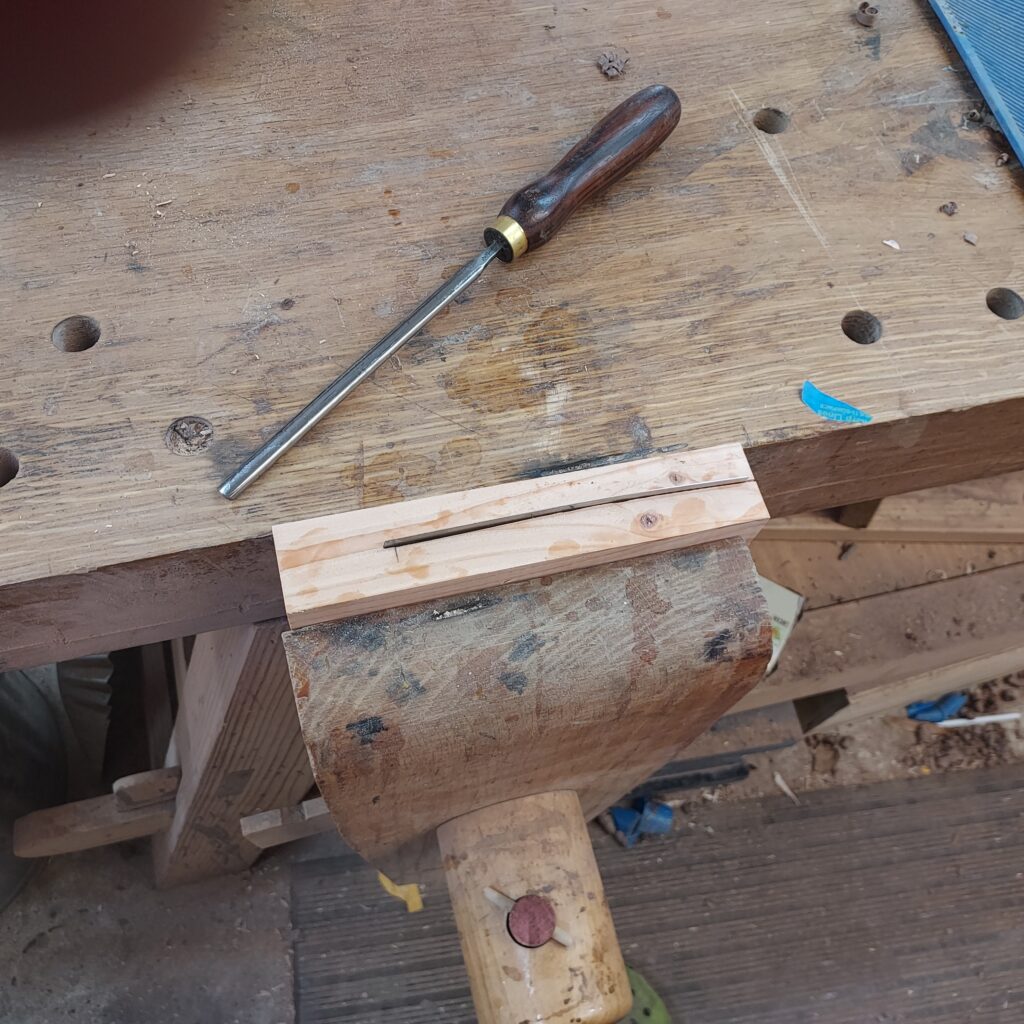
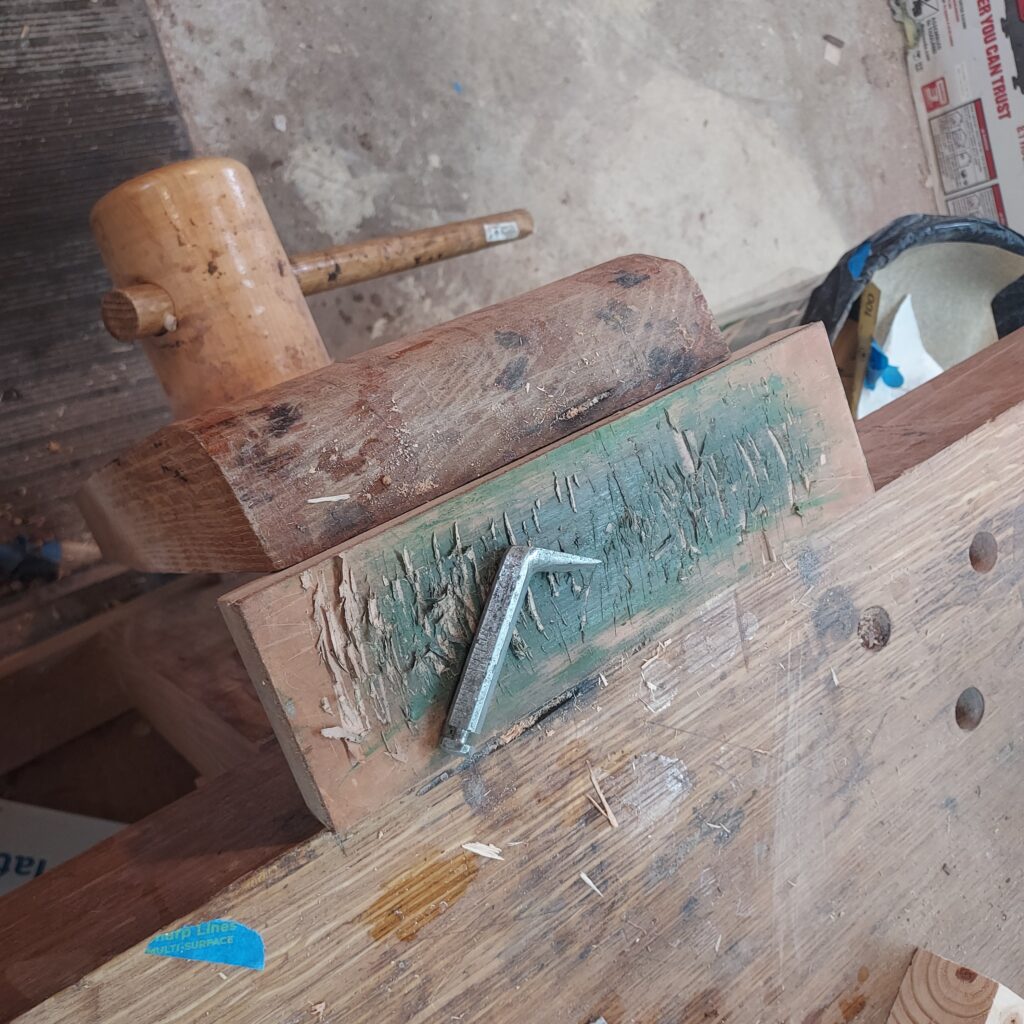
The first are my hand scrapers. These are simply pieces of steel (often re-purposed old saw blades) that have a “hook” sharpened in them. You can then run the scraper along the wood and cut out wood shavings, like a wood plane. They are exceptionally good for dealing with tough grain conditions, where using a plane will result in tear out. The process is as follows:
- Create Jig with 2x3x8” Pine with saw blade kerf out of 6-1/4”
- Insert the scraper so that it is just barely above the surface, and put it in the vise.
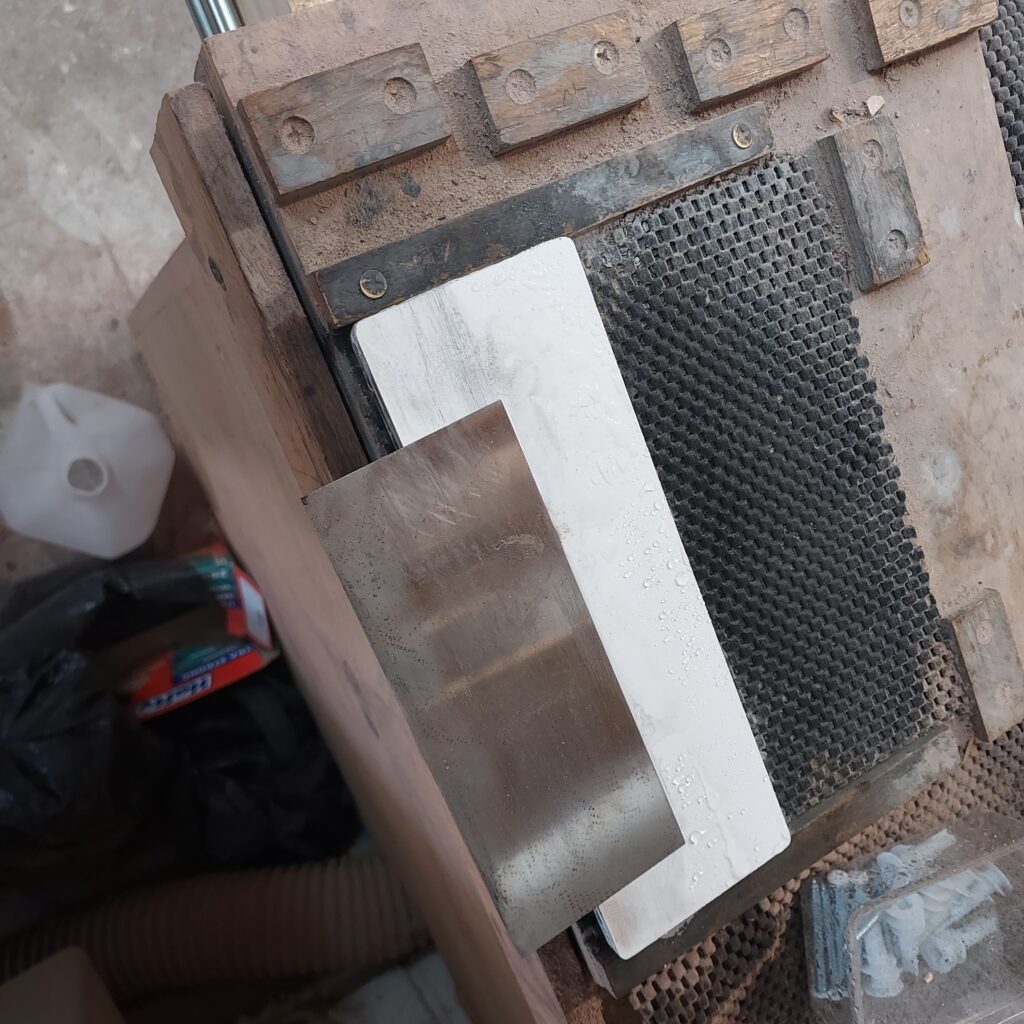
- Put flat file, push it away from you till the whole top is shiny. It will have a burr, but not the burr we want
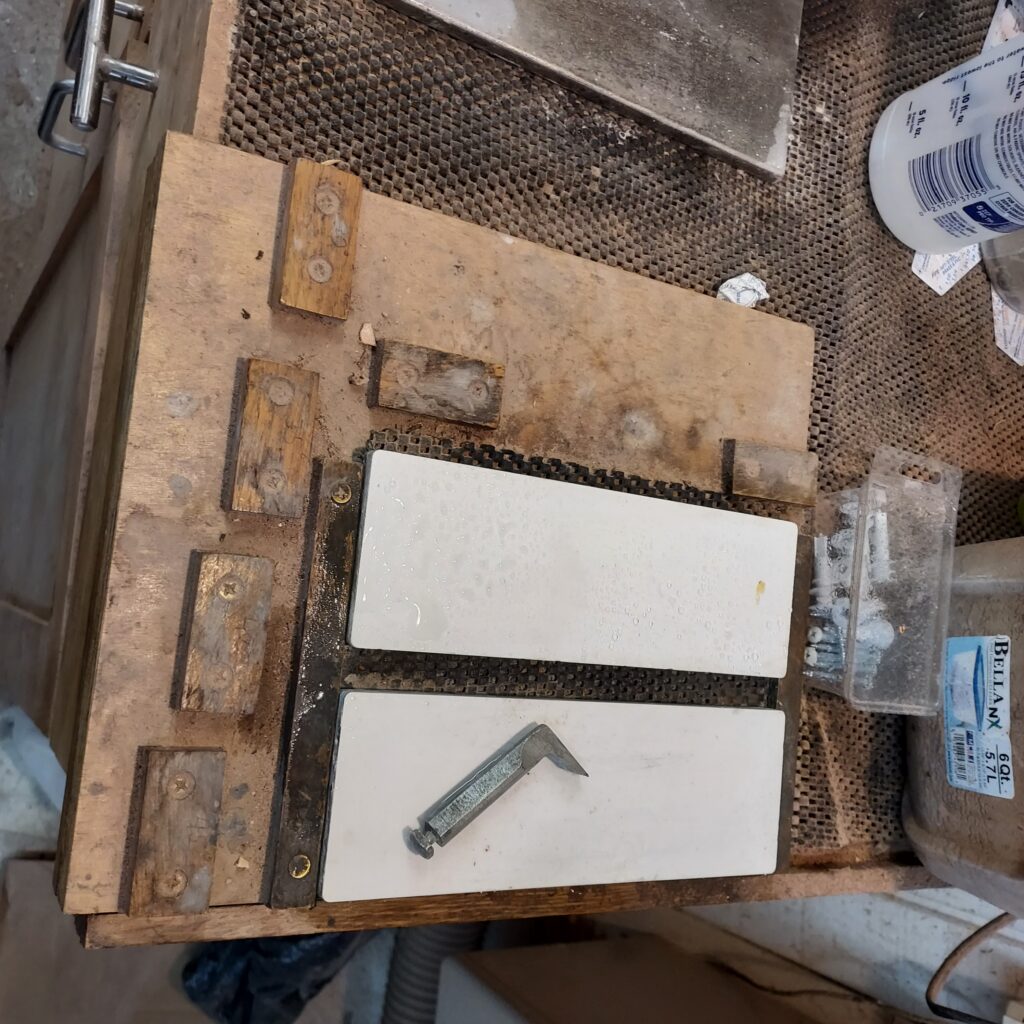
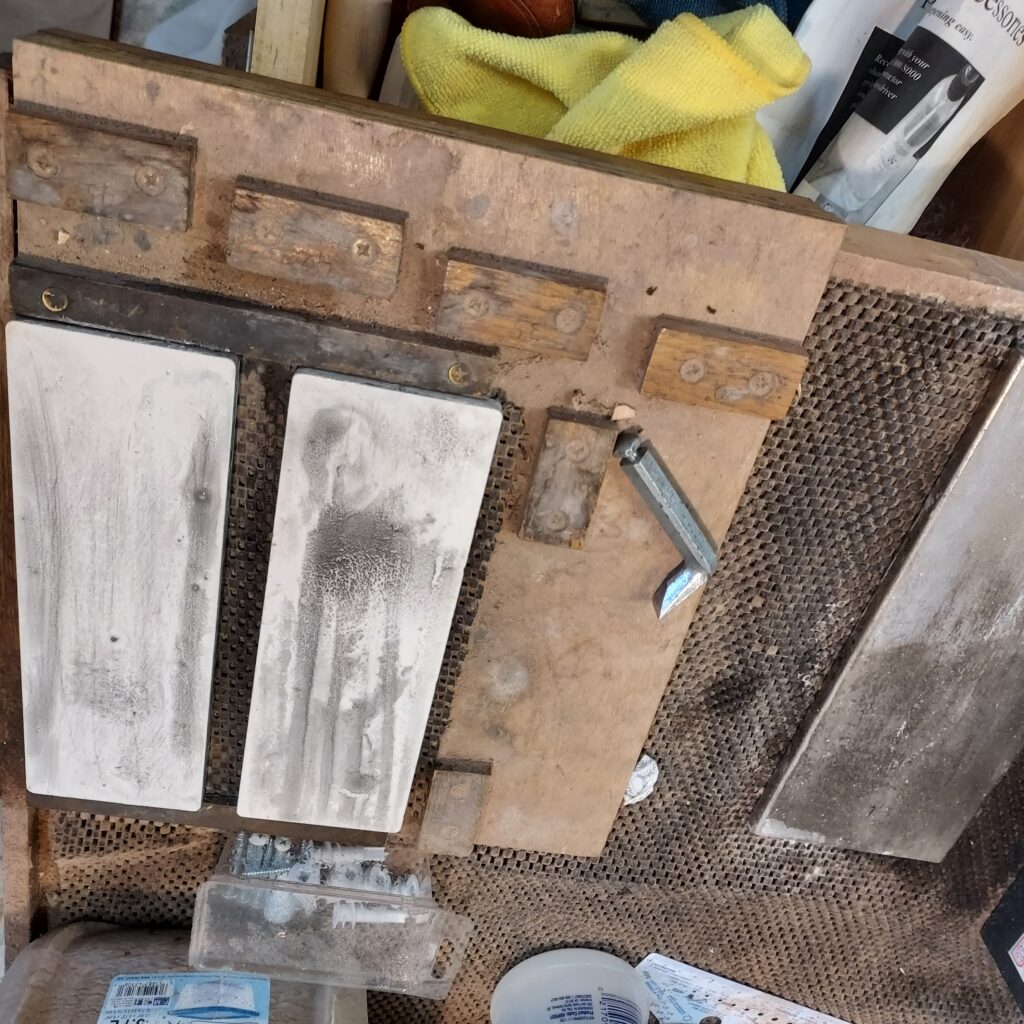
- Use sharpening stones, put scraper on the edge and run it back & forth, side to side, both sides, to get rid of burr. Dry it off. Can do both edges if you want
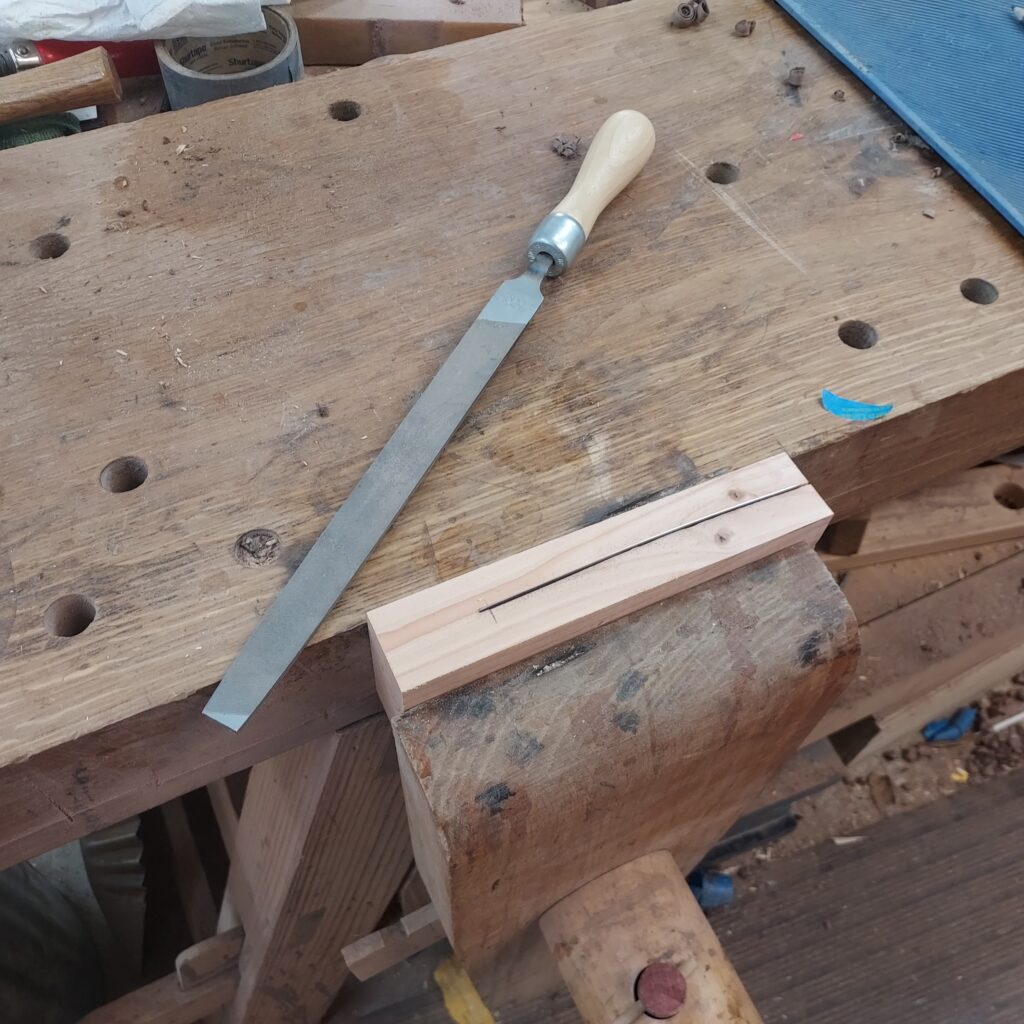
- Put it back into the holder, almost flush with surface, and put in vise again
- Take burnisher, use a little oil, and burnish the edge back & forth, about 10-12 times
- Take out of jig, place on bench, take burnisher and run burnisher across the surface maybe 30 times on each side to “draw burr out”
- Place scraper back in the holder and into the vise, with it about 1/8” above the surface
- Oil the burnisher again, then run burnisher back & forth level, then start tilting it with each stroke, dropping till it hits the corner of the wood. Repeat on the opposite side
- You’ve got a cutting edge on both sides. Test out on a piece of wood.
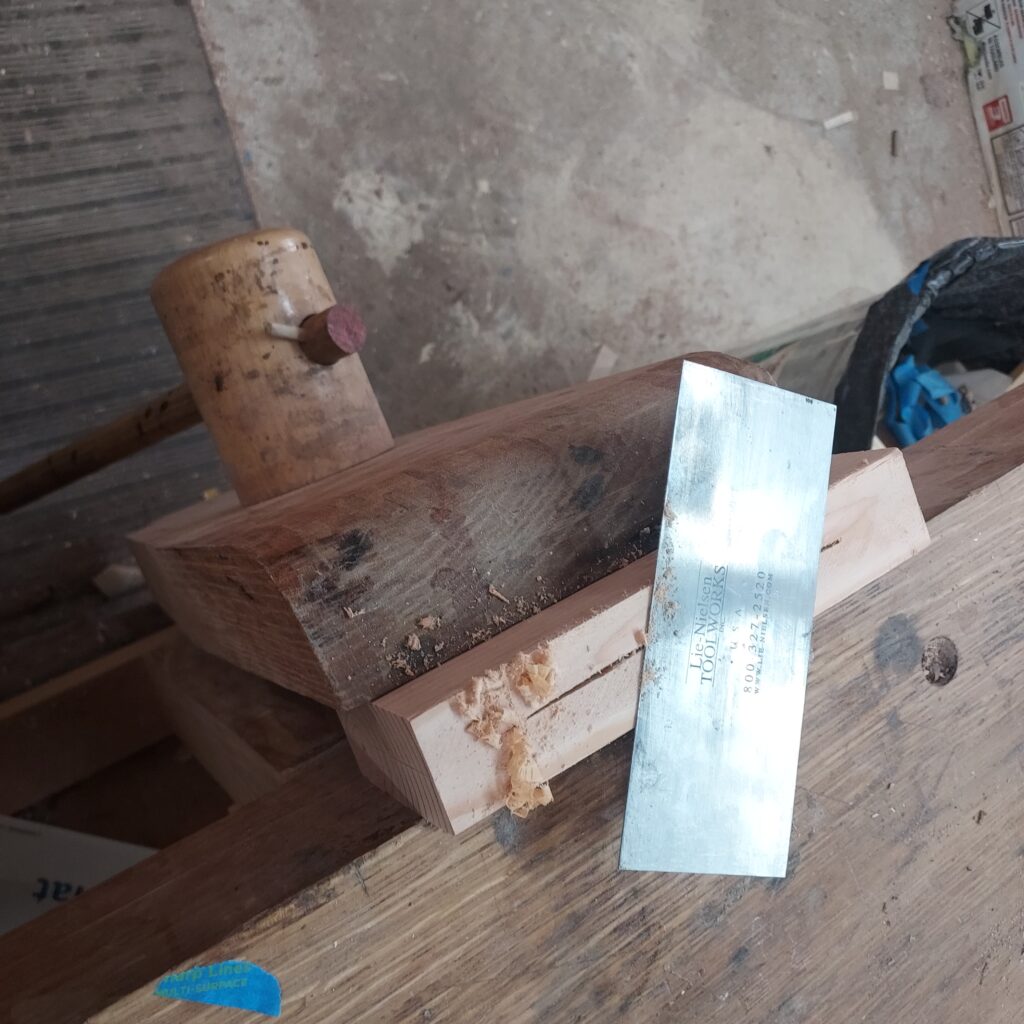
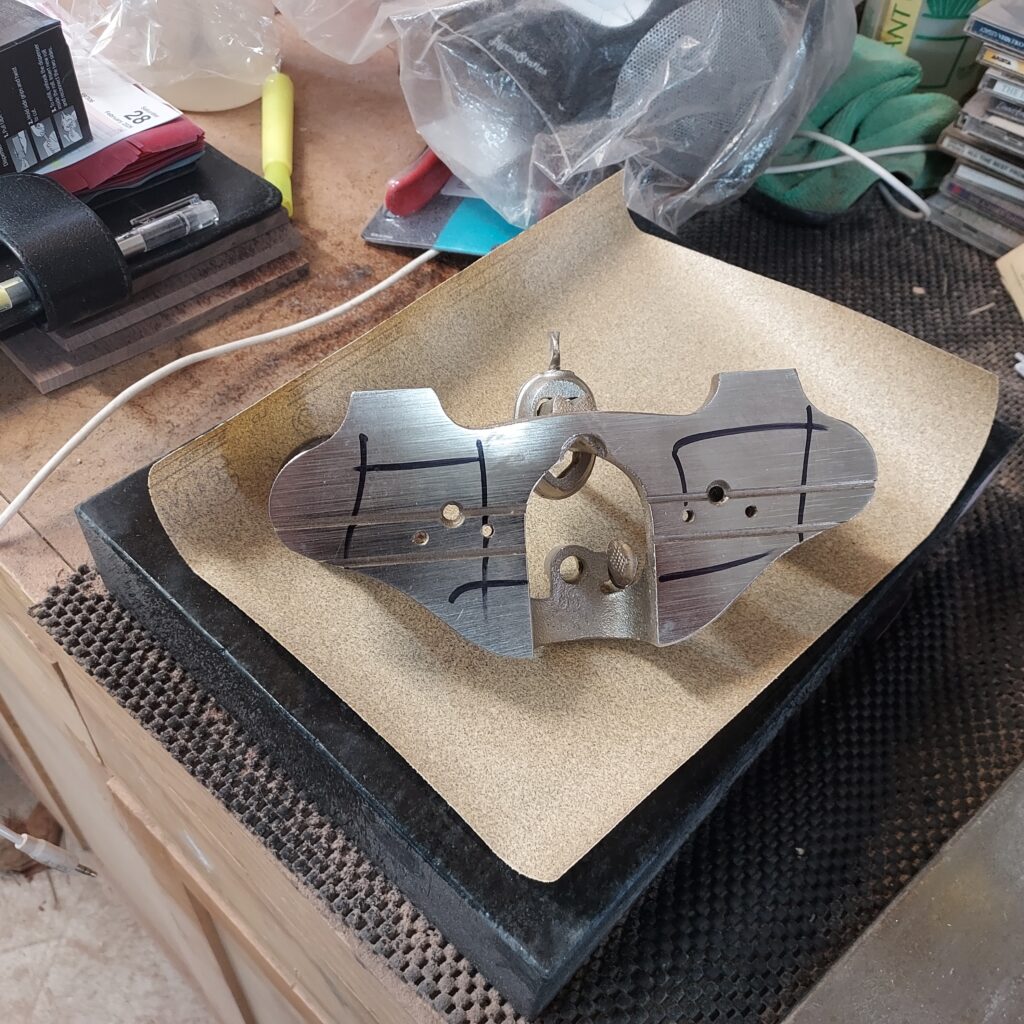
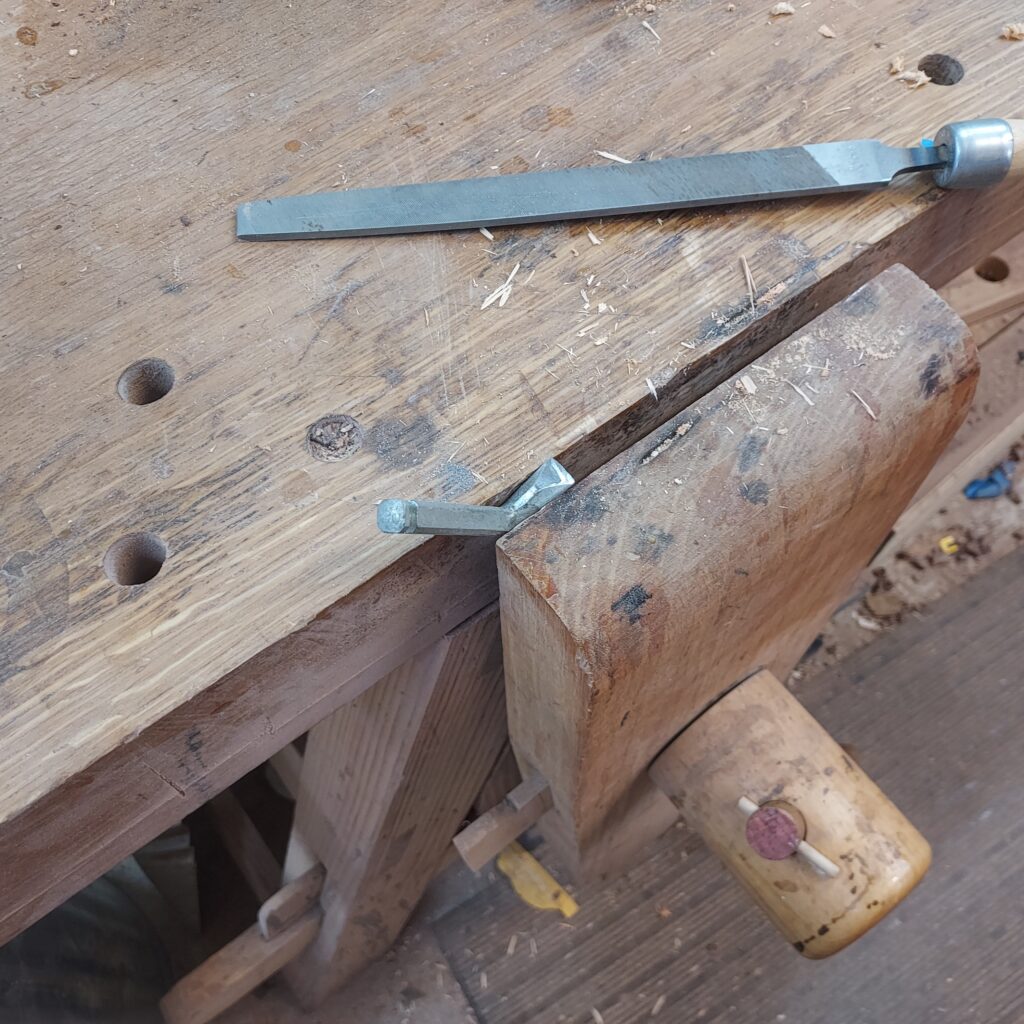
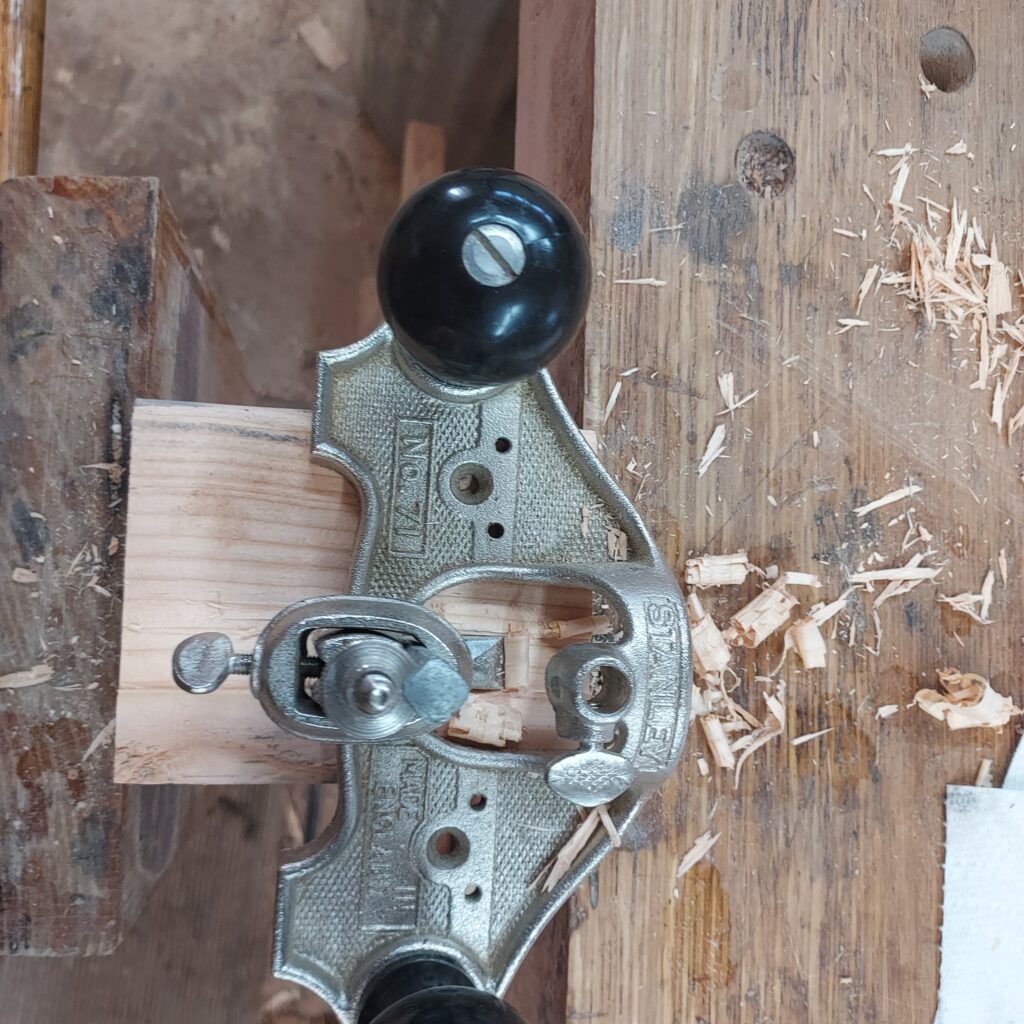
After that, I wanted to fix up my router plane and resharpen the . The steps are:
- Prep plane body: Take plane and flatten on flat plate with sandpaper, then wrap blue tape around plane to protect its base
- Get blade initially parallel to plane body and even across. Install blade and lower it so it just goes below. Test on a straight piece of wood in vise. Look at cutter to make sure it is even across. Clamp cutting iron in vise, then use flat file to file down section of top edge so that it is a good long bevel, 25-30 degrees, all the way across. May have to use a diamond file for cutting.
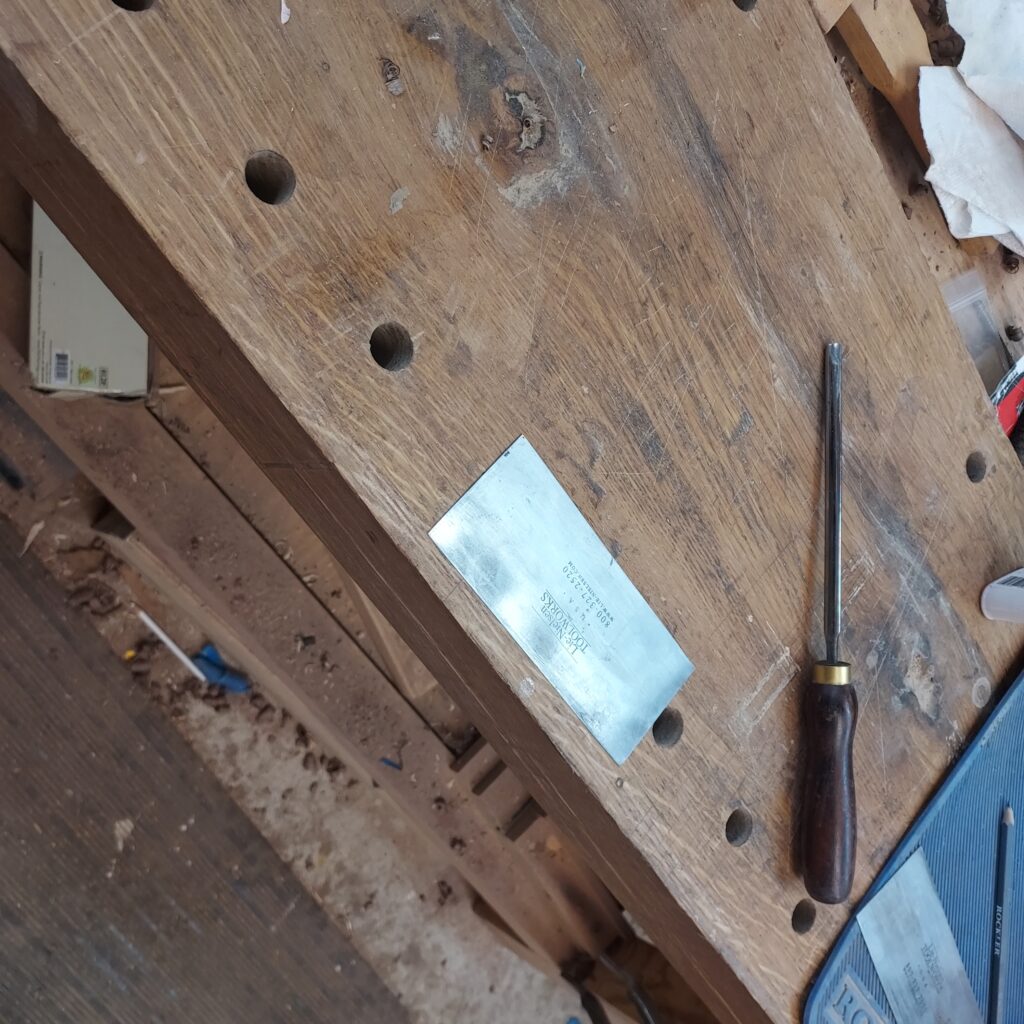
- Get cutter bottom level: Drop cutter into plane so that it is just below the surface, Make sure the plane bottom is still masked, all the way across. Go with fine, 8000 grit. Make blade entirely above surface, then drop ¼ turn, try again, until it starts having contact. Repeat ¼ turn till it contacts sharpening surface. Look for narrow band of light on underside of blade. Go low enough so band of light is all the way across. Not critical for it to be even all the way across, but it needs to be parallel to the sole of the plane
- Sharpen bottom of cutter: Remove tape & cutter, put cutter on course stone and run bottom across 20 times, pressing hard on the side of the cutter which did not have as much of a band of light, Go until band of light is half what it was, then go to medium stone, when almost gone, go to fine stone.
- Sharpen top bevel: Place the cutter on a block of wood in the vise, and a diamond paddle, adjust height of wood until the paddle is slightly steeper than the bevel on the cutter, so you are creating a “micro bevel” on top edge. Little circular movement, course paddle, then fine paddle
- Strop bottom of cutter to pull off burr, then the bevel
- Reload into plane and see how you did.

I also took the opportunity to replace a fluorescent 8 foot light fixture that was inoperable with an 8 foot LED light, which brought more light in.
Then it was a lot of vacuuming, sweeping and general cleanup to get the shop looking good!
Kevin