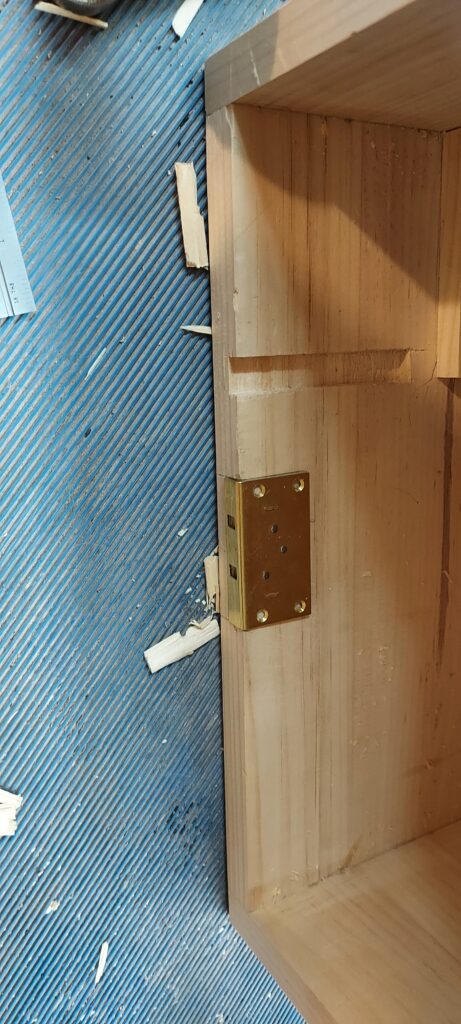
The saga of the lock continues. Time to cut out the mortises. You mark the width of the top of the lockset’s plate on the box. Set your cutting gauge to the width of the plate and use the gauge to connect the distance between the two pencil lines you just struck. The mortise for the top plate of your lockset is now ready to be wasted away
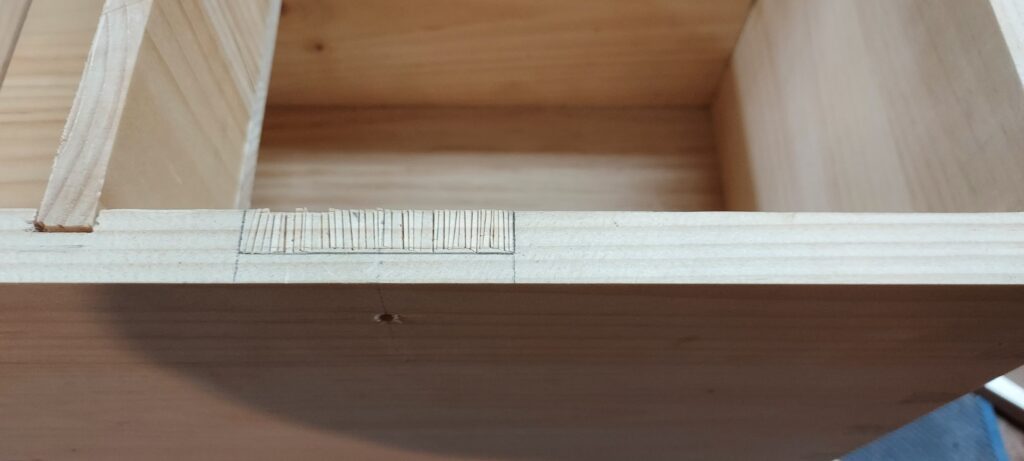
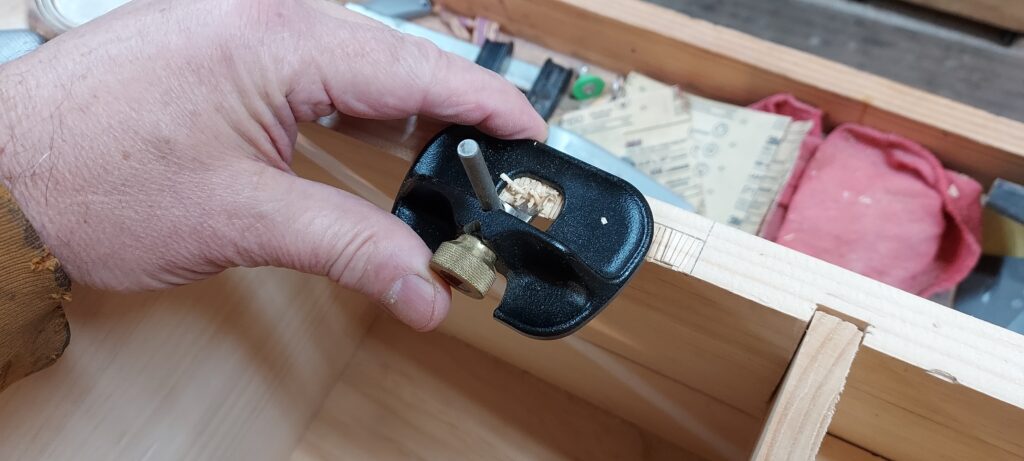
To remove the waste, score it with a chisel you drive with taps of your mallet. You can then remove the waste with a chisel or use a router plane to ensure the depth of your mortise is consistent.
Now push the pin of the lock into the hole in the inside of your school box. The works of the lock will butt against the front piece. Trace round the box that holds the works. Measure the thickness of the lockset and mark this as the finished depth of your lock’s mortise
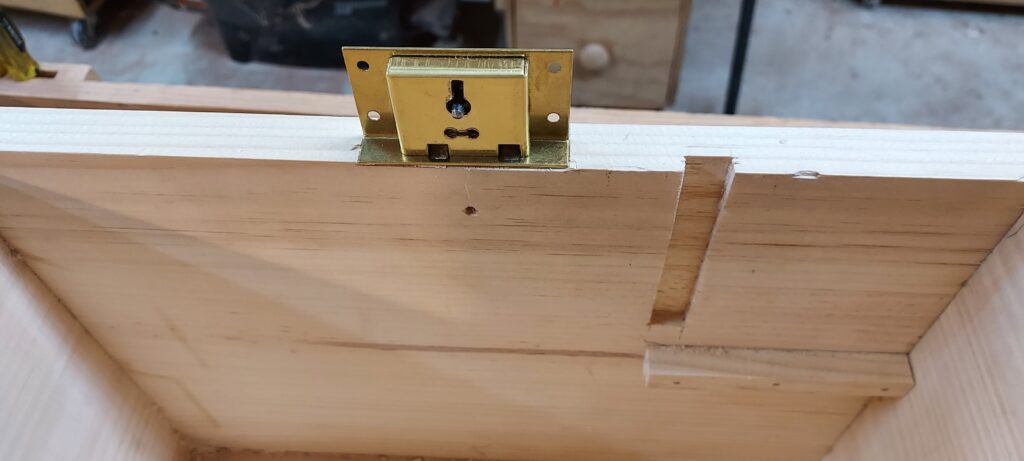
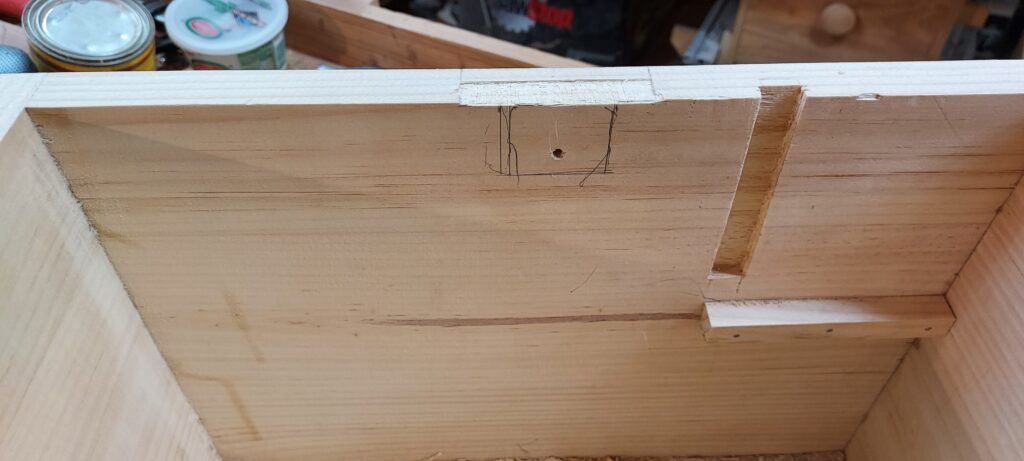
Chisel out this recess, or saw it and then chisel it
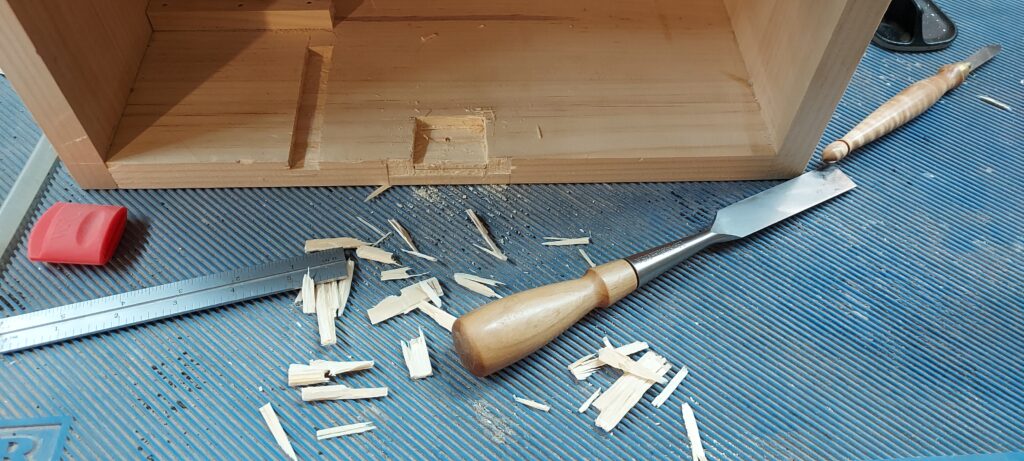
Use a fairly thick pencil lead to mark around the works of the lock. The corners of the lockset might be rounded over during manufacturing, and a thick pencil will actually give you a more accurate line than a skinny pencil lead
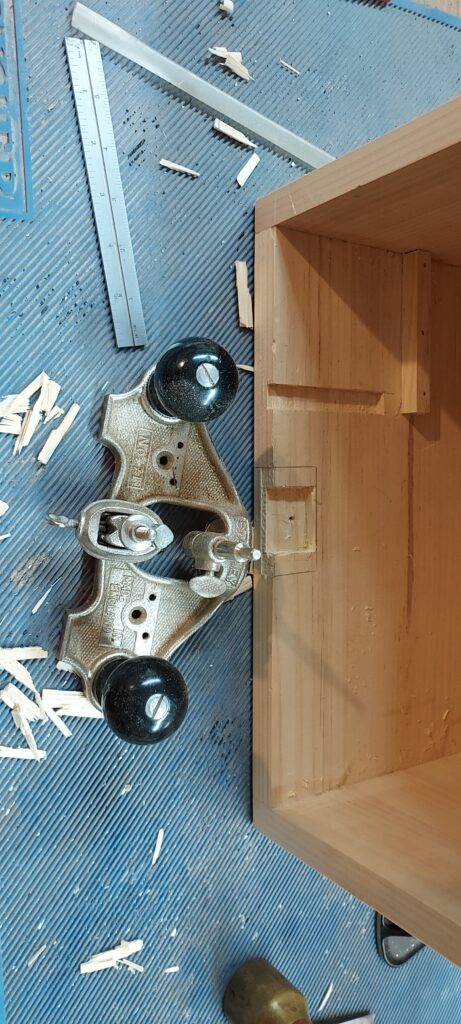
Press the lock into this mortise and trace around its back plate
Waste away this are using previous techniques.

