So with the bottom square and level, its time to put the bottom on. Bottom is a little under 10” x 15”, and made up of a single piece of ½” pine. Usually, you would use a series of boards with tongue & grooves to allow for wood movement, but that is not how it was done in the Joiner and Cabinet Maker book. The way the 19th century writer wrote it, it was made with the grain running front to back, instead of side to side. As Chris Schwarz stated in the book, this would not allow for wood movement. The wood, as it took on/let out water, would swell the sides or and push out the bottom trim pieces.
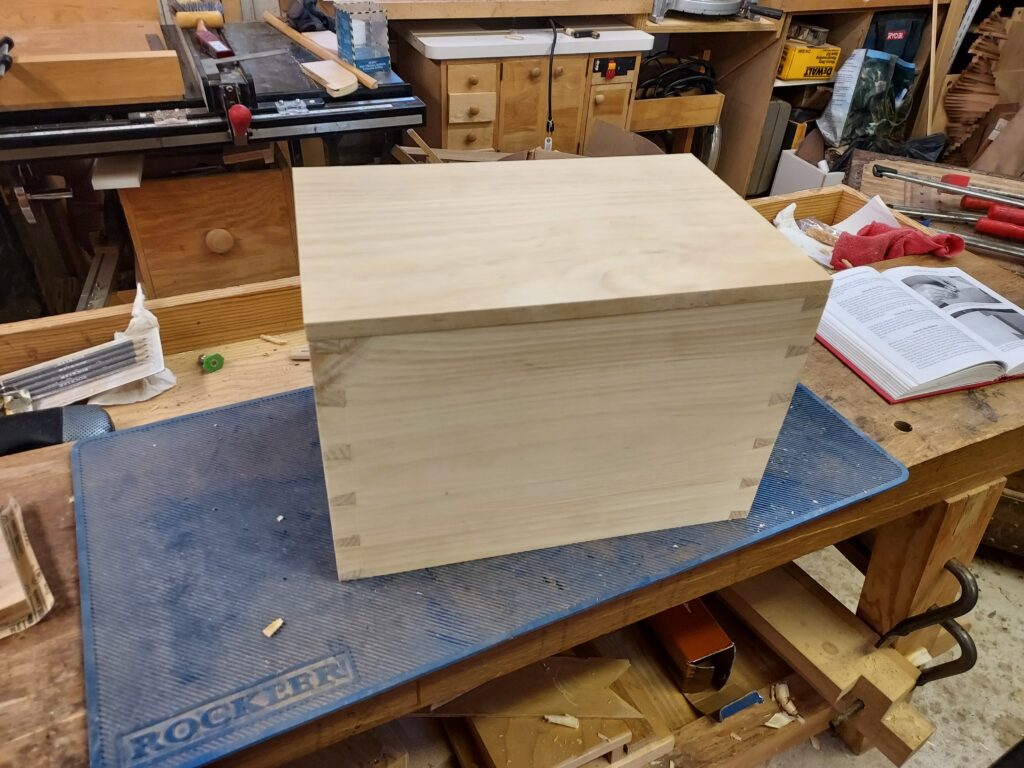
I took on Chris’ suggestion, which was to orient the grain side to side, so the wood movement would push out the front/back instead of side to side. I then would glue up only the front and the front half each side. I would also nail the bottom on. That way, when the wood swelled, it would push out the back, which does not have trim on it.
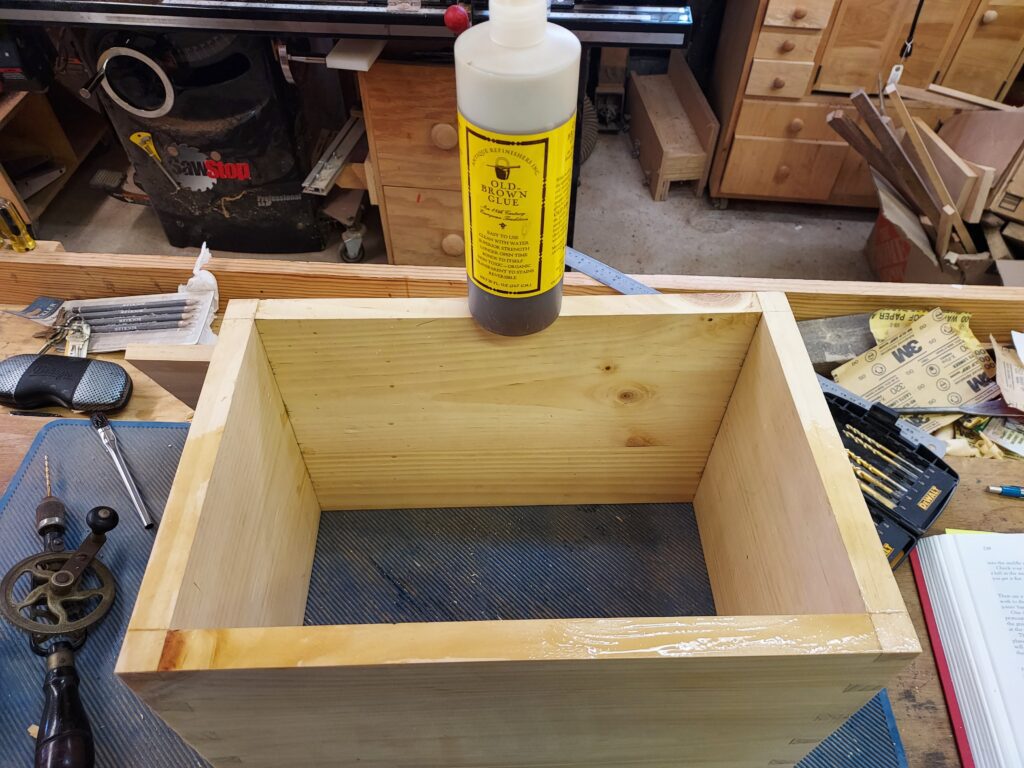
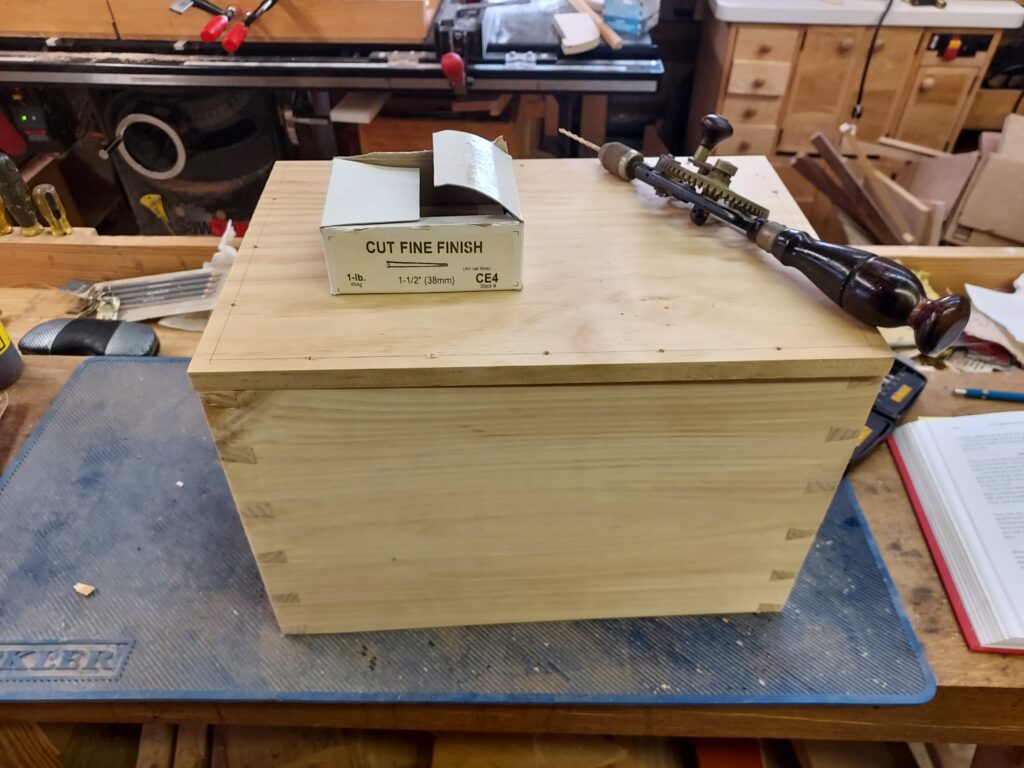
I also chose to use a hand drill to start the nail holes, in order to help keep any wood splitting to a minimum. By orienting the nails wide parts in line with the grain (i.e. the thin part of the nail is parallel to the grain) it would help keep the wood from splitting on the ends. I ended up with no splitting or blow outs on the nailing.
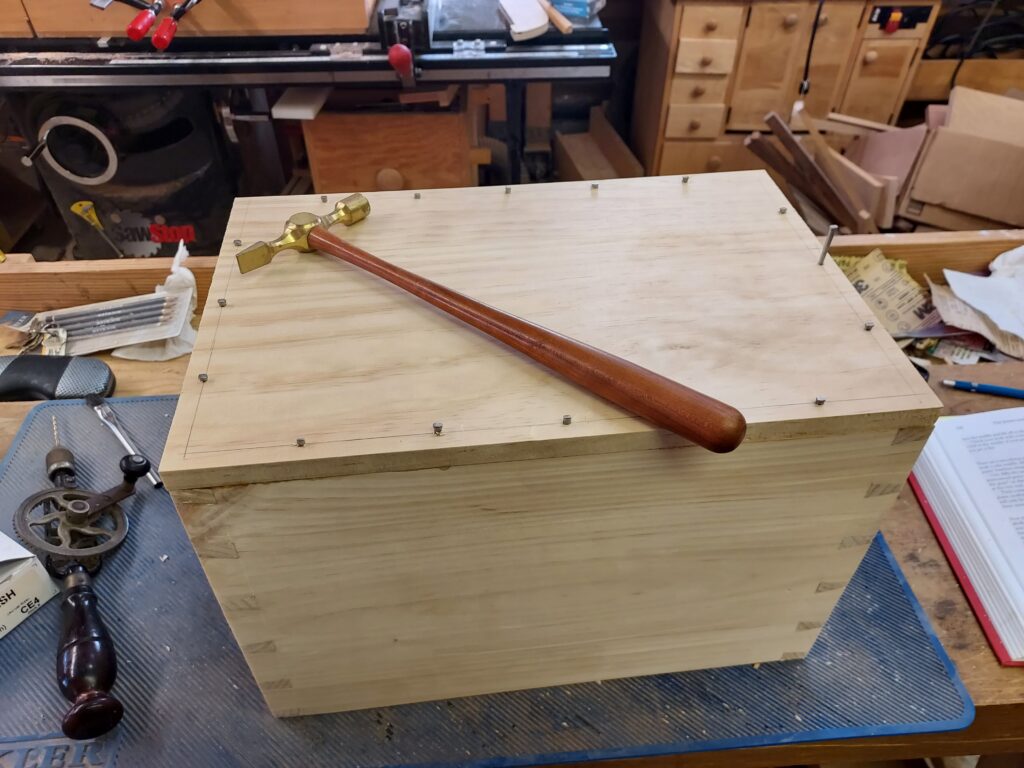
I then finished up with a nail set to put the nails below the wood.
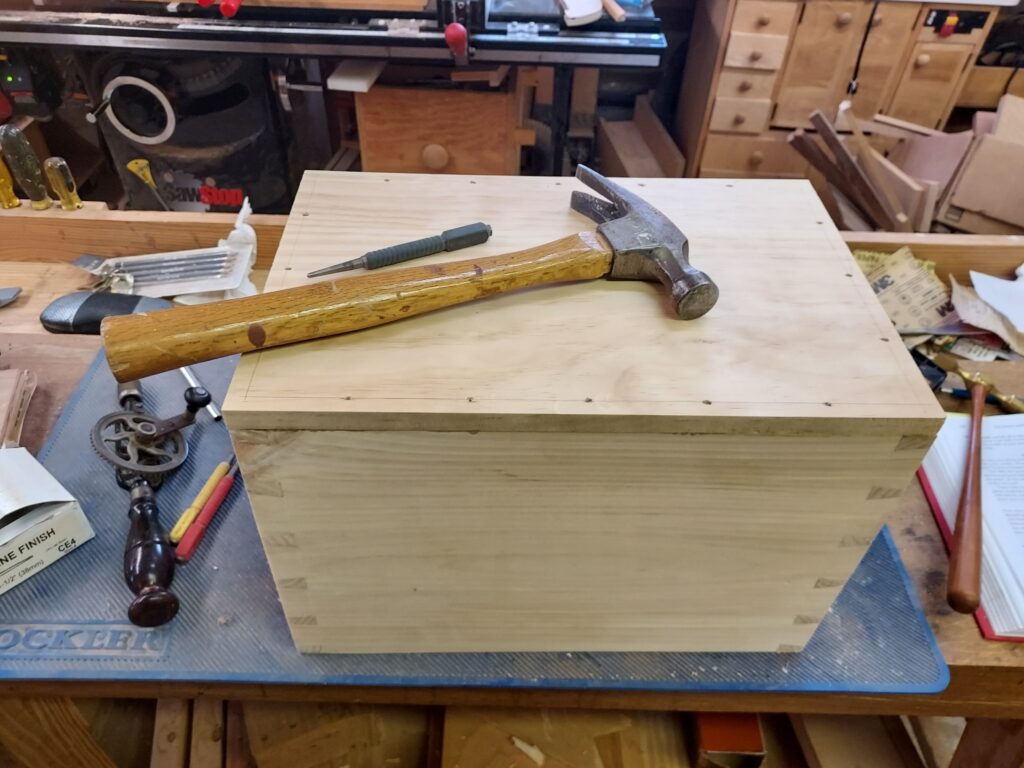
I finished up by using denatured alcohol on the bottom edges prior to planning it down, so that it matched the sides of the box.
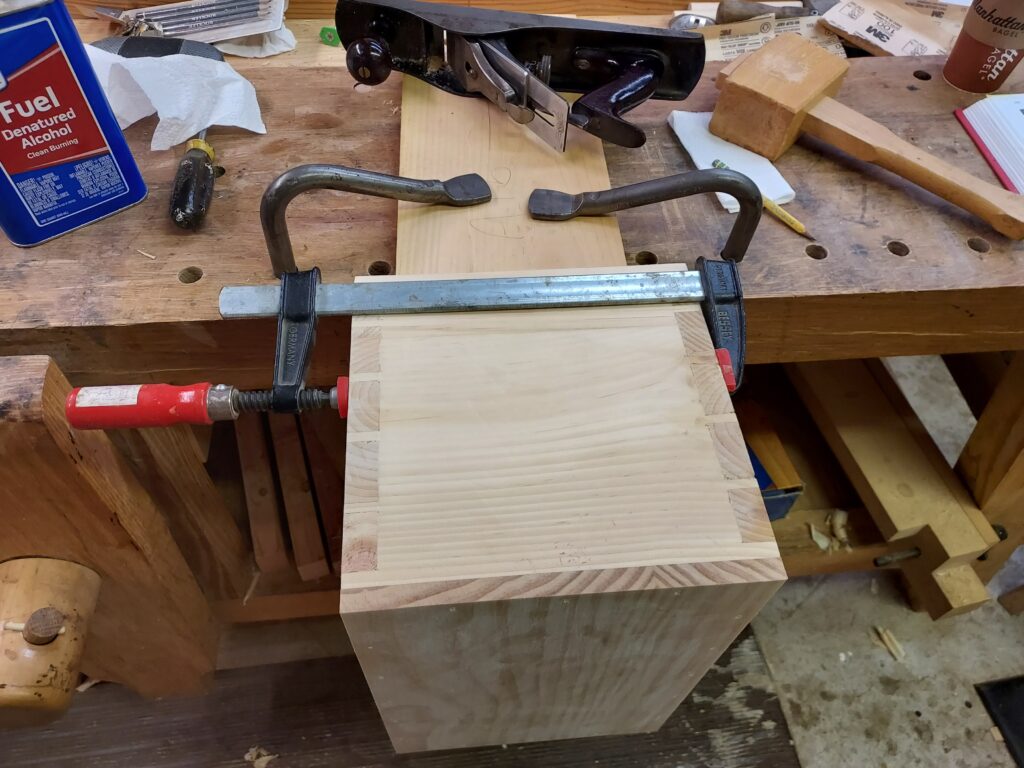
Now it is on to the lower trim pieces
Kevin
