
Continuation of the Humidor project, first part was Humidor I.
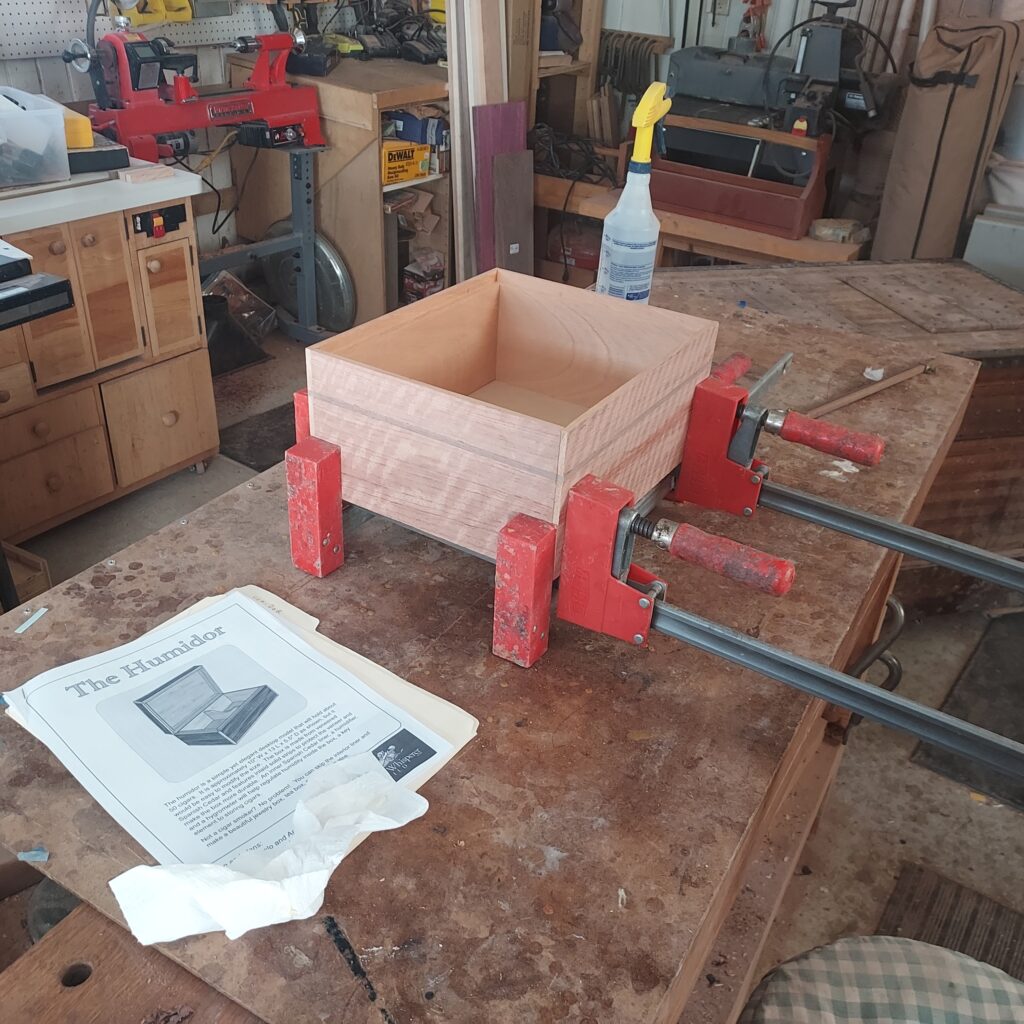
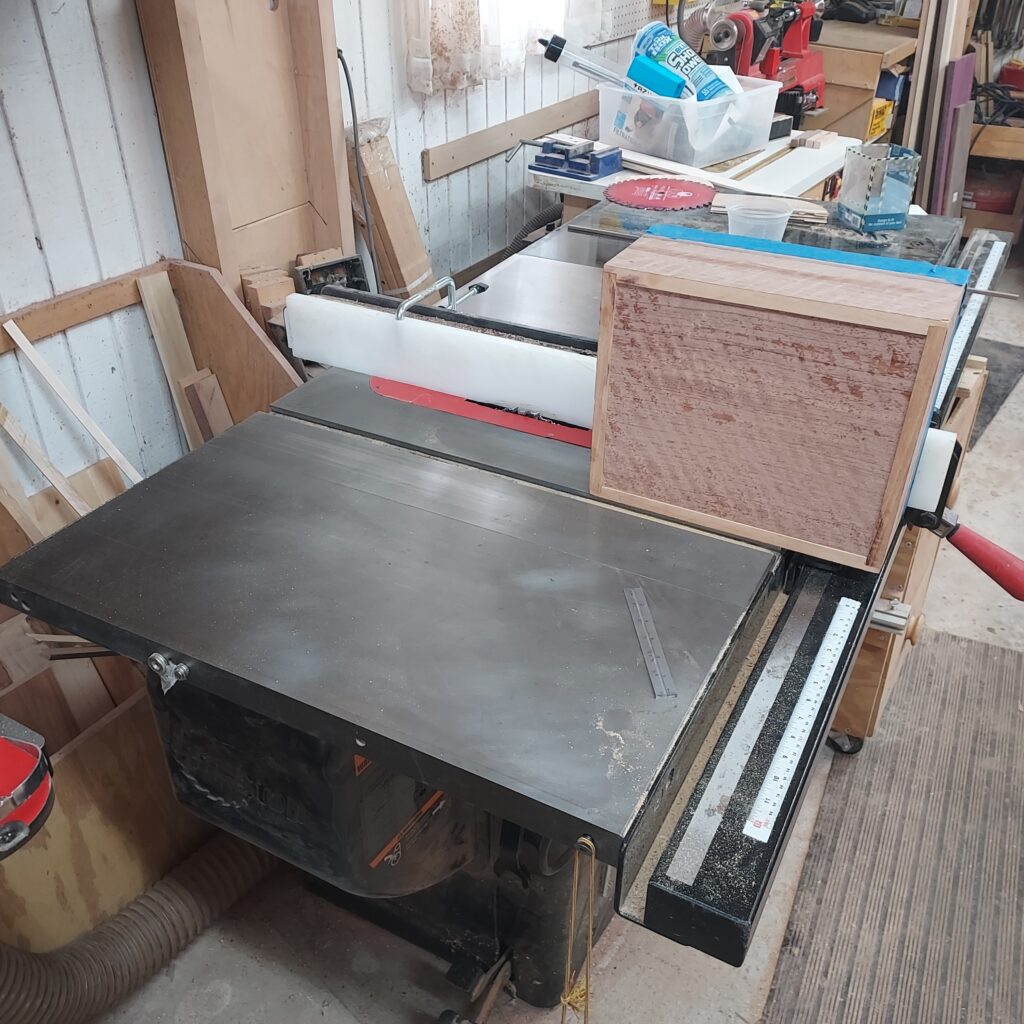
I used a dado blade to cut dados in the front and back pieces, as well as a dado for the top and a groove for the bottom. With that done, I glued up the sides and bottom. . The sides will sit in the dados, and after that dried, I glued in the top.
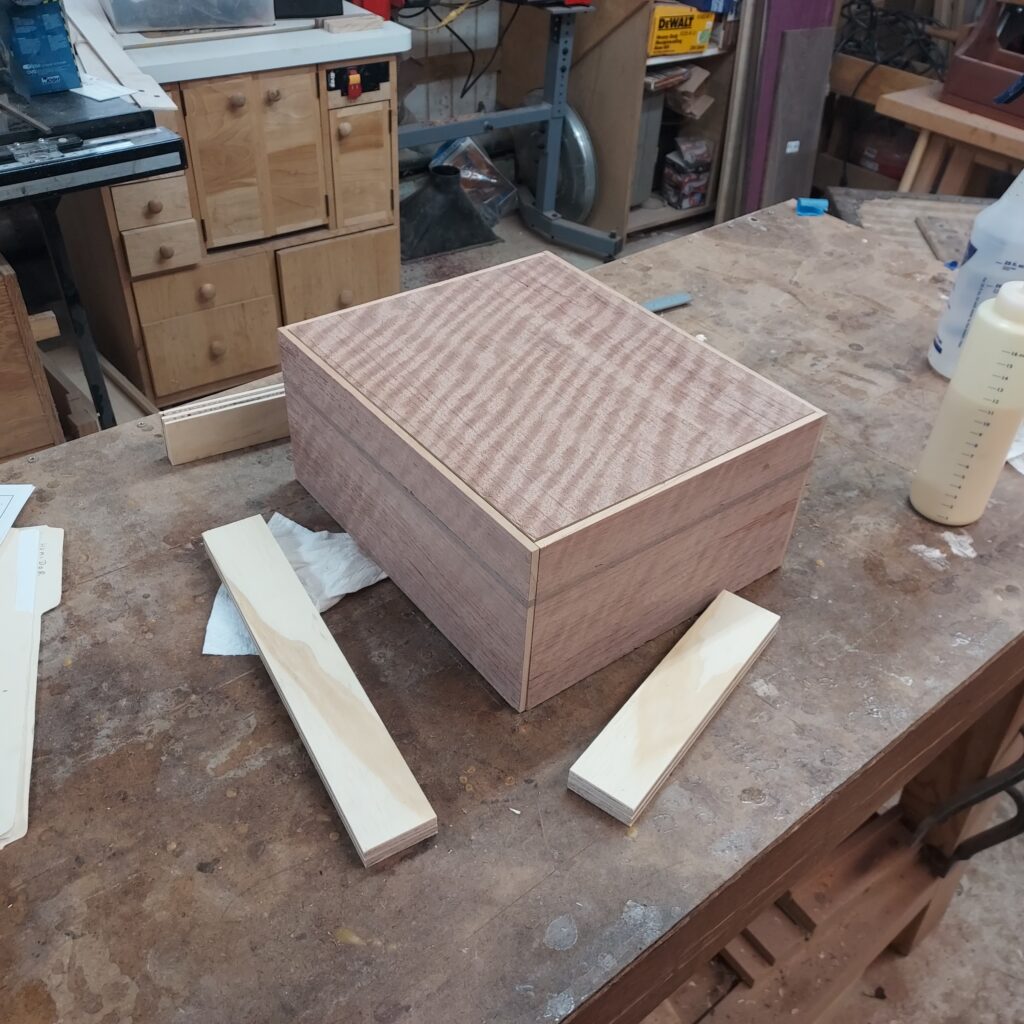
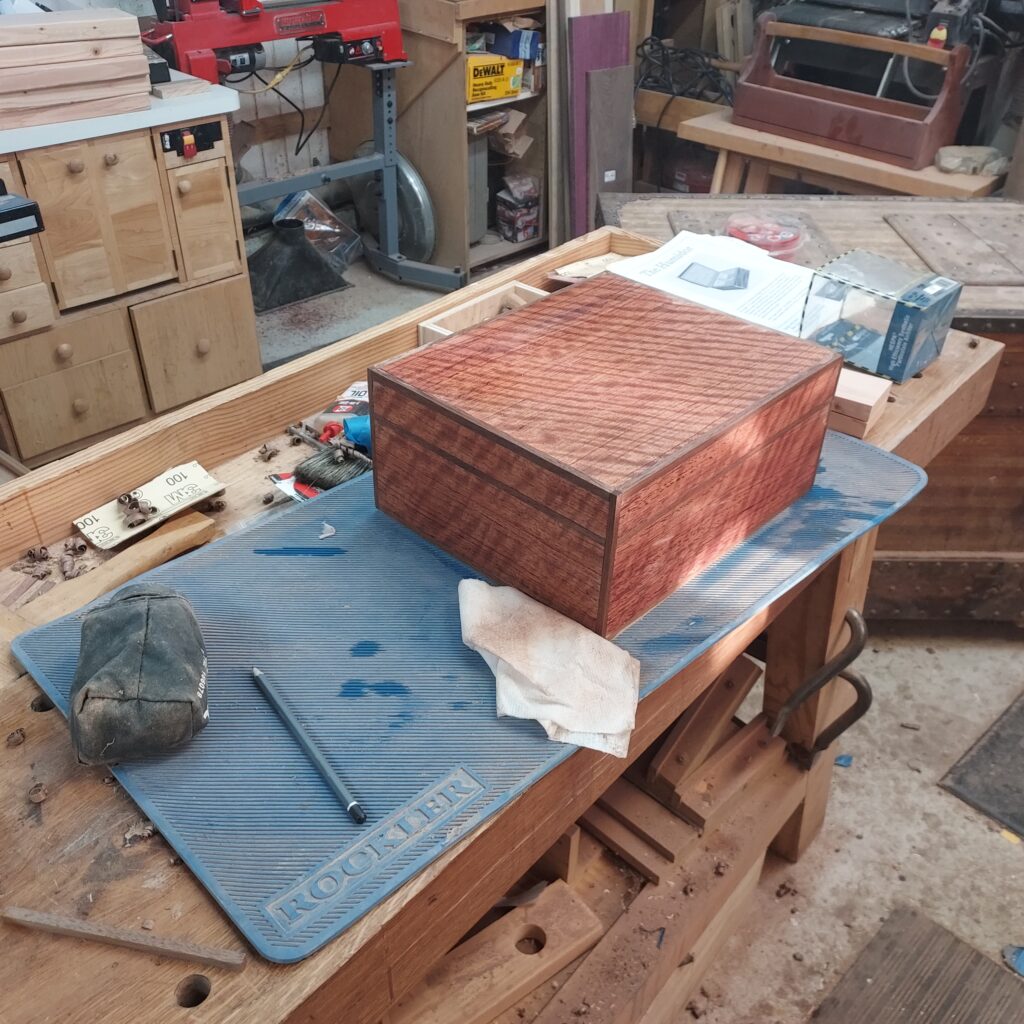
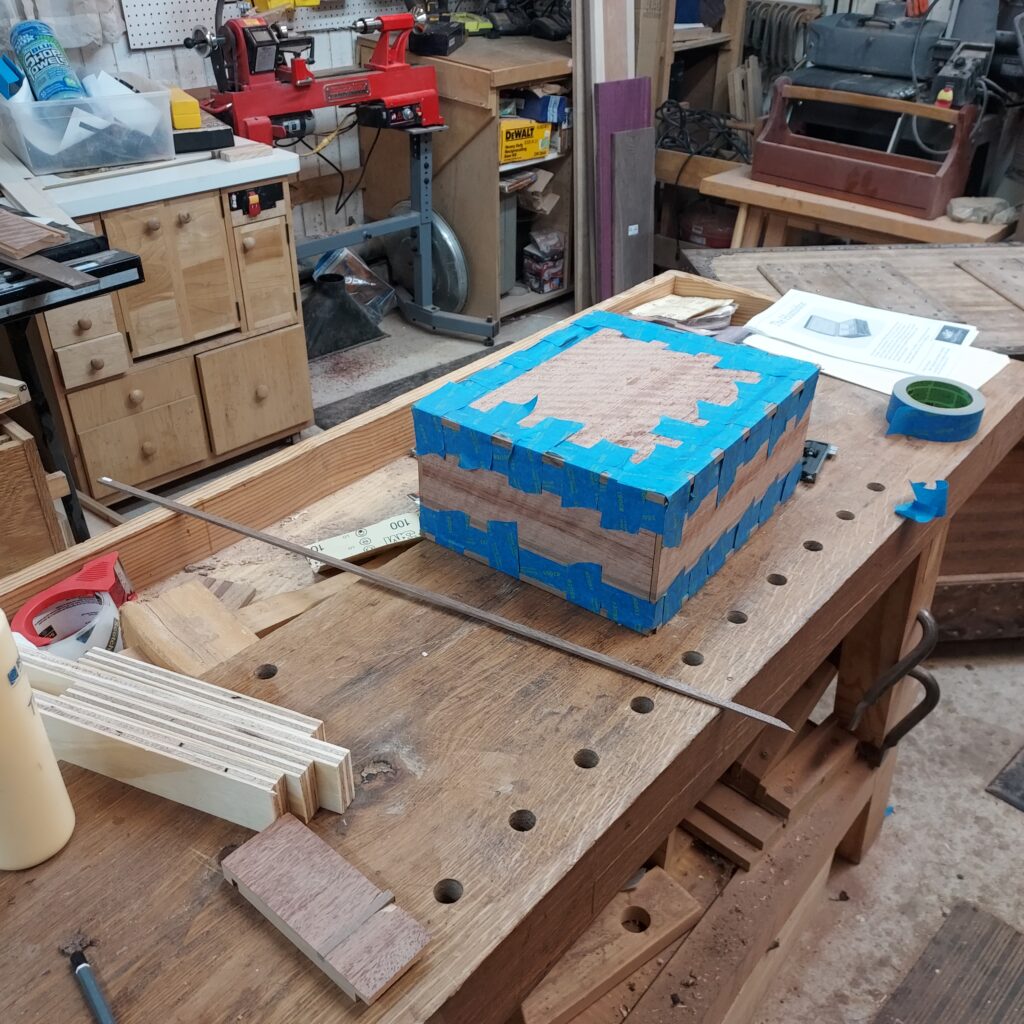
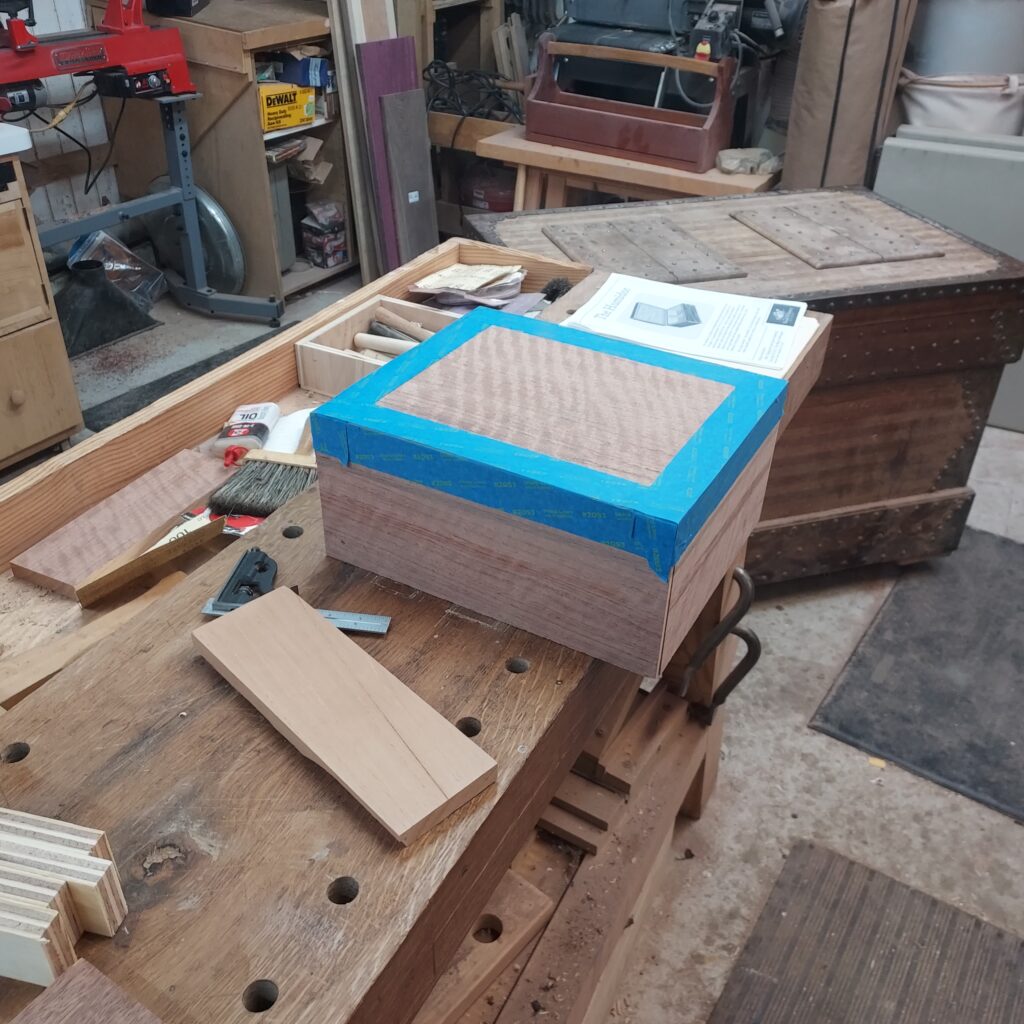
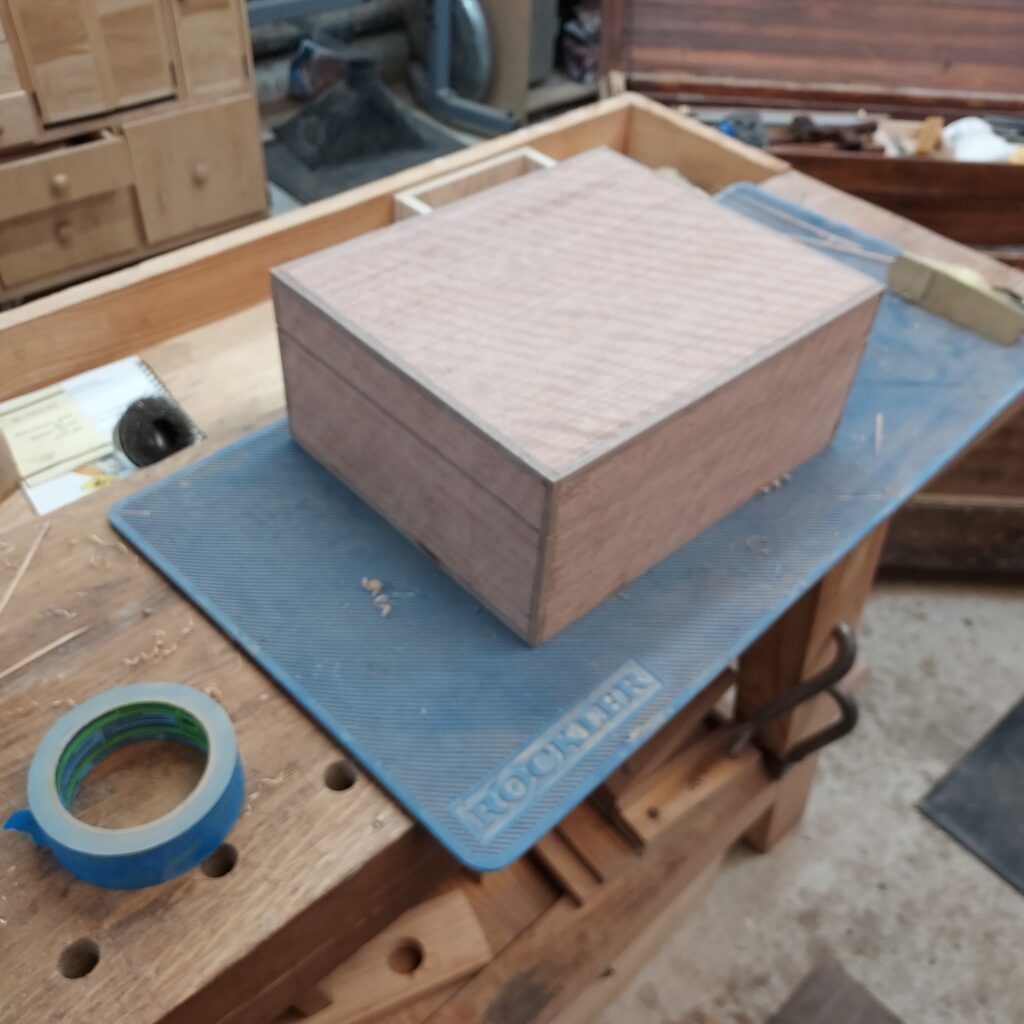
On t the trim. I covered the edges with blue tape, and cut ¼” x ¼” rabbets in the top & bottom. After cutting the Walnut strips to size, I again used the blue tape to “clamp” the pieces in place after glueing. I also cut rabbets on the sides after this, and put in Walnut trim there as well. With that done, I had a complete box, though it die not have any opening in it.
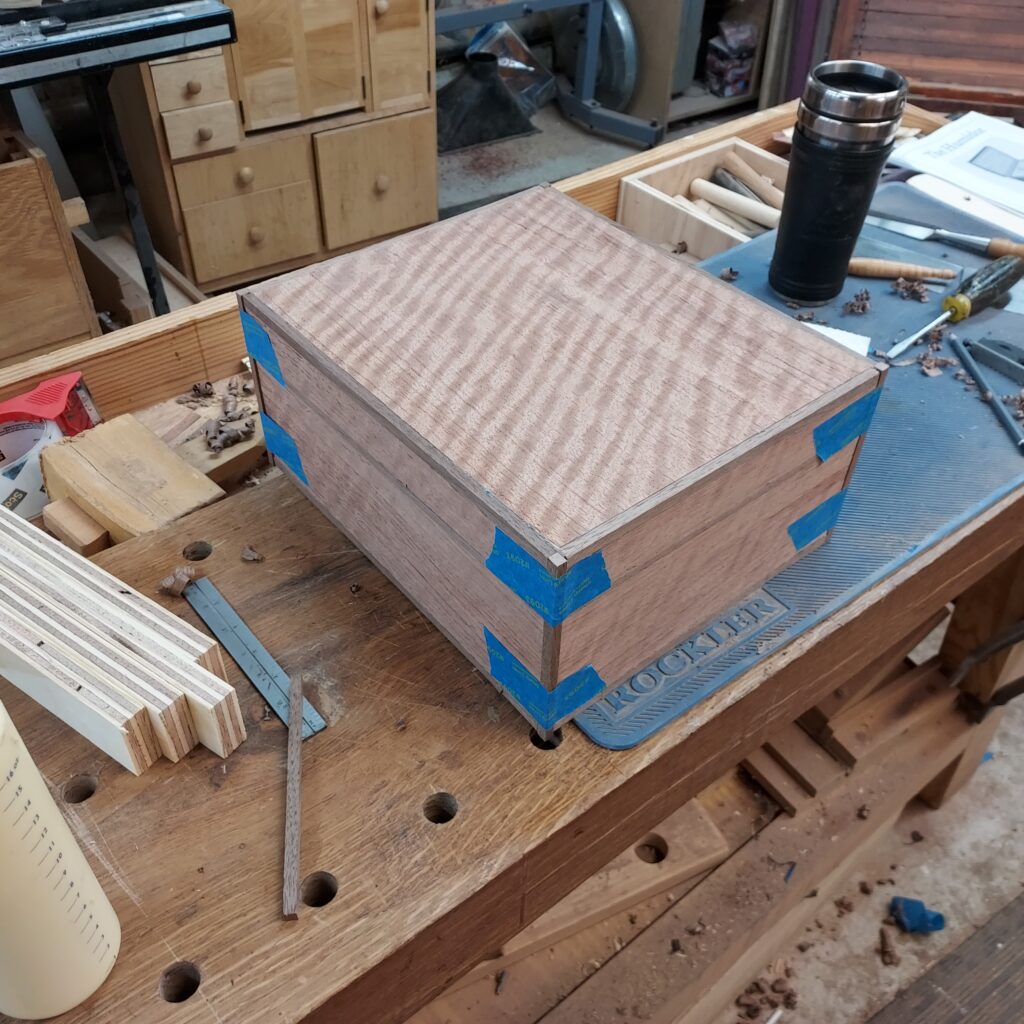
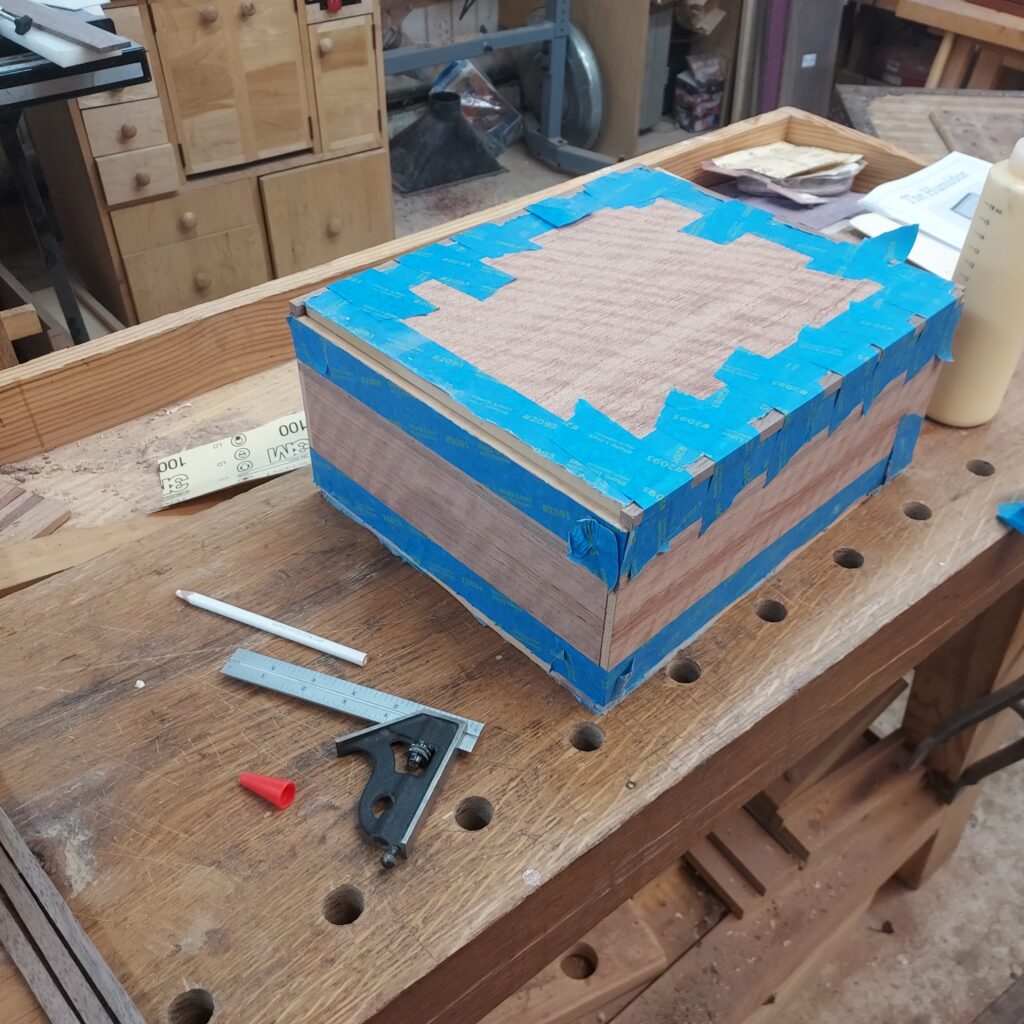

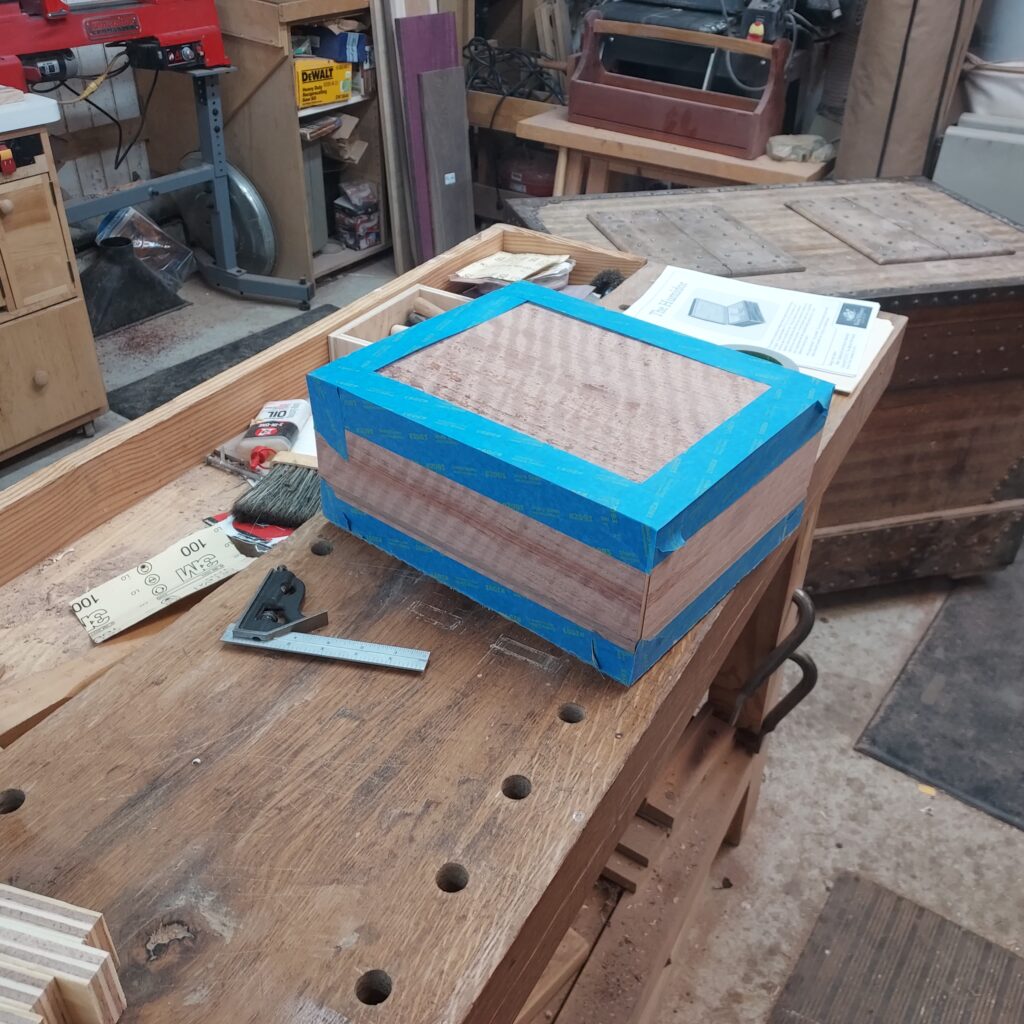
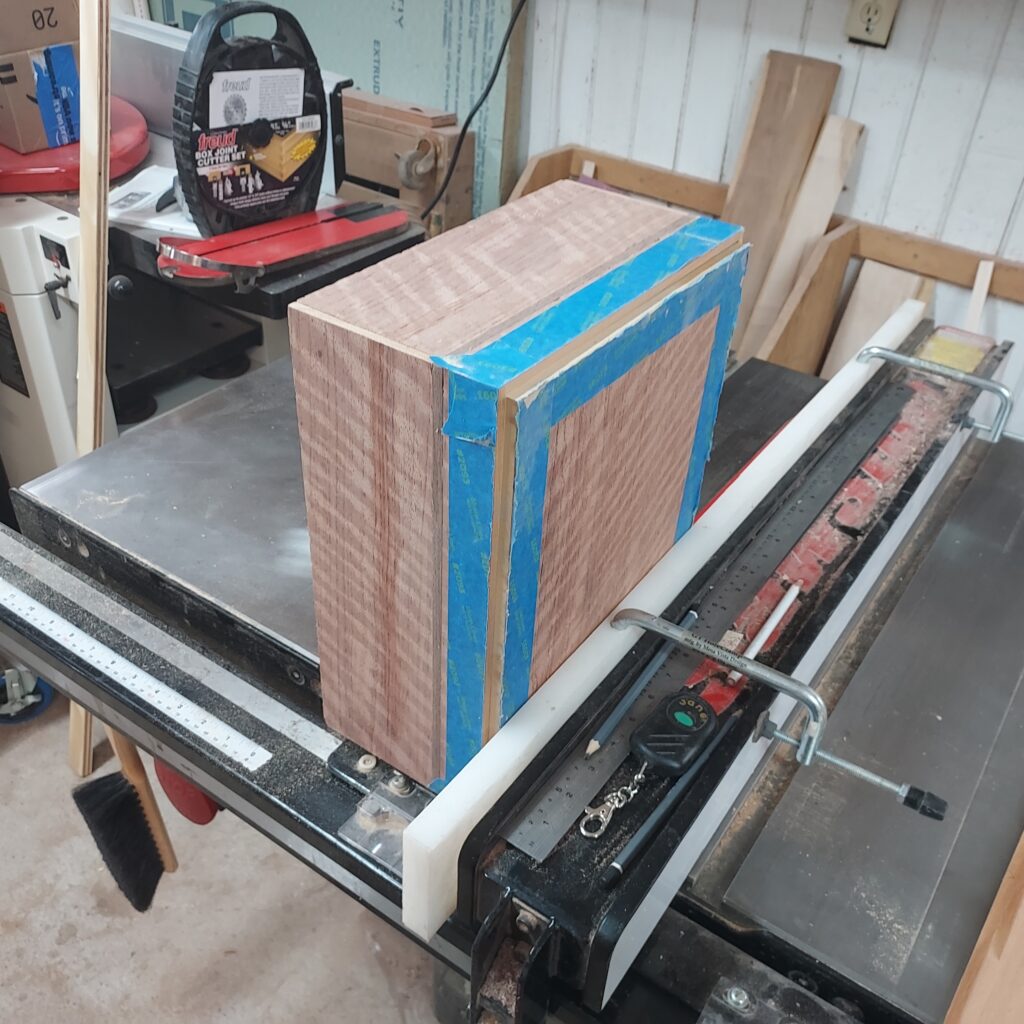
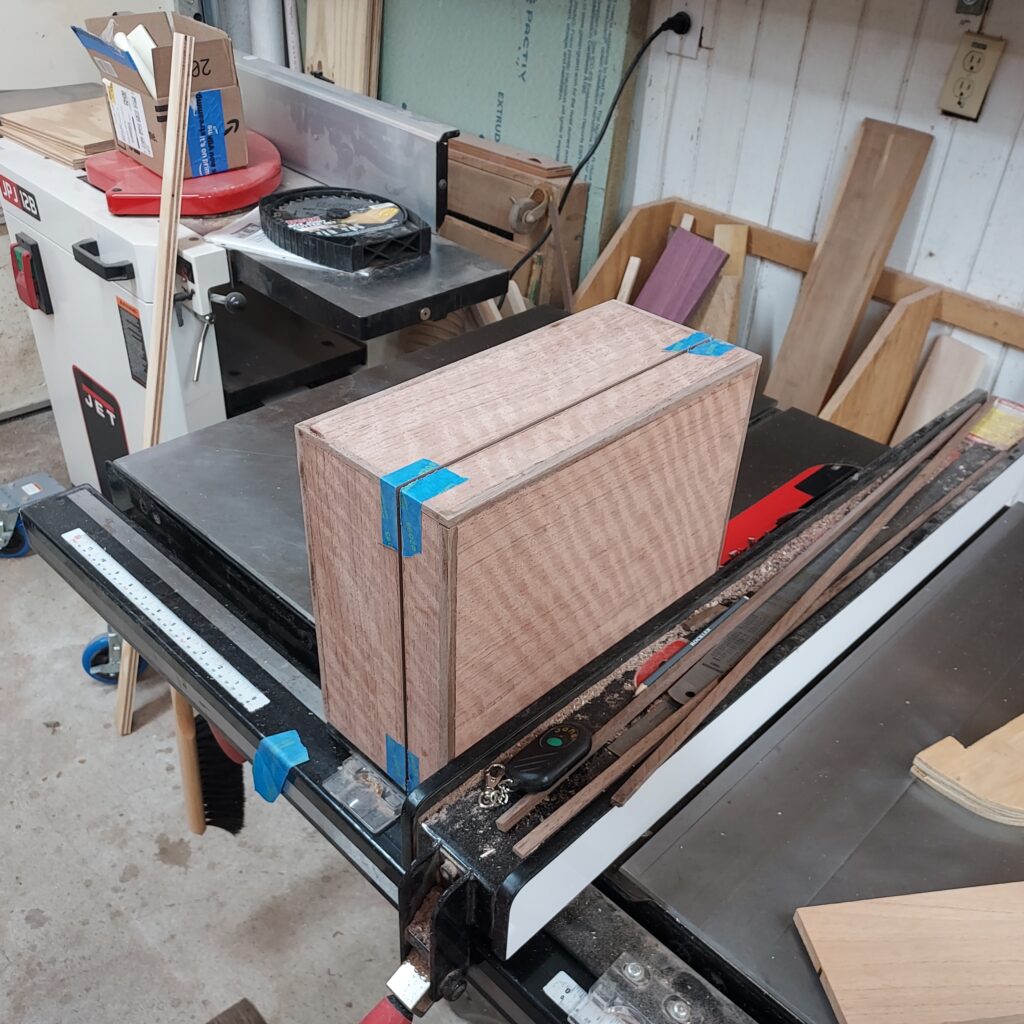
To do that, I taped each of the corners, and then very carefully cut along the ¼” trim in the middle of the box. Since the blade is 1/8” wide, this left only 1/16” on each side of the blade. Had to be very careful. I also cut with the tablesaw to leave about 1/16” wood left, so the box was stable for all for cuts. After that, I used a handsaw to cut out the box and come up with two halves. I used a plane to cut off any leftover pieces to make sure they closed completely.
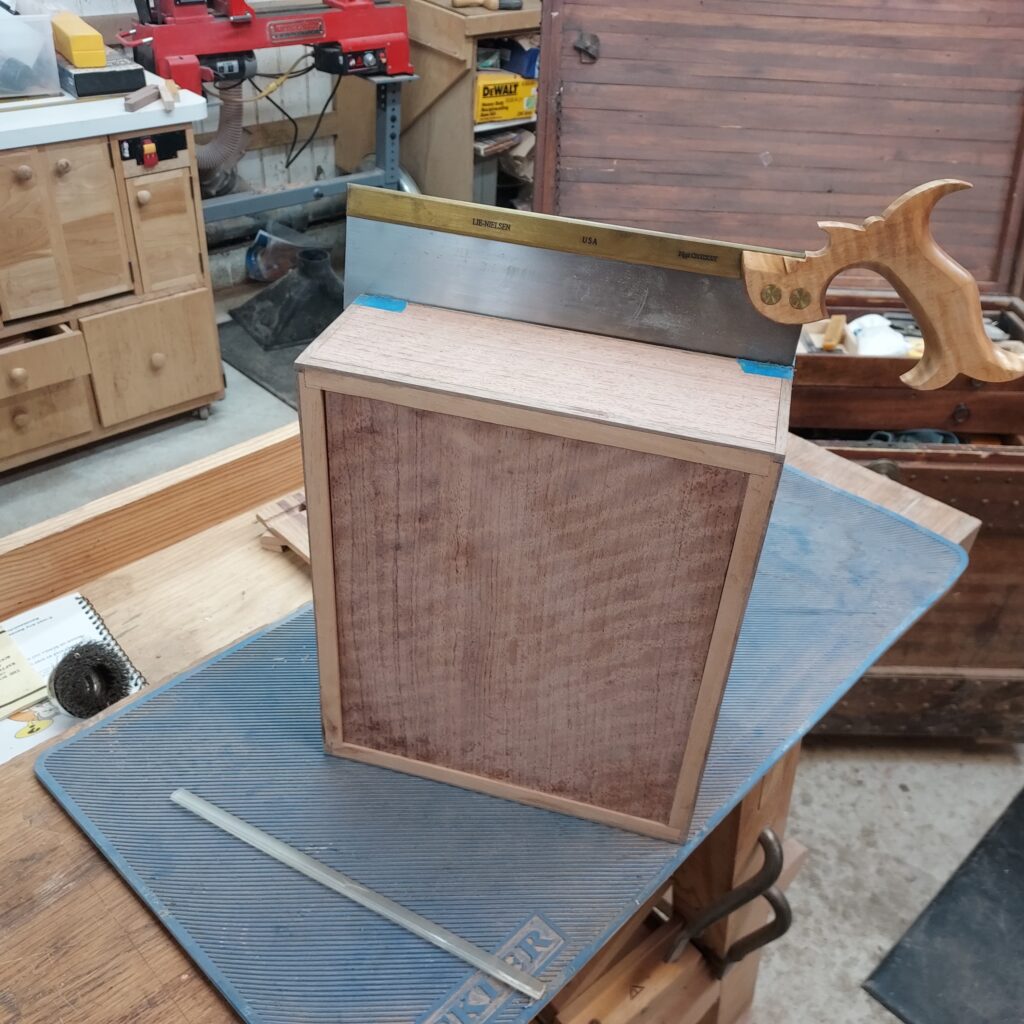
On to the hinges!
Kevin