
I have been approached over the last several years at markets from folks interested in me making a Humidor for them. While I have made lots of boxes in the past, I have yet to make one of those, and figured it was time to give it a try. It’s a rather involved process, so I will need to make several posts on this. I got the plan from online and sourched some of the special material (veneer, Spanish cedar for lining) from some special online dealers. Now its time to get started!
The box is going to be about 13” wide by 10” deep and 5-1/2” high. I’ll have two compartments in it to store cigars, and it will have mechanisms to control the humidity inside. The outside will be veneered with a wood called Bubinga and will have Walnut trim. Inside will be Spanish Cedar lining, which is the preferred wood for Humidors.
I’ve never done veneering before, so this was a great opportunity to expand my skills.
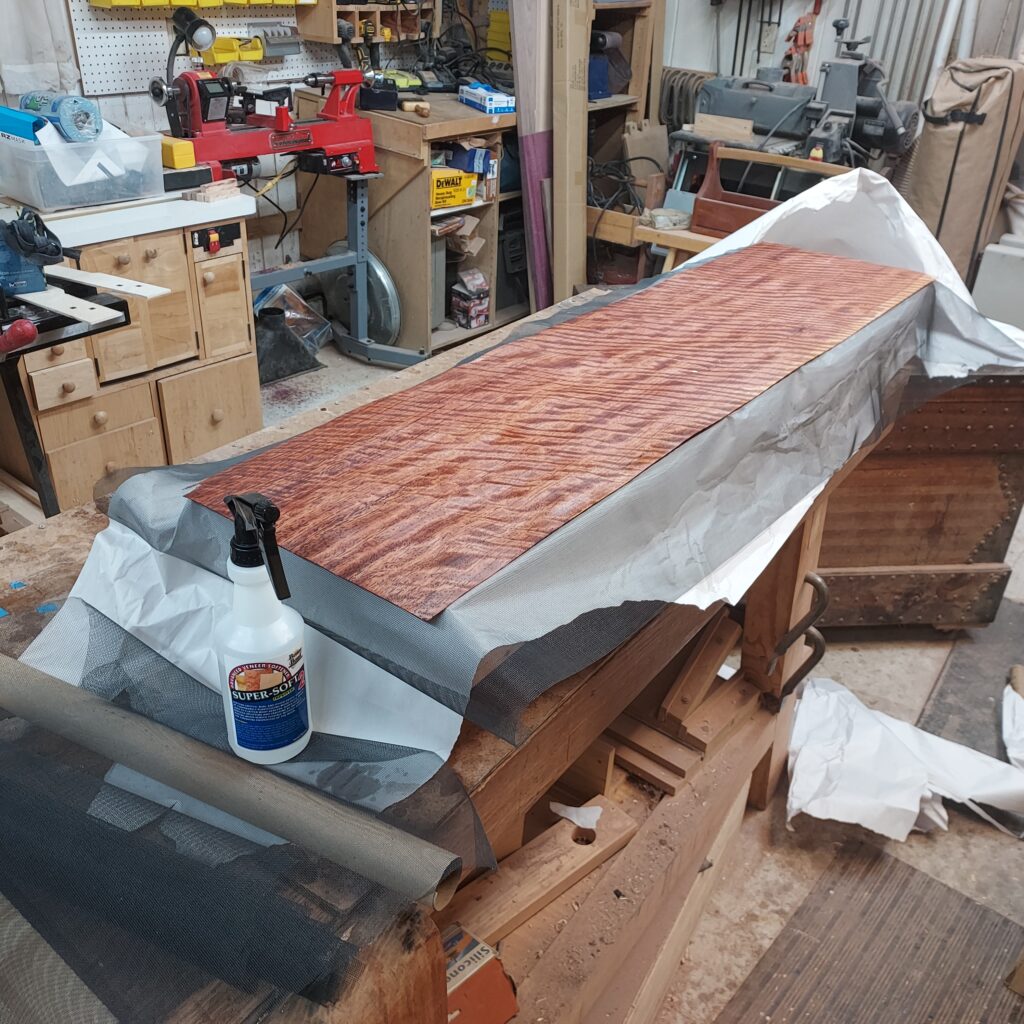
I inspected the veneer as it came to me (it was rolled up) and determined that I needed to flatten it in order for it to adhere to the substrate. I sprayed on a “softener” and build then sandwiched it. I put a plywood “platen” 10” x 48” down, then some paper, then fiberglass (not metal) screen, then the sprayed down veneer, then more screen, more paper, and then another section of plywood. I let it sit overnight, and it came out nice a flat. On to the veneering!
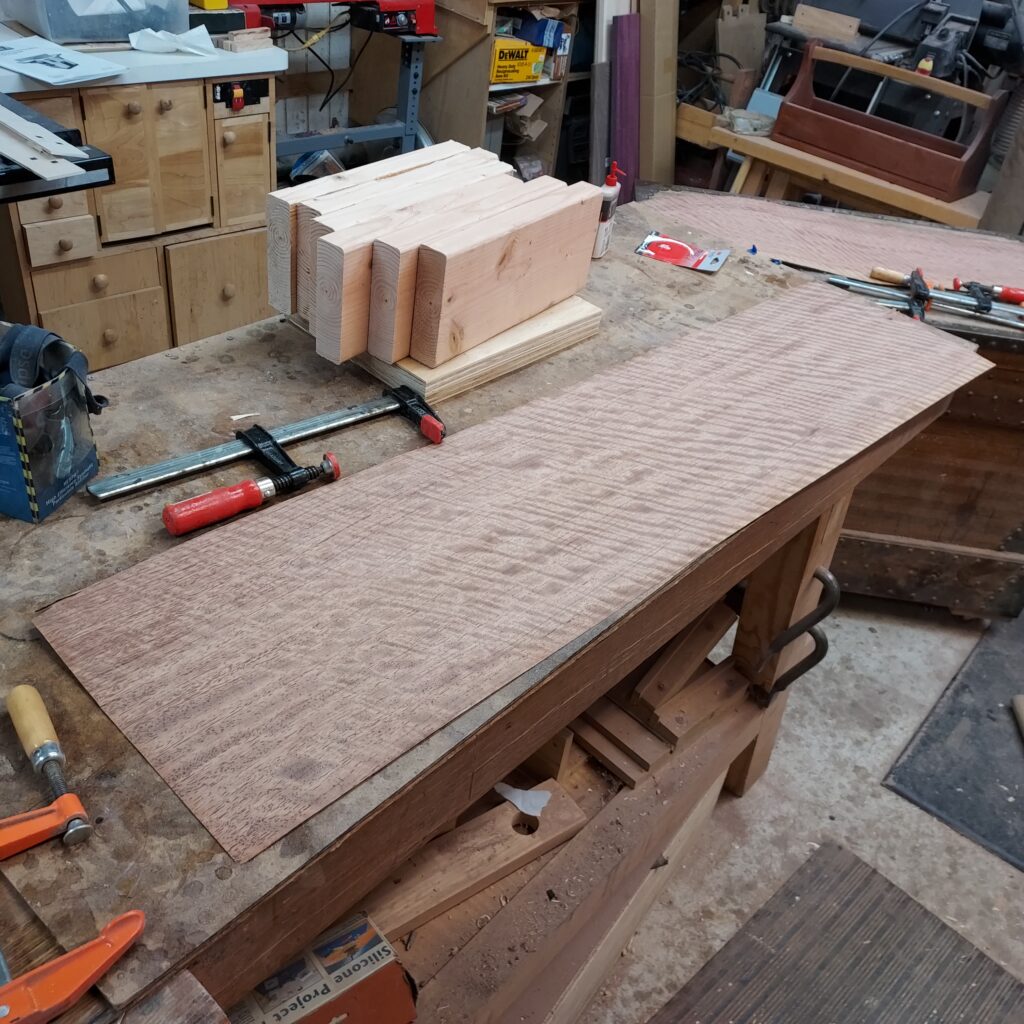
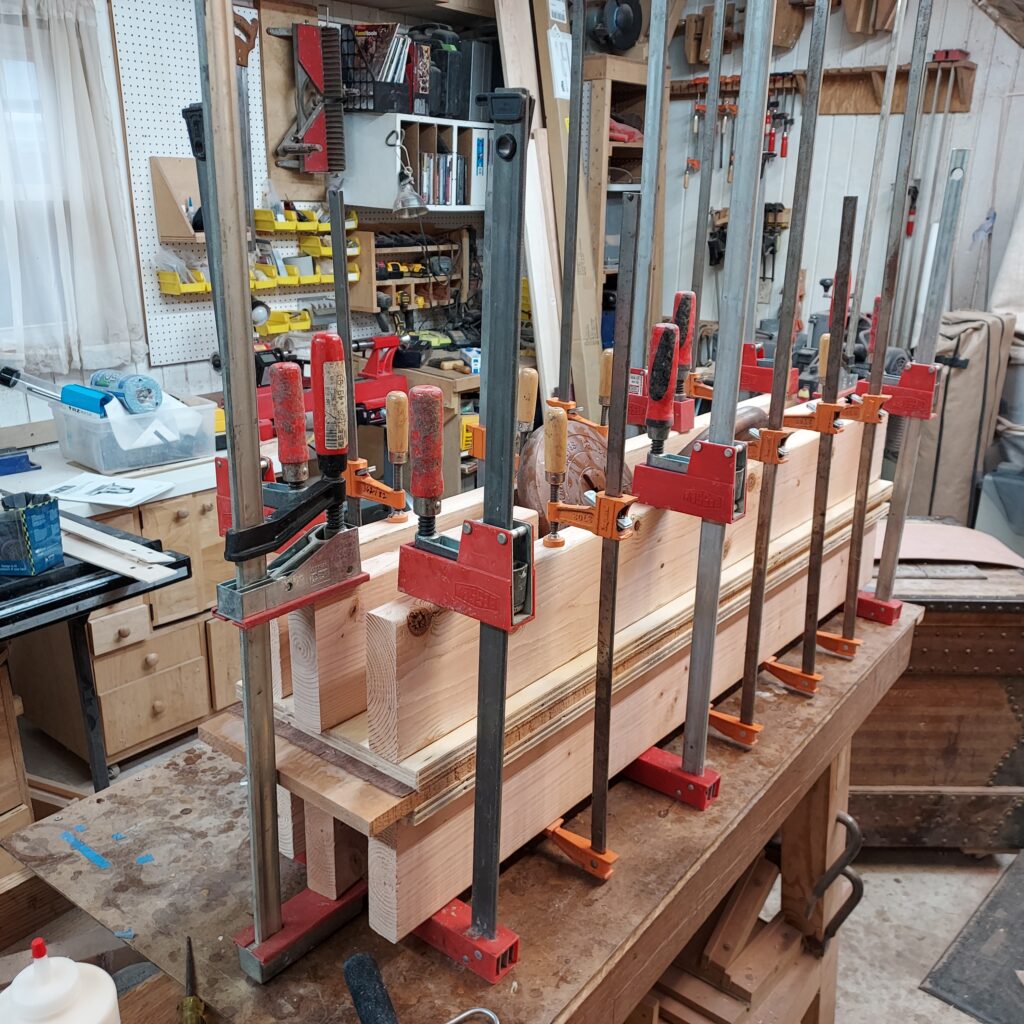
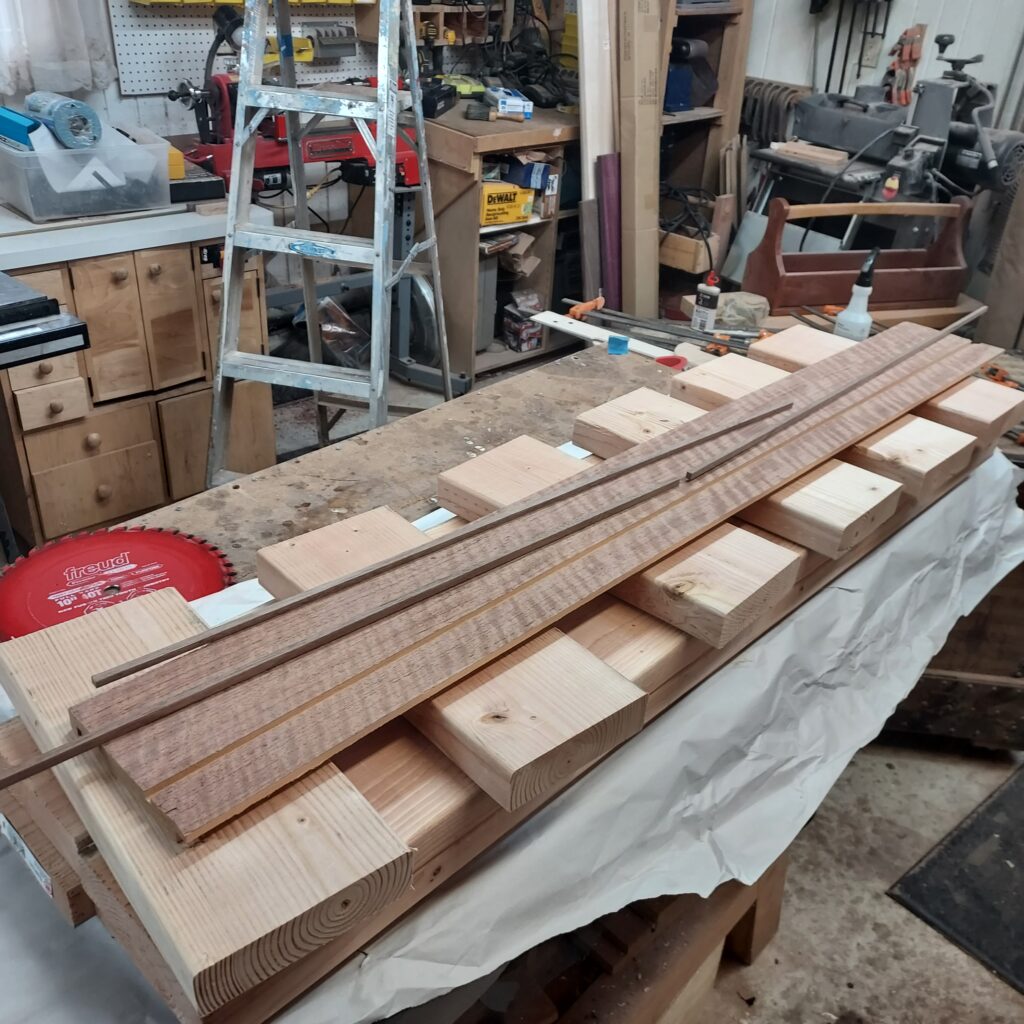
To veneer, someone who does this a lot will use a vacuum veneering system, using bags. Since this was my first time, I wanted to do something simpler, so I build a home made veneering press. In order to get sufficient pressure on the veneer at all times, I needed to use 2×6 “cauls” in order to more evenly spread out the clamping pressure.
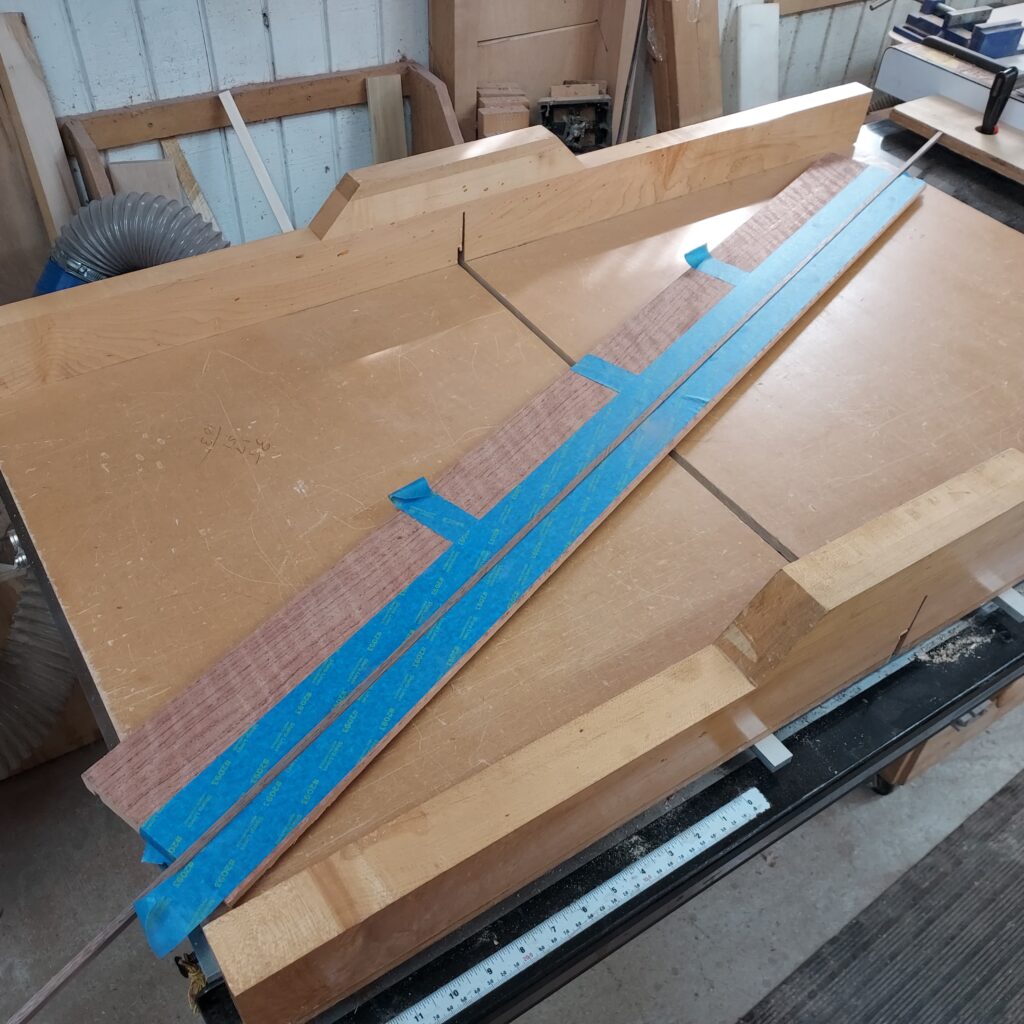
So I started by using the Spanish cedar panel I was veneering to and a veneer saw to cut the veneer to size.
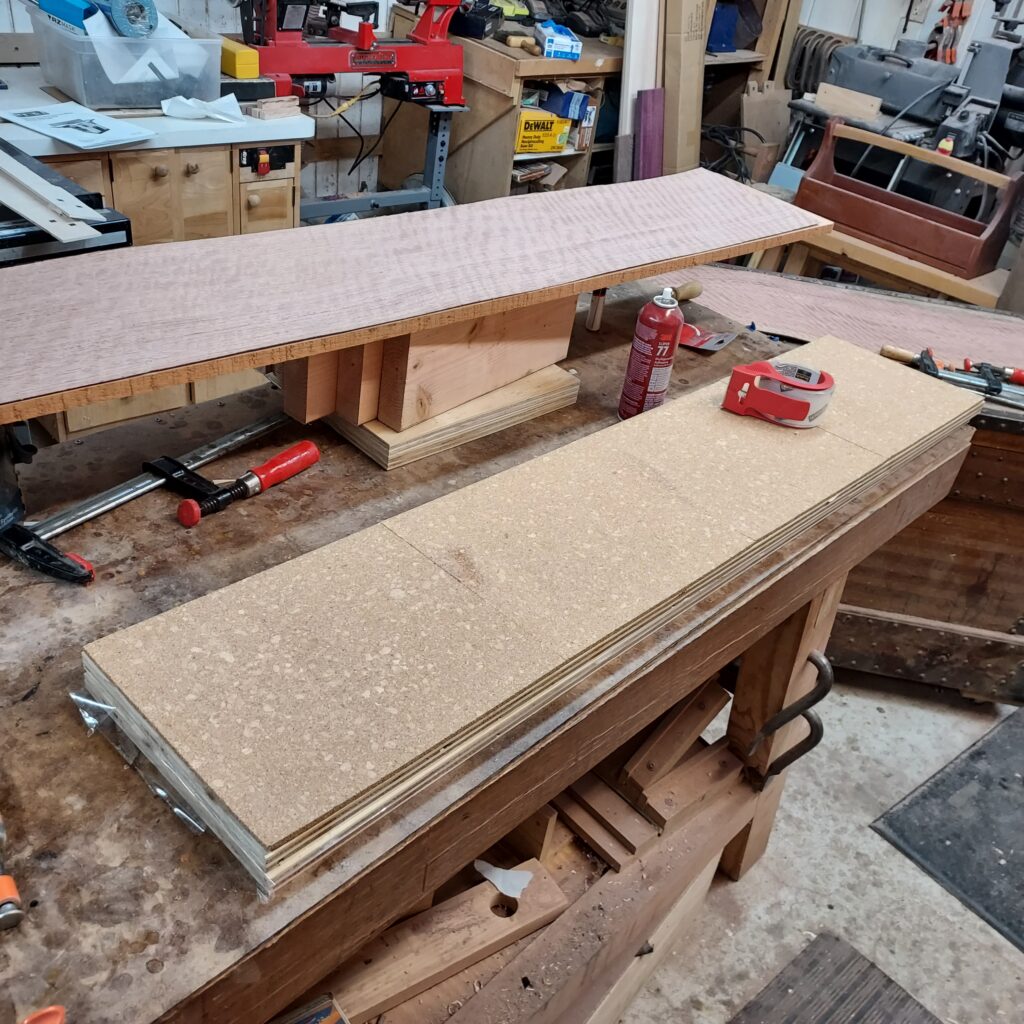
The manual veneer press consisted of Two cauls on the bottom, then a blank plywood platen, coated with packing tape (so the glue would not stick to it). After that, I put on the Spanish cedar board and coated it with veneer glue. I then laid the veneer on top.
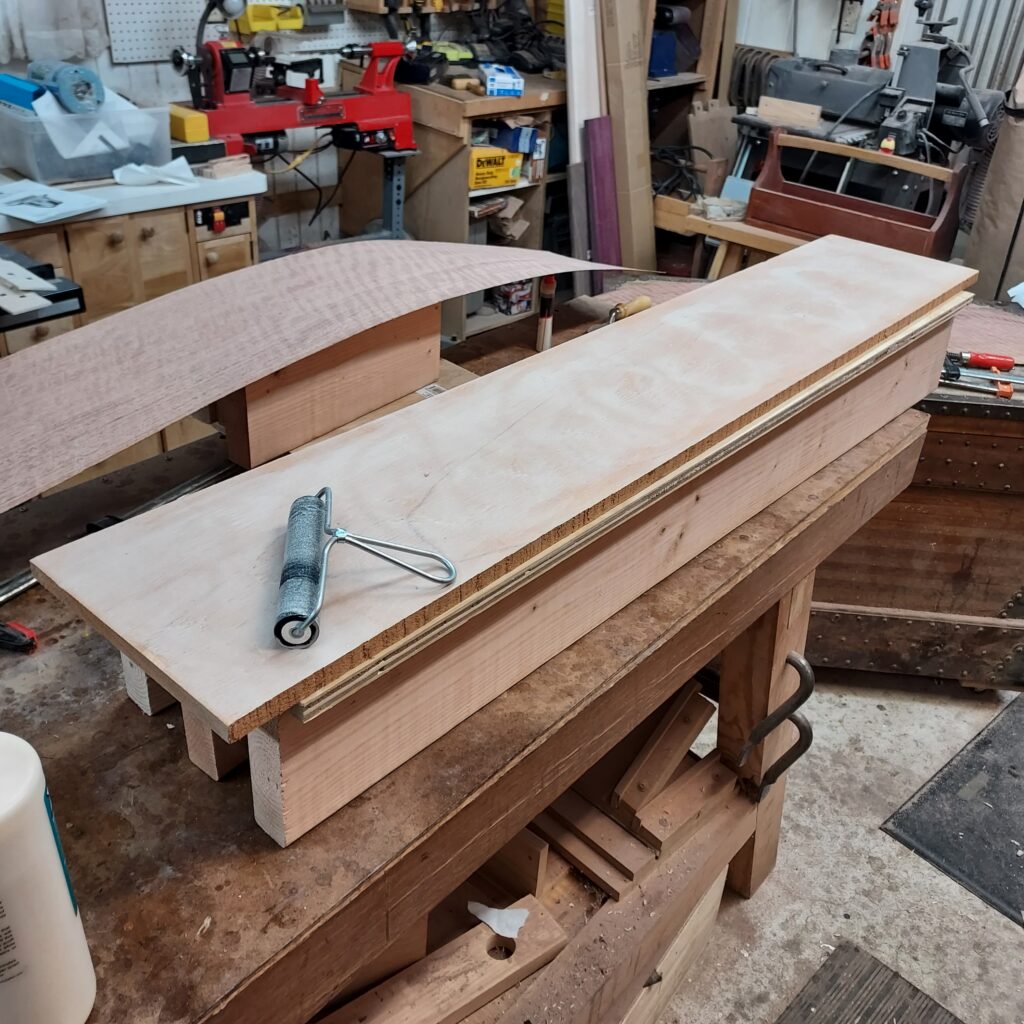
After that, I put on a second plywood platen, this one covered in cork and then packing tape. The cork allows some “cushion” at the veneer adheres. From there its on to a lot of clamps, and let it sit overnight.
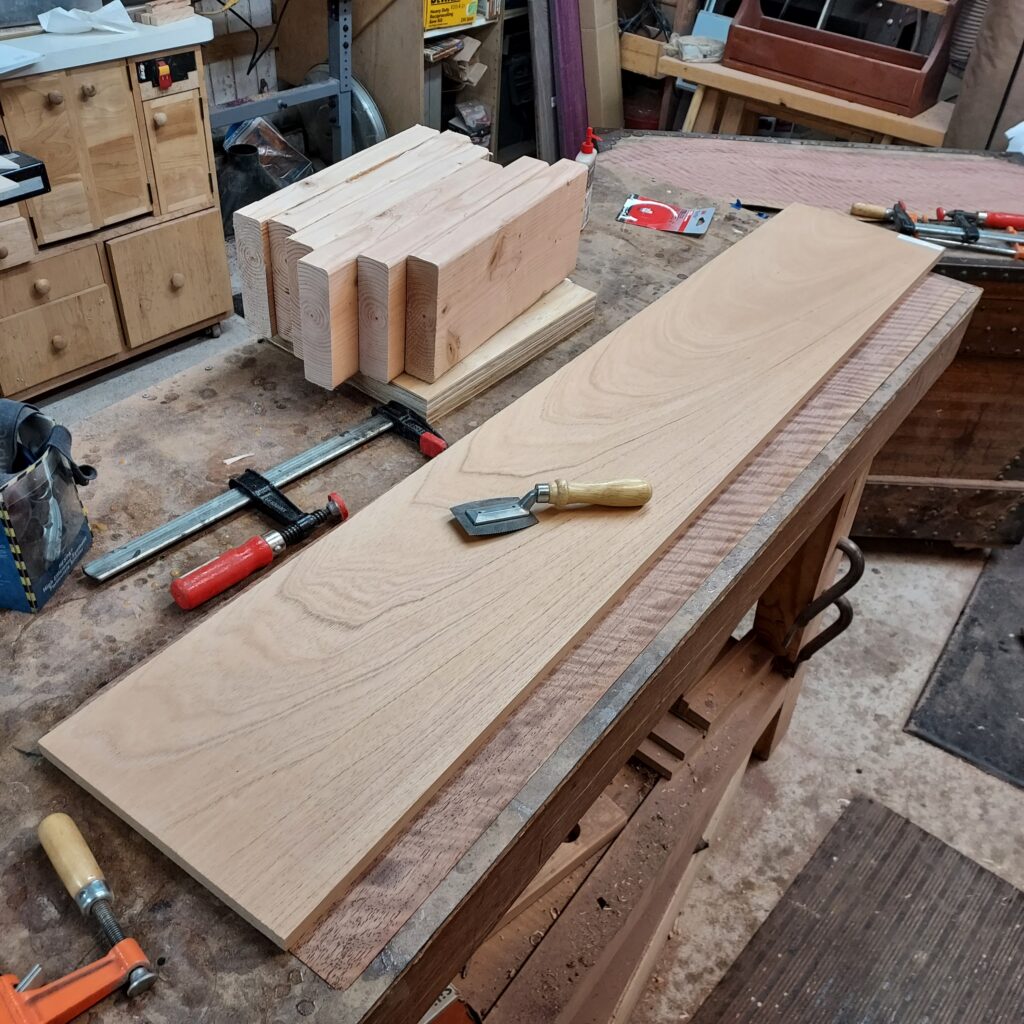
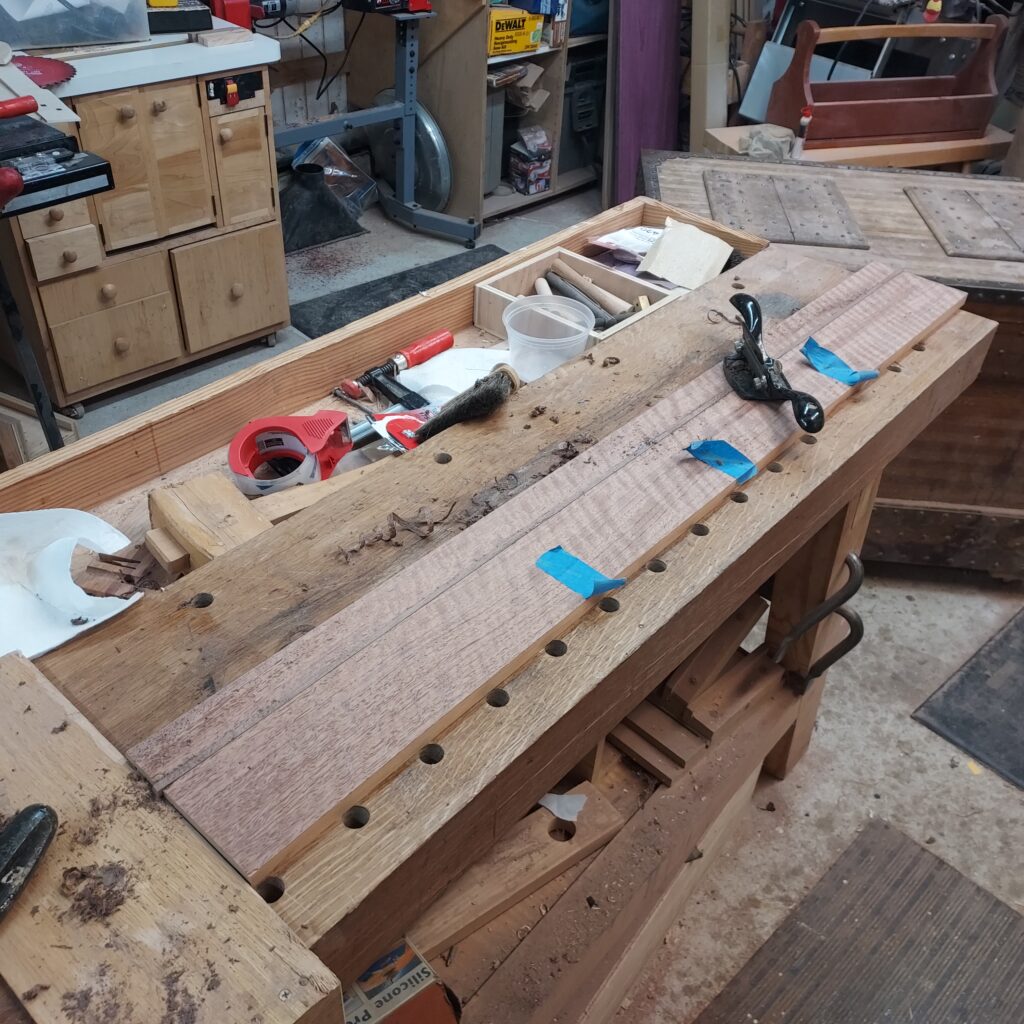
The veneered board came out pretty good!
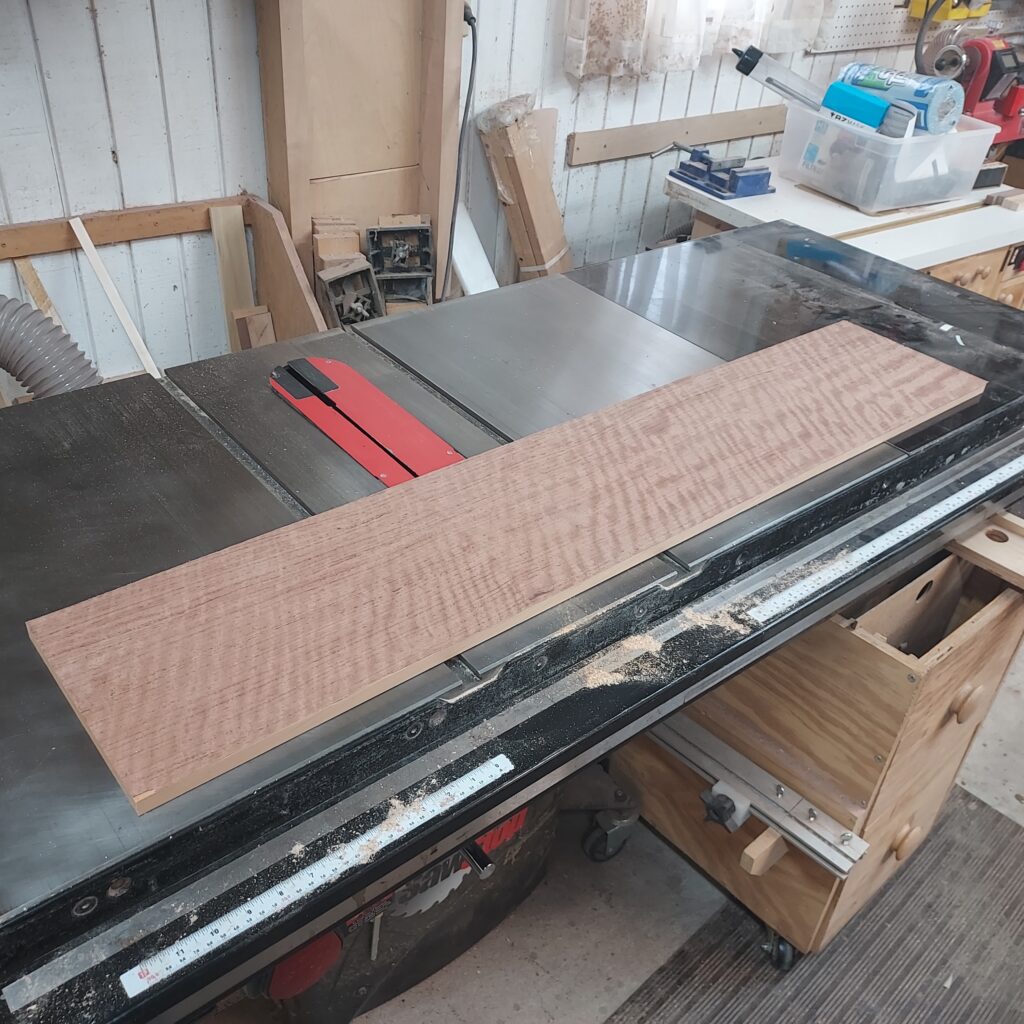
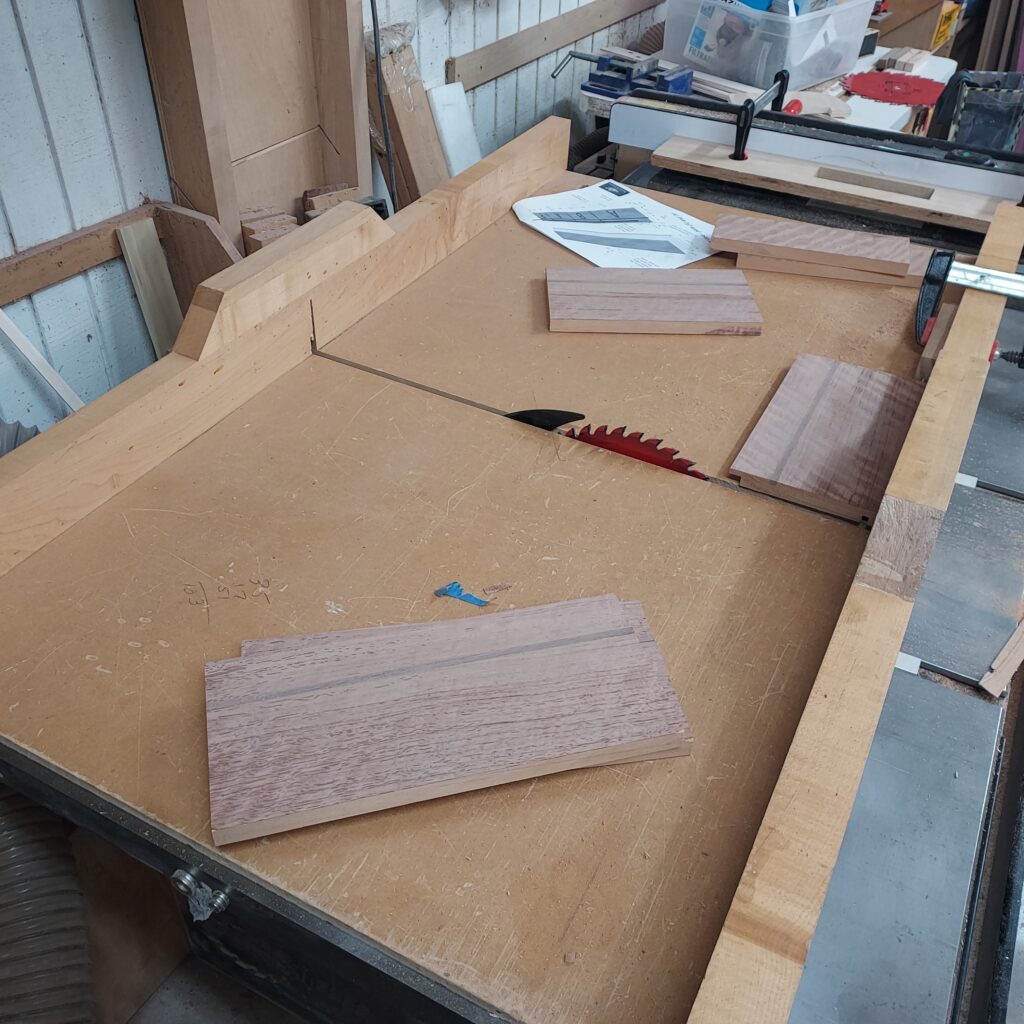
Now its time to work on some of the dados and rabbets for the box joinery and trim. Its easier and more accurate to make all the cuts when the pieces are together. There is a groove that is cut for some decorative trim on the box (where it will have its opening) as well as a groove for the bottom panel. Finally, there is a long rabbet for the top of the box. The tablesaw took care of all of these, with a dado blade installed.
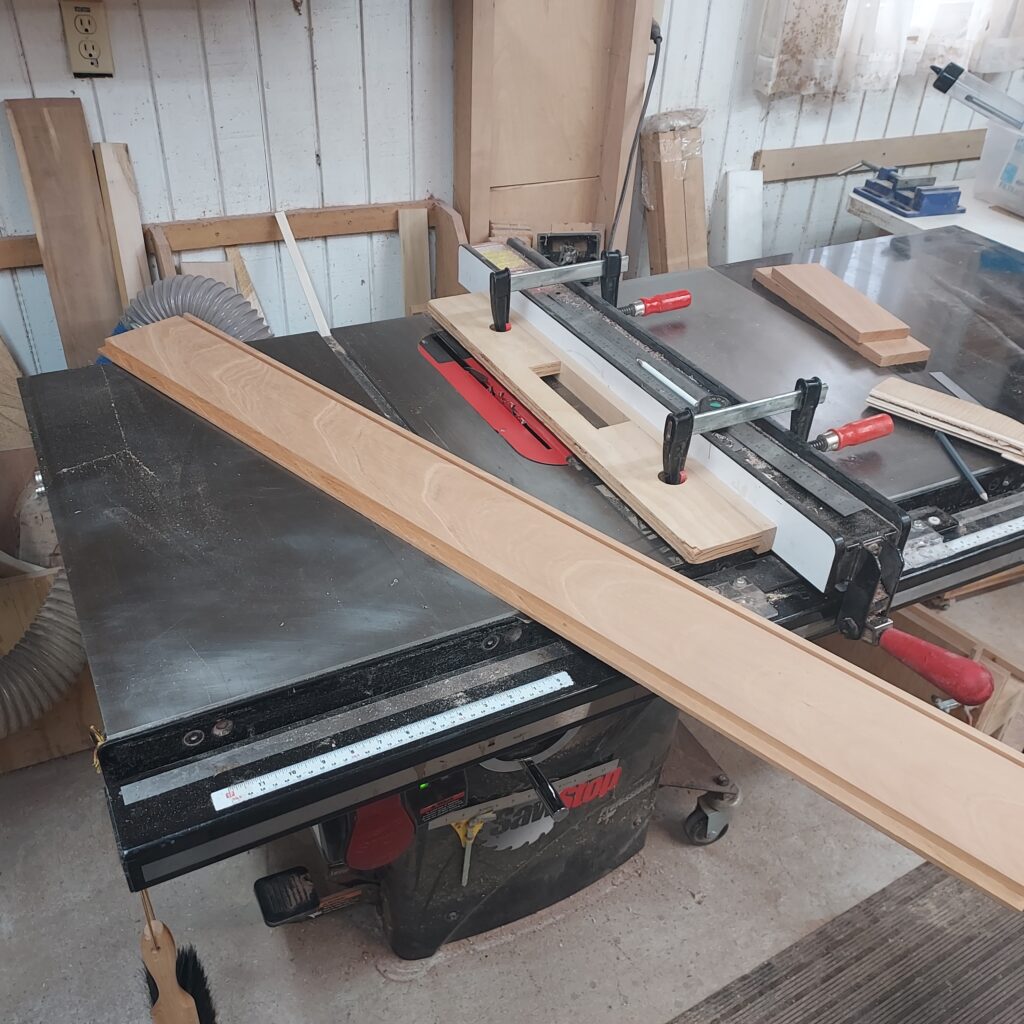
After that, I cut ¼” walnut trim for the groove. After test fitting, I lined each side with tape to keep any glue squeeze out off, then glued them in. I kept the walnut a little “proud” of the groove to ensure it was all the way in.
Once that was done, I used a #80 cabinet scraper to get the trim level with the rest of the board. This is careful work, as you don’t want to “burn through” the thin veneer at the end.
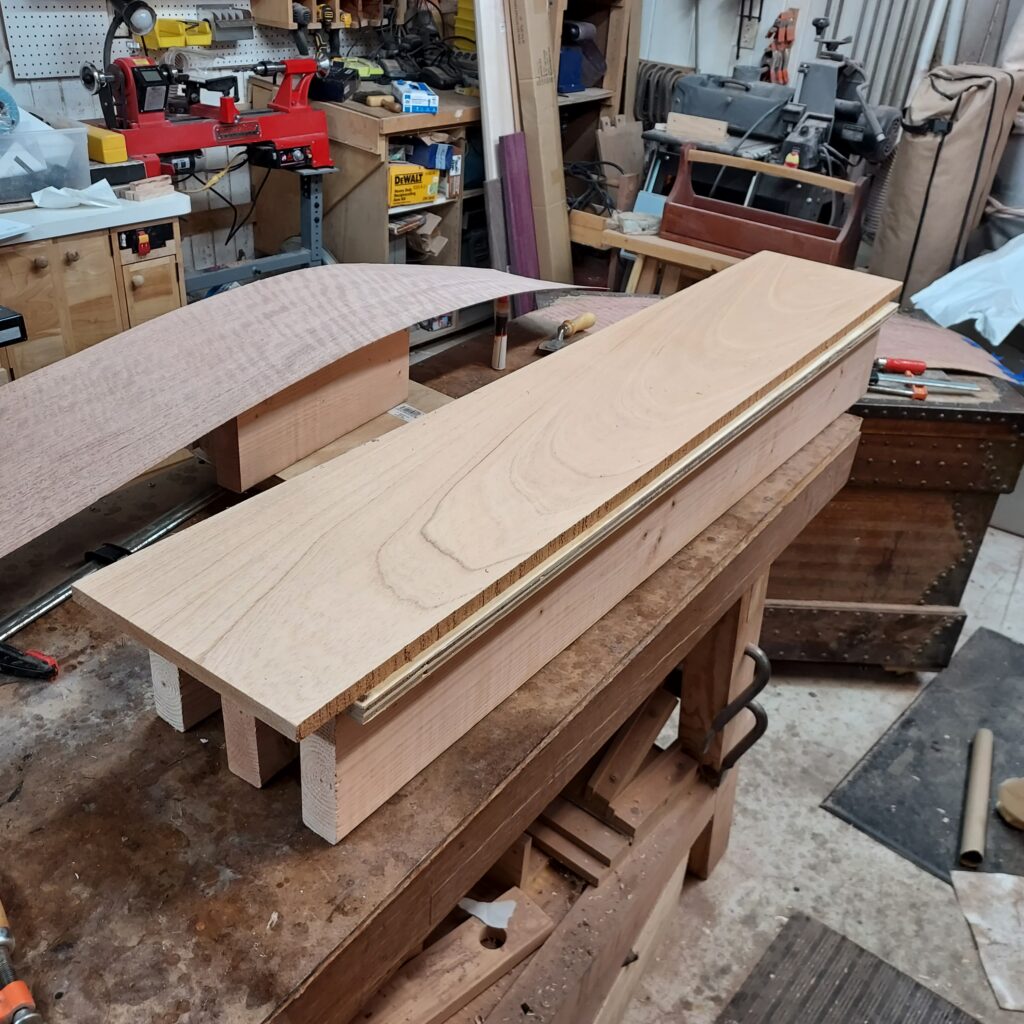
With that done, I was ready to cut the pieces into the front, back and sides of the box.
I also veneered up the top and bottom pieces, so I’ve got them all veneered and ready.
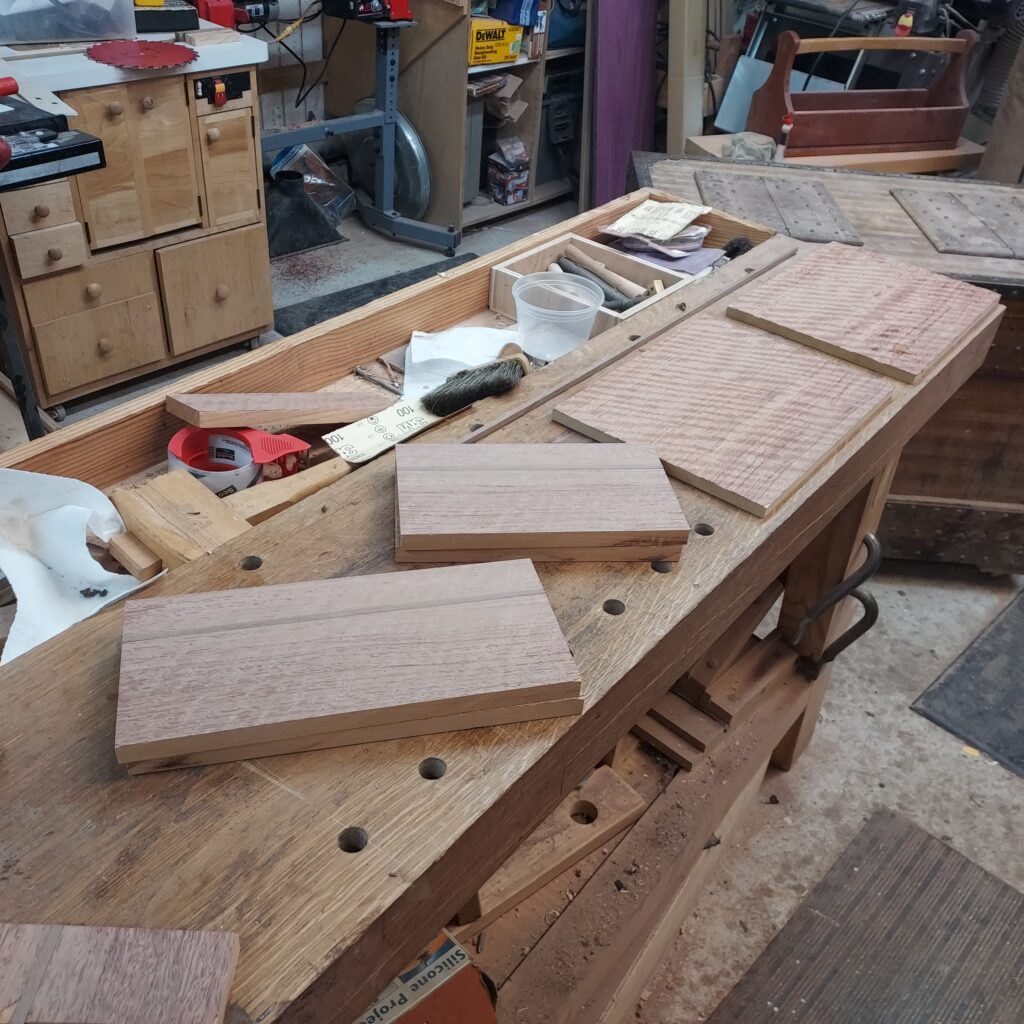
Now on to box assembly and installing all the decorative trim!
Kevin