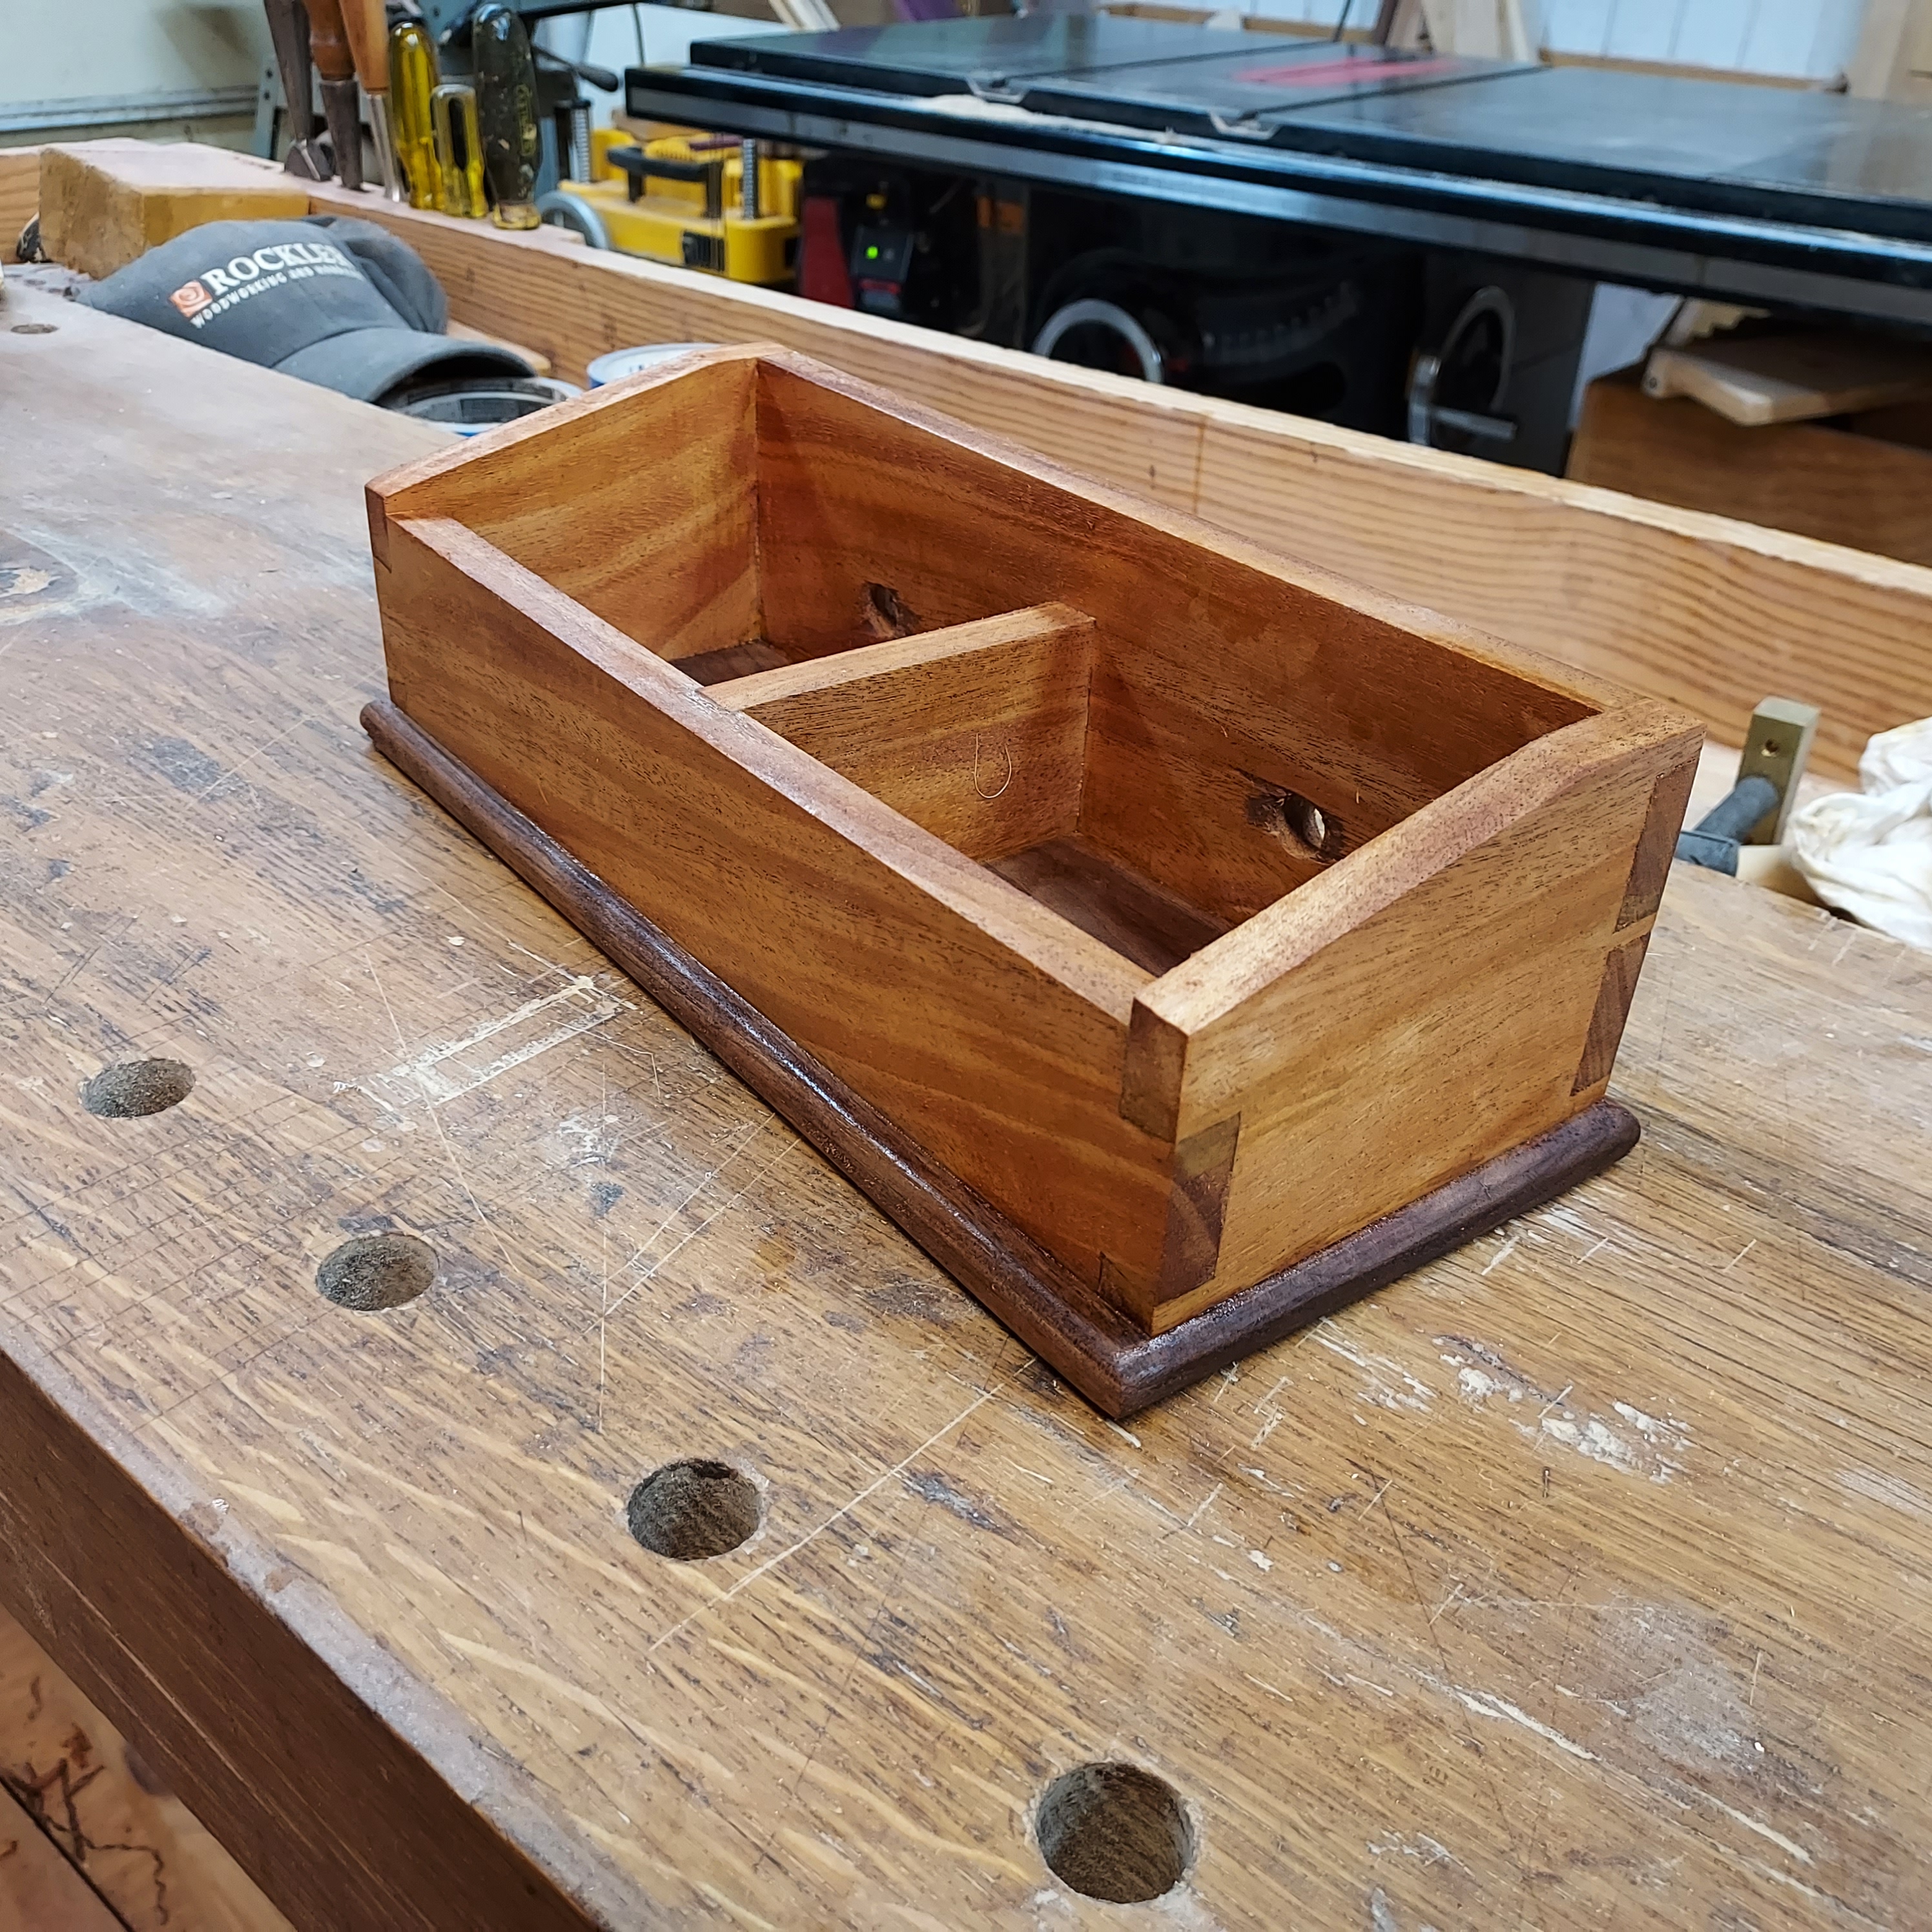
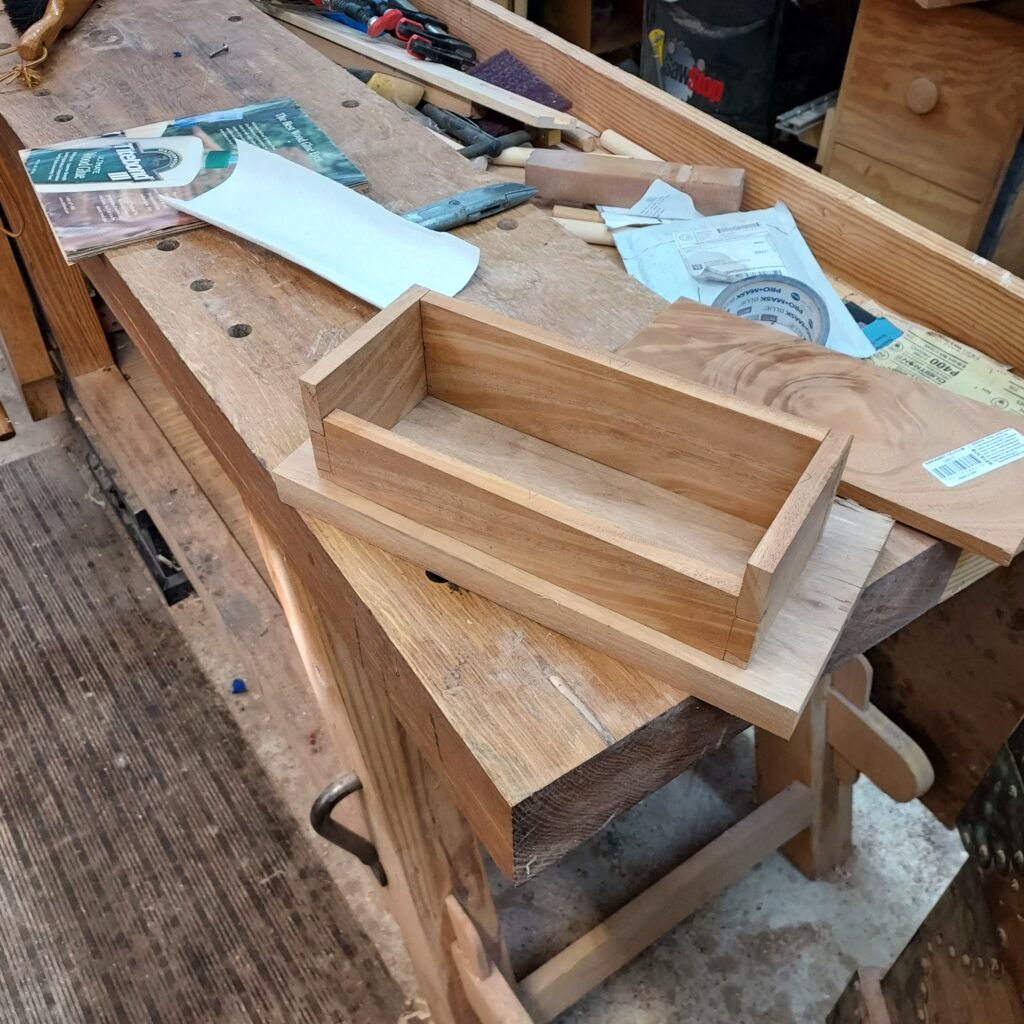
This is a Paul Sellers design (https://woodworkingmasterclasses.com/videos/dovetail-caddy-project-info/) that is made 100% with hand tools. I thought the build of dovetails and both through and stopped dado’s was fascinating. It was a good opportunity to further improve my hand tool skills, and should make a nice gift or personal addition on someone’s desk. The back has holes drilled for power cords, in case someone wants to store and charge phones, while the holes are built large enough for pens or post-it notes.
- Mill parts to size
| No | Description | L | W | T | Qty |
| 1 | Front | 11 1/4 | 2 | 1/2 | 1 |
| 2 | Back | 11 1/4 | 3 | 1/2 | 1 |
| 3 | Ends | 4 1/2 | 3 | 5/16 | 2 |
| 4 | Bottom | 11 3/4 | 5 | 1/4 | 1 |
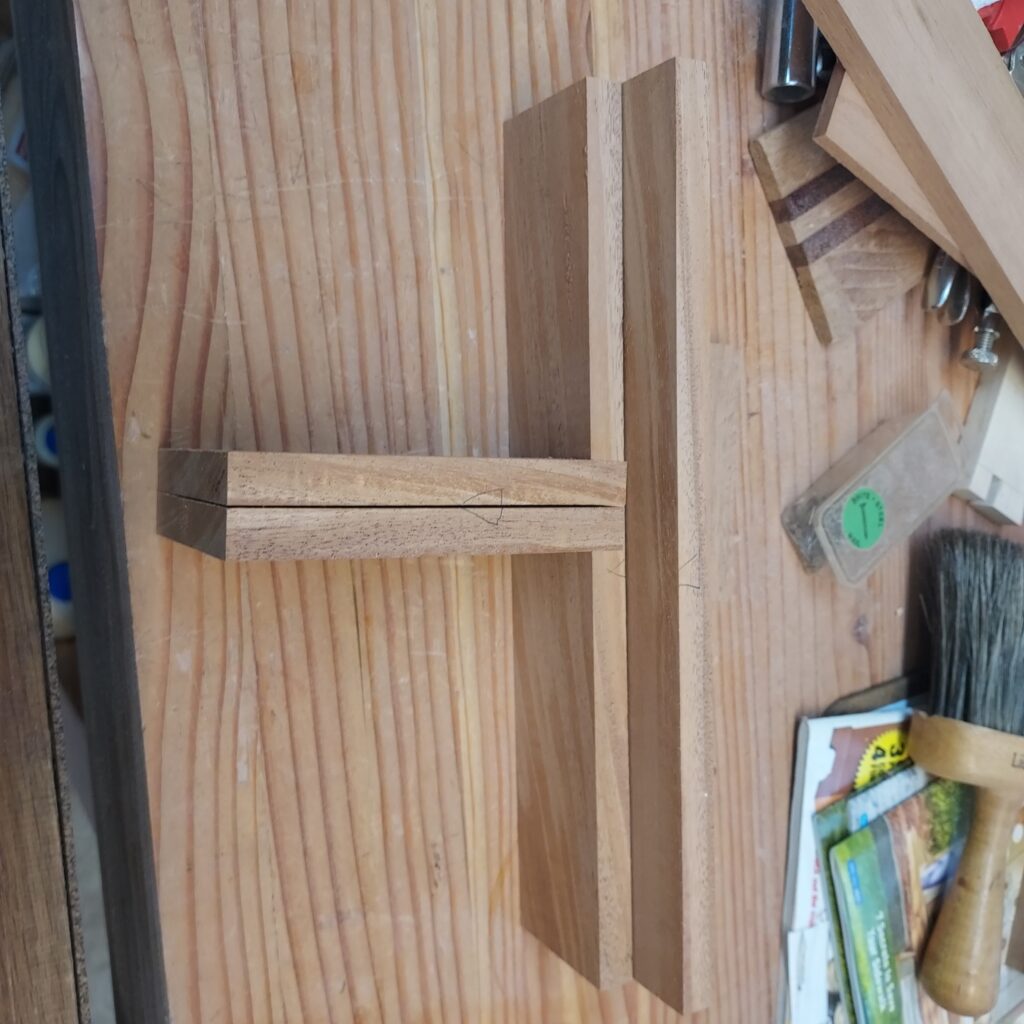
| 5 | Divider | 2-3/4 | 2 | 1/2 | 1 |
- Mill the pieces to size and then put on layout triangles to orient the pieces
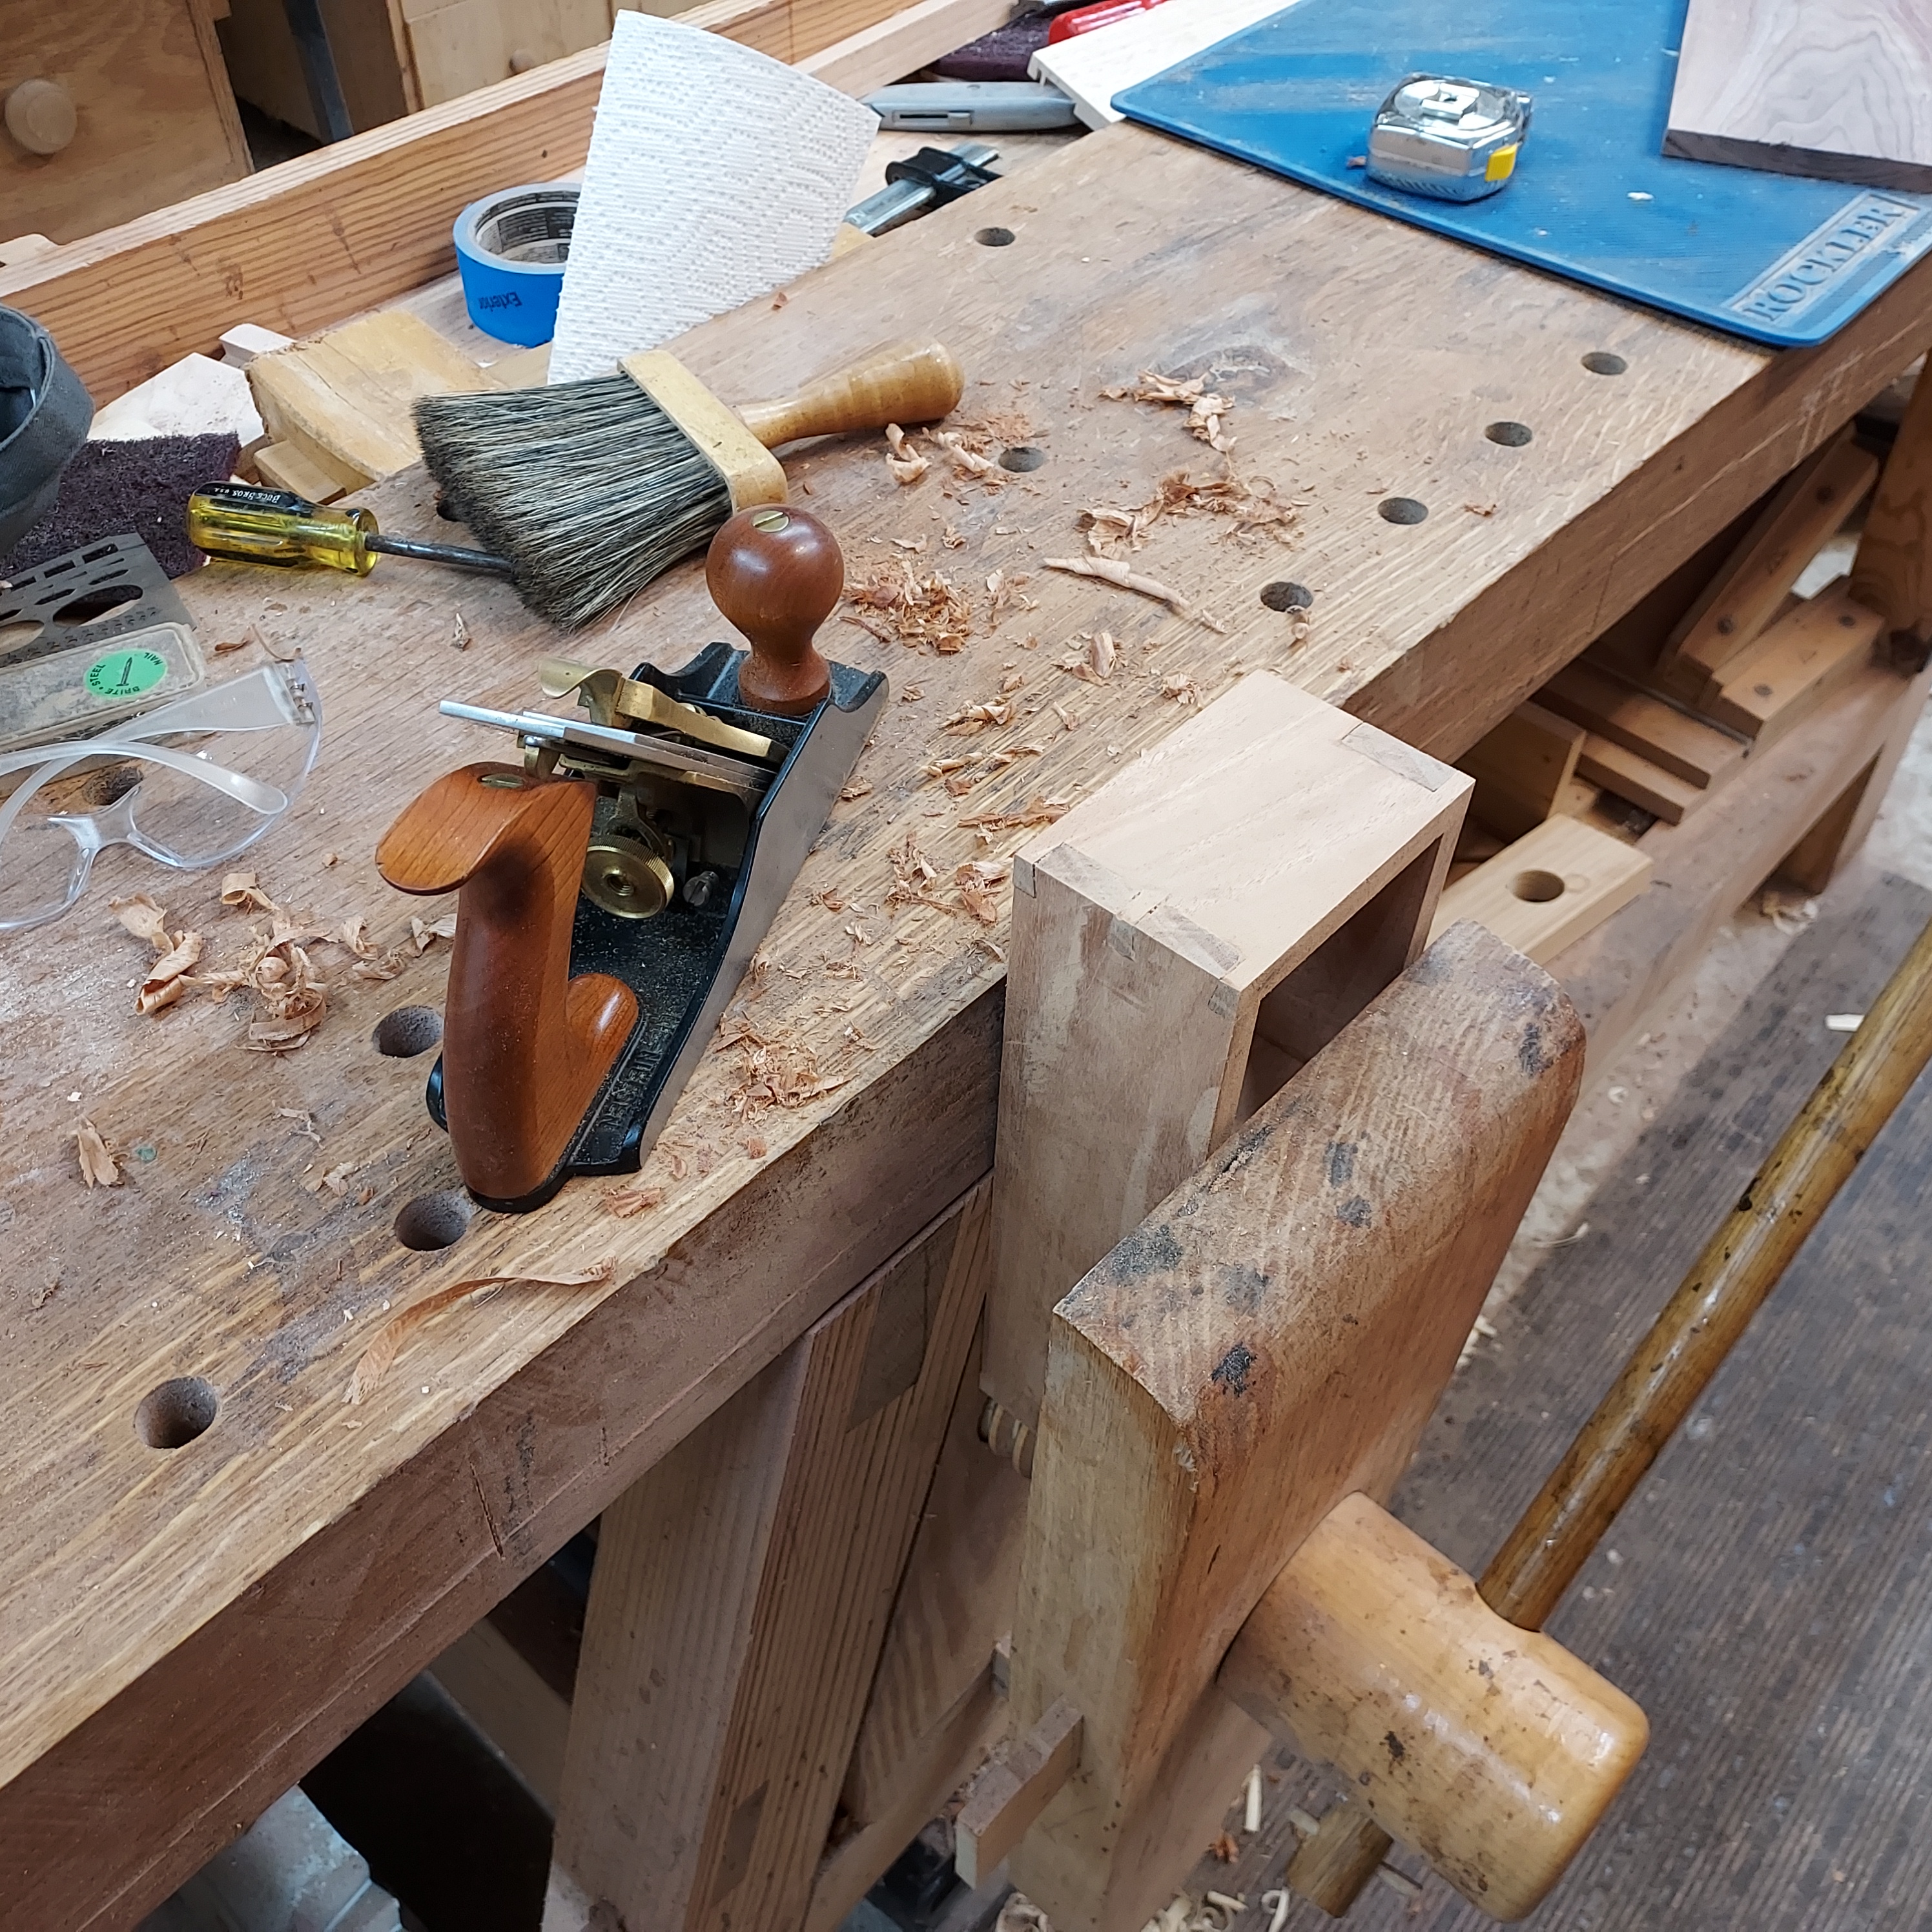
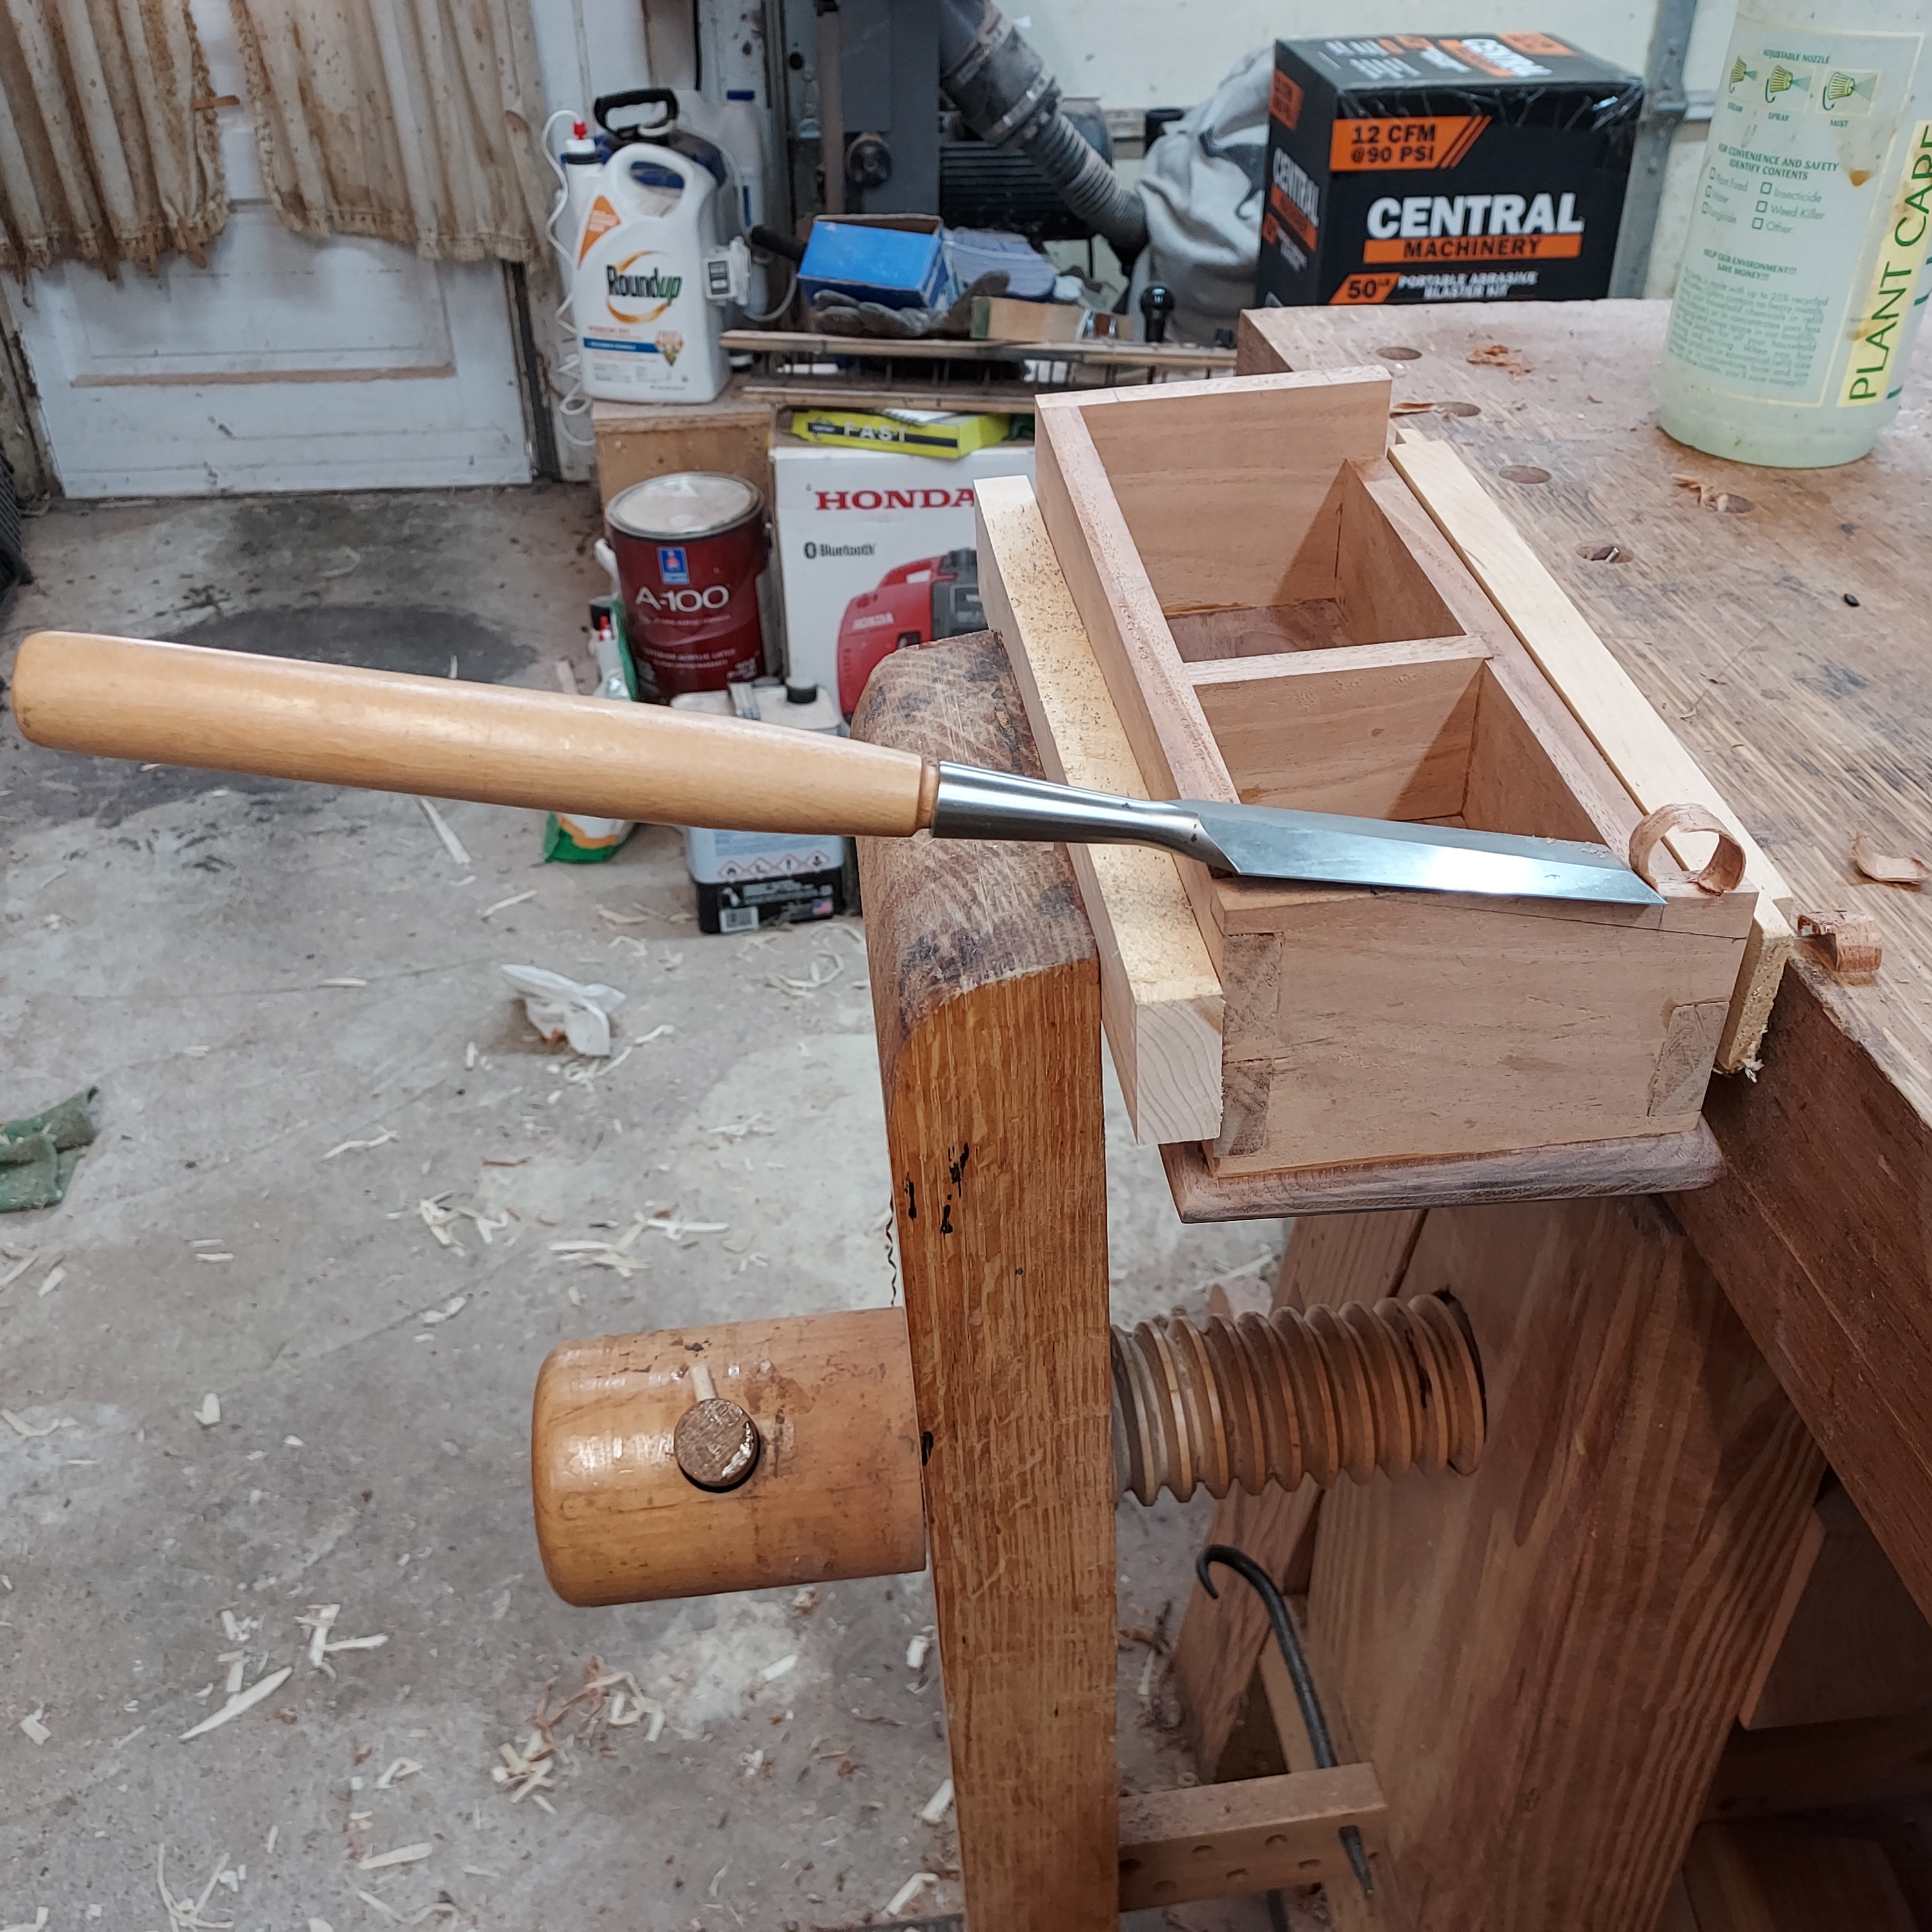
- Tails: Mark joints – A to A, B to B, etc. Mark depth of dovetails with end pieces. Use pencil for base layout. Measure ¼” in from outside and then measure to center and go 1/8” on each side of center. This creates two dovetails. Use dovetail marker to layout tails. Mark “X” on waste. Use knife to create final marks and create knife wall. Saw out tails, then do knife cuts in between saw cuts
- Pins: Make pencil lines for depth to start. Match tail to adjacent piece, using plane to level it. Mark with knife. . Use square to continue lines for tails and then for the depth line. Mark out section to remove with “X”. Saw down walls, clean up with chisel. Test fits, clean up
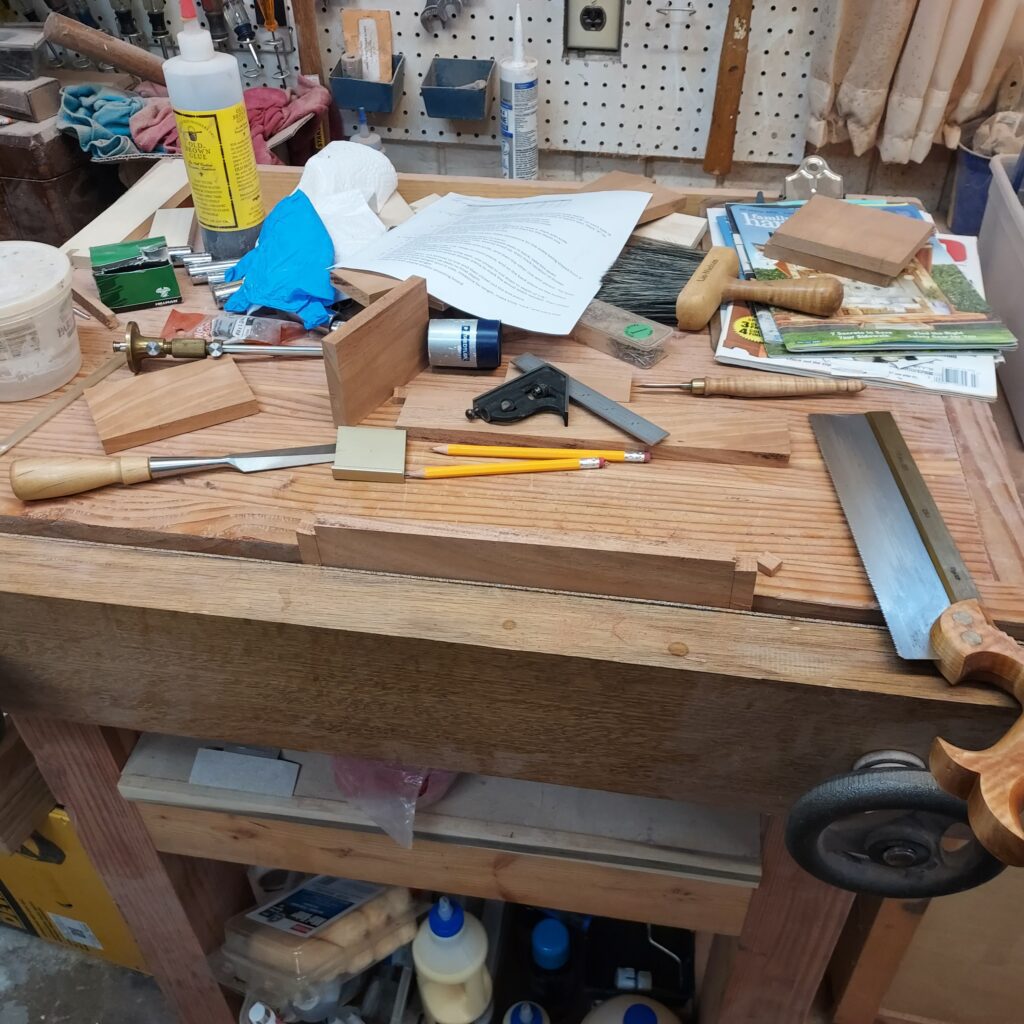
- Repeat for front, but with only one tail. Make allowance for the sides being sloped from 3” to 2”
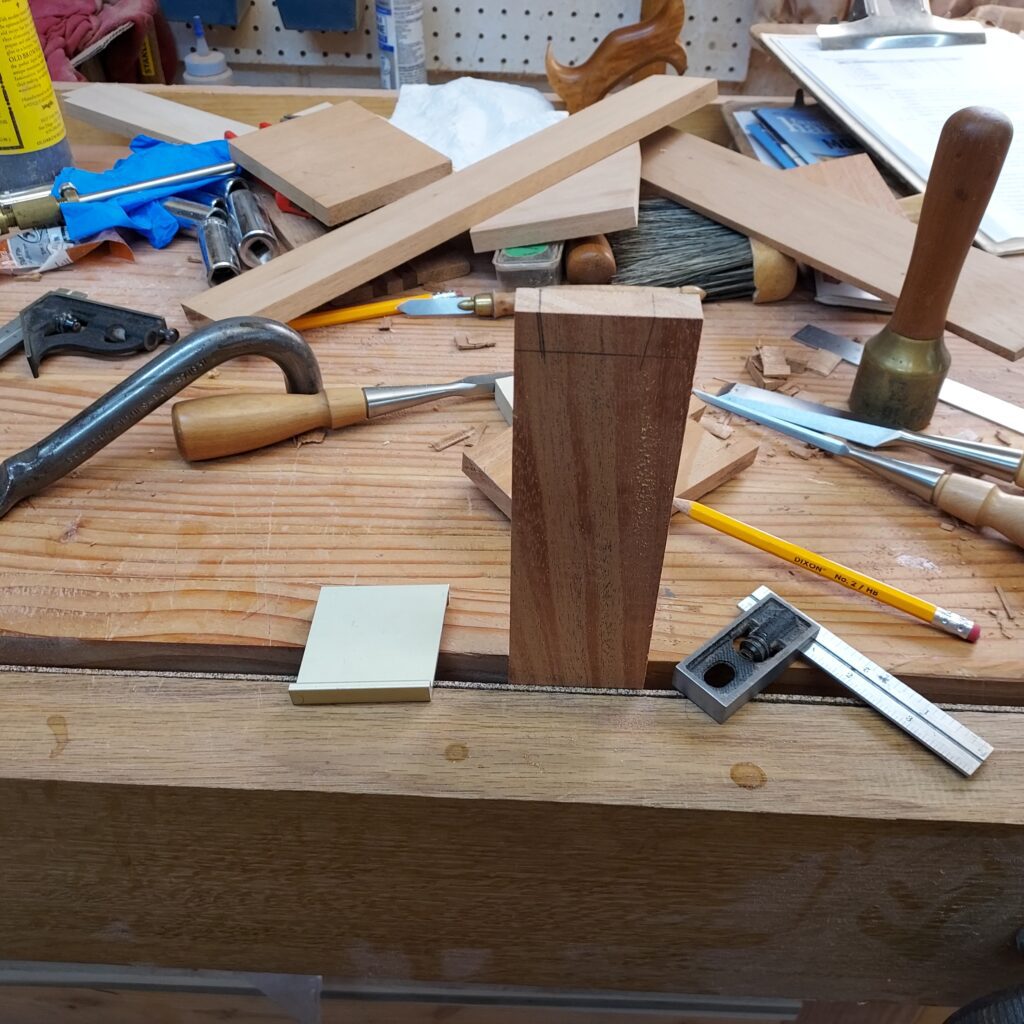
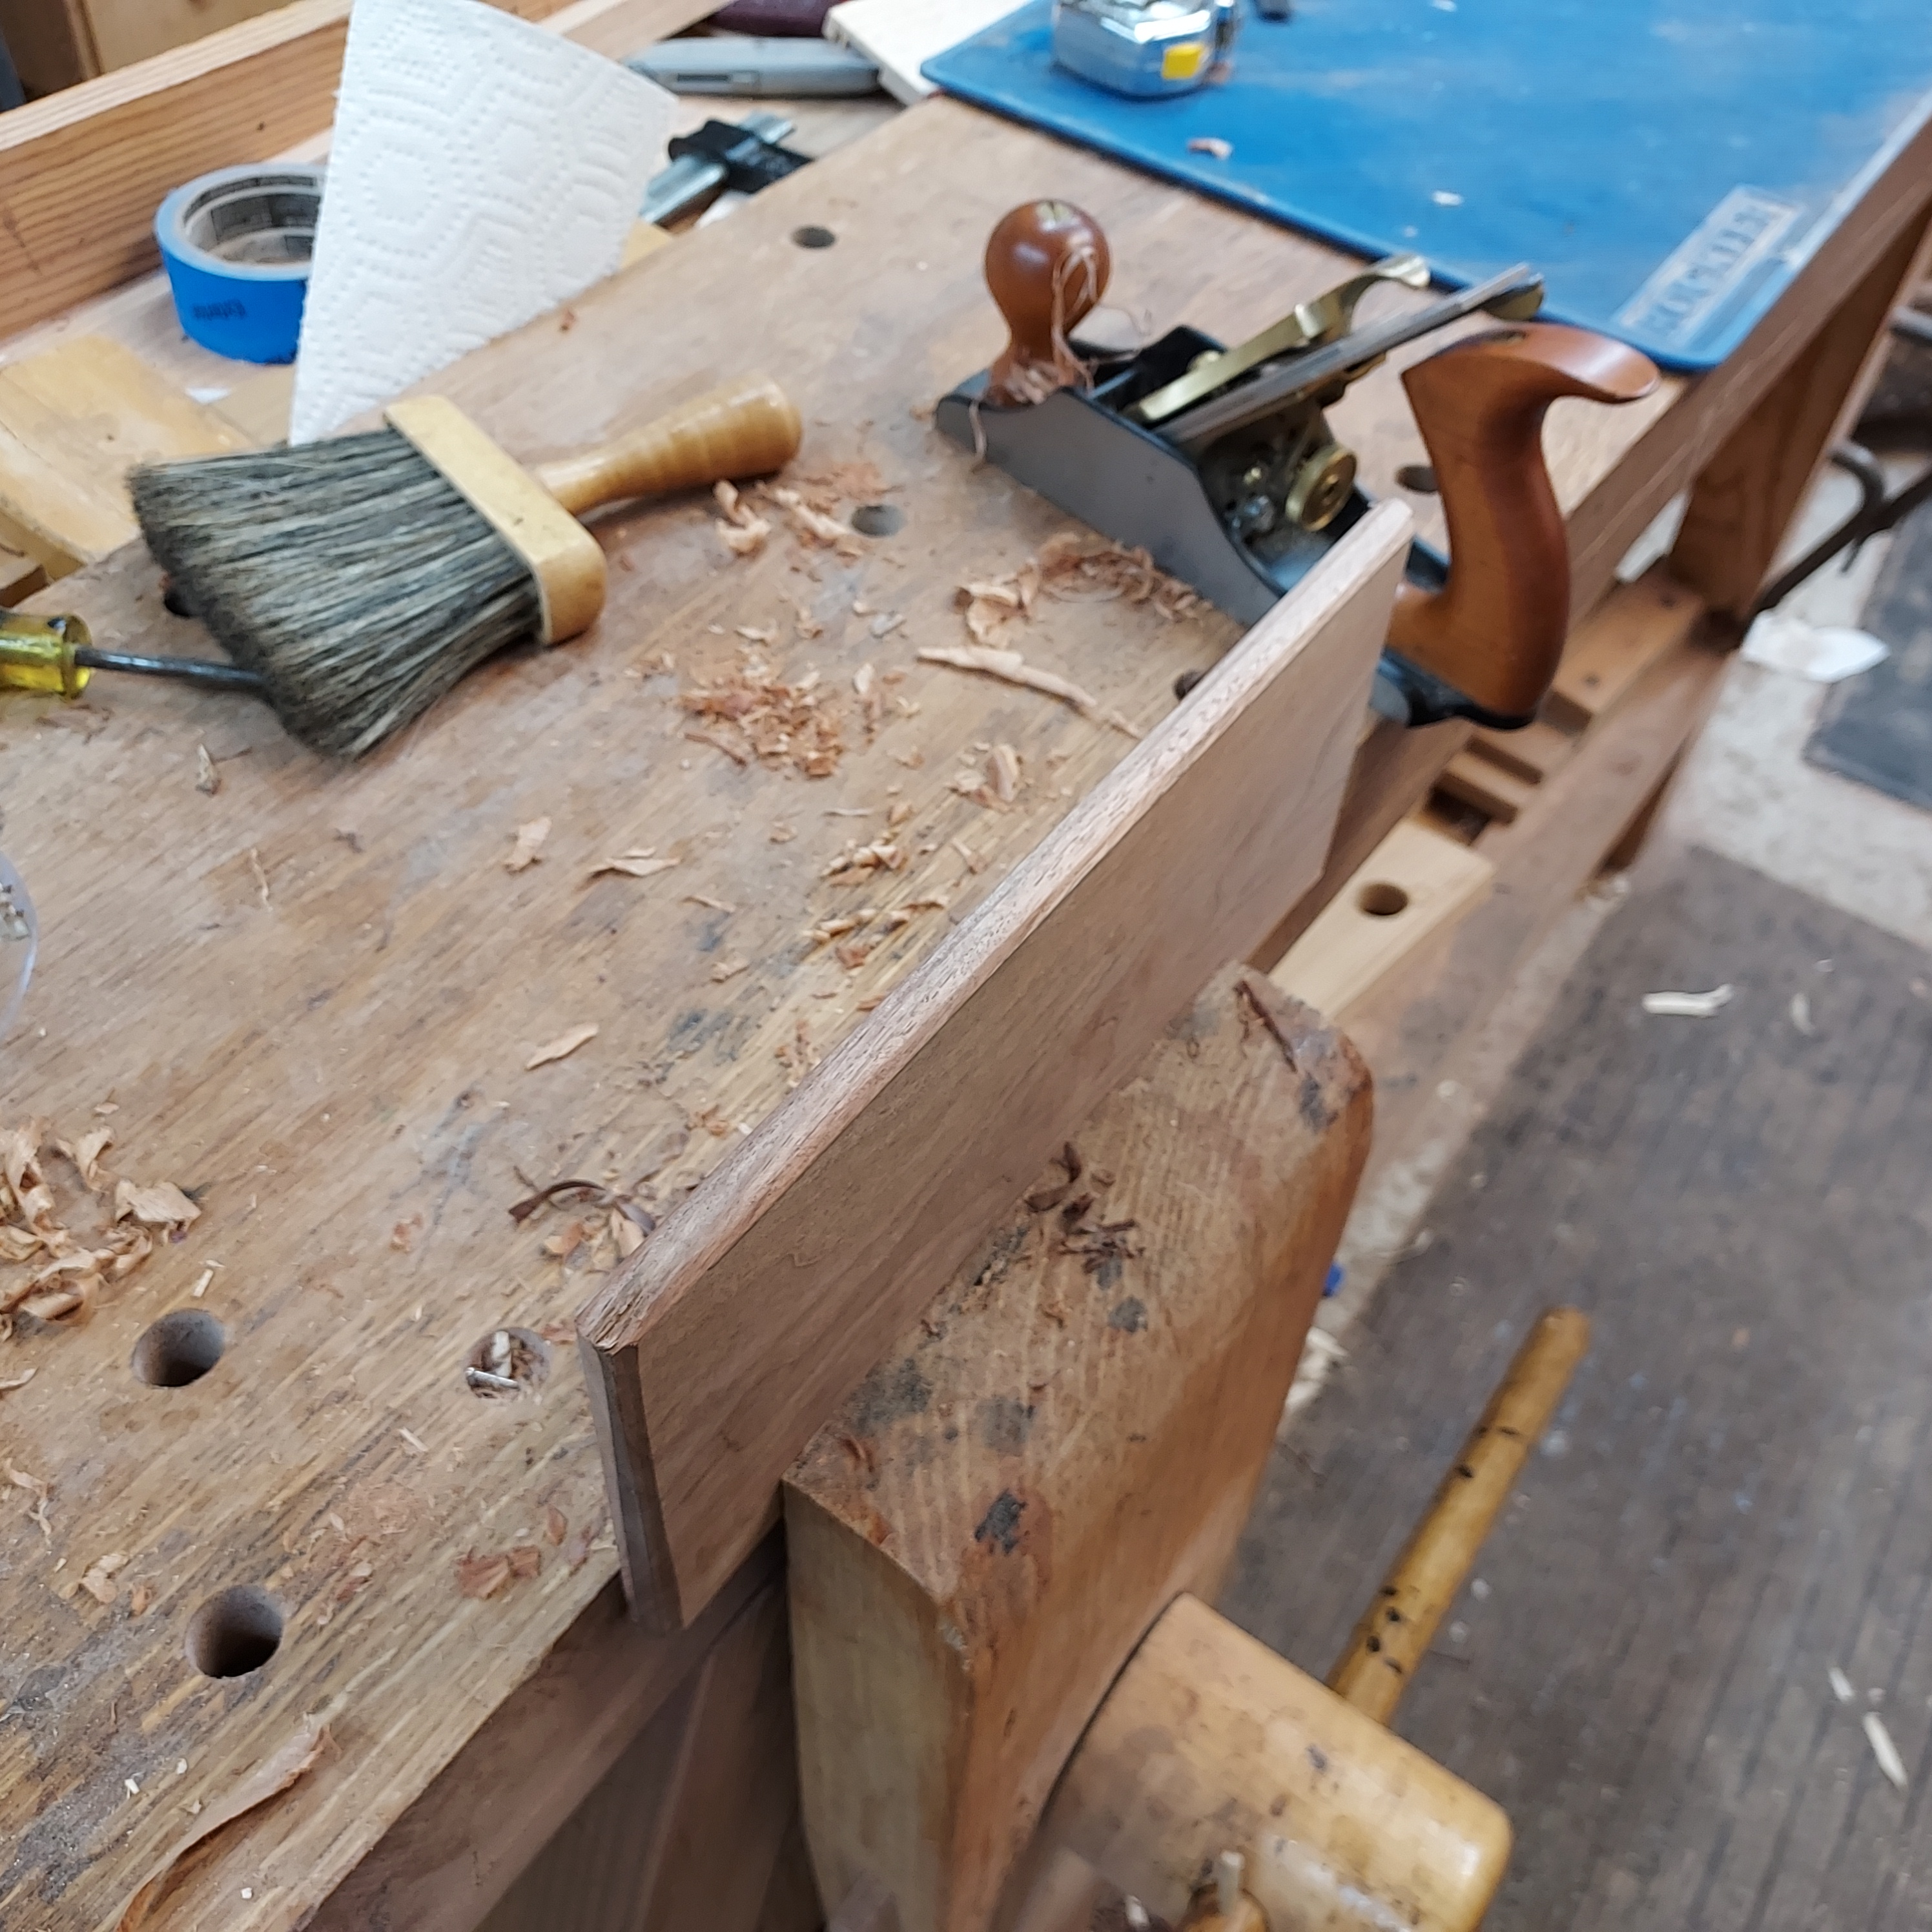
- For the Dado’s (through dado on front, stopped dado on back); Put box together, then mark location for stopped dado in back; take box apart.
- Put front & back together, put in vise, exactly lined up, then mark location of divider (example 4-7/8” from each side). Use actual piece to mark one side with knife, and then the other one with pencil – for both front & back. Use marking gauge to go 1/8” deep on front piece, and on the back piece on the bottom (since it is a stopped dado). Cut one side of dado; Create knife wall, use chisel to cut down to depth of 1/8”. Use the one side and the actual divider piece to mark the actual width needed. Then chisel down to line. For stopped dado, cut almost to line and then chisel out the end piece
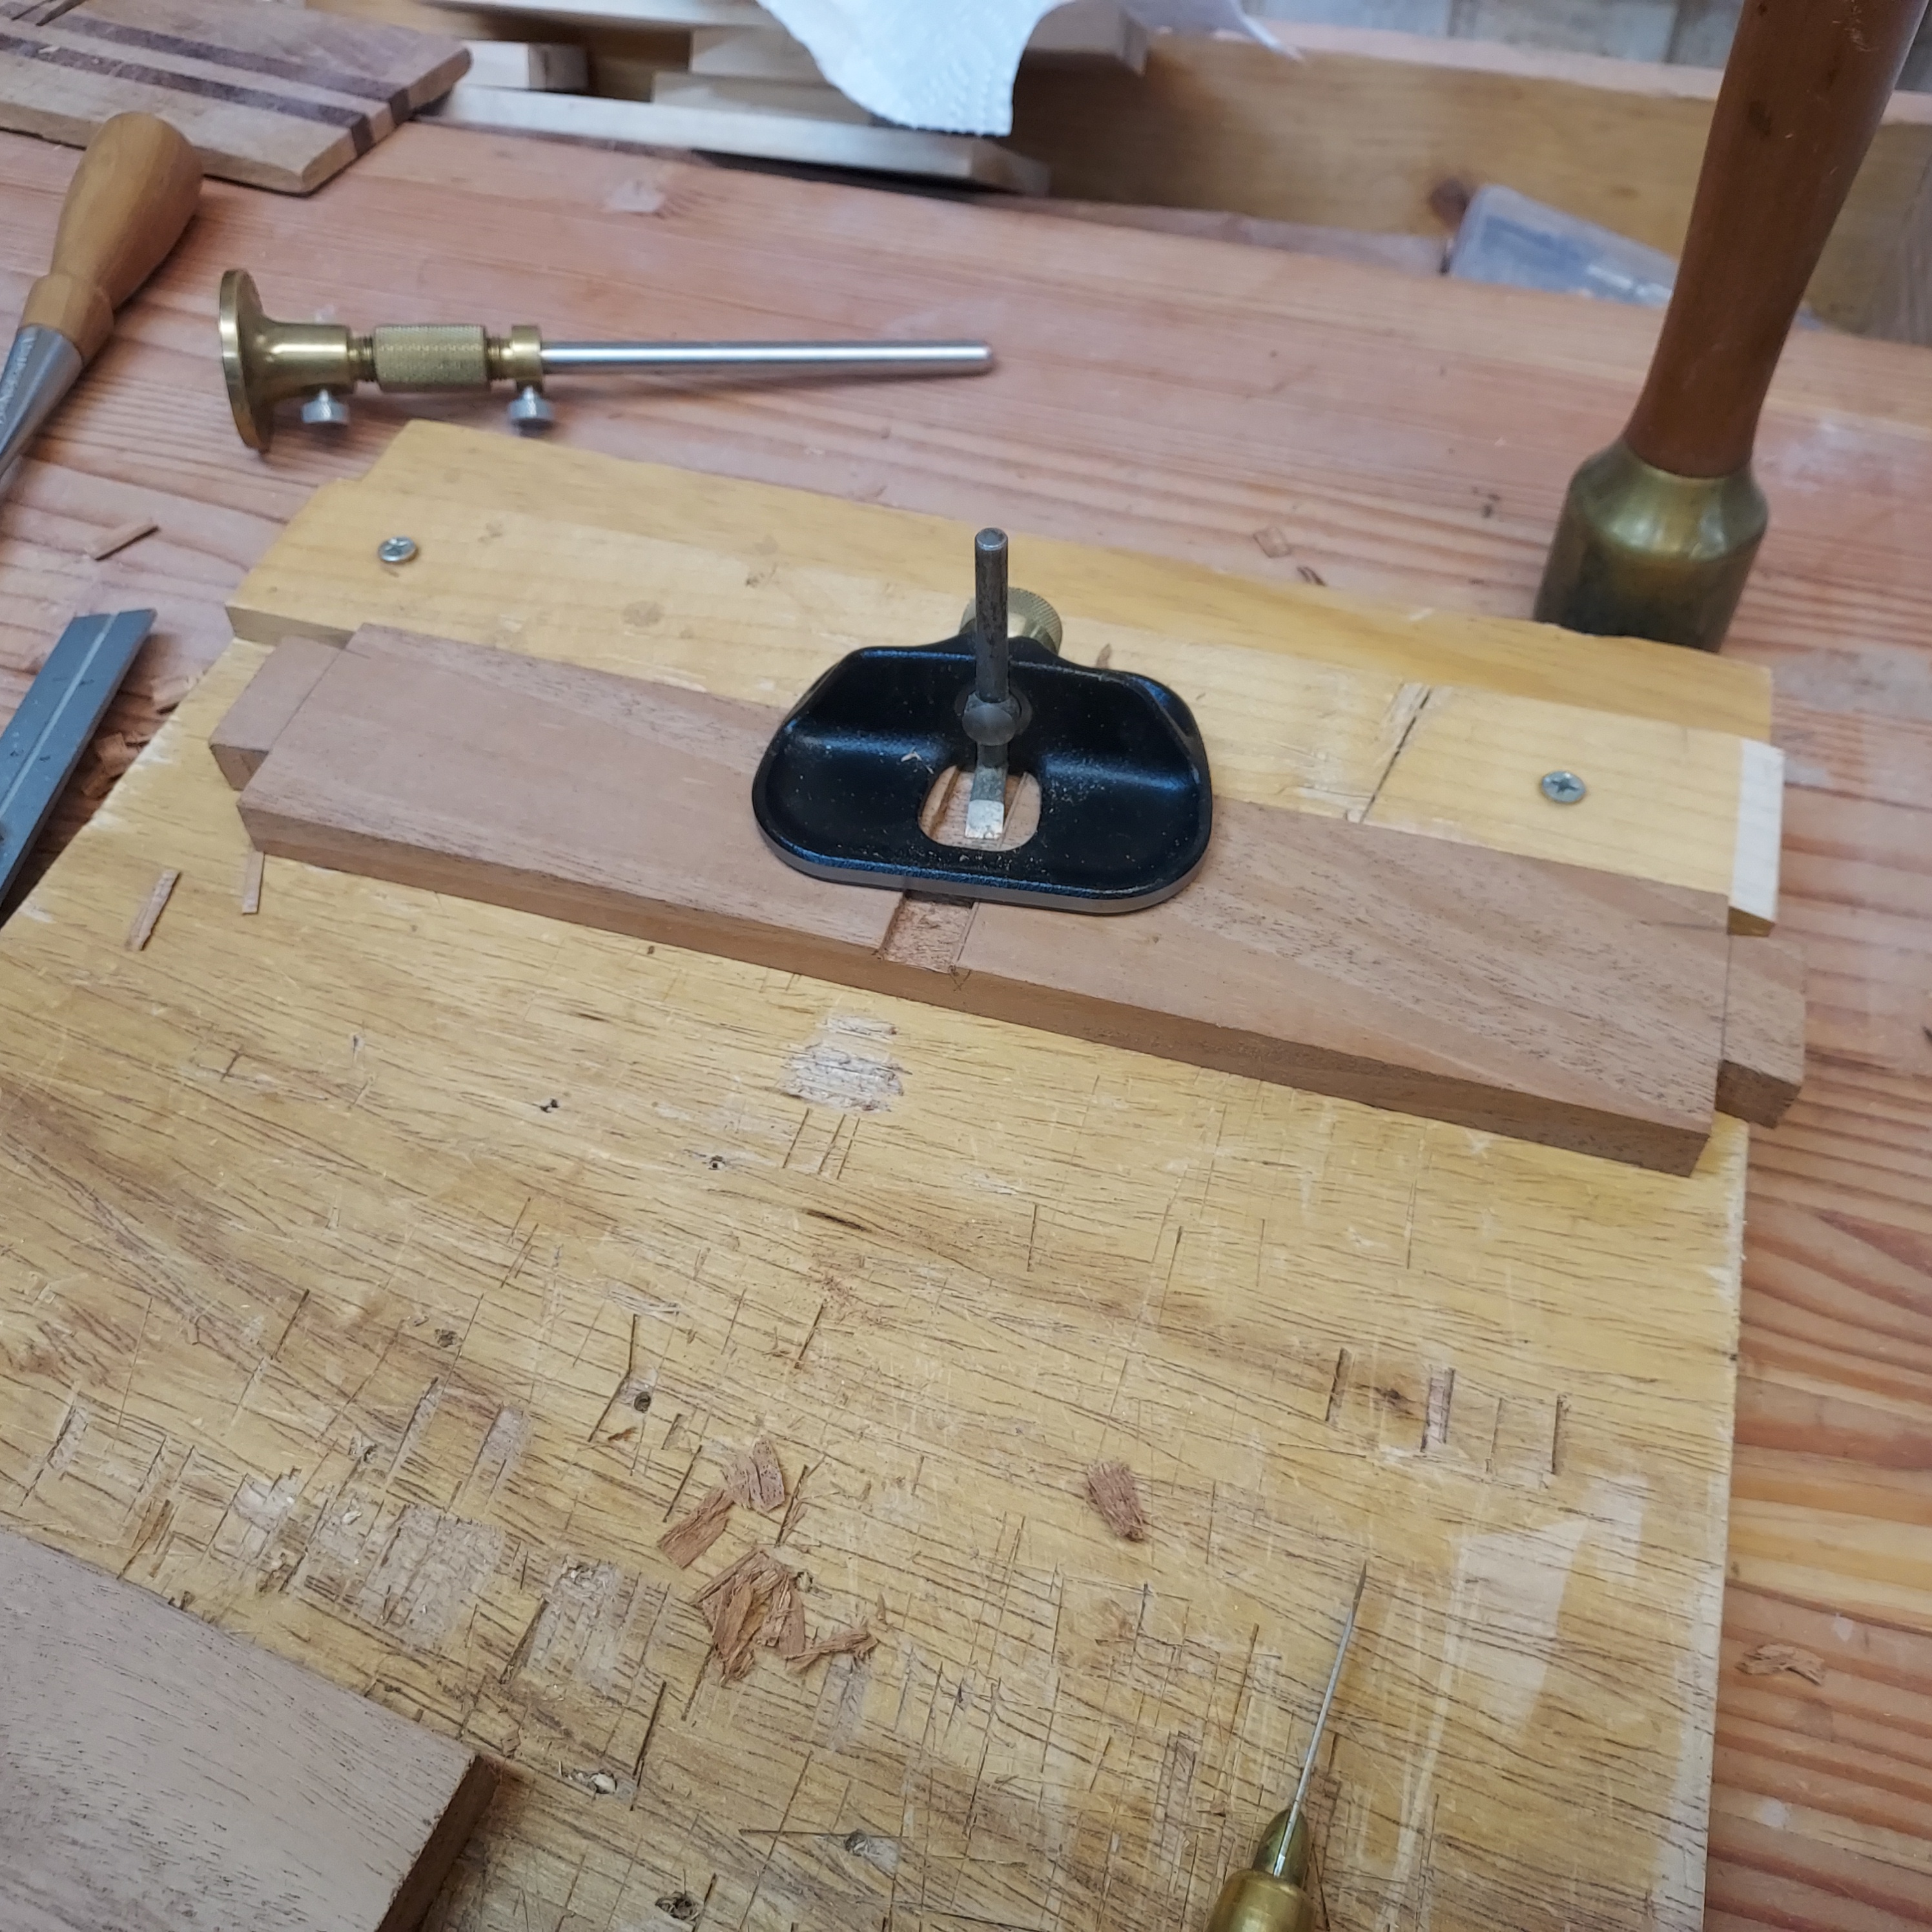
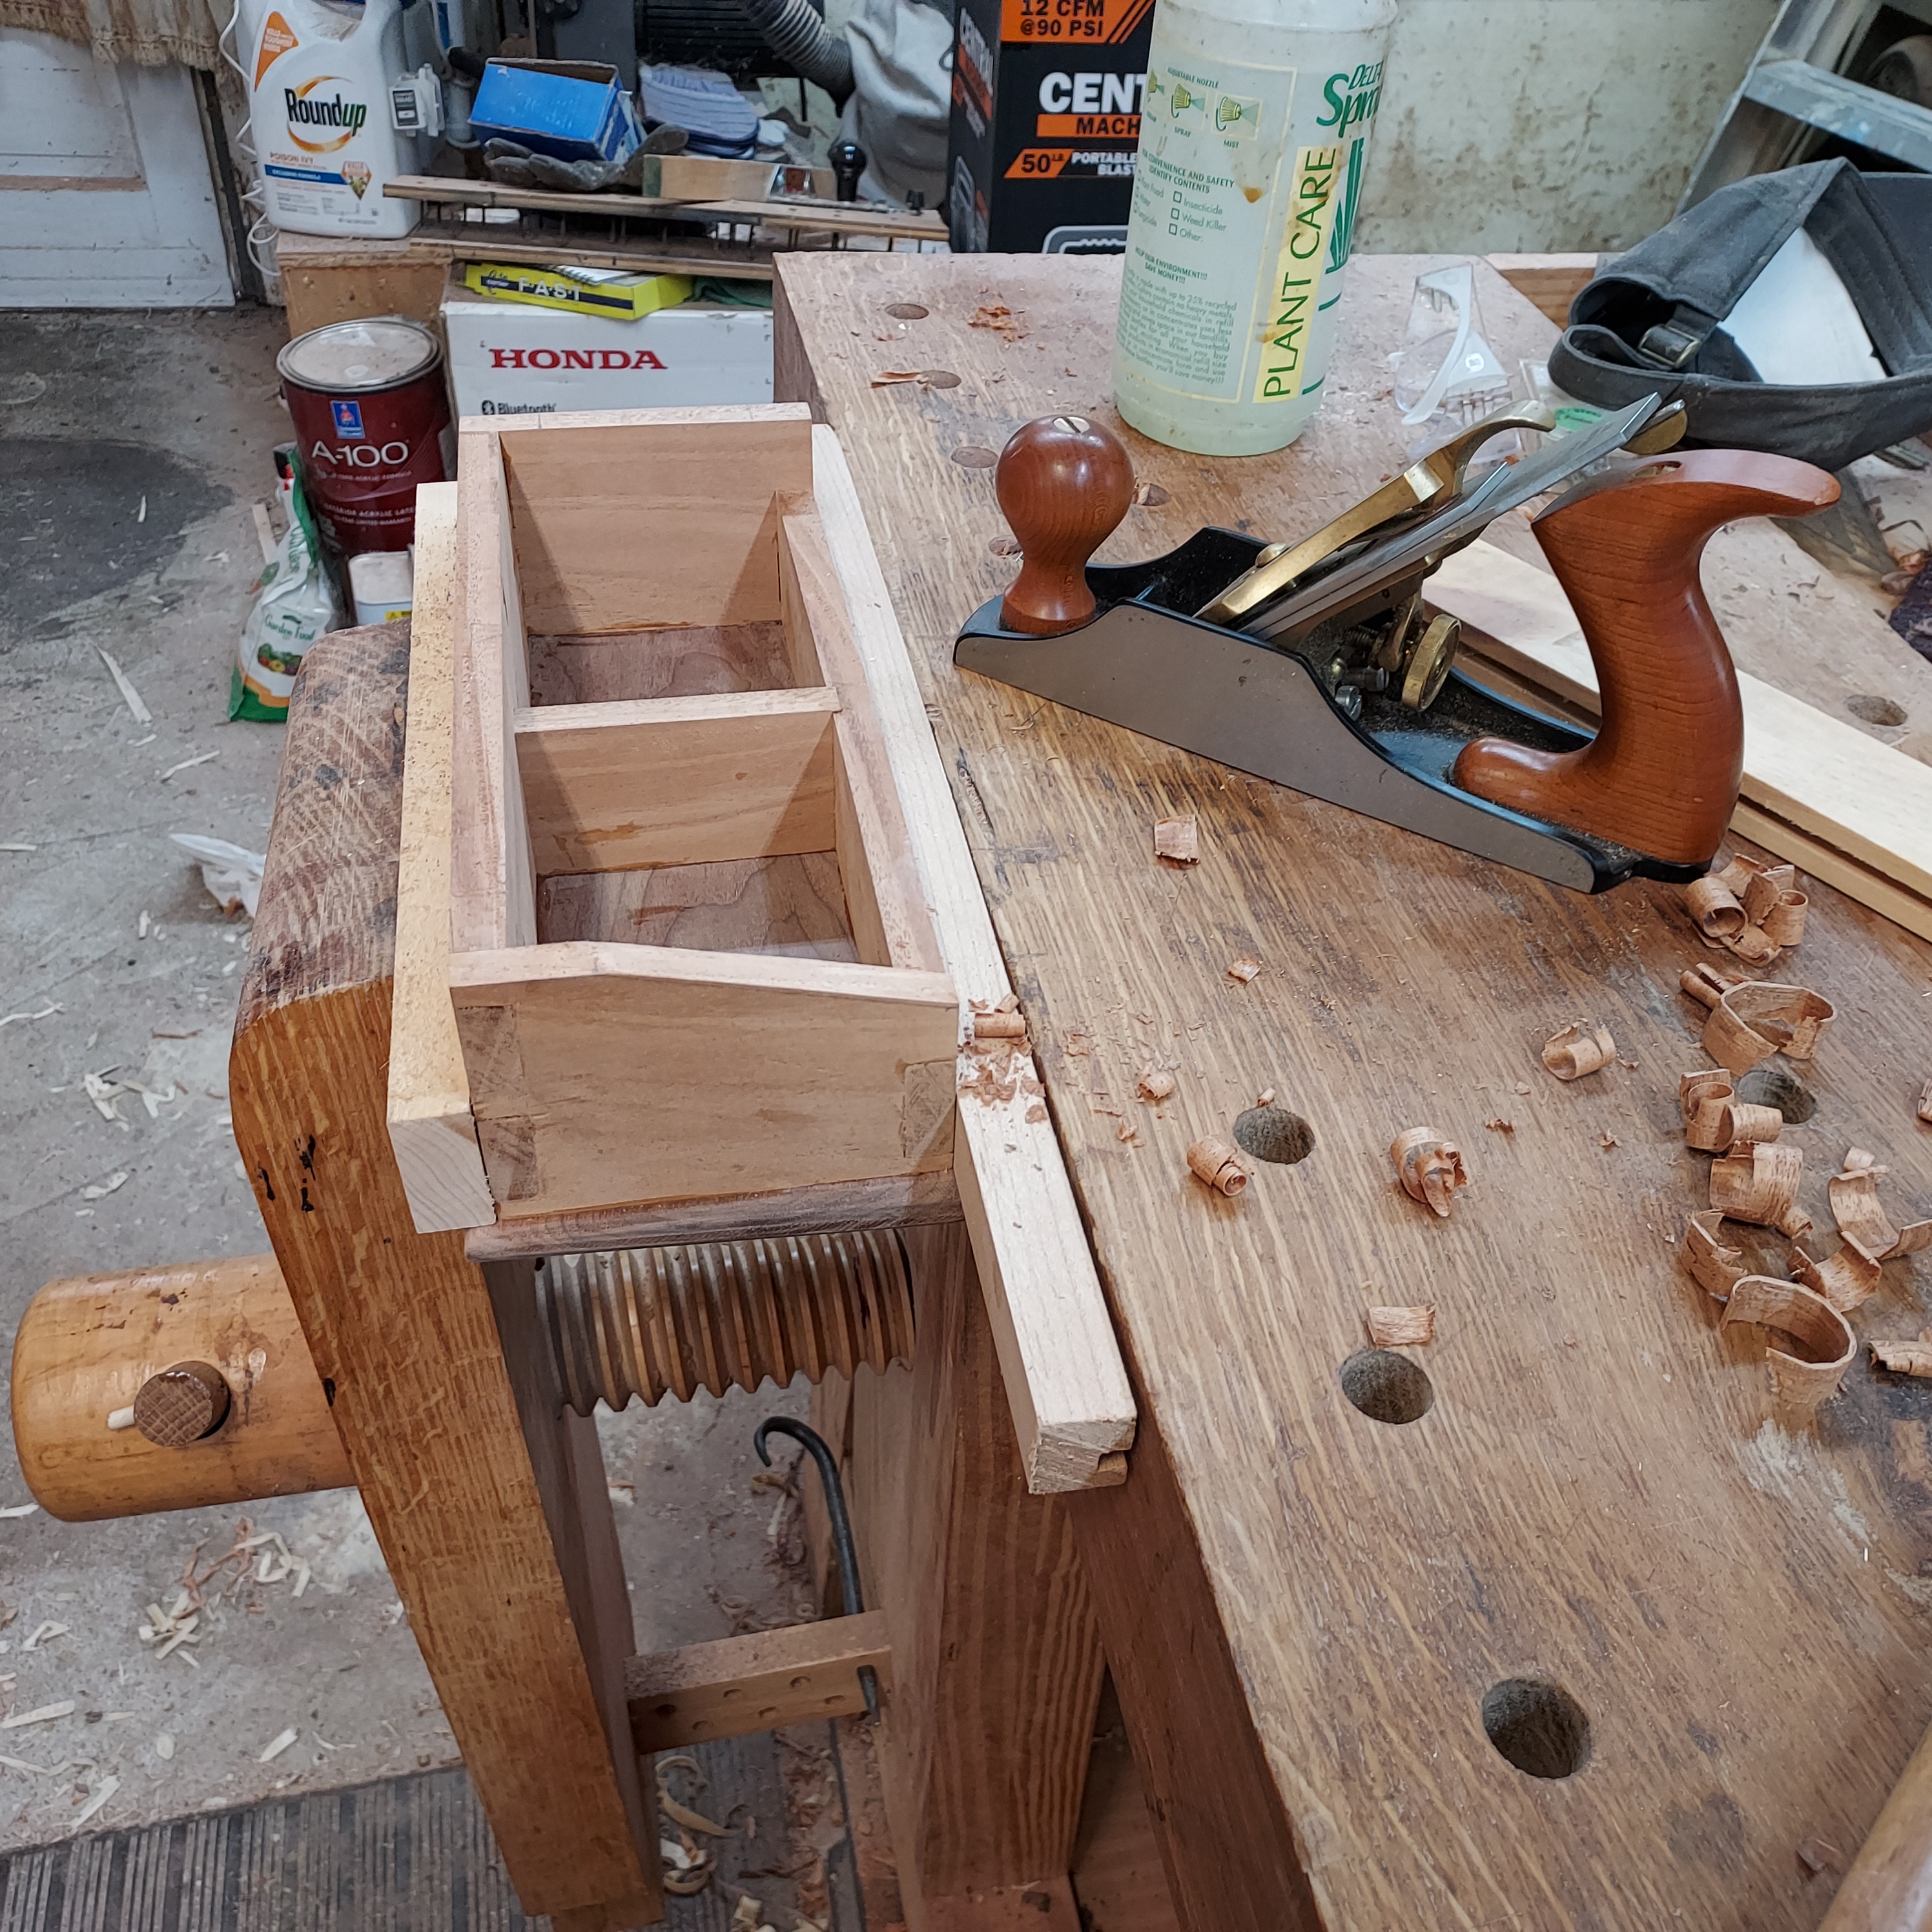
- Use router plane to clean up dado to final depth
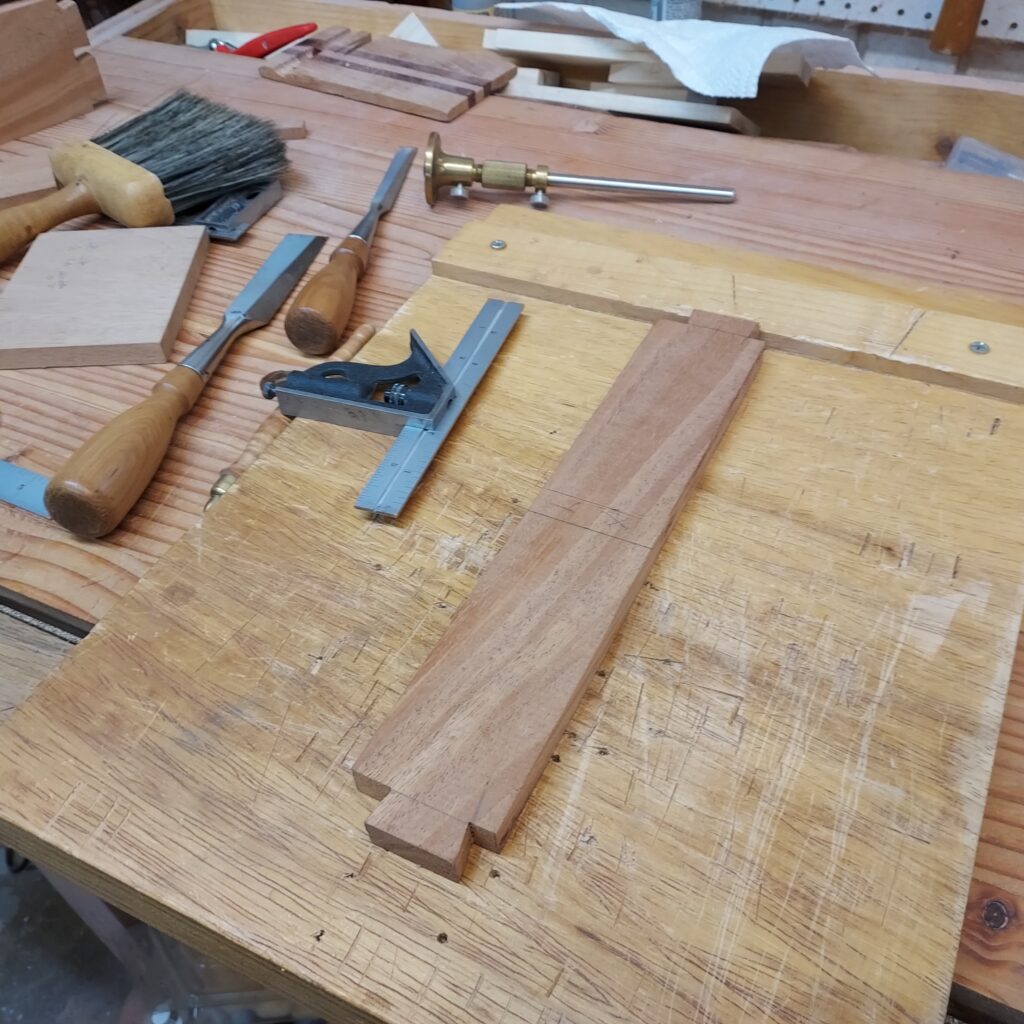
- Cut divider to final length (put in vise, measure for length, make knife “nick” and carry that down. Saw to final length. Clean up with plane and/or shooting board
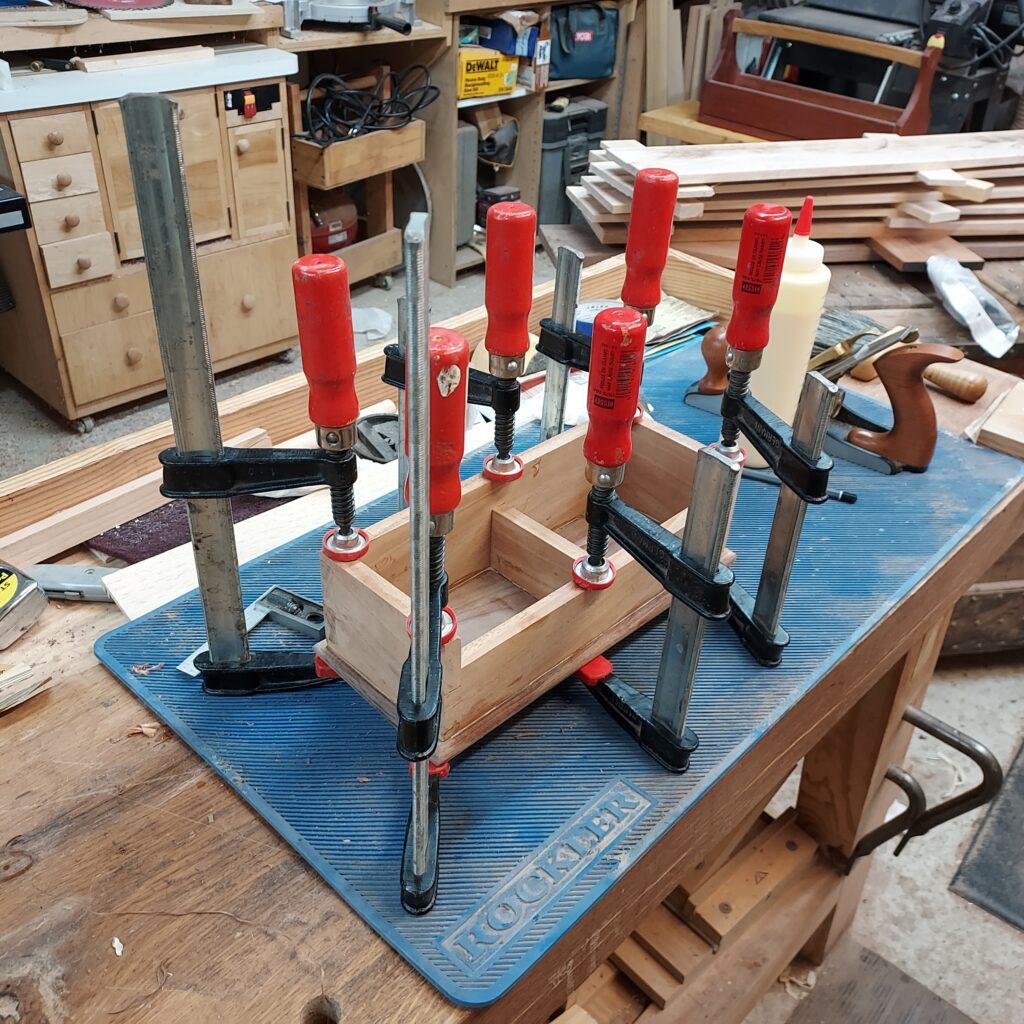
- Clean up & glue up the box; Assemble box, then use chisels to clean up high points on dovetails, using circular motions. Clean up divider with plane if it sticks up. Apply glue to joints (dovetails, dados, etc) clean up with spatula & then assemble box. Make sure everything is seated. Then turn over to bottom of box, check for square by corner-to-corner measurement. Put box in vise upside down, then use plane to flush out any corners
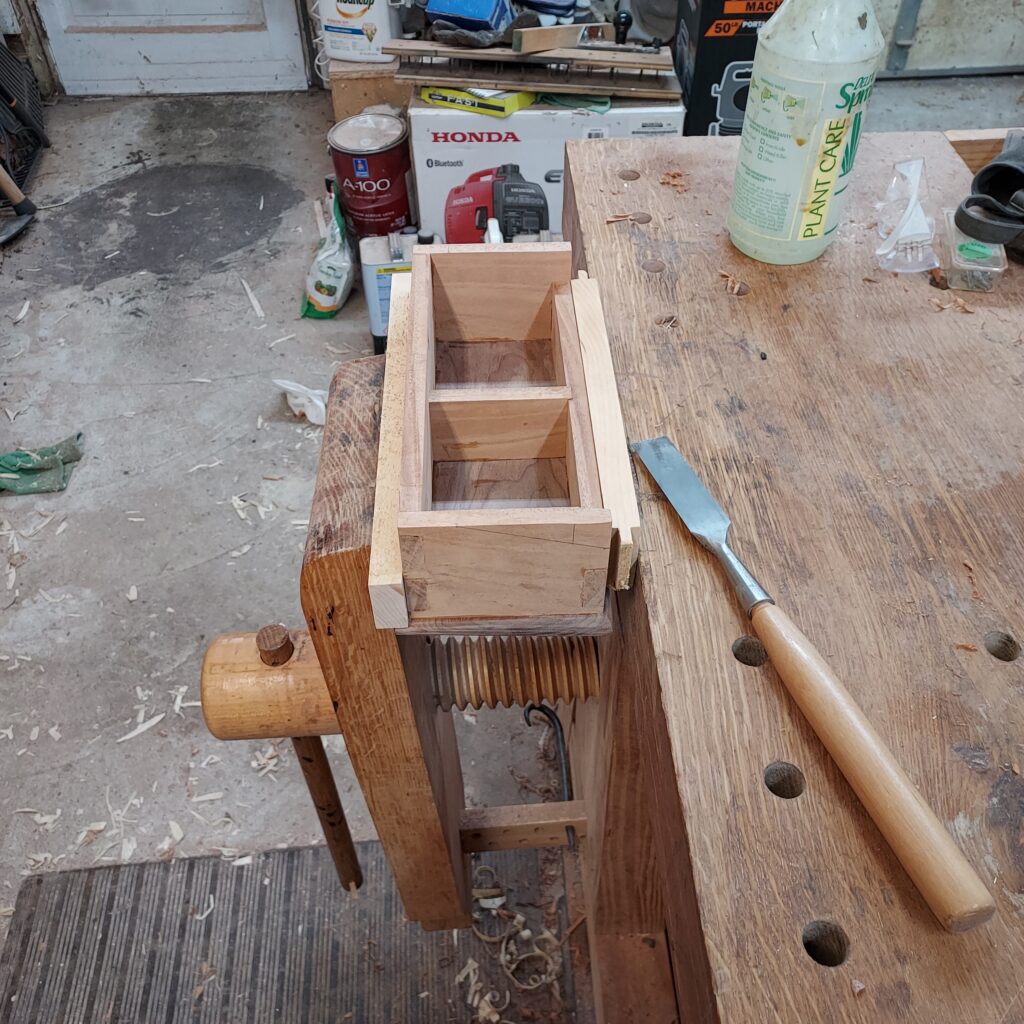
- For the bottom, Layout round-overs with pencil – 1/8” and use plane to round-over four edges, do end grain first, then long ones. Put up in vise, then with plane on diagonal, move plane to shape the round over. Do opposite side. Use sandpaper to clean up, complete round over
- Glue on bottom; Place on bottom so it is equidistant. Put an L on the four internal corners. Run a bead of glue along the bottom of the box. Place the box on the four corners, press down and then clamp into place. Clean off any glue with a sharp chisel.
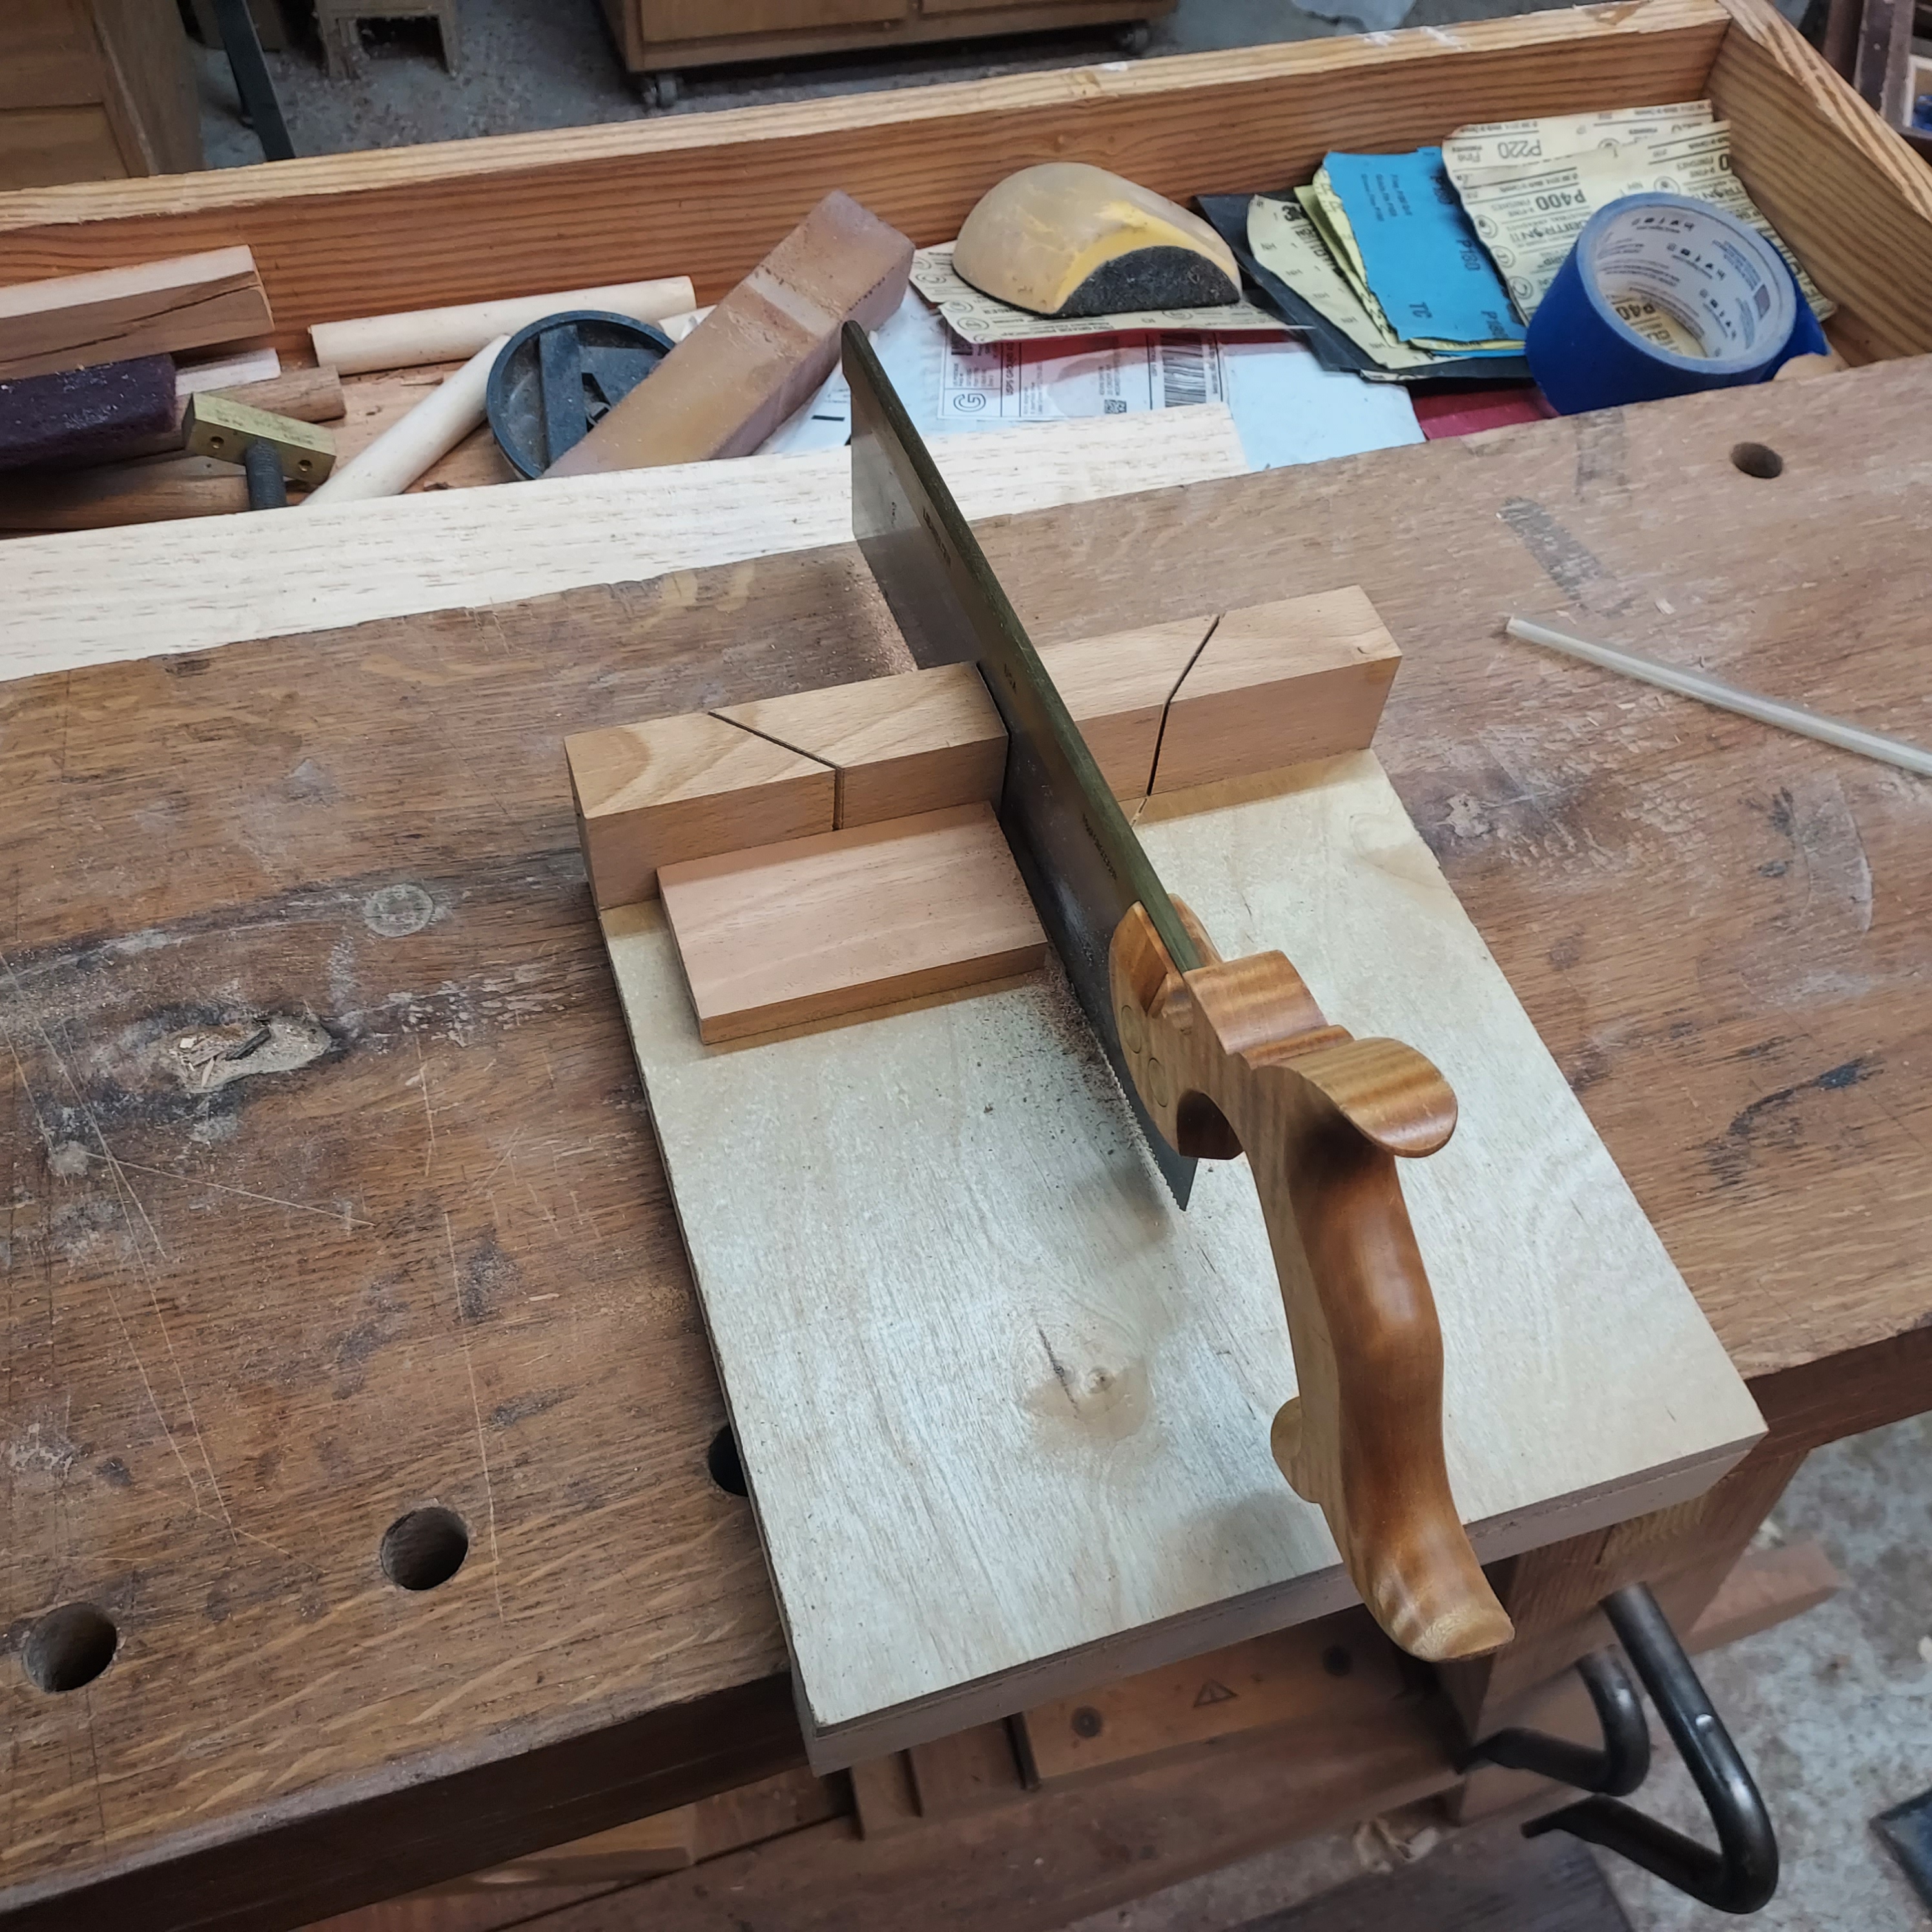
- Cut angle on top. Put cauls on front & back to not damage base
- Layout cut, 1” in from back and just ¼” from front piece, with line across the sides with pencil. Use a wide chisel and work it down. Start shallow so you can see how it splits. Work it down, then use plane to make it smooth. Then use plane to make on shaving on ends to round over
- Once done, you spot sand/clean up, and then finish with several coats of shellac.