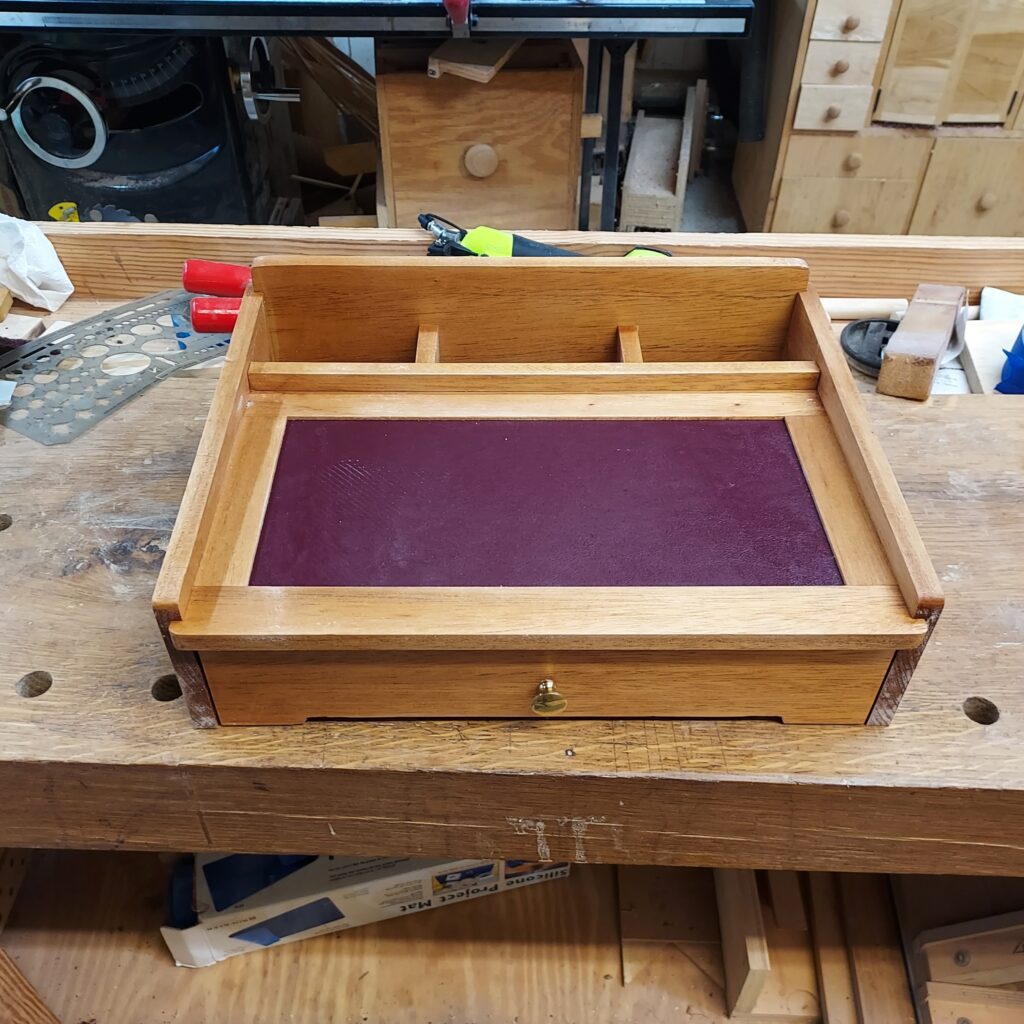
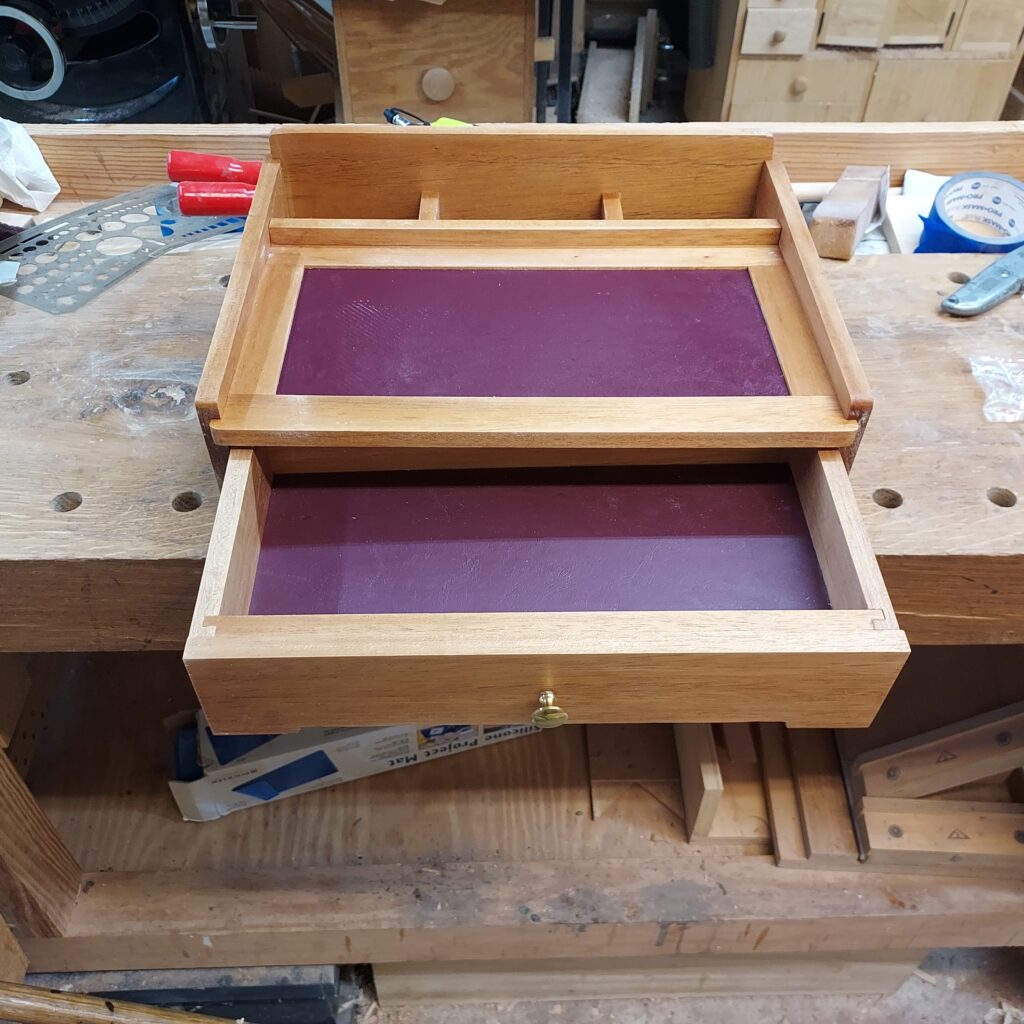
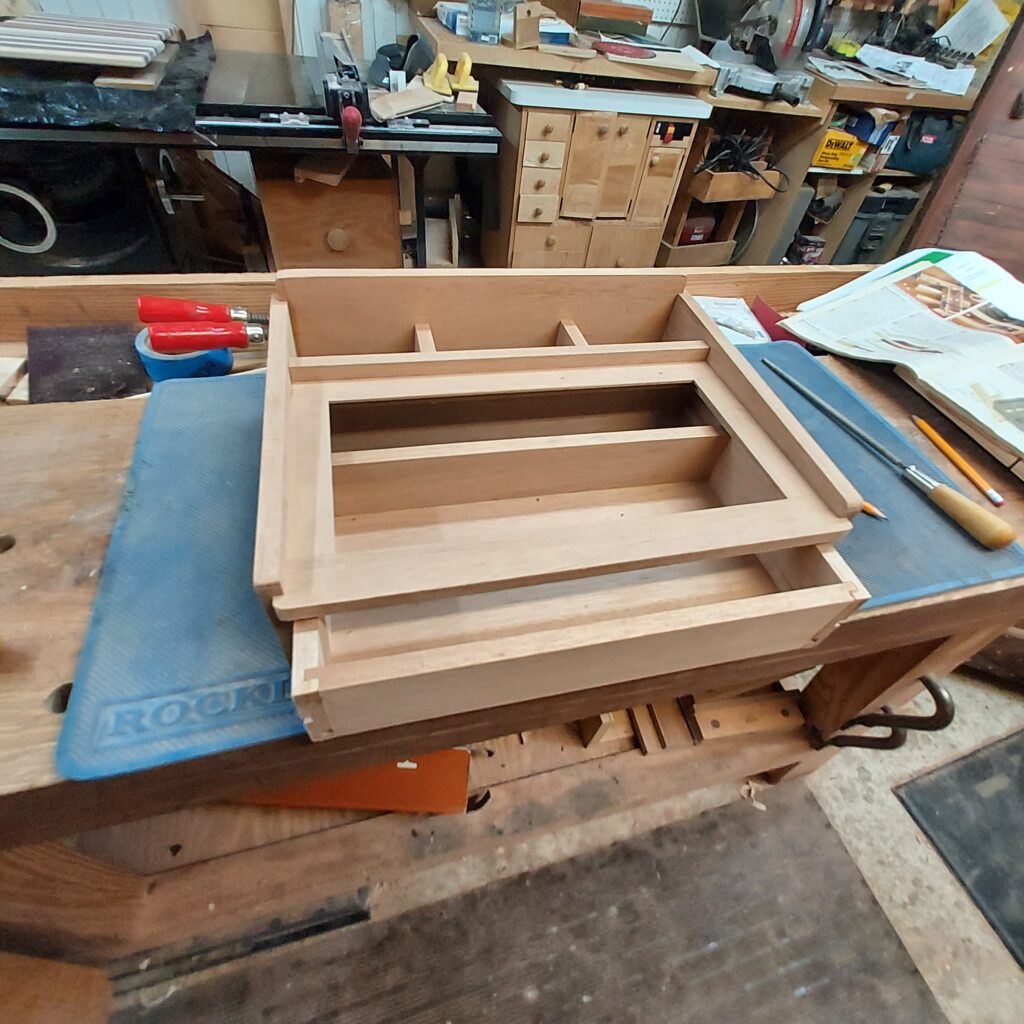
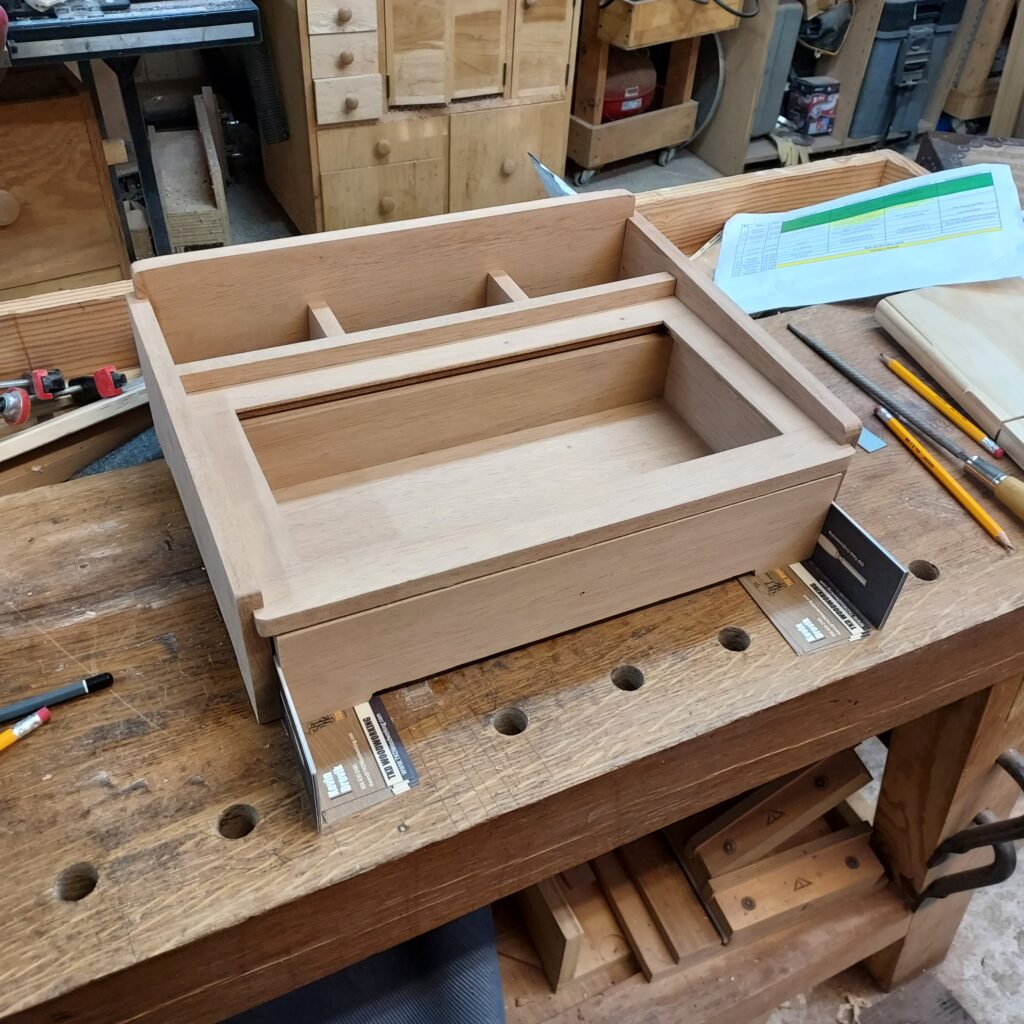
Saw this design and wanted to make this for a commission customer. Made of Mahogany, it has three small slots in the back with holes for charging cables, a cloth top for holding items (keys, glasses, etc.) and a pull out drawer for personal items. While the build was challenging, I enjoyed getting the work done to in a high quality manner. A great piece for a home!
Case Parts
- From ½” thick mahogany, cut the sides, back and long divider to size

Rout a ½” stopped groove ¼” deep in the mirror-image sides. Square the groove ends with a chisel.
- Reposition the fence and using the same bit setup, cut a ½” rabbet ¼” deep along the inside face of the sides (A) at the back end where shown in drawing 1.
- On the front face of the back cut a ¼” groove ¼” deep ½” from the bottom edge to fit your ¼” plywood for the bottom. Then cut the mating groove for the bottom on the back face of the long divider ¼” from the bottom edge.
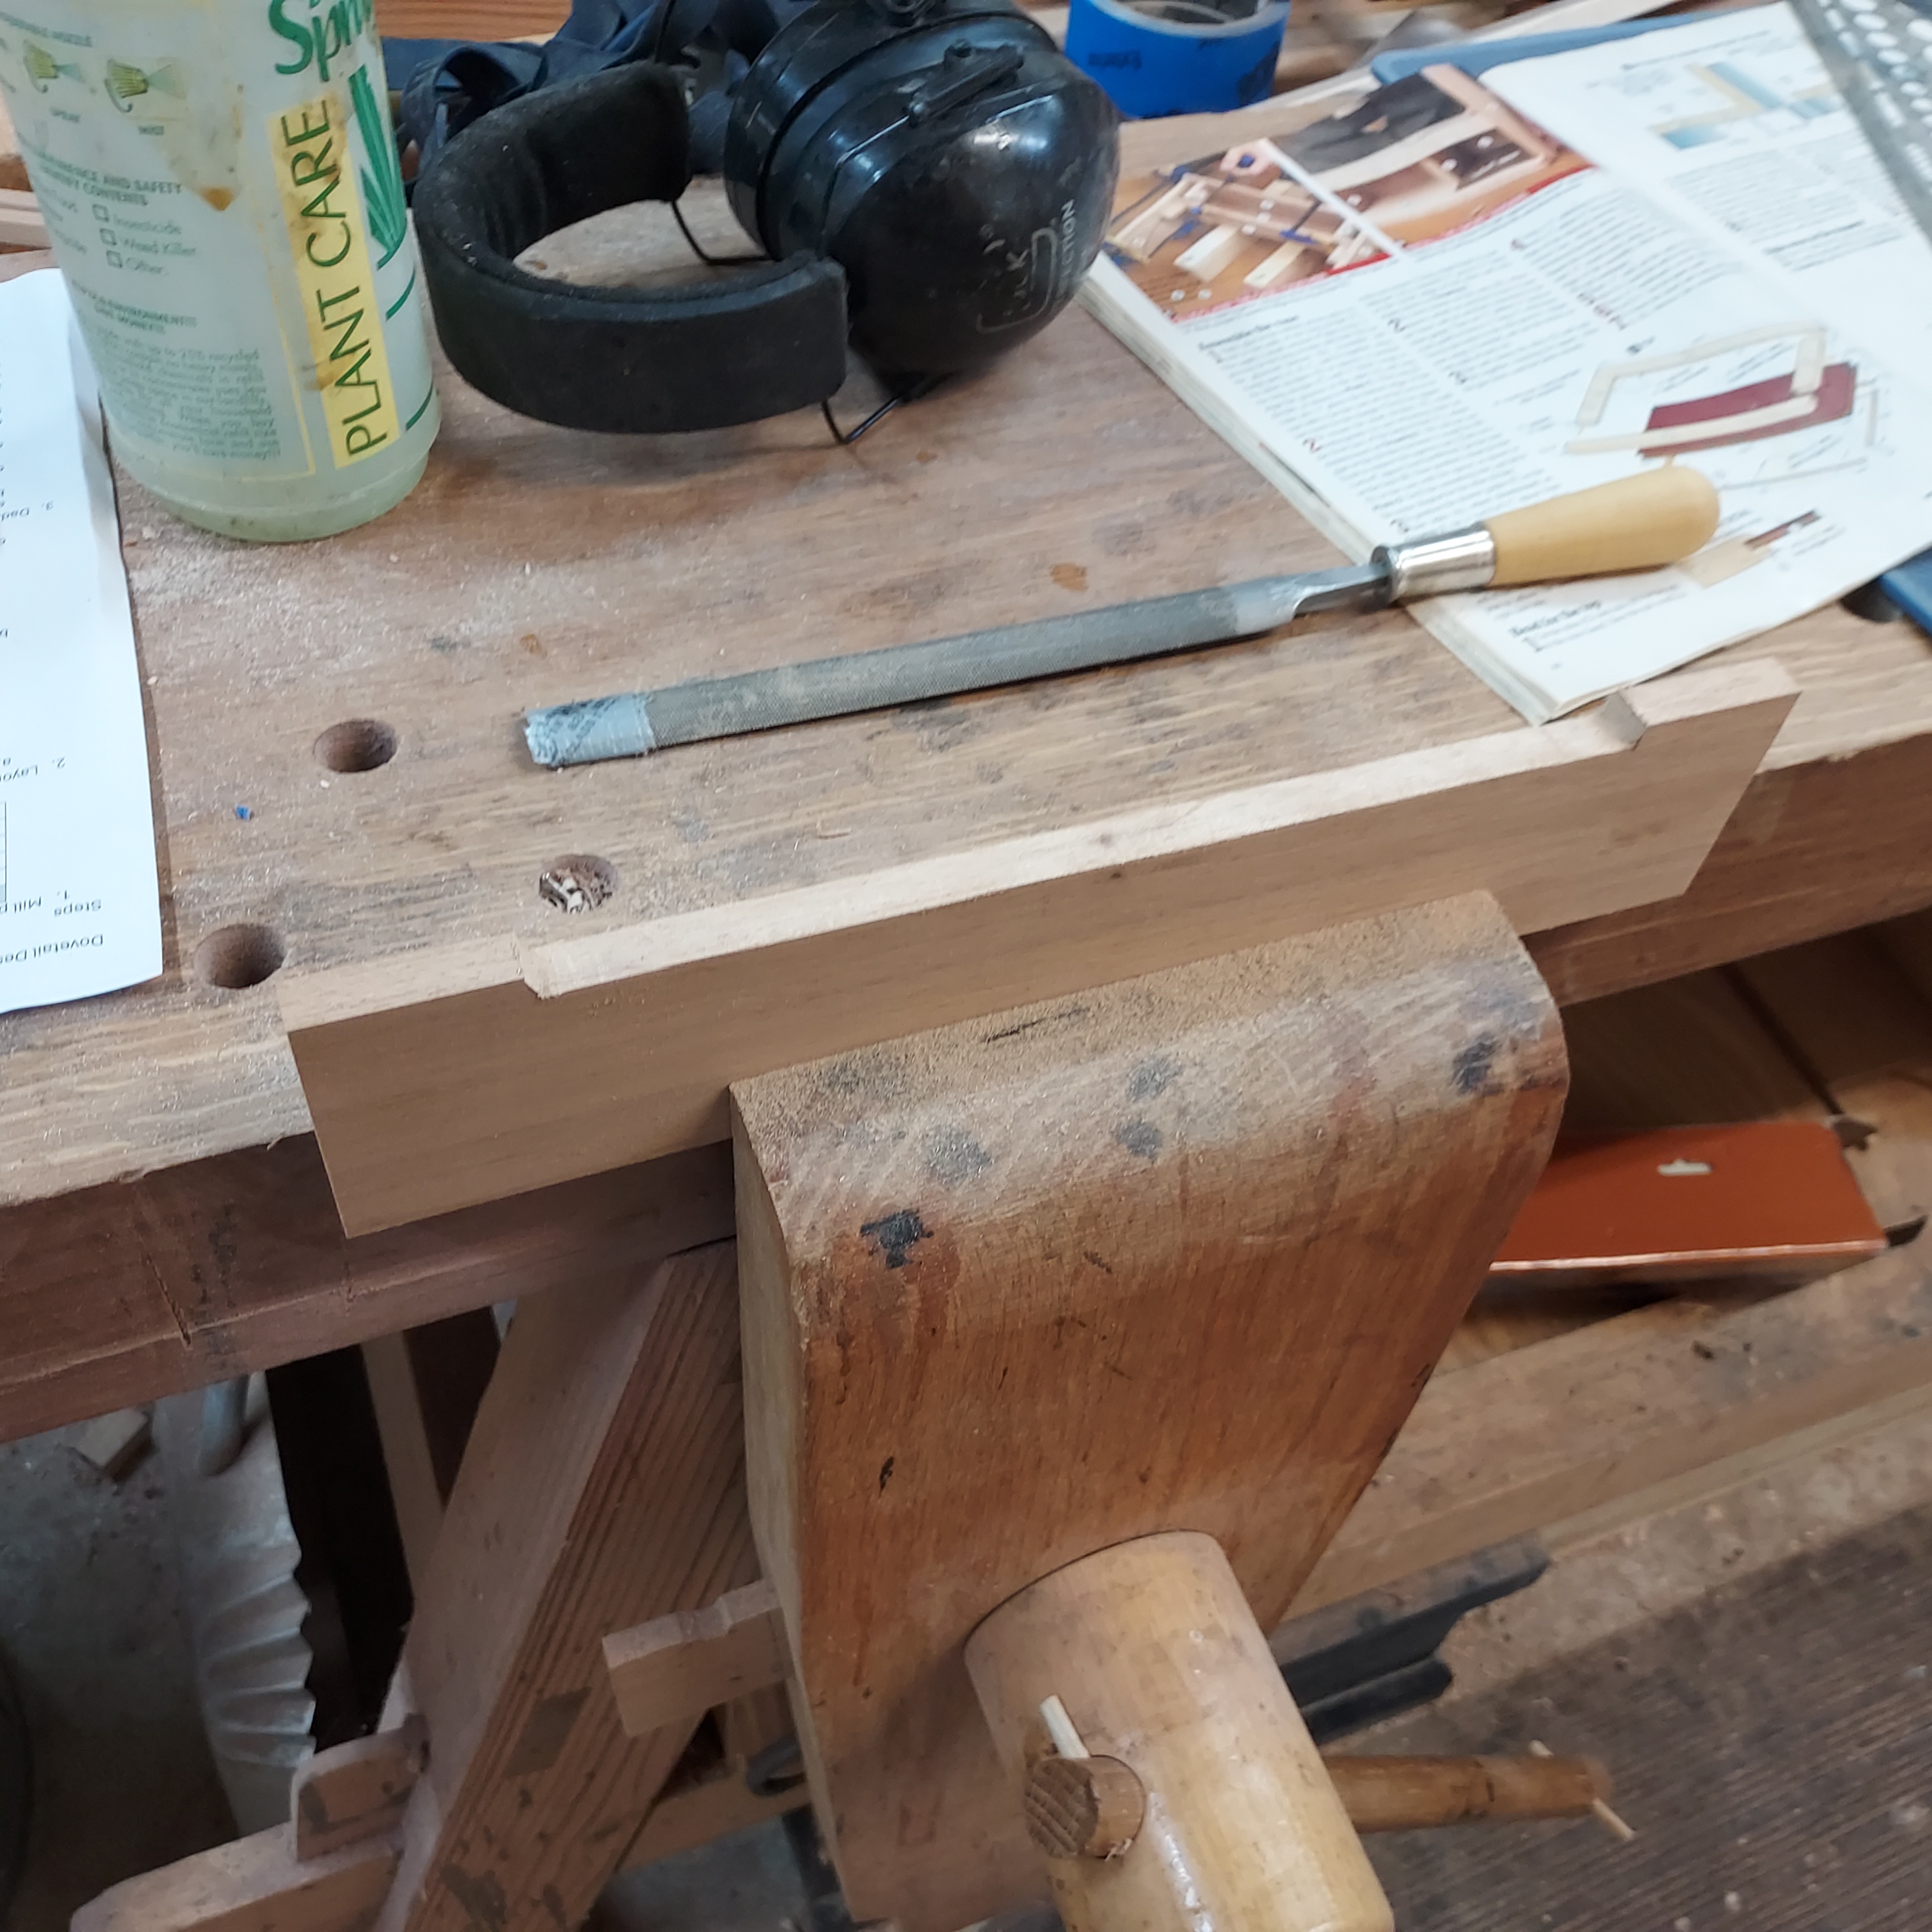
- On the sides, mark the cutout with radiuses ends at the bottom and tapered top edge with radiused front end. Bandsaw and sand the lines. Then layout the radii at the top ends of the back. Sand the radii to shape
- From ¼” mahogany plywood, cut the bottom to the size listed. Then from ½” thick stock, cut the short dividers to size
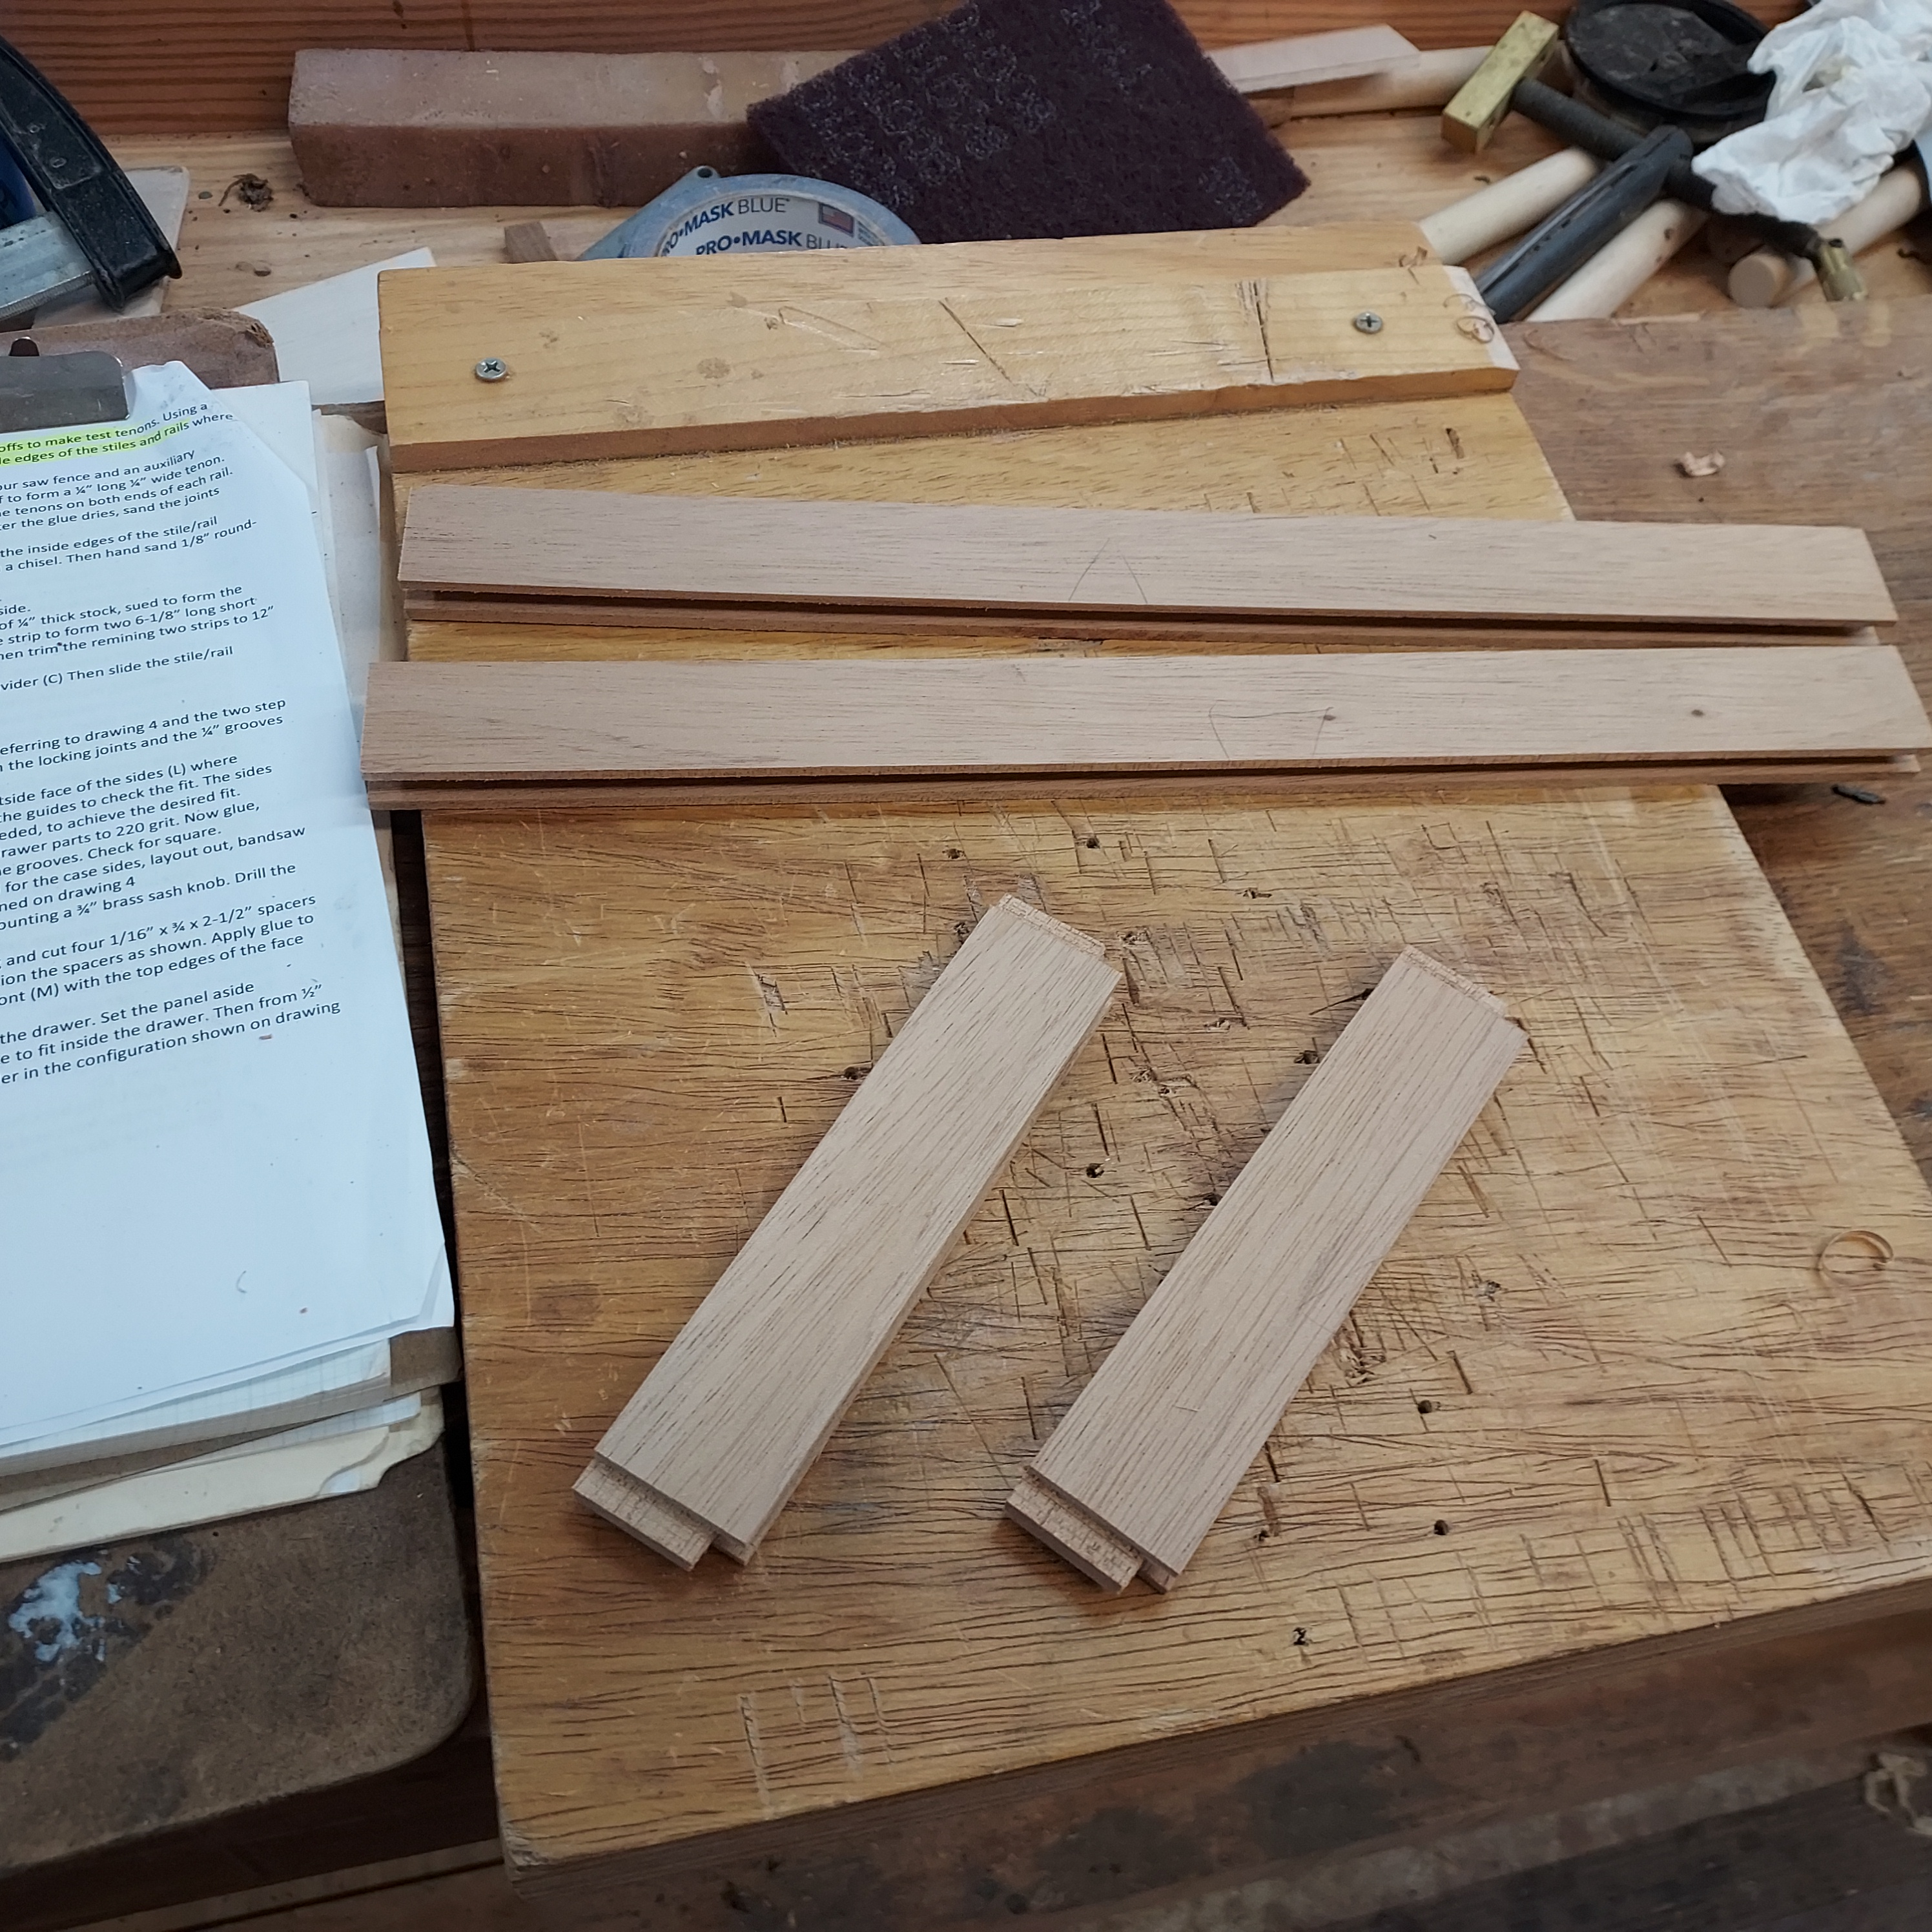
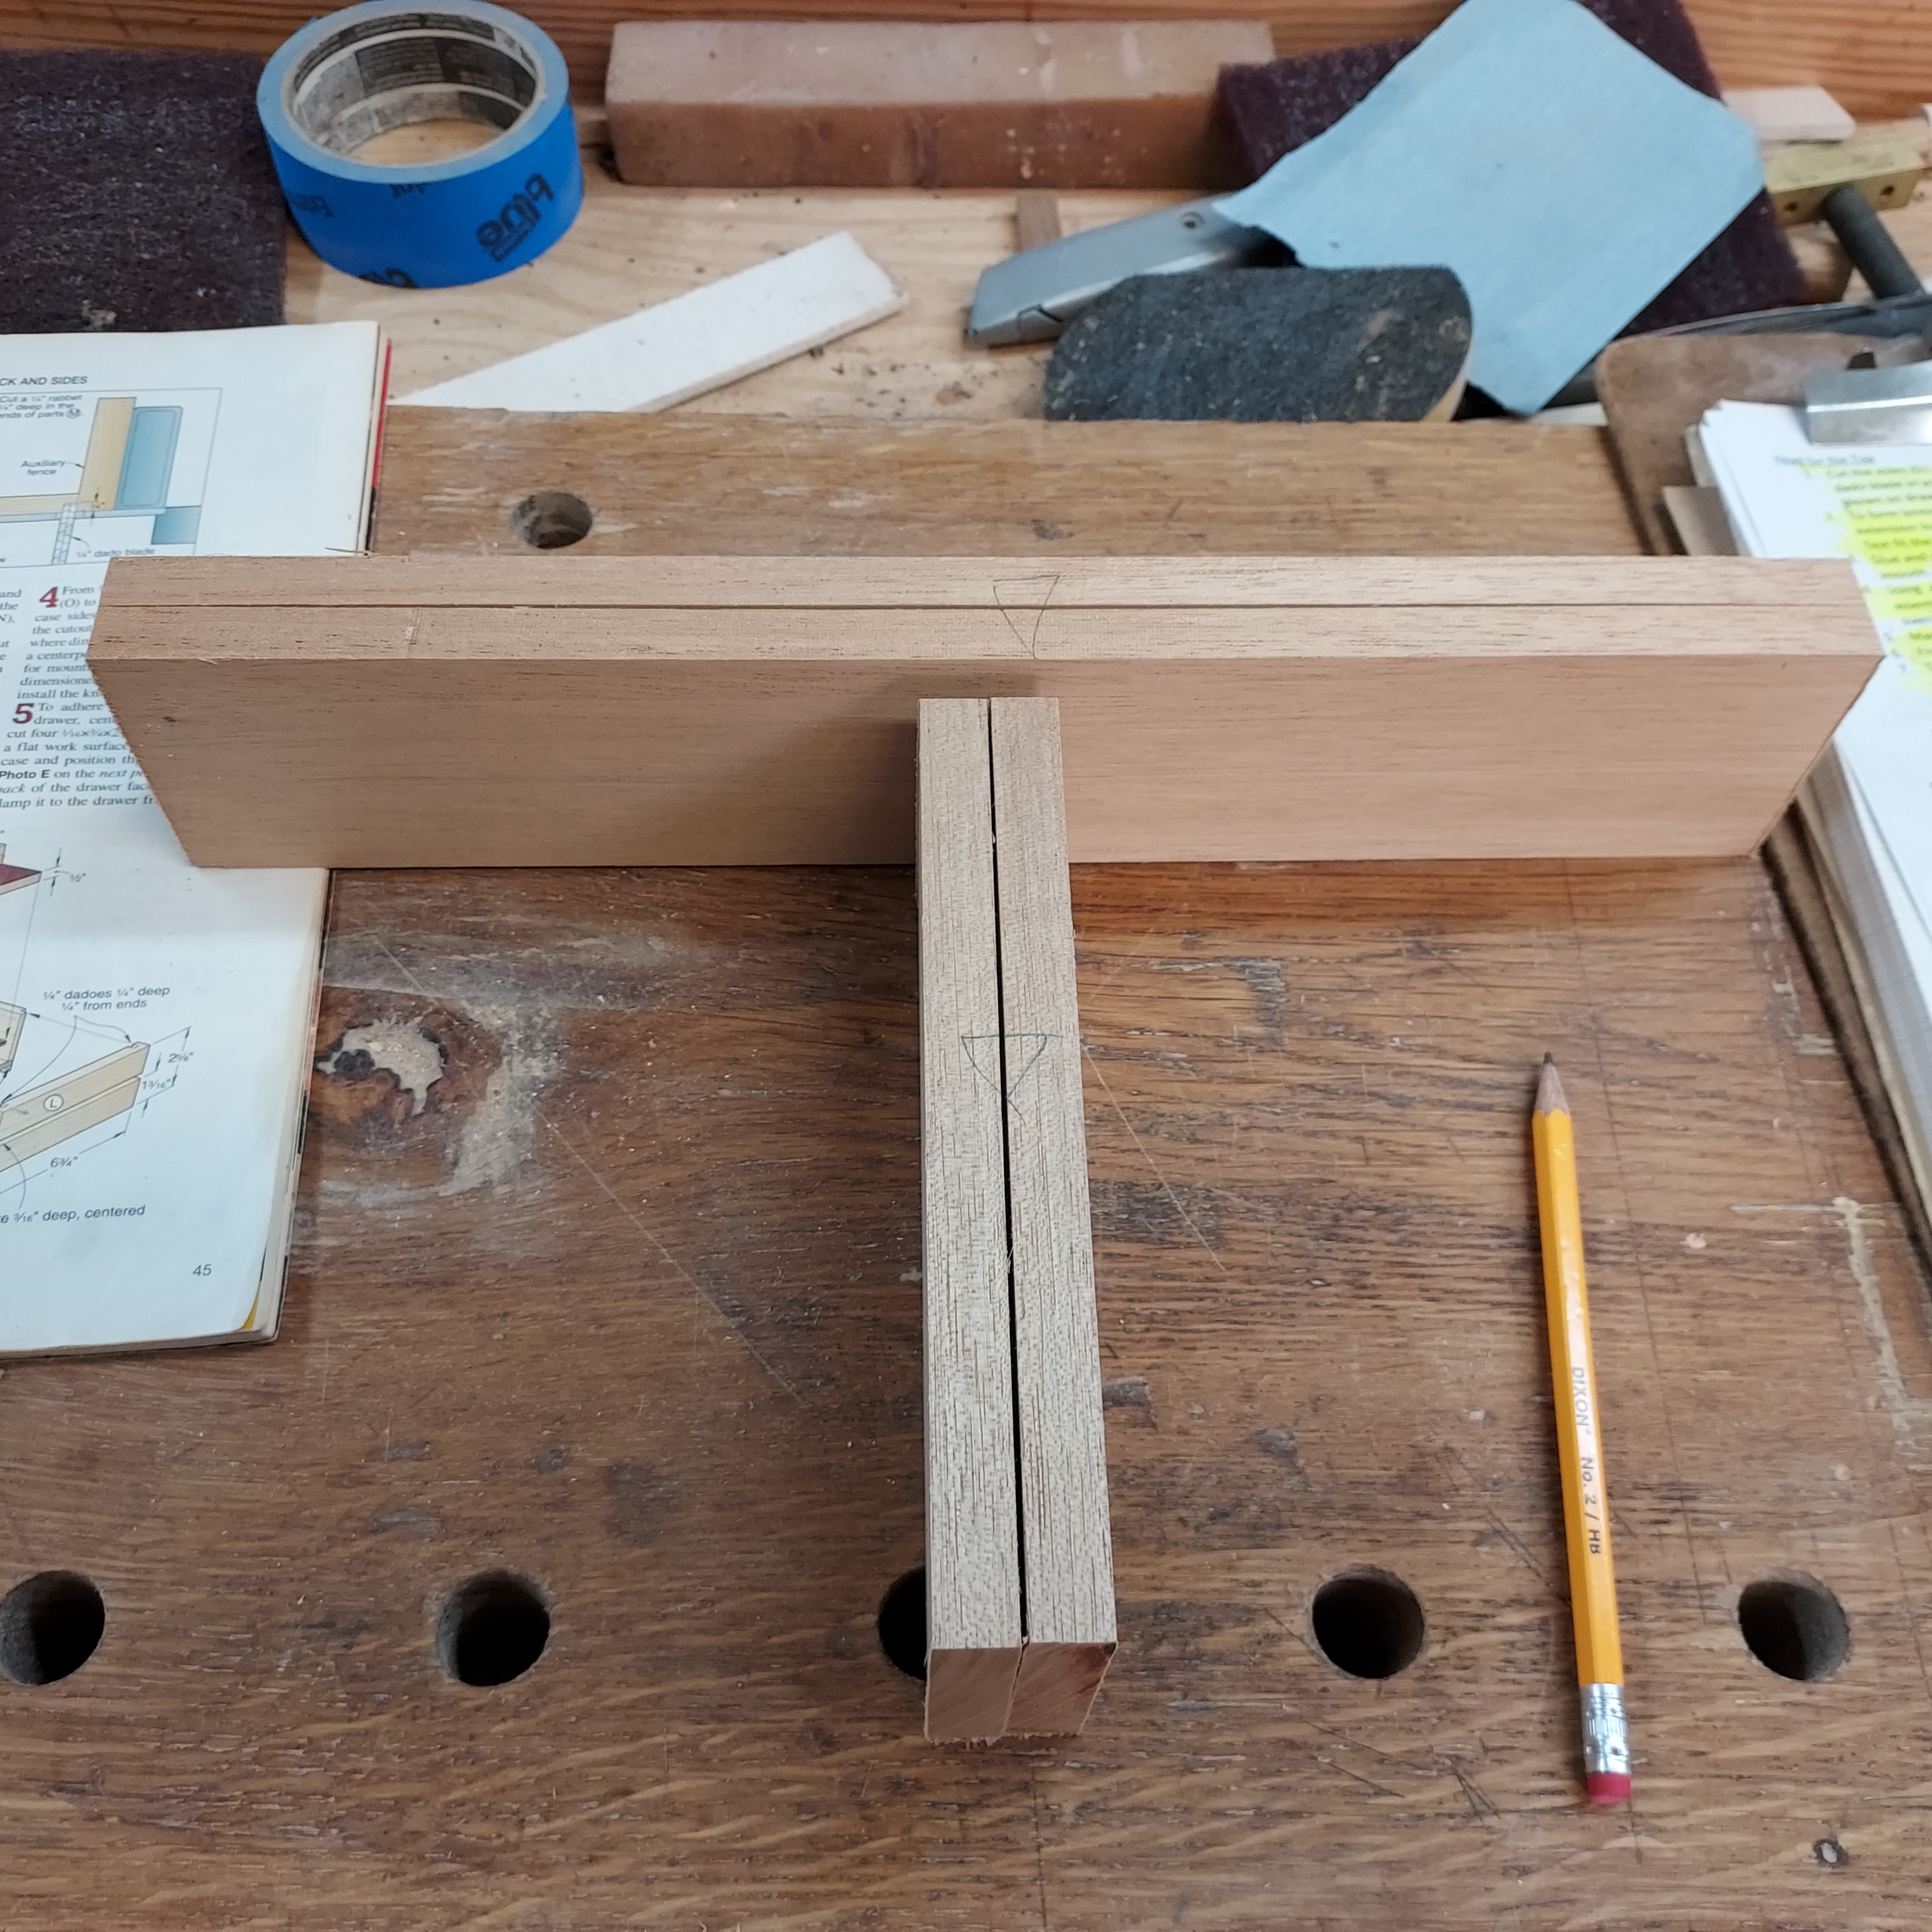
- To form the drawer guides, plane a ½” x 2×14” piece of stock to ¼” thick. Rip a ¼” wide strip from the blank. Then crosscut two 6-3/4” long guides from the strip.
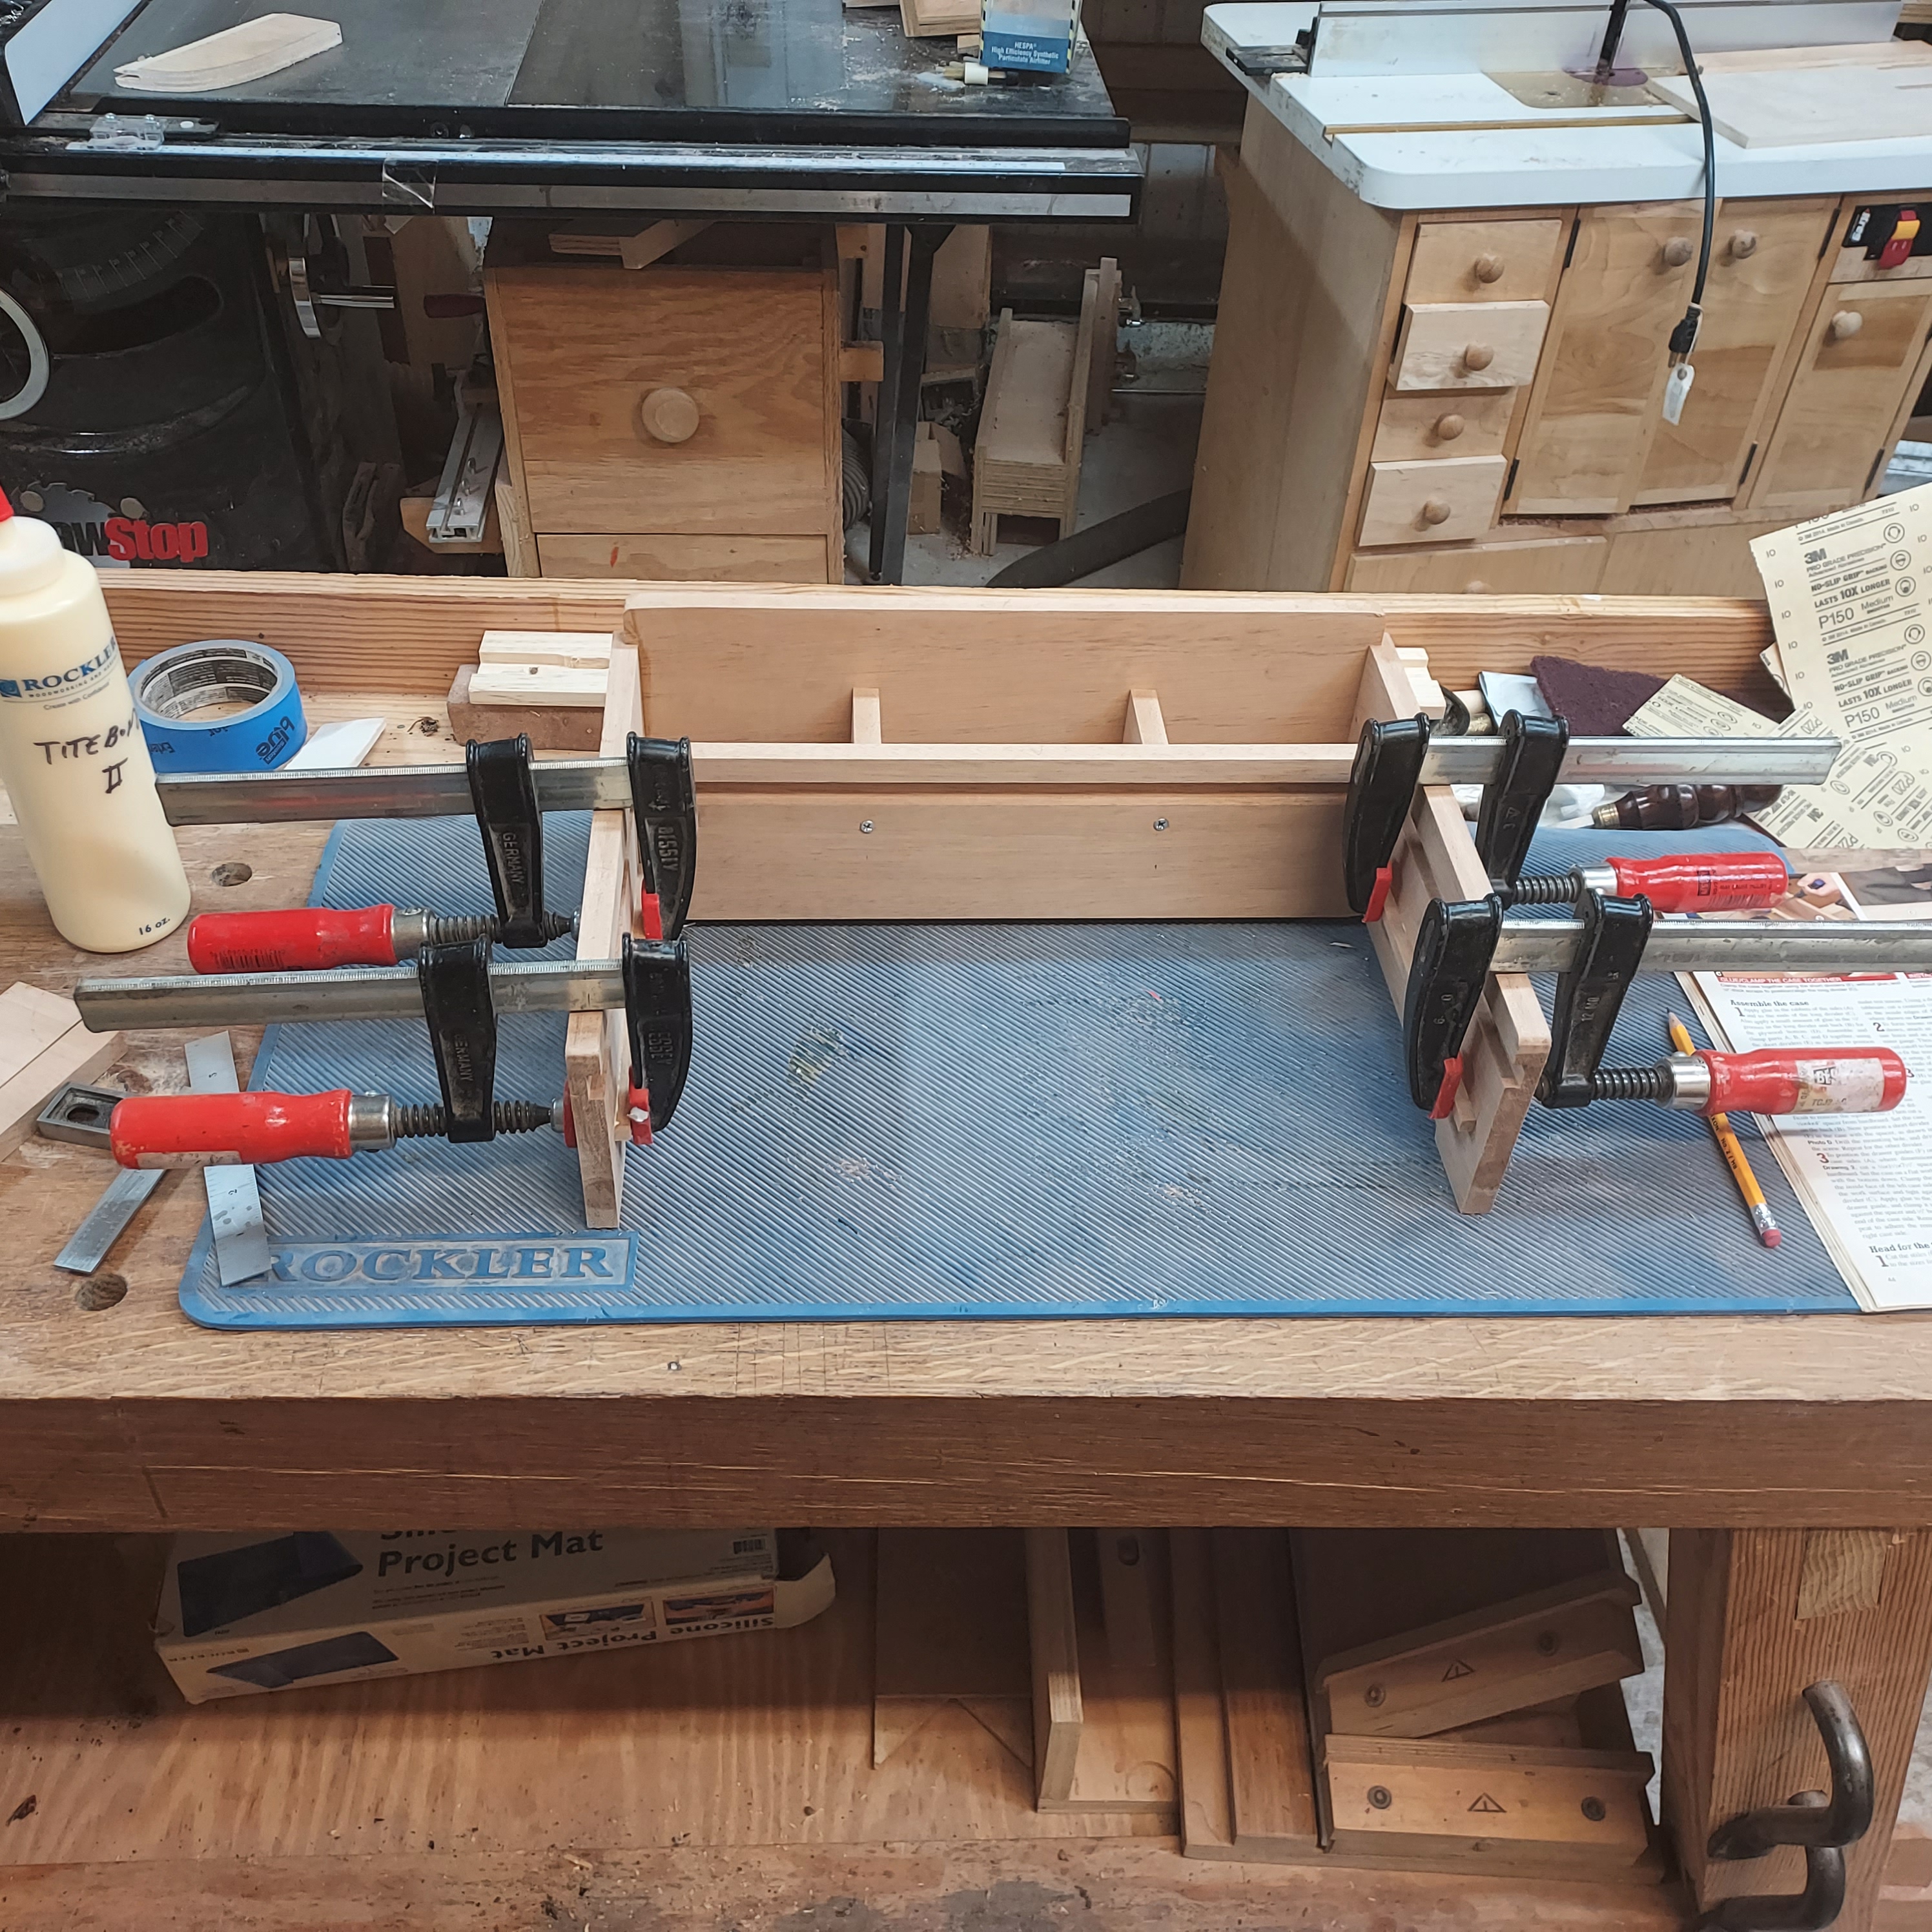
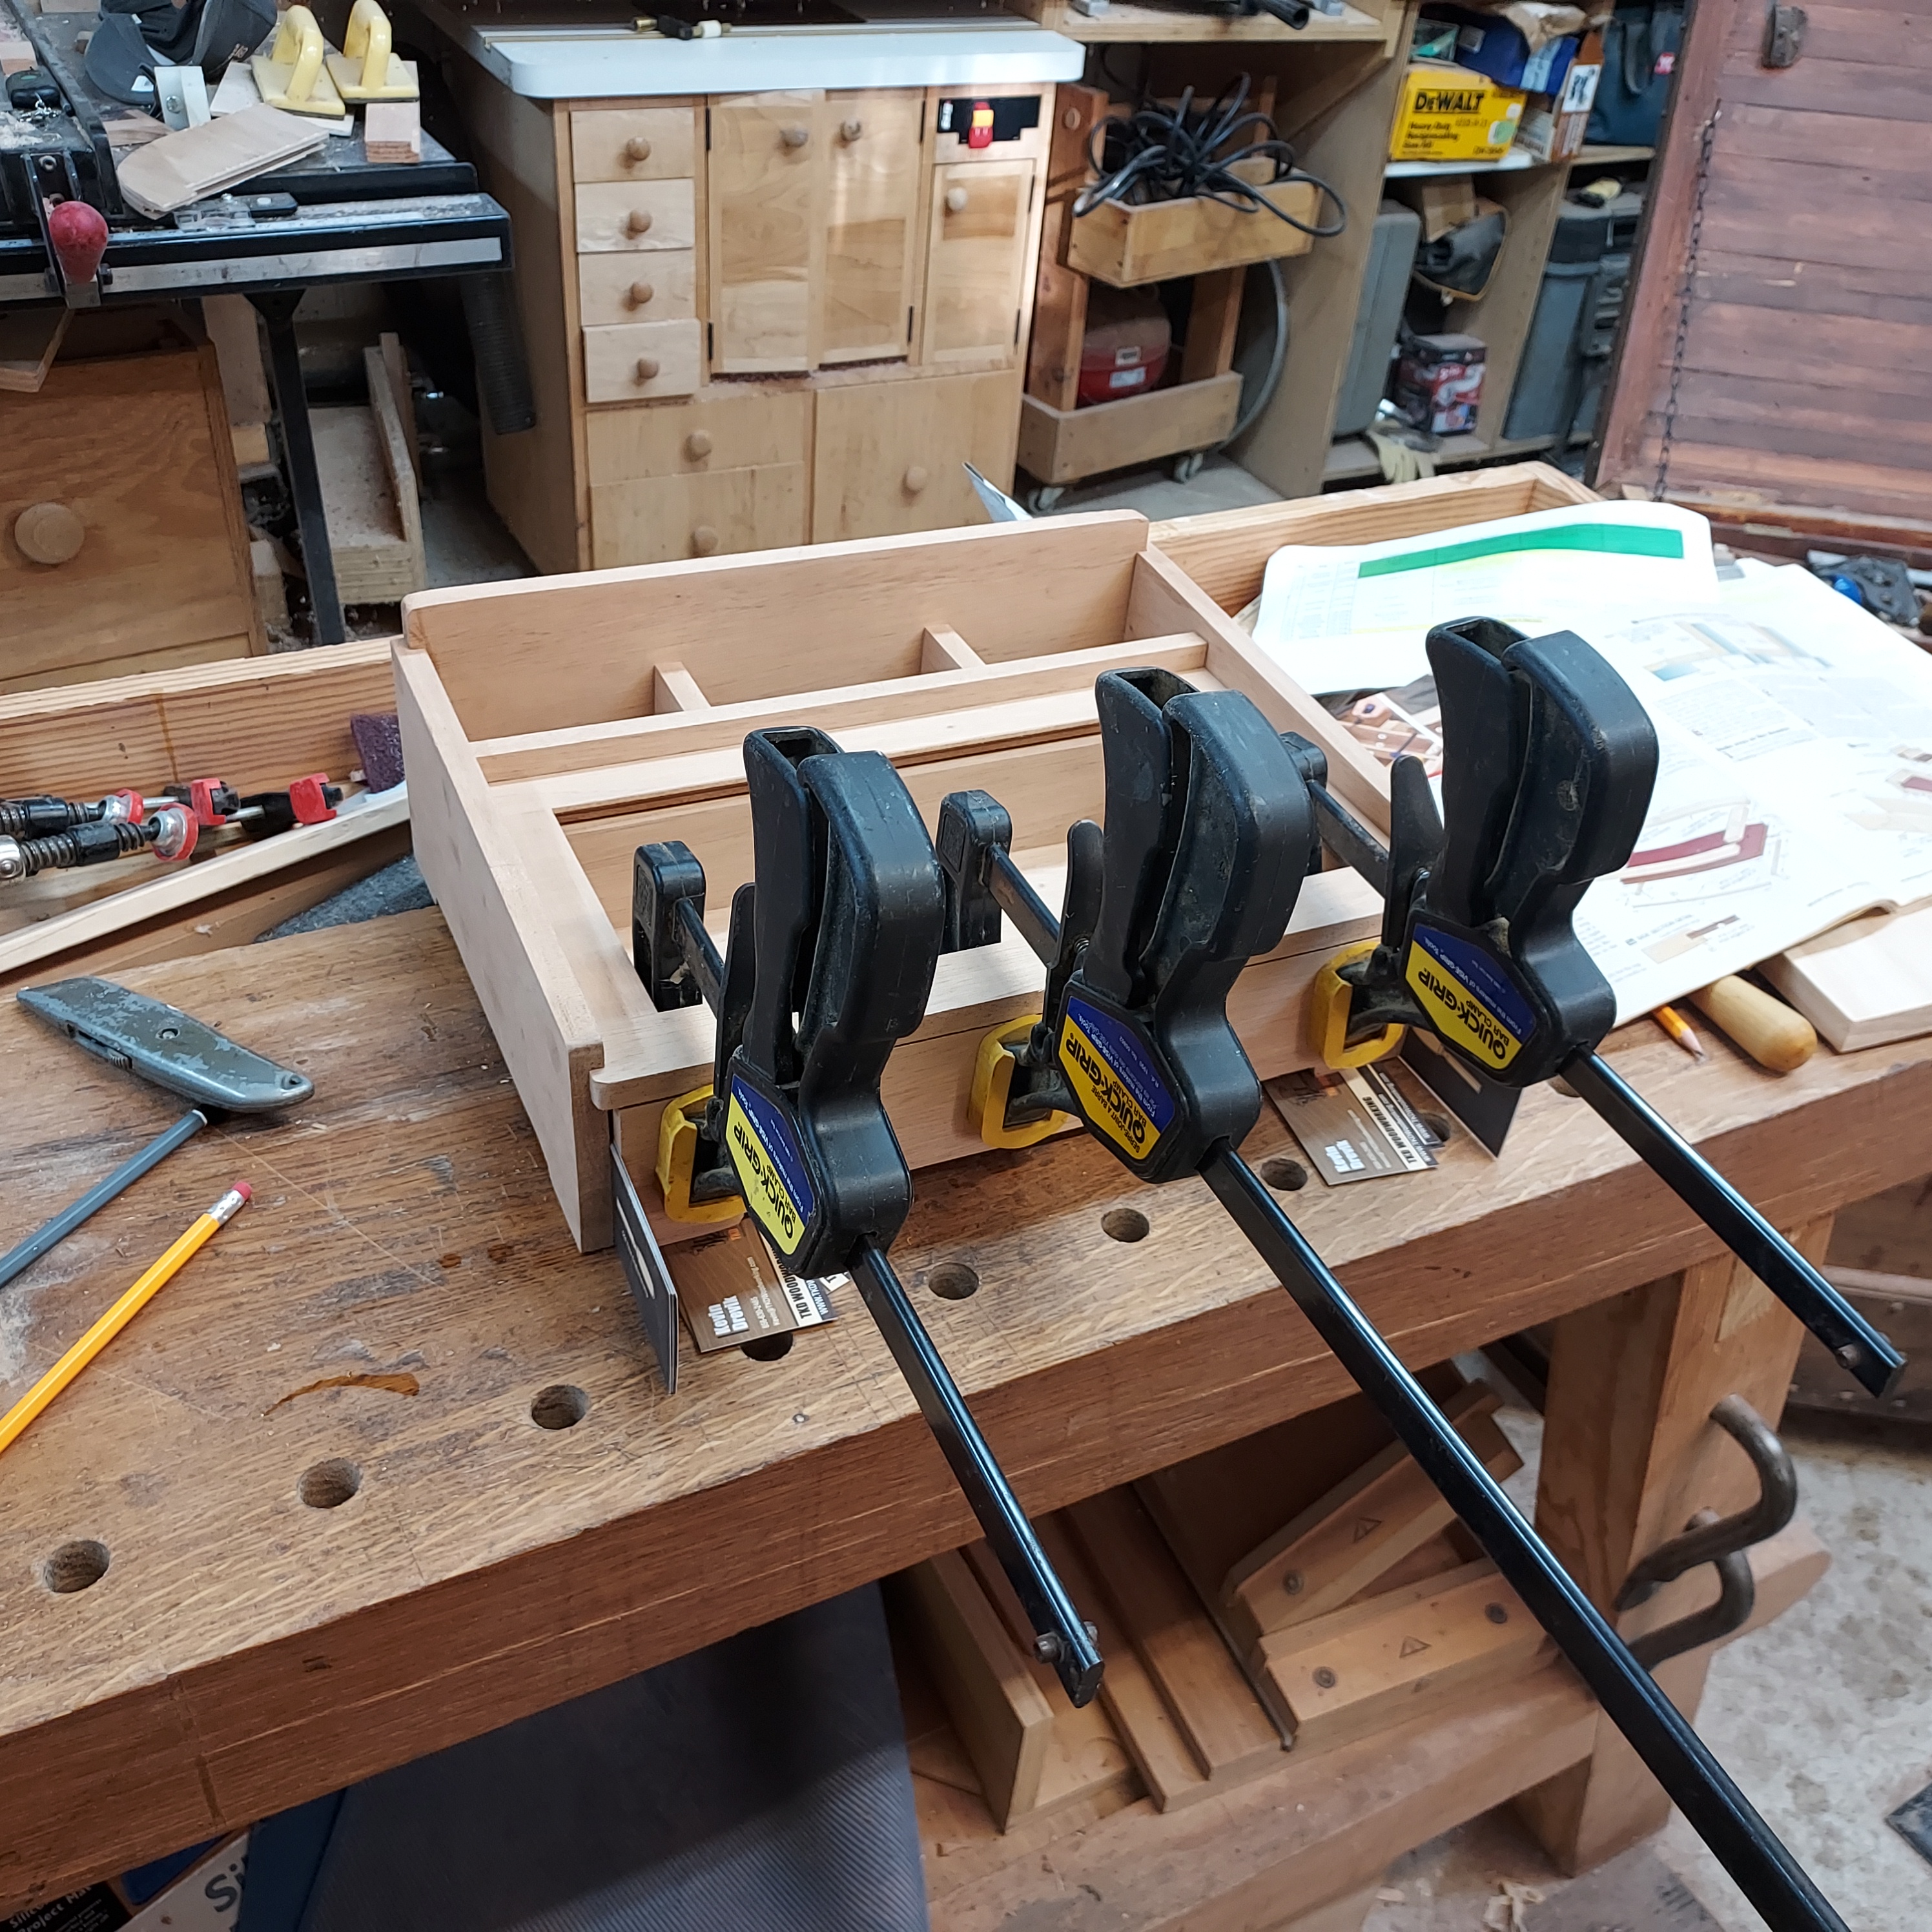
Assemble the Case
- Apply glue in the rabbets of the slides. Also apply a small amount of glue in the ¼” grooves in the long divider and back. Assemble and clamp parts A, B, C and D together, using the short dividers as spacers
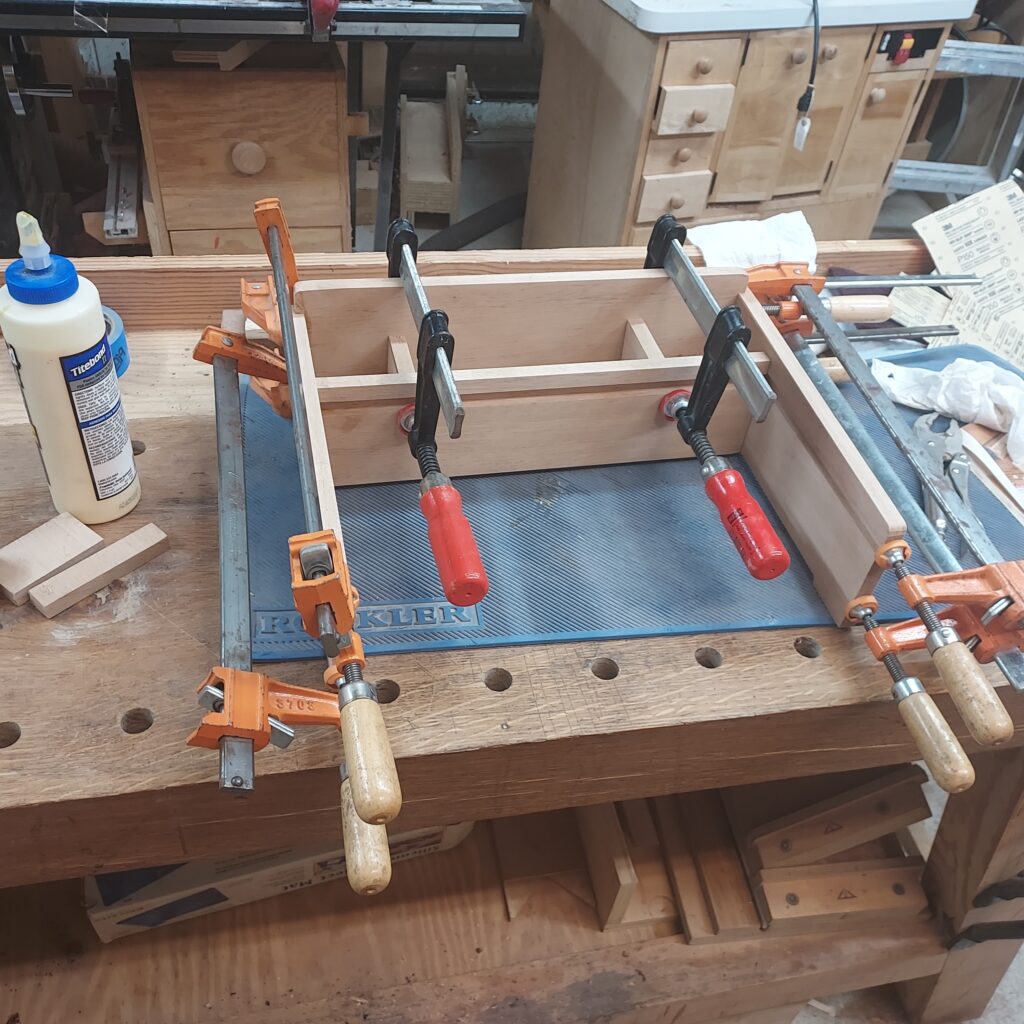
- To position the drawer guide on the case sides, Cut a 1/8 x 1-1/2” x 7-1/2” spacer from hardboard. Set the case on a flat work surface with the bottom down. Clamp the spacer to the inside face of the left case side flush with the work surface and tight against the long divider. Apply glue to the back face of a drawer guide, and clamp it to the side, tight against the spacer and ½” back from the front end of the case side
Head for the Top
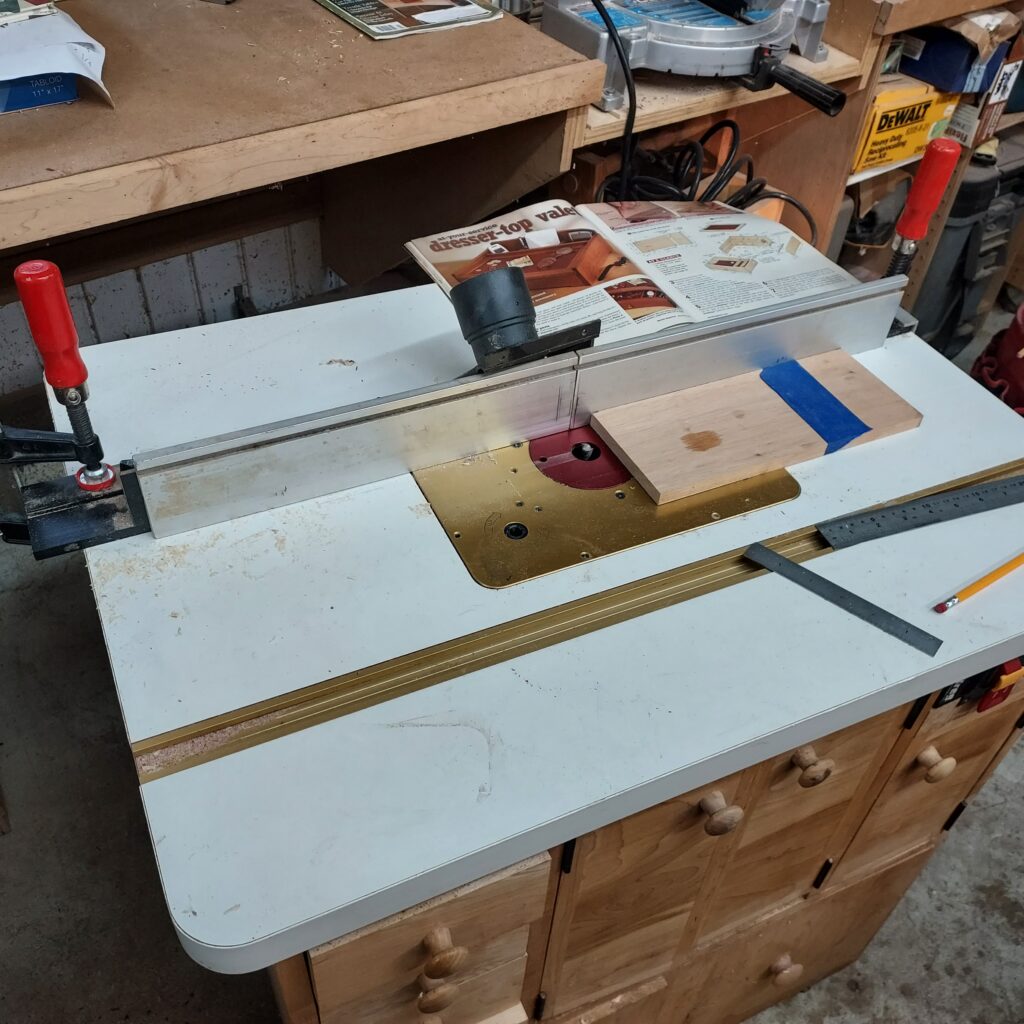
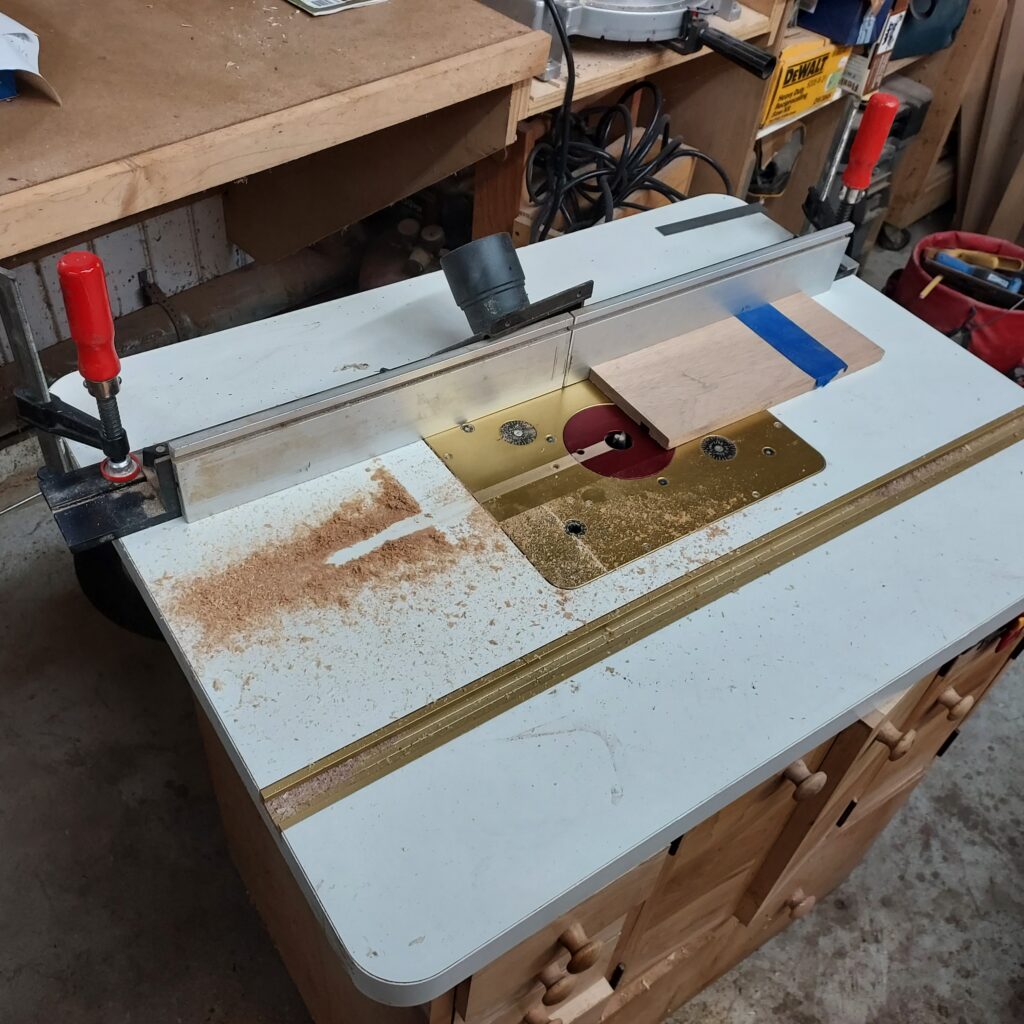
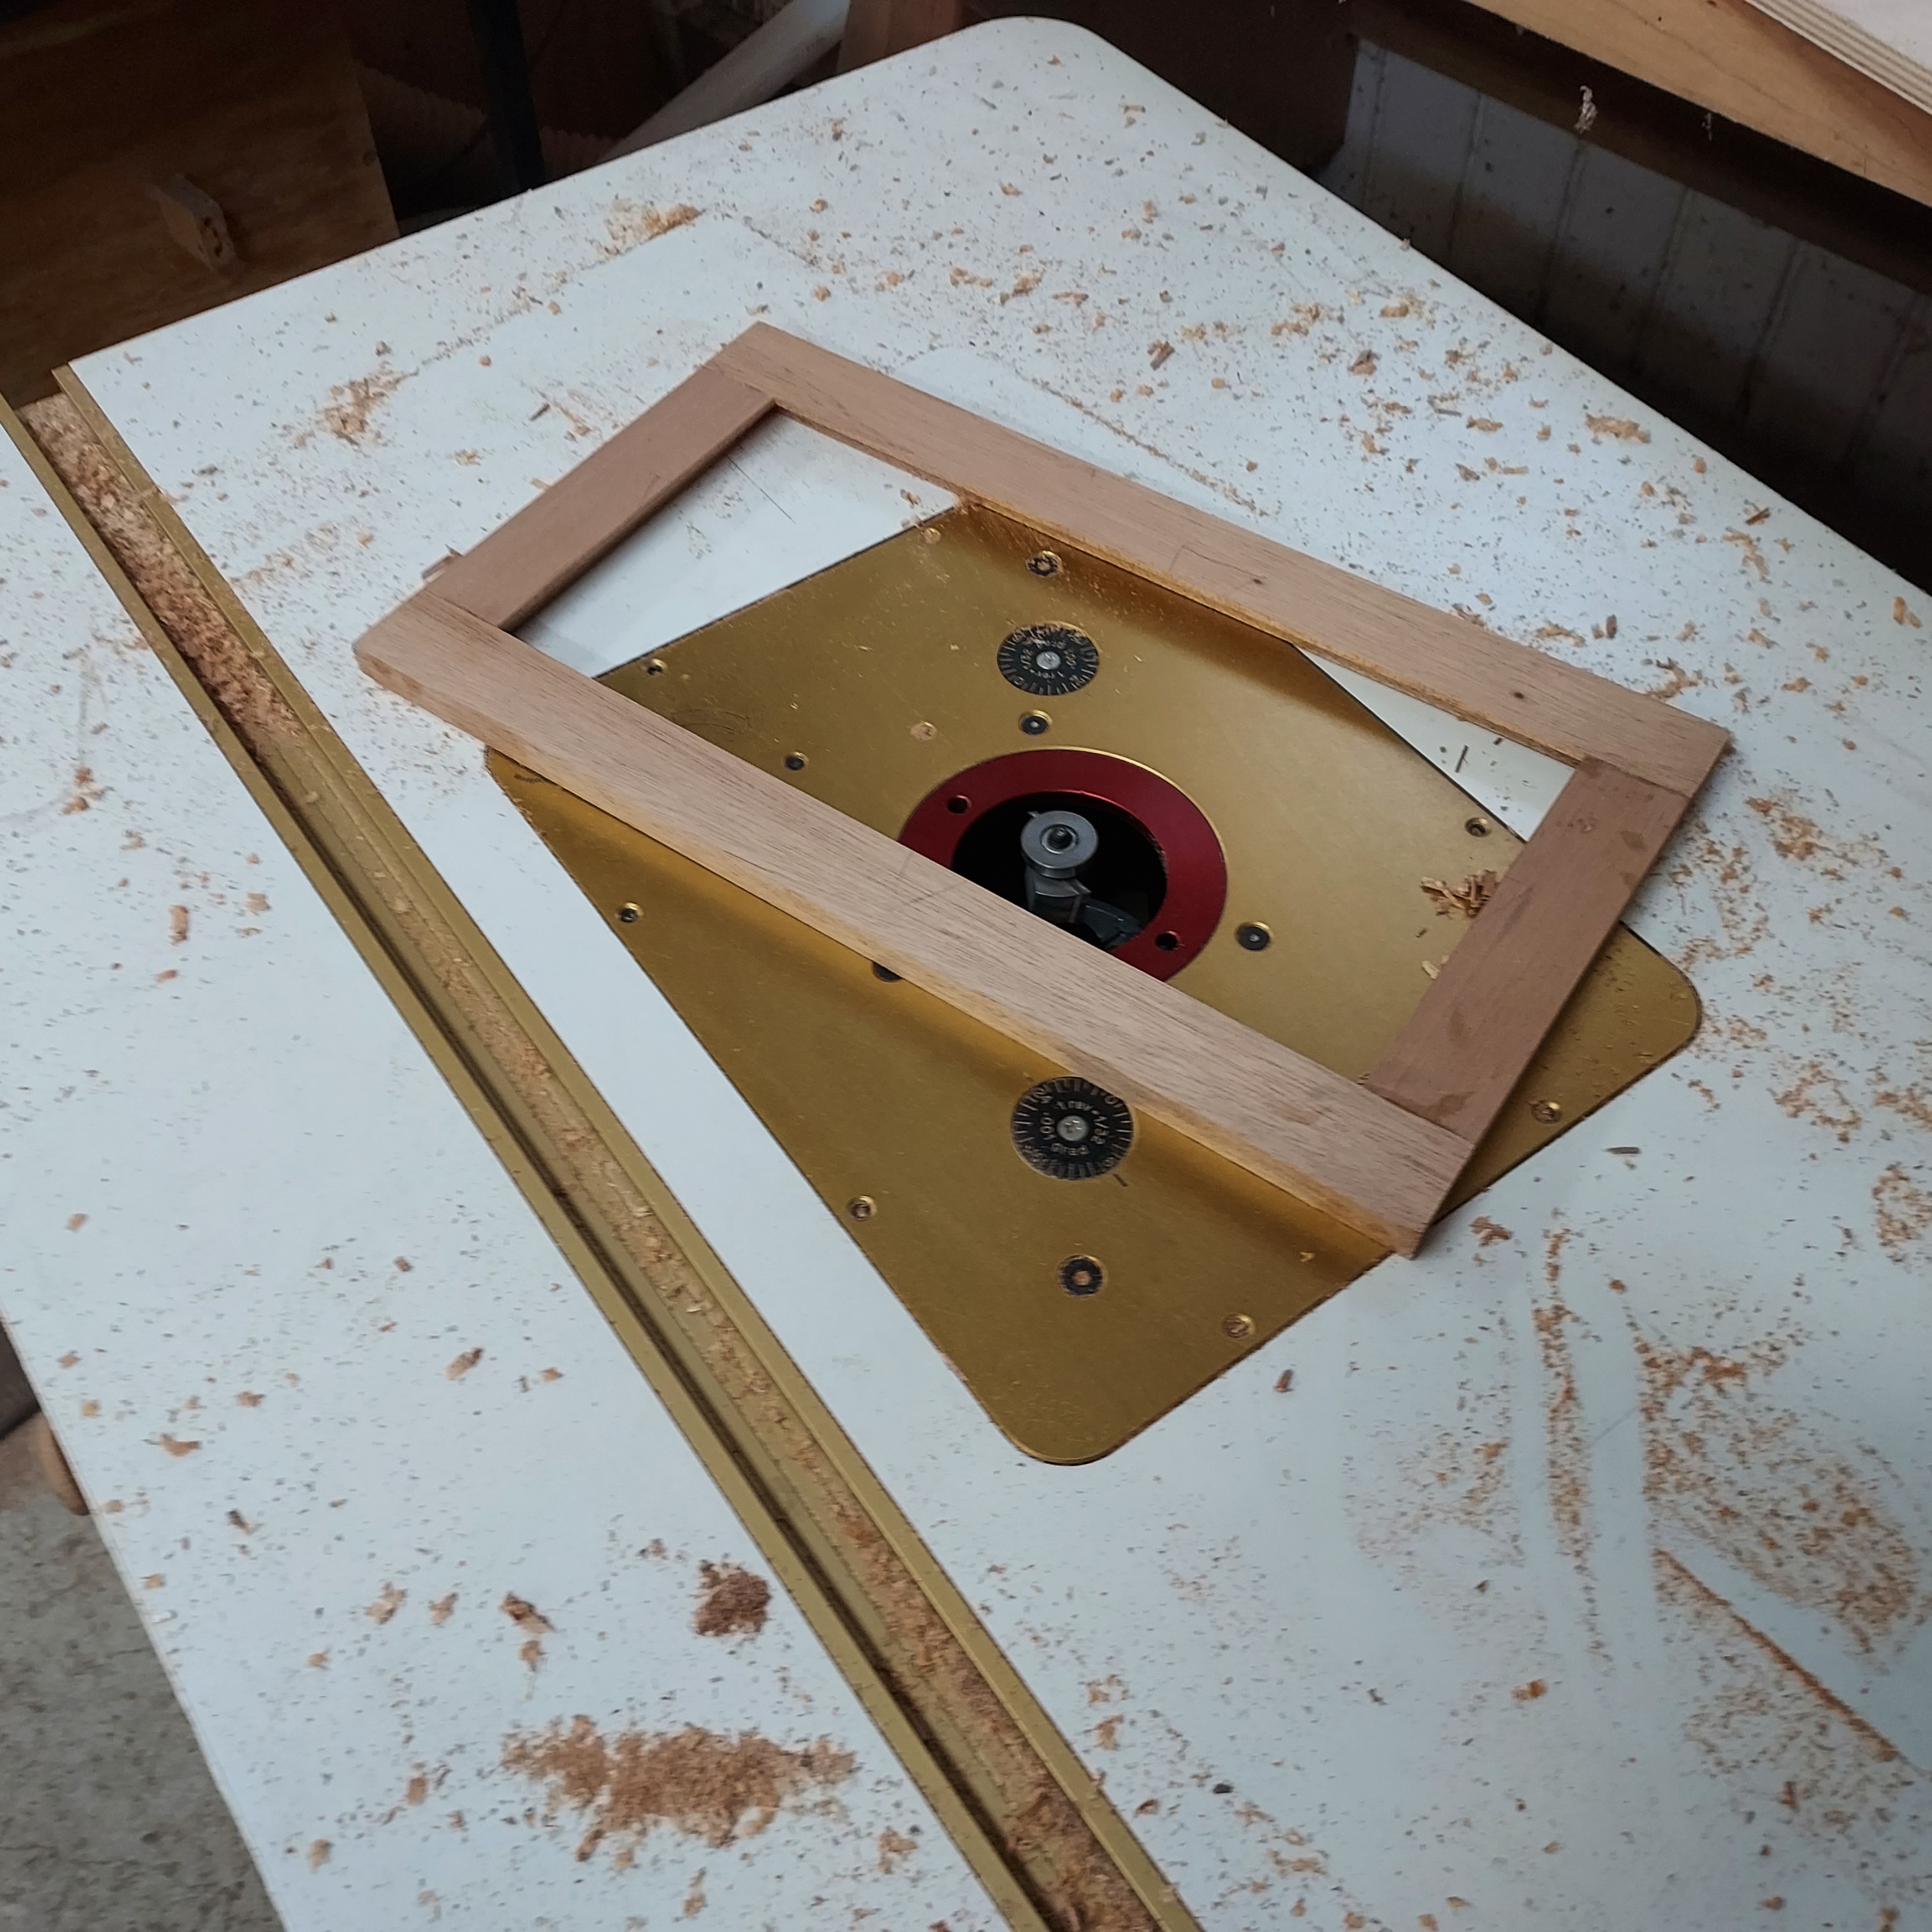
- Cut the stiles and rails (for the top to the sizes listed. Using a dado blade in your table saw, cut a centered ¼” groove ¼” deep on the inside edges of the stiles and rails. To form tenons on the rails where shown, attach an auxiliary fence to your saw fence and an auxiliary extension to the miter gauge. Then cut ¼” rabbets 1/8” deep on a rail cutoff to form a ¼” long ¼” wide tenon.
- Glue and clamp the stiles (G) and rails (H) together, checking for square. After the glue dries, sand the joints smooth. Using a ¼” rabbeting bit in your router, route a ¼” rabbet 3/8” deep along the inside edges of the stile/rail assembly (G/H) on the bottom face, where shown. Square the corners with a chisel. Then hand sand 1/8” round-overs along the top inside edges of the assembly.
- Apply a small amount of glue in the ½” grooves in the sides (A) and long divider (C) Then slide the stile/rail assembly (G/H) into the grooves, and clamp it to the case
Slide over to the drawer
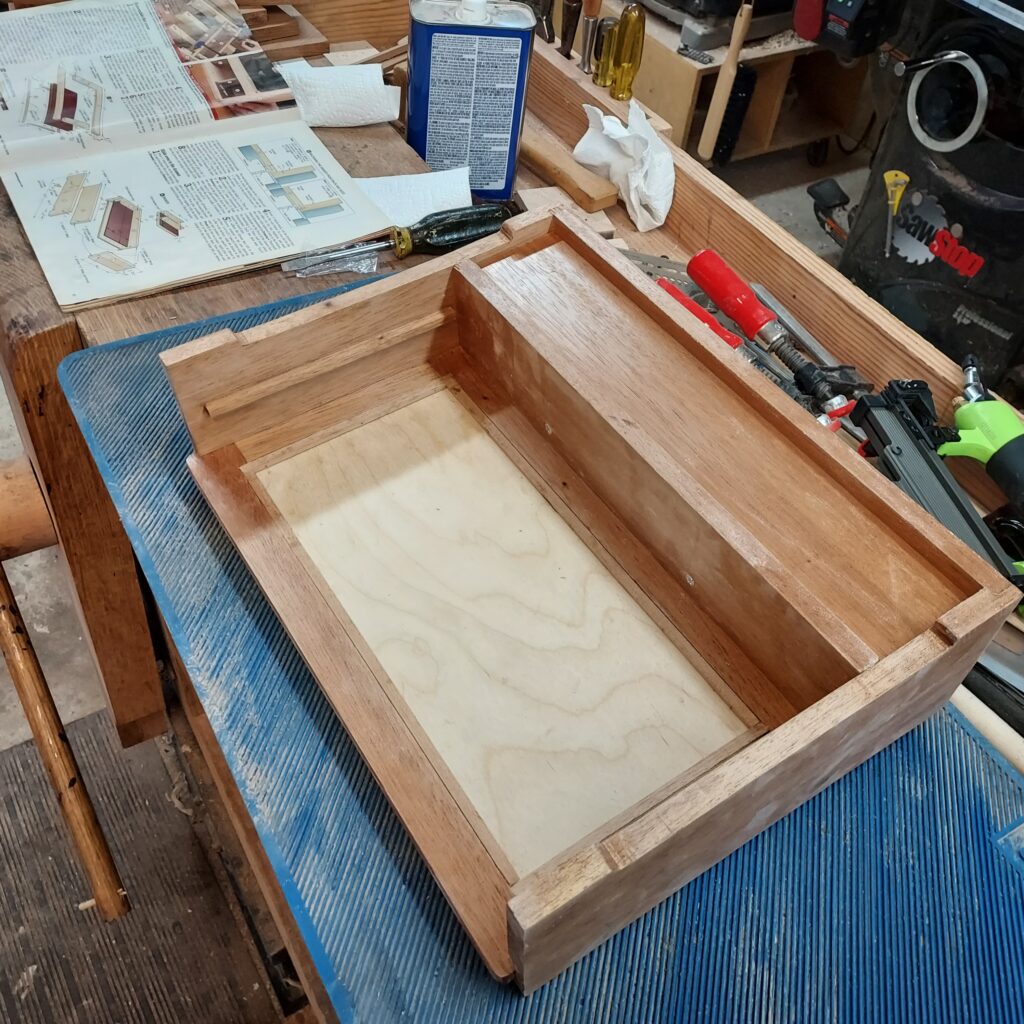
- From ½” thick stock, cut the drawer sides and front/back to size.
- Cut the ¼” dadoes and rabbets to form the locking joints and the ¼” grooves to fit the plywood bottom. Lower the dado blade to 3/16”. Then cut a centered ¼” groove on the outside face of the sides (L) where dimensioned on drawing 4 to fit the drawer guides (F). Side the sides on the guides to check the fit. The sides need to glide smoothly without looseness. Adjust the groove width, if needed, to achieve the desired fit.
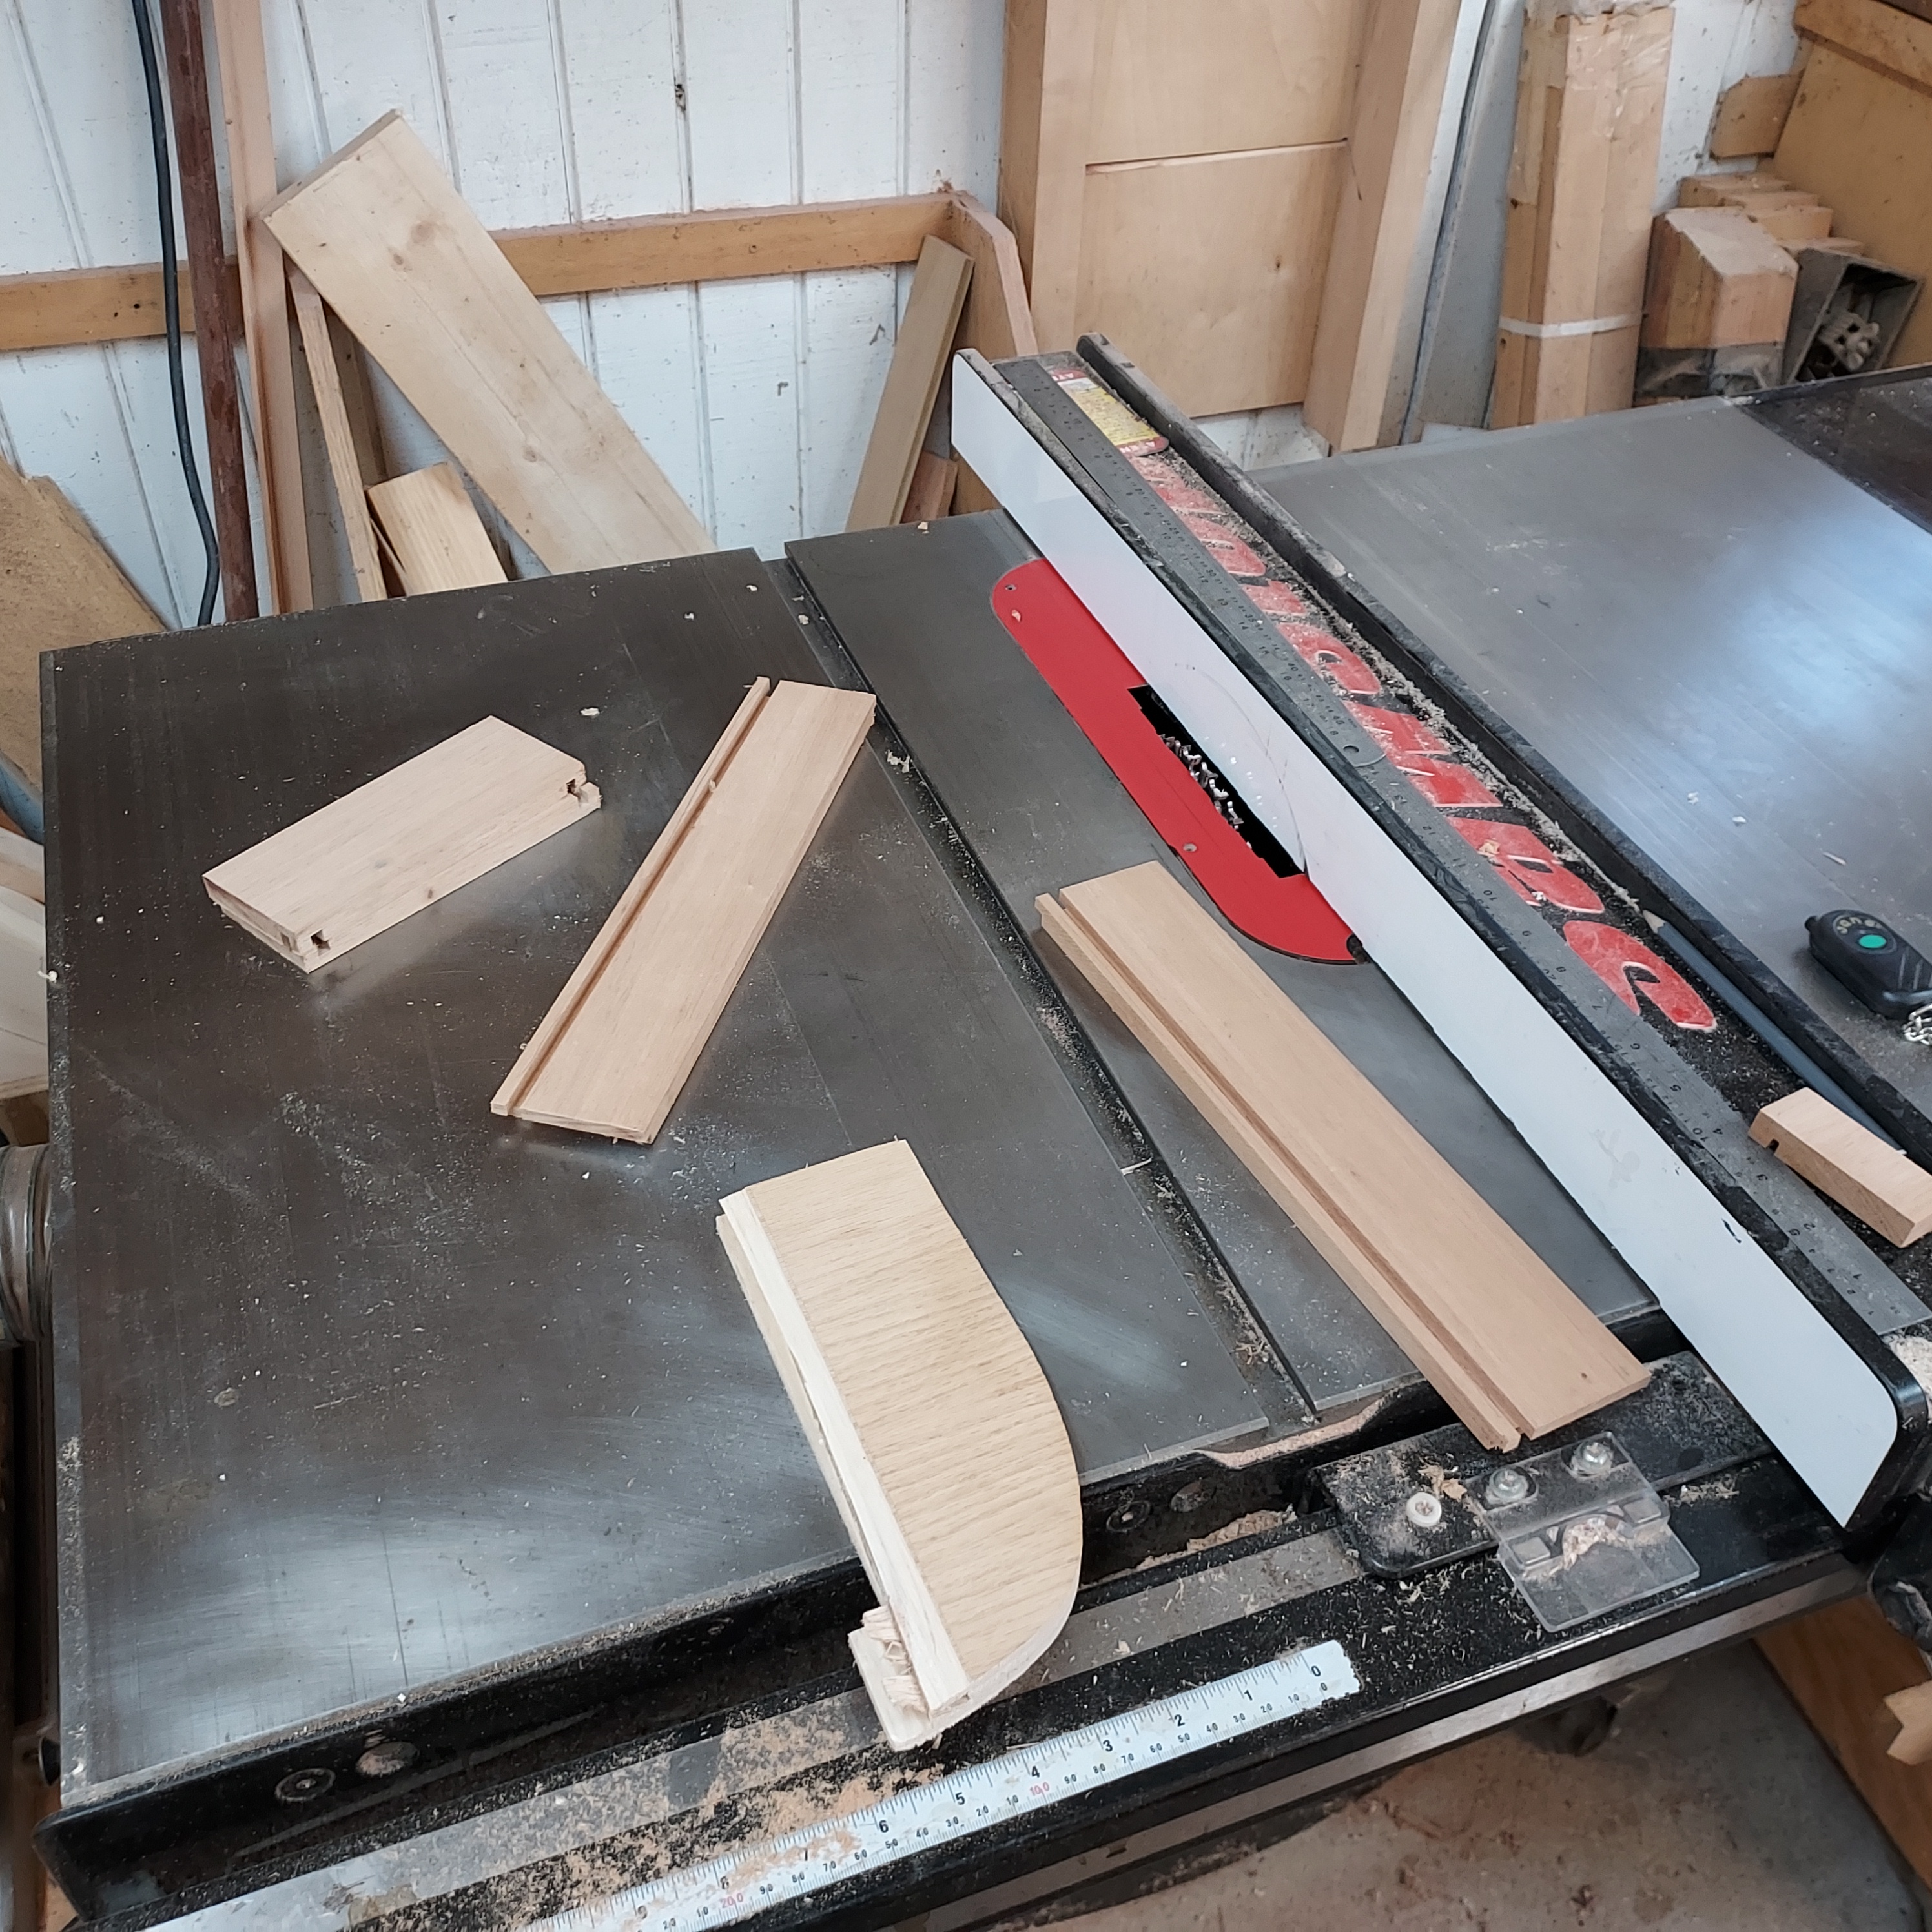
- From ¼” mahogany plywood, cut the bottom to size. Then sand the drawer parts to 220 grit. Now glue, assemble and clamp the drawer together with the bottom captured in the grooves. Check for square.
- From ½” thick stock, cut the drawer face (O) to the size listed. As you did for the case sides, layout out, bandsaw and sand the cutout with radiused ends at the bottom, where dimensioned on drawing 4
- To adhere the drawer face (O) to the drawer, center in the case opening and cut four 1/16” x ¾ x 2-1/2” spacers from scrap. On a flat work surface slide the drawer in the case and position the spacers as shown. Apply glue to the back of the drawer face. Now position and clamp it to the drawer front (M) with the top edges of the face and front flush. After the glue dries, remove the drawer.
Add the finishing touches
- Finish -sand all parts to 220 grit, and remove the dust. Apply several coats of clear lacquer finish.
- From cloth-backed vinyl, cut two 7 x 14” pieces for panels (I, P). Place the vinyl on your workbench with the cloth side up. To adhere the vinyl to the panels, use either r3M super 77 Spray adhesive or 5-minute epoxy. Holding each panel with the adhesive side face down, center and press onto the vinyl. Turn the panels over and firmly adhere the vinyl suing a 3” rubber J roller. Trim the vinyl
- To install he panel (I) and short and long panel stops (J, K) in the top, position the case with the bottom up. Place the panel, vinyl side down, in the rabbeted recess in the top. Set the stops in position on the panel. Drive the brads
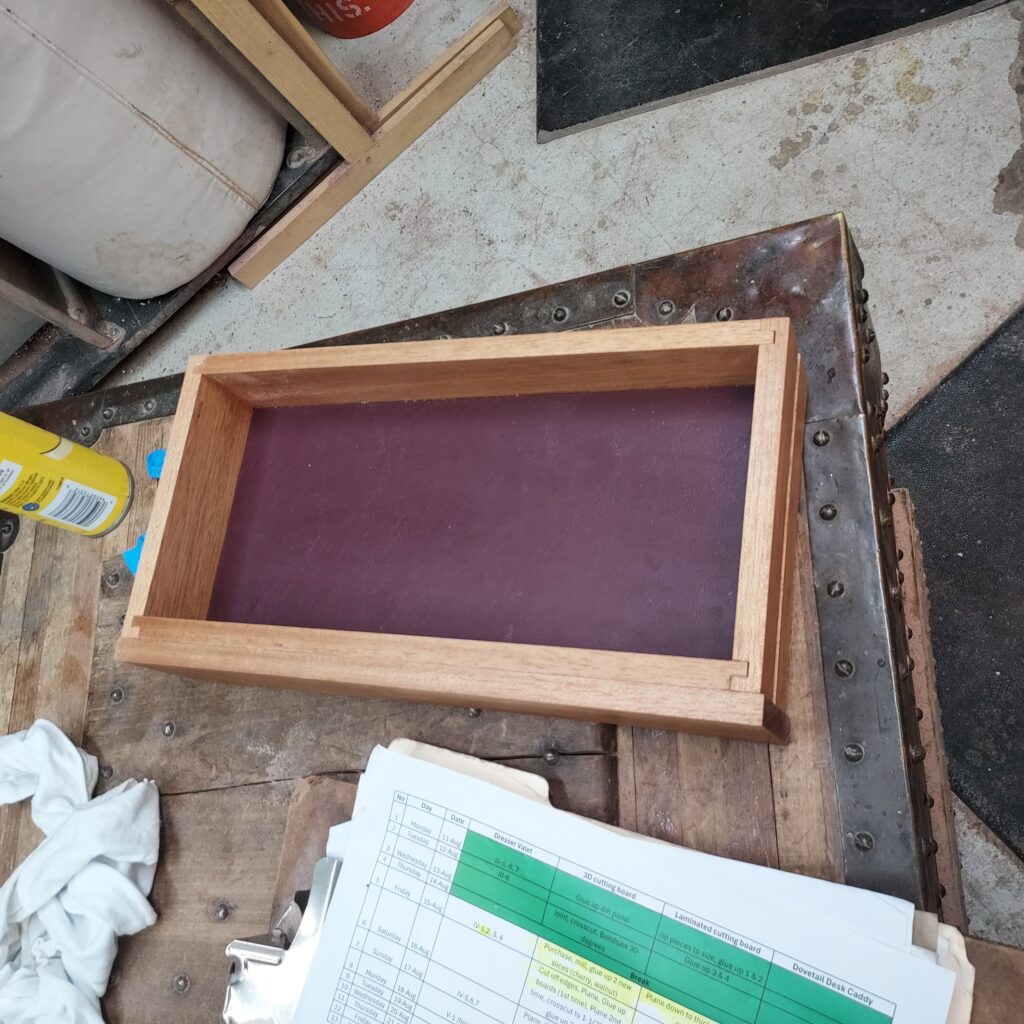
- Finally, install the ¾” brass sash knob on the drawers face (O). Then place the panel (P) and dividers (Q, R) in the drawer, and slide the drawer in the case.