I wanted to further improve my hand tool abilities, so I took an idea from Paul Sellers (www.woodworkingmasterclass.com) an accomplished hand tool woodworker from Britain, with 50+ years of experience. He now teaches online, and does a great job.
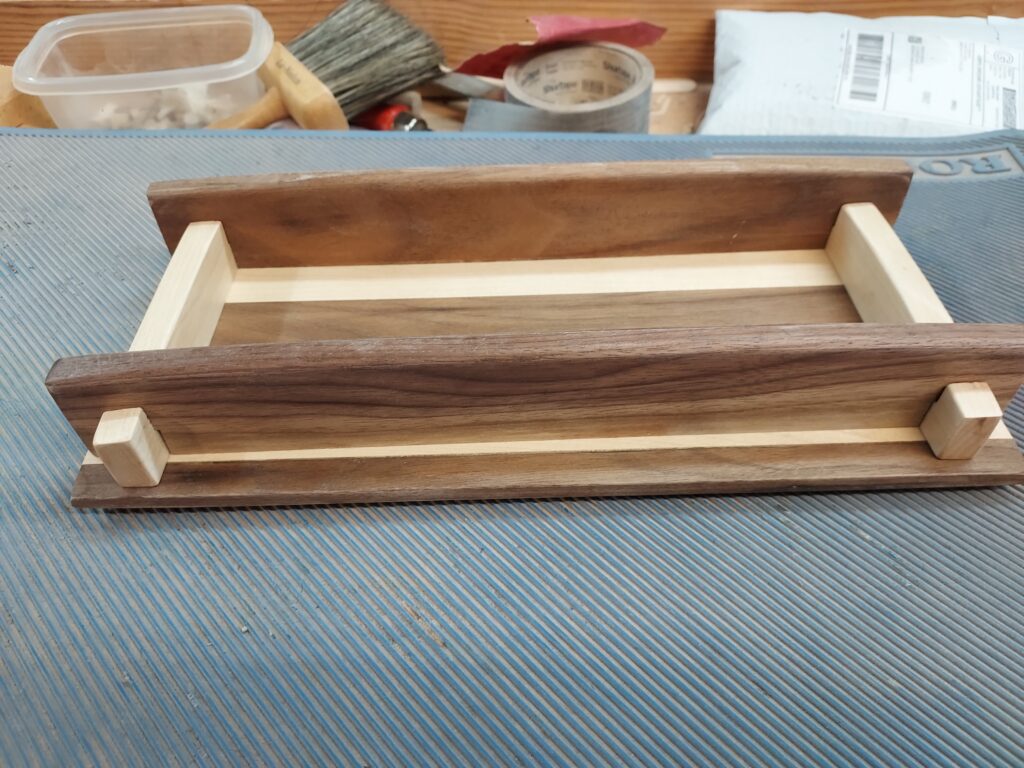
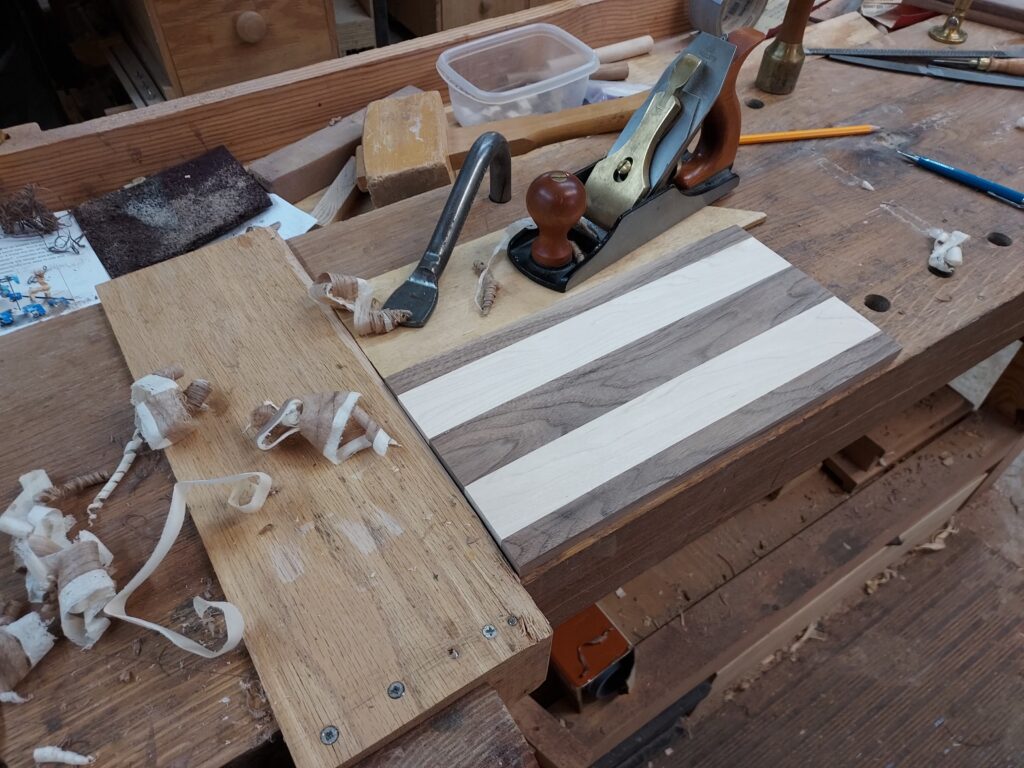
The tray consists of equal parts of Walnut and Maple. I could have used a wide variety of wood, but chose to go with these.
Materials
| No | Description | Qty | L | W | T |
| 1 | Long Side | 2 | 12” | 1-5/8” | ½” |
| 2 | Short Side | 2 | 5-1/2” | 1” | ½” |
| 3 | Laminated Base | 1 | 12-3/8” | 6-1/8” | ½” |
Note: Base is five sections edge-glued together.
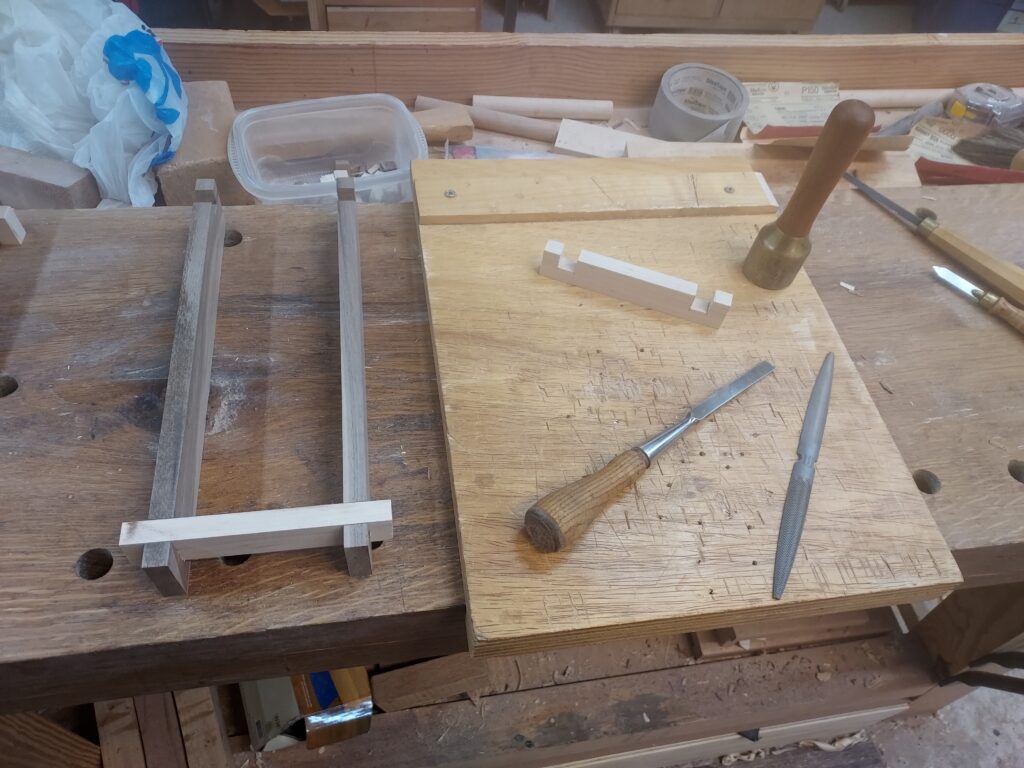
Steps
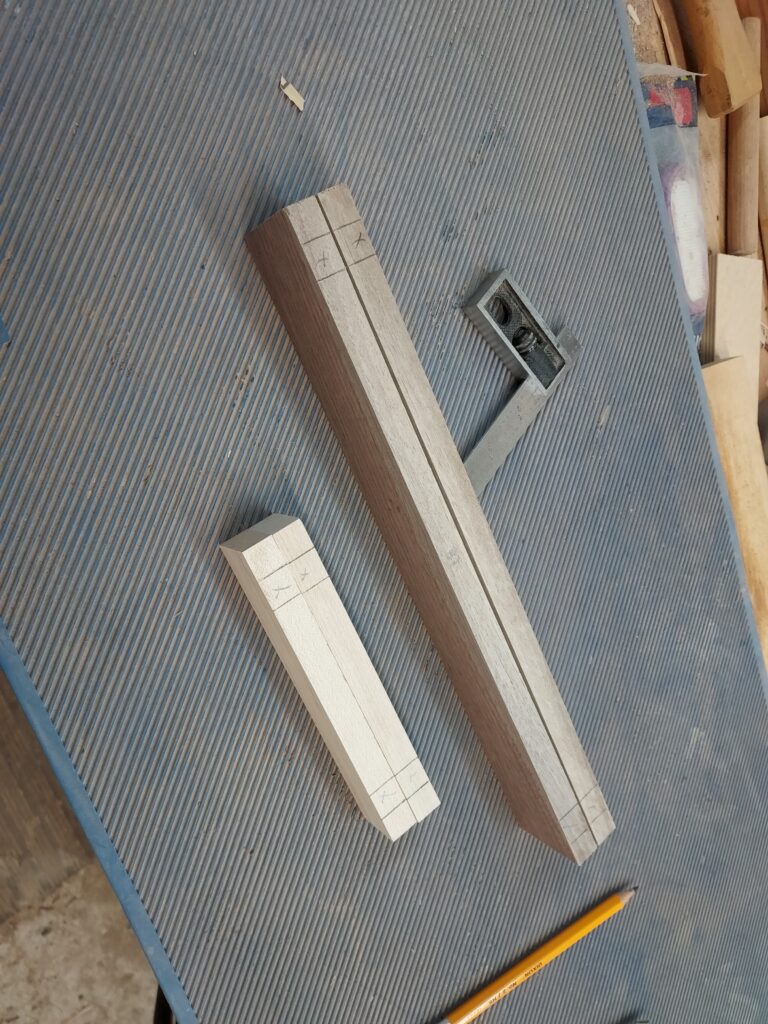
- Mill pieces to size, including planning the pieces to ½” thickness. Use the mark out triangle to keep the orientation of the pieces
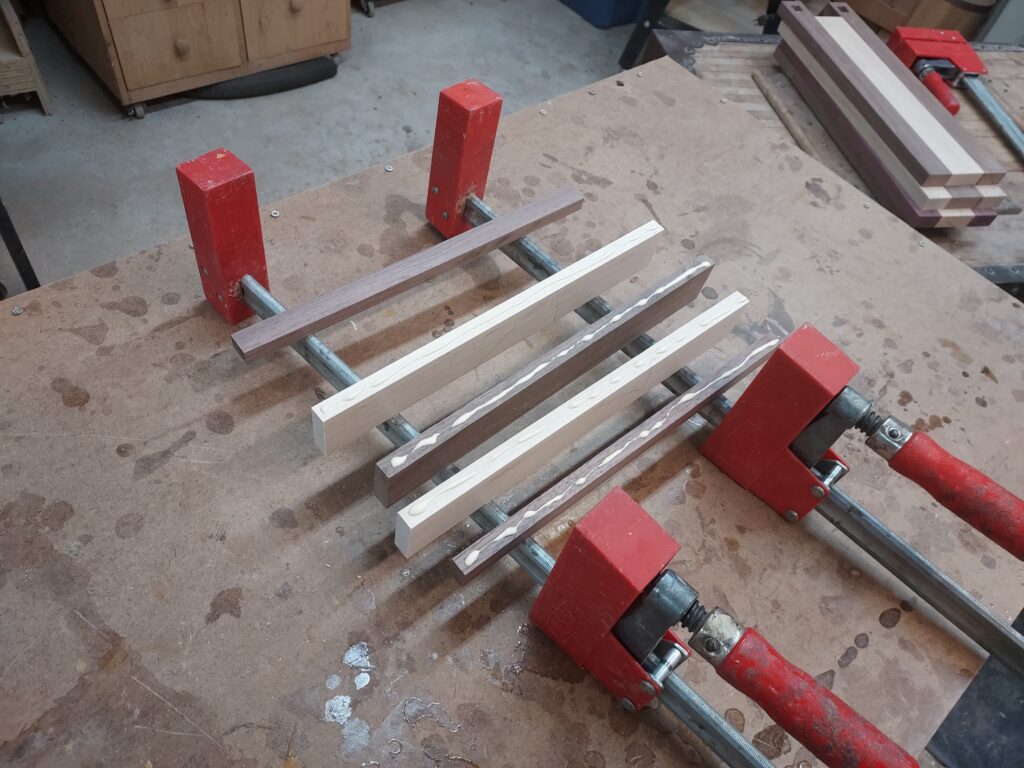
- Edge joint pieces for the base. Use a plane and edge joint each of the pieces with its mate. This will keep the angle “matched up” even if you tilt the plane to far one way or the other. Once they are flipped up, they will match.

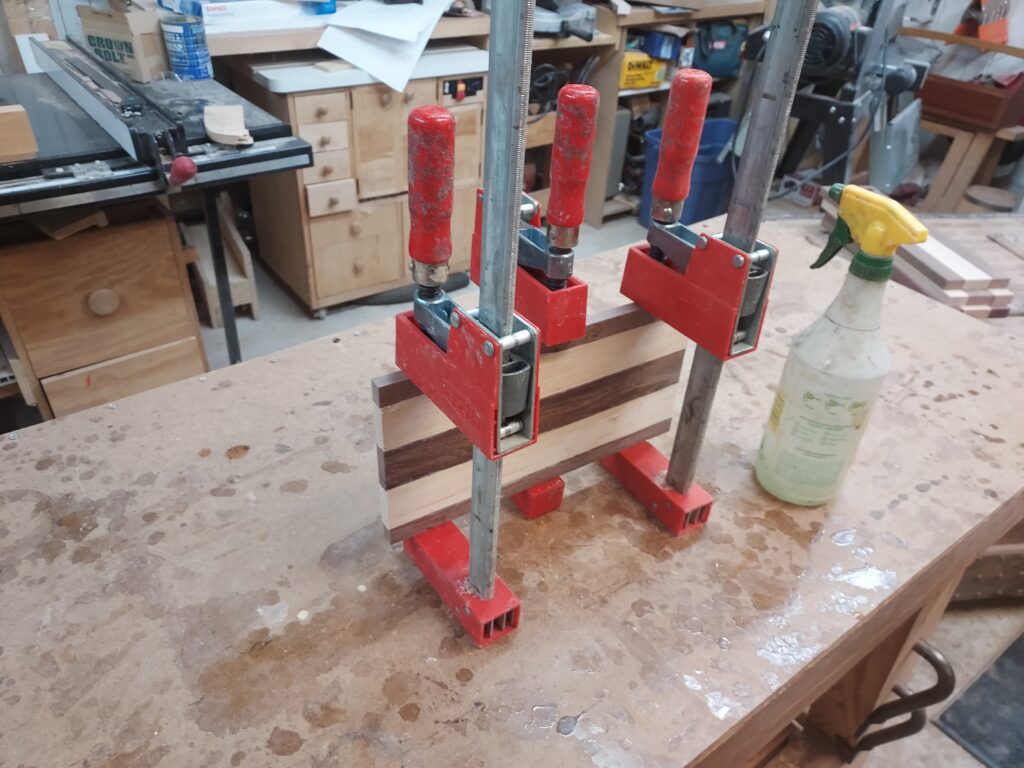
- Now glue them up in sequence, and clamp them up to set. Glue up/laminate base pieces.
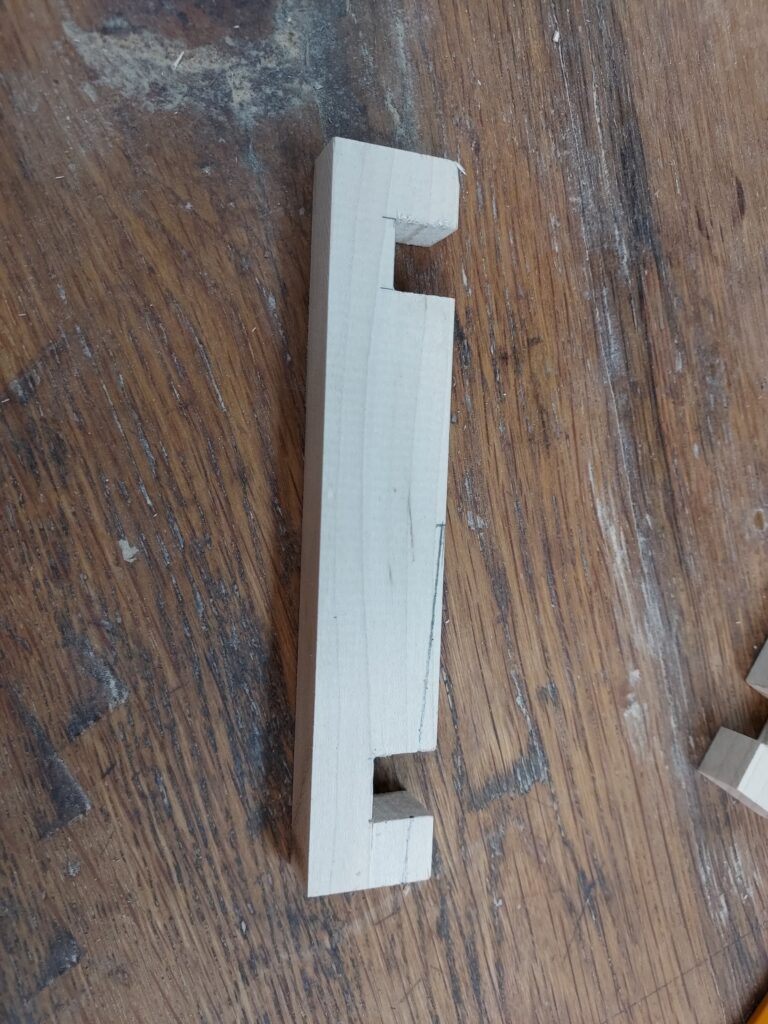
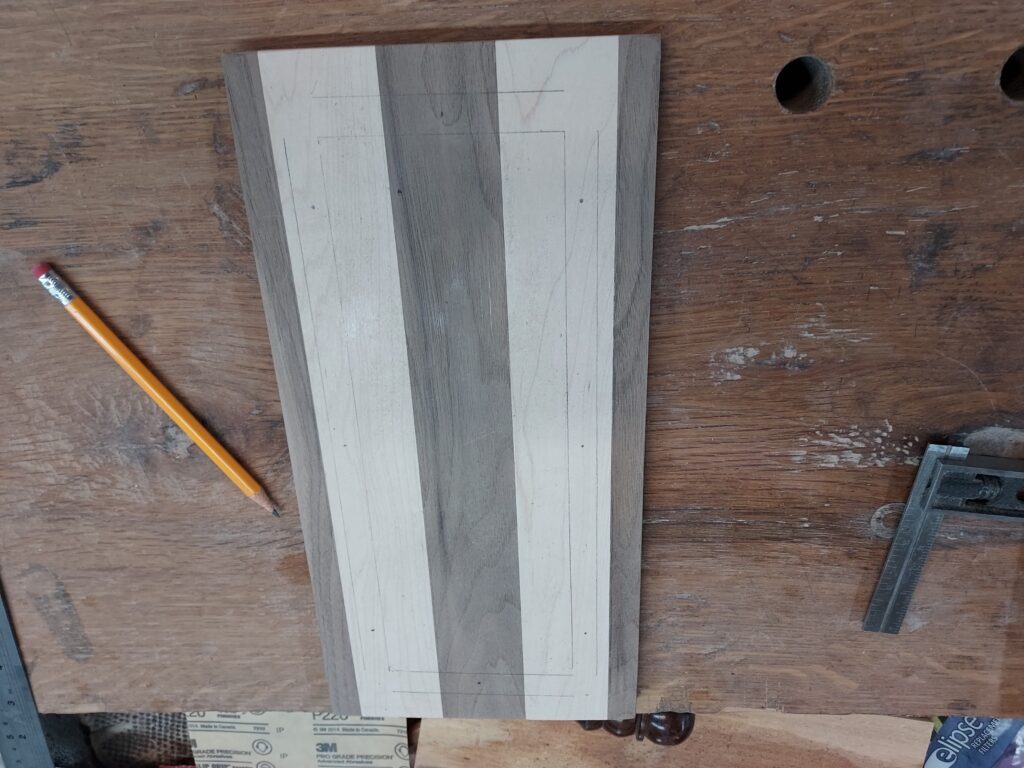
- While the glue is drying, time to layout for the half-housing joints. Go in ½” from each end, then use the other piece that will go in to determine the width of the joint (i.e. use the walnut piece to measure the width of the joint in the maple). Depth of joint is ½”
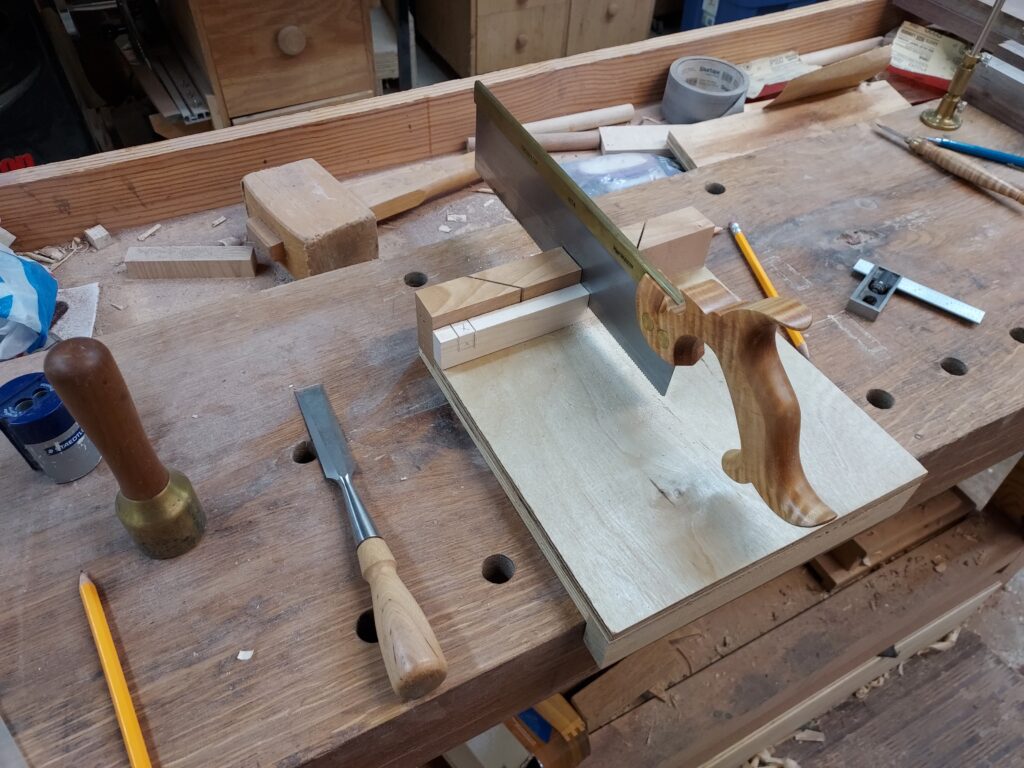
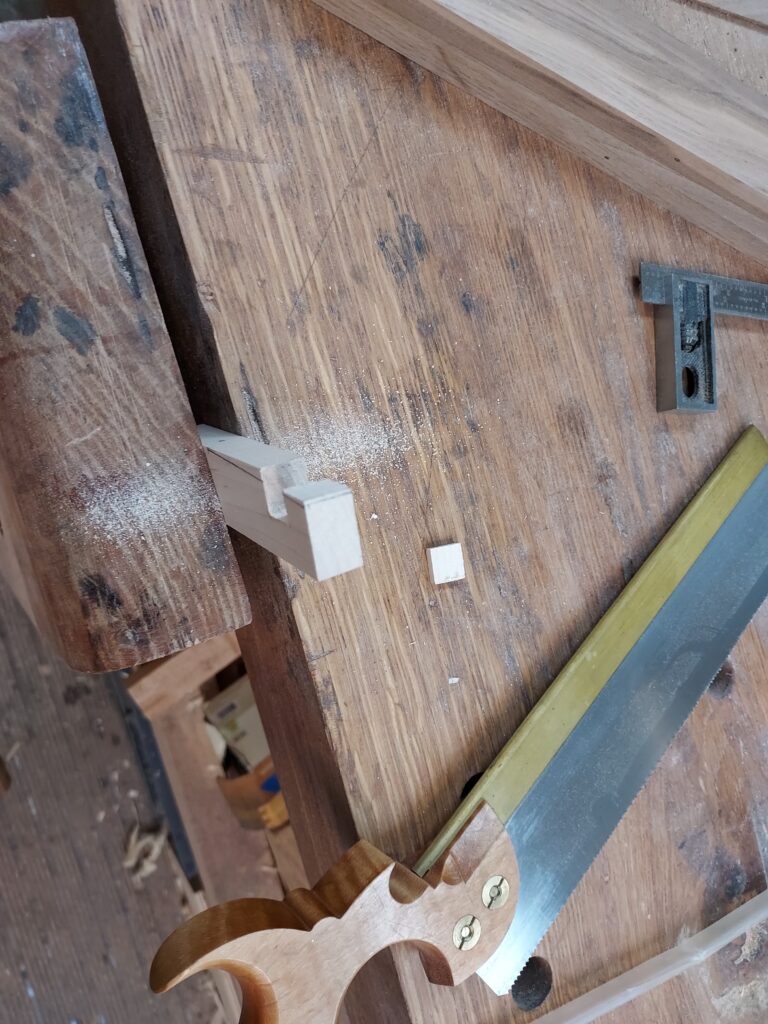
- Use a knife to mark the final line, then use a chisel to make a “trench” to guide the saw. Saw down with a crosscut backsaw, and use the chisel to “pop out” the piece. Clean up with the chisel. Repeat for all eight joints.
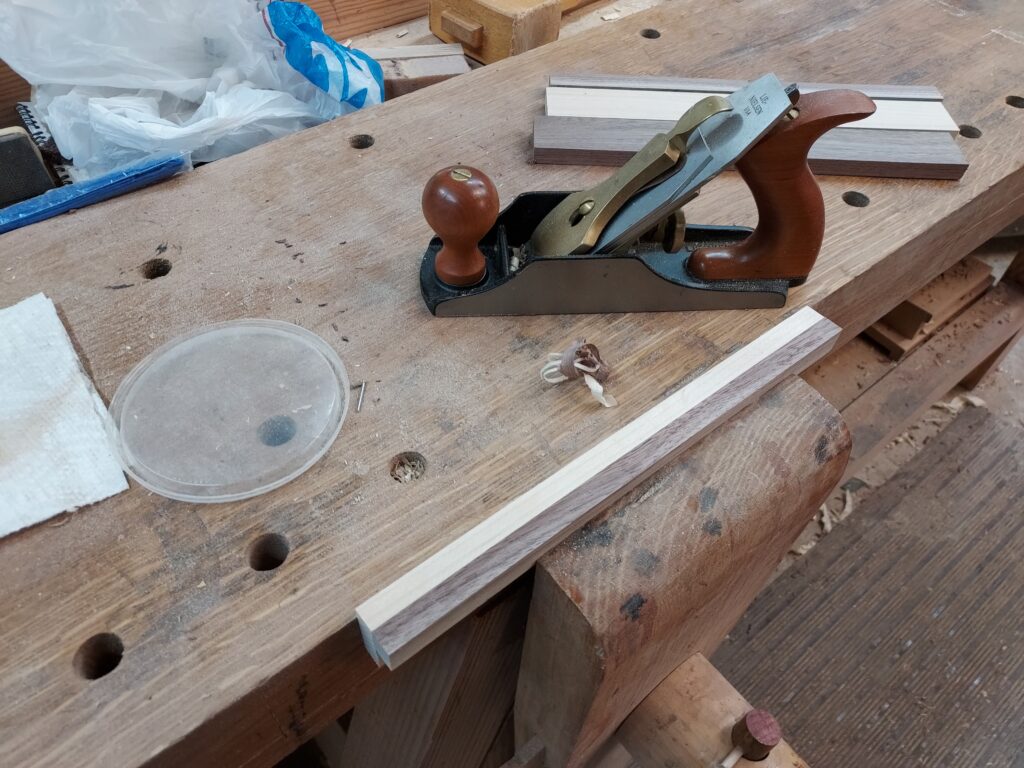
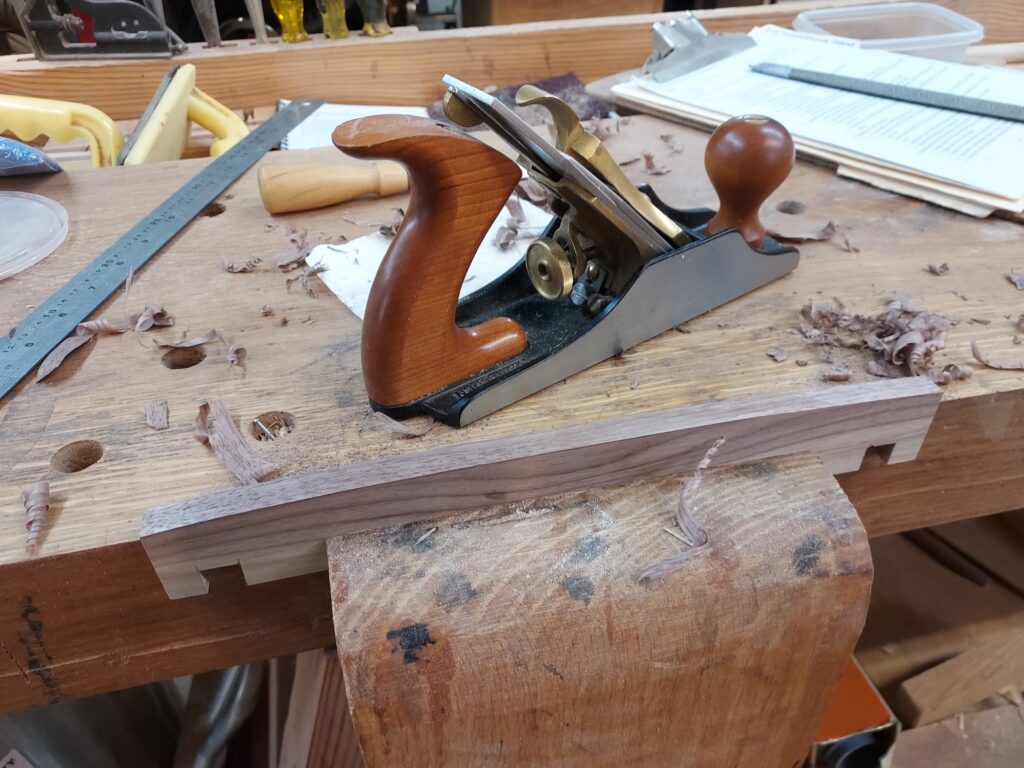
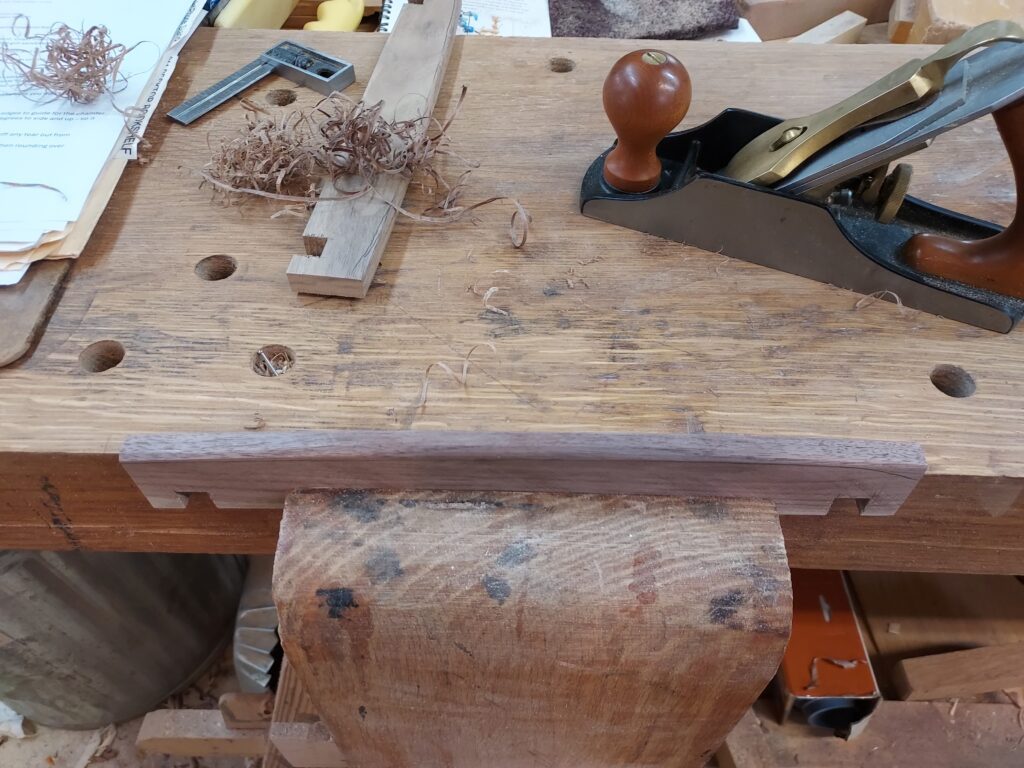
- For aesthetic reasons, I wanted to round the tops down some. For the short pieces, the challenge was that if you used a plane, you could “pop off” the edge. So I used a saw for most of the cut, and then a rasp to complete it.
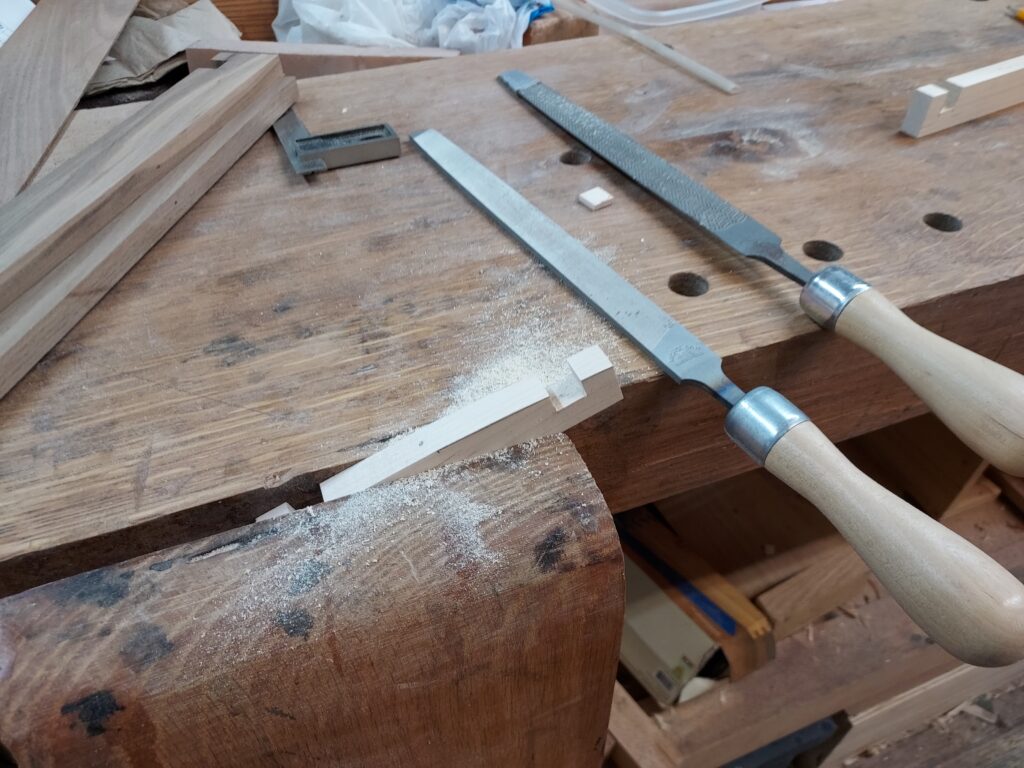
- For the longer pieces, I didn’t need to worry about the end, so I used the plane to cut it down, and a rasp to make the final cuts. I also used a plane and rasp to round over the ends a bit, and the tops.
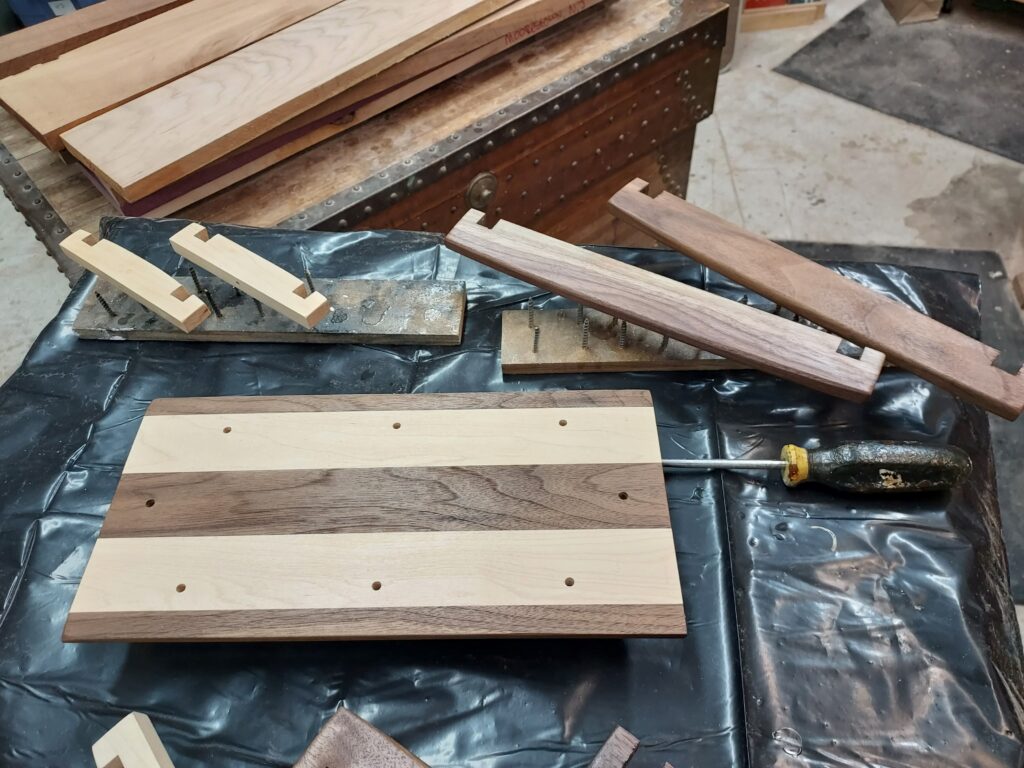
- With the base glued up, I used a plane to clean up the bottom and the top of it. After that, I ripped them to the final width, and crosscut them to the final length. Then I put in a chamfer on the bottom (making it easier to pick up).
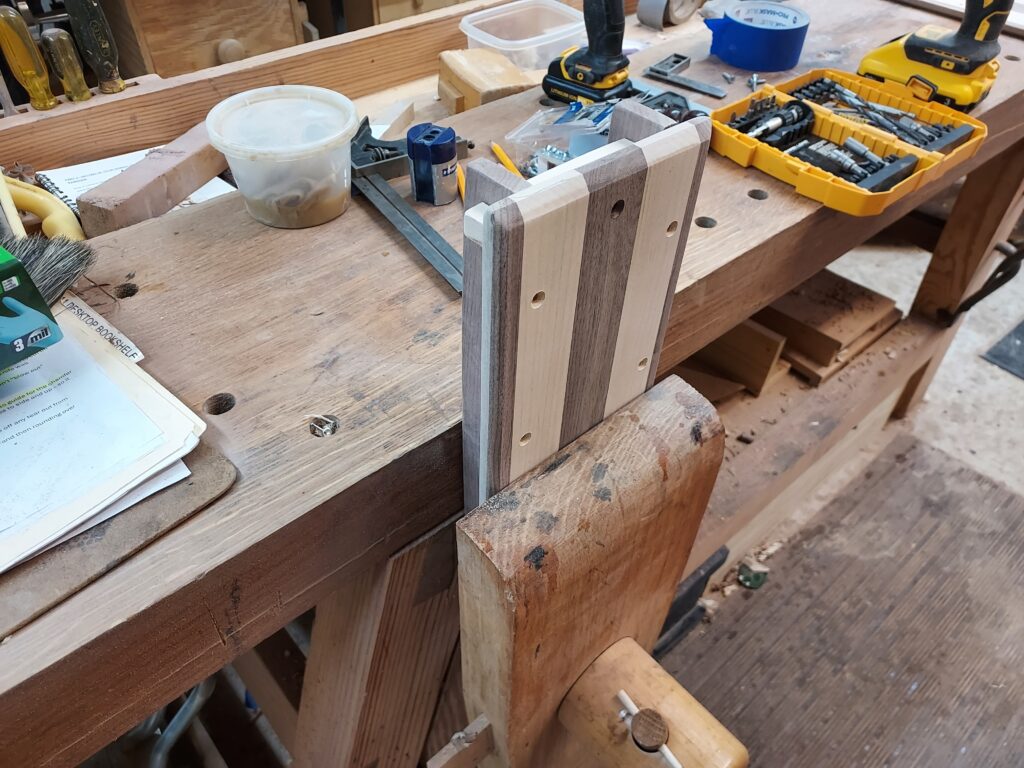
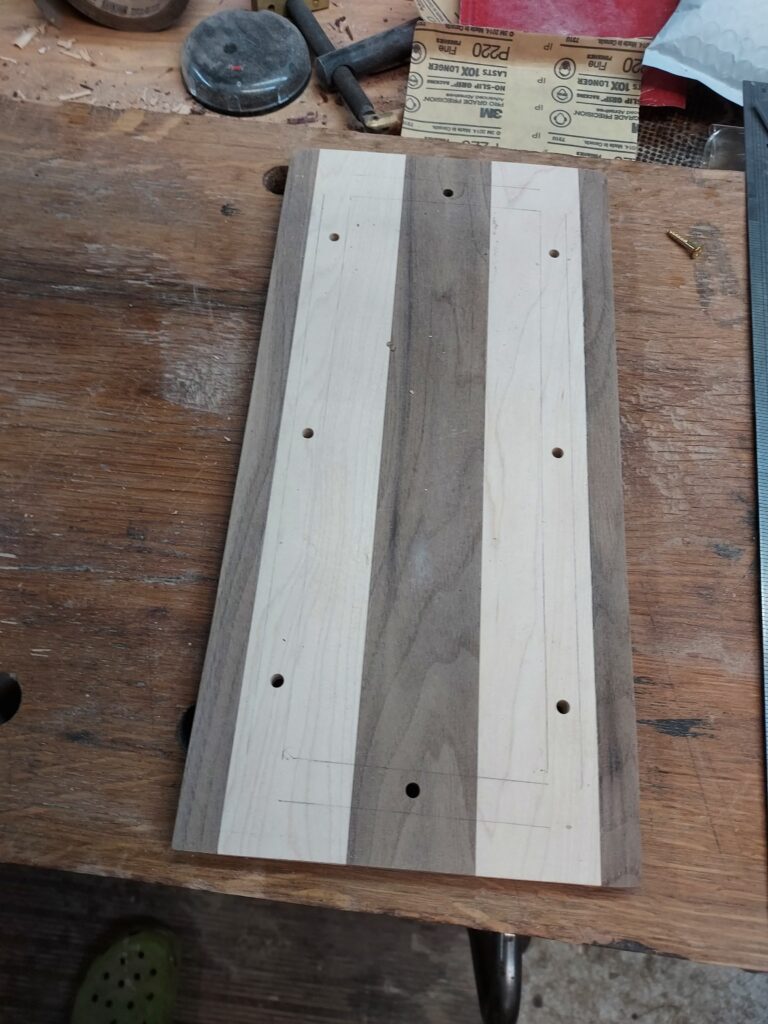
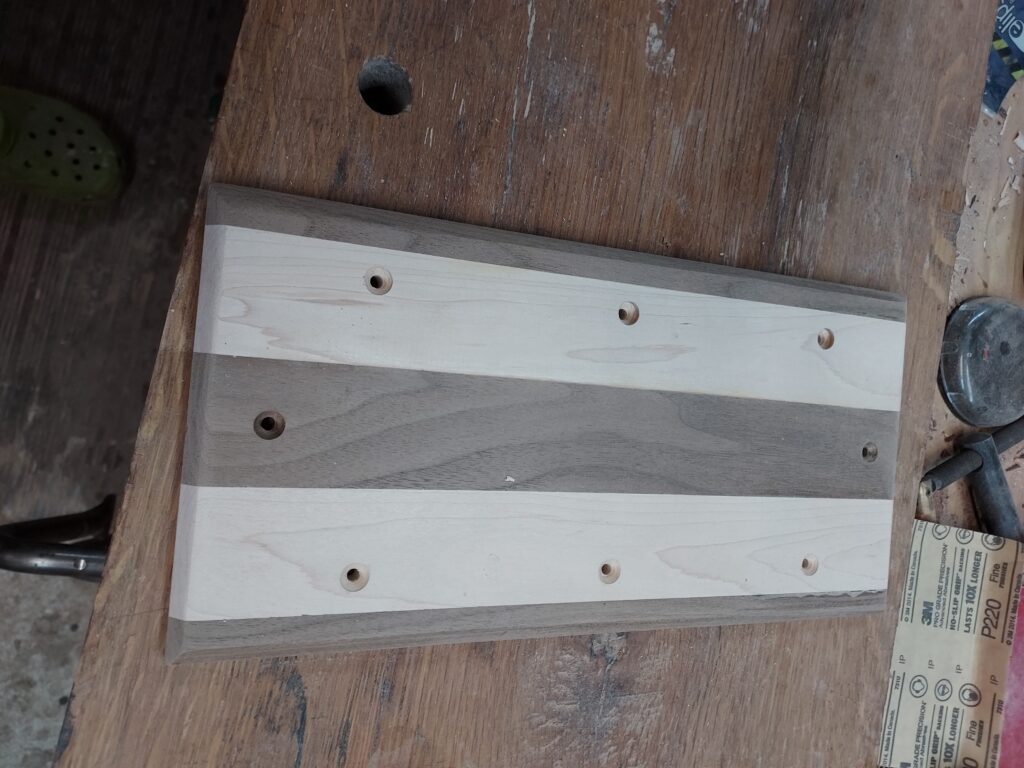
- To attach the top pieces to the bottom, I assembled the top pieces, laid them on the base, and then put a light pencil line on the base. I used that to mark locations for holes, which I drilled in from the top. I turned it over, and put in countersink holes in the bottom, so the brass screws I was going to use would sit below the wood.
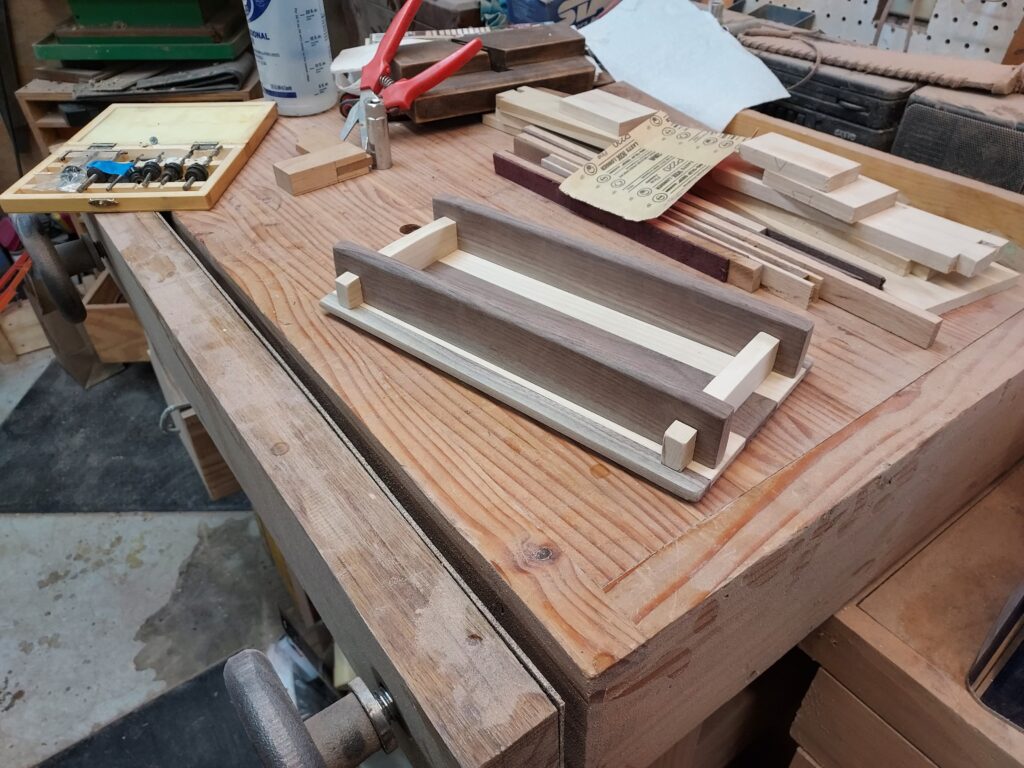
I put the top pieces on, and used the base to drill holes into the four top pieces. After test fitting with steel screws, I disassembled the pieces, sanded them to 220 Grit, and applied several coats of a water based finish. After letting it dry for a couple of days, I rubbed out the finish and installed the brass screws. Done!