
I wanted to build some more artistic style charcuterie boards for the new year. One of the ones I wanted to build was a three-dimensional end-grain board. There are a lot of process steps, and the wood is somewhat expensive, but in the end, it comes out with something beautiful.
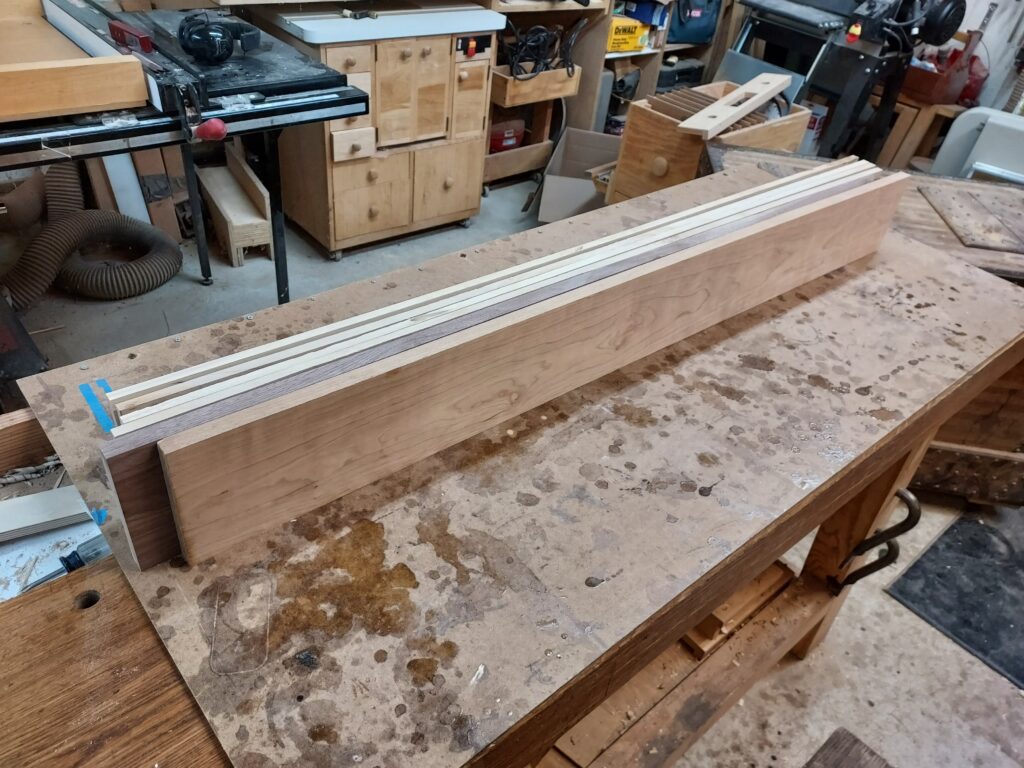
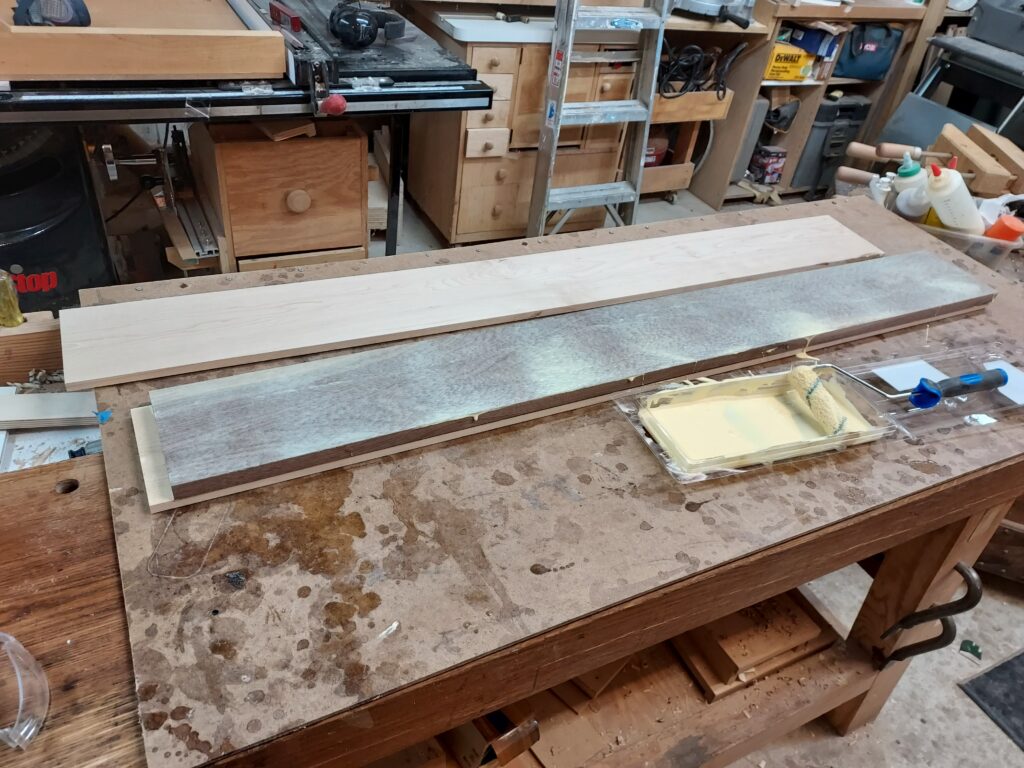
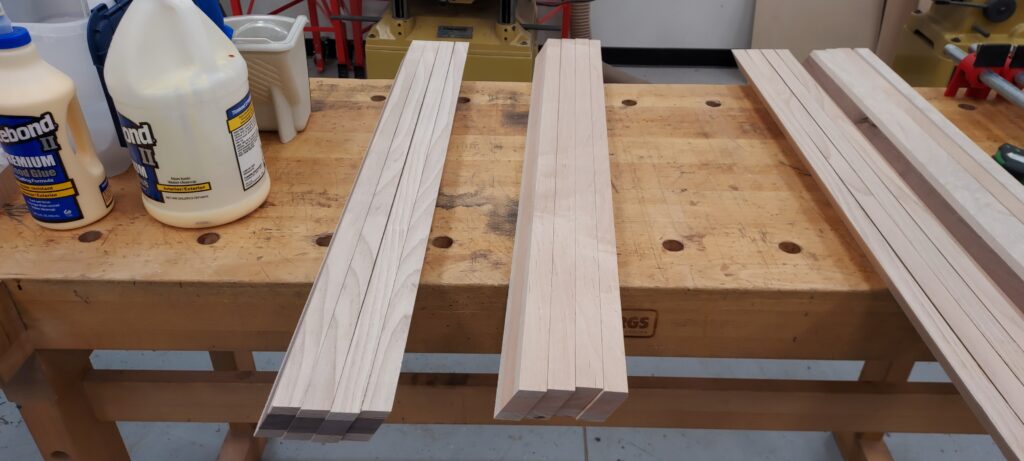
So you start off with six boards, in two “sandwiches”
- One set of 3/8” x 5-1/2” x 48” board of maple, a ¾” x 5-1/2” x 48” board of walnut, and a 3/8” x 5-1/2” x 48” board of maple, sandwiched together and glued up.
- One set of 3/8” x 5-1/2” x 48” board of maple, a ¾” x 5-1/2” x 48” board of cherry, and a 3/8” x 5-1/2” x 48” board of maple, sandwiched together and glued up.
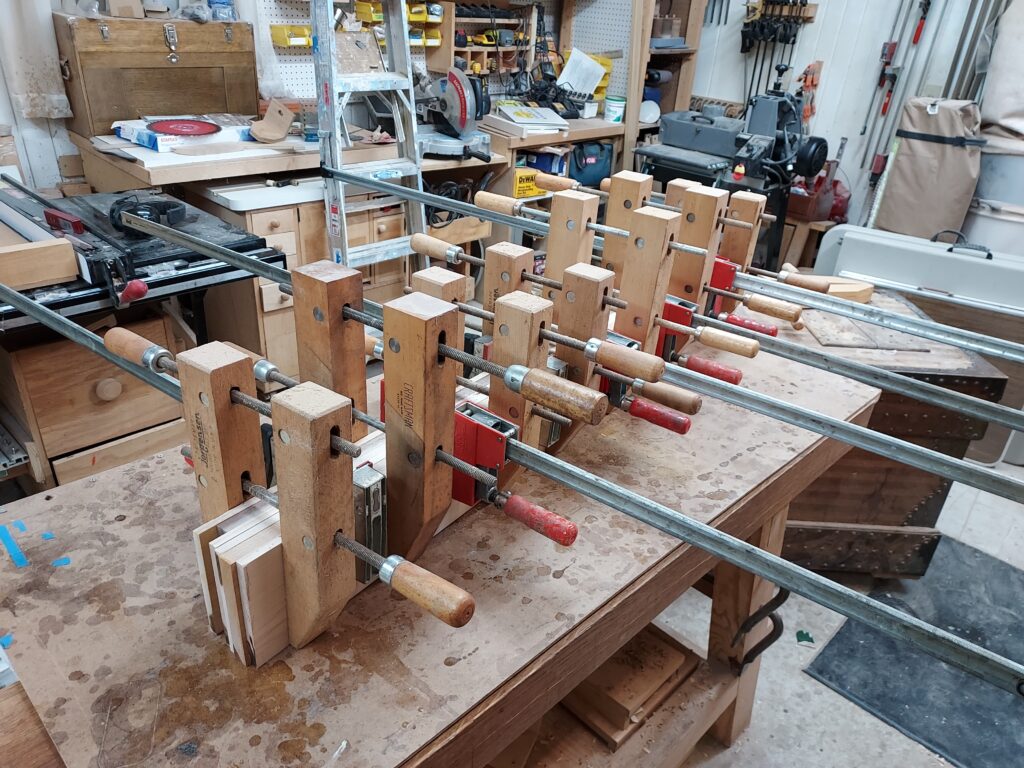
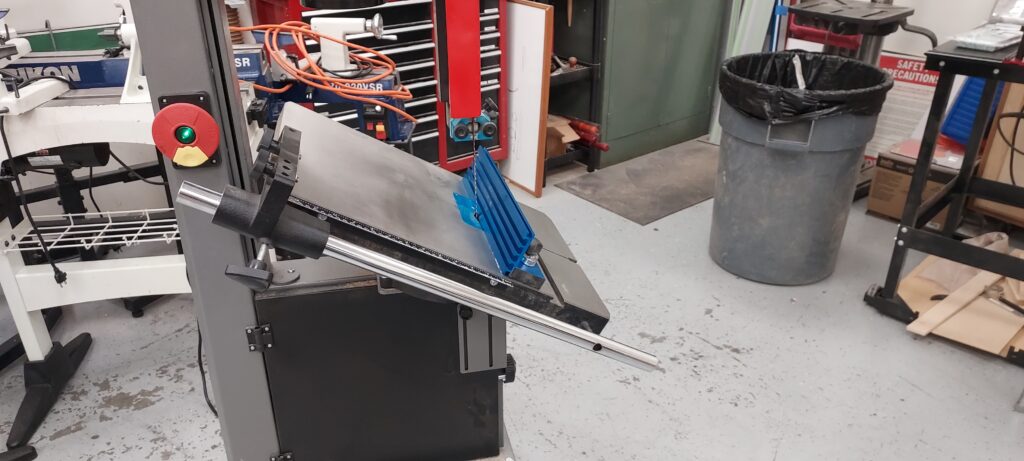
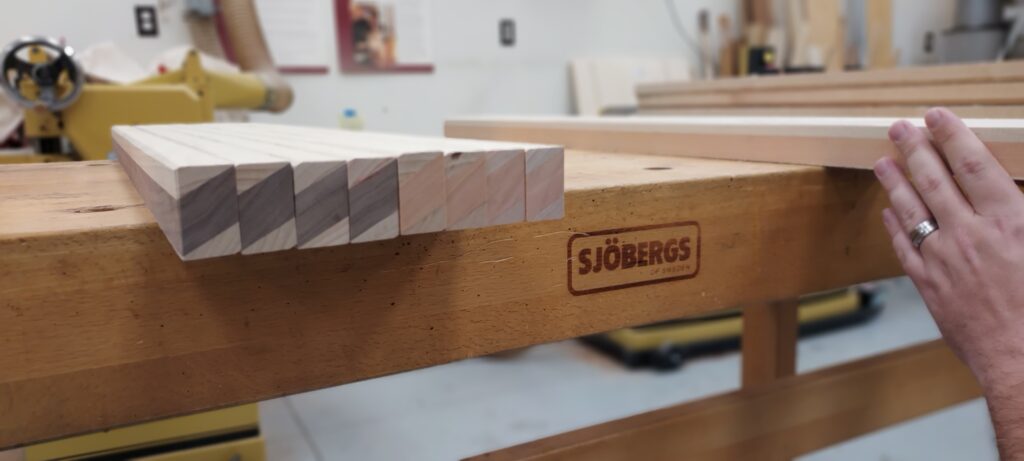
You then have to set your bandsaw at a 30 degree angle, and cut off four strips of wood, 1” wide, then clean them up so they are somewhat squared off. From there you glue them up in an alternating pattern (walnut, then cherry, then walnut, then cherry, etc)
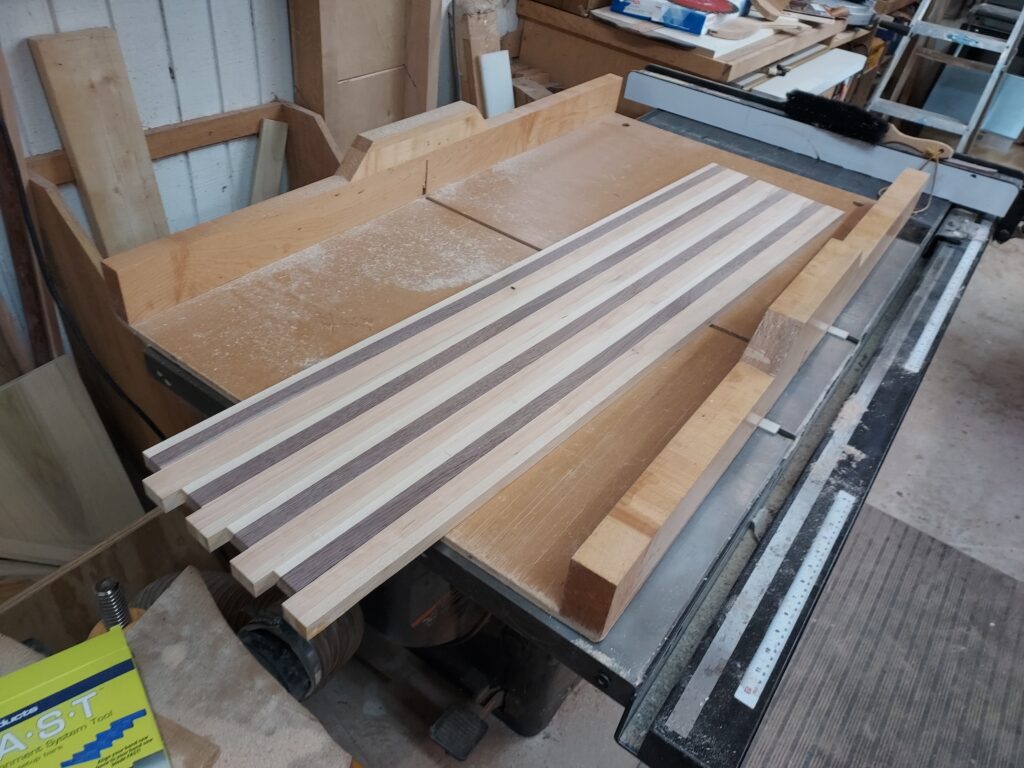
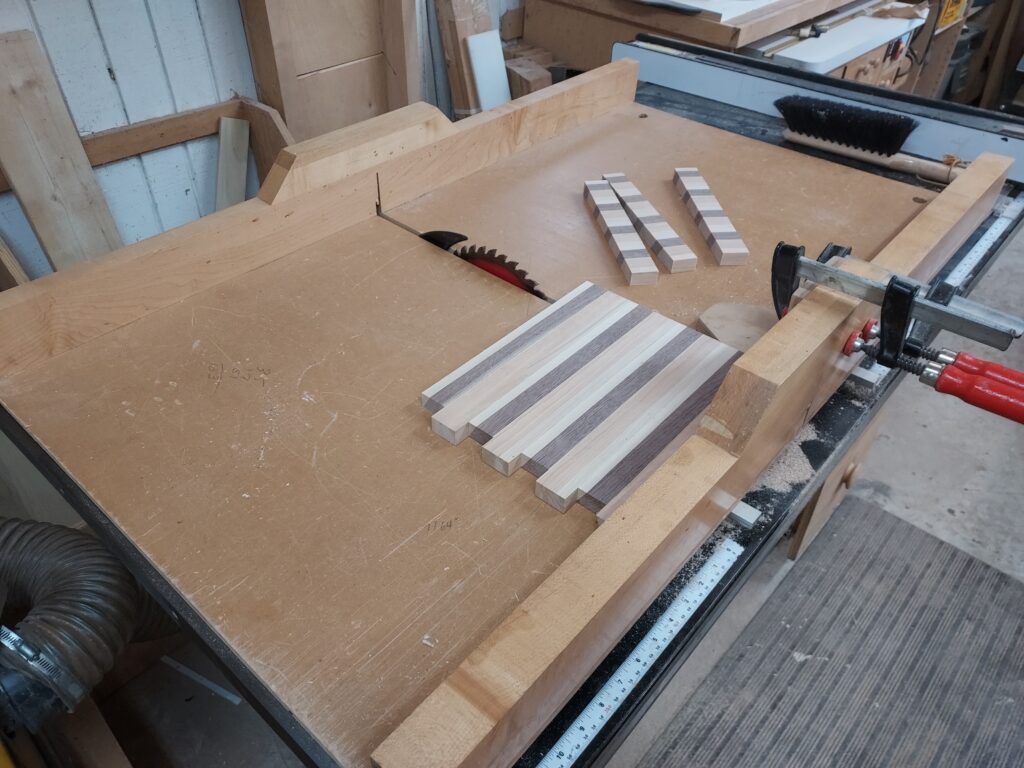
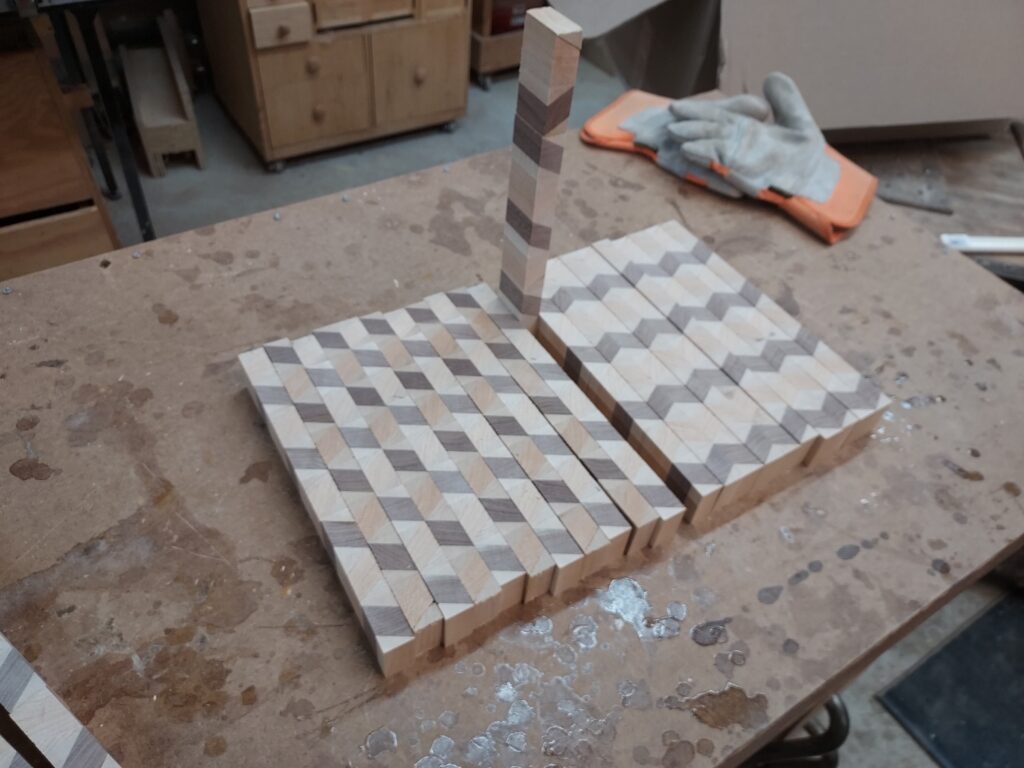
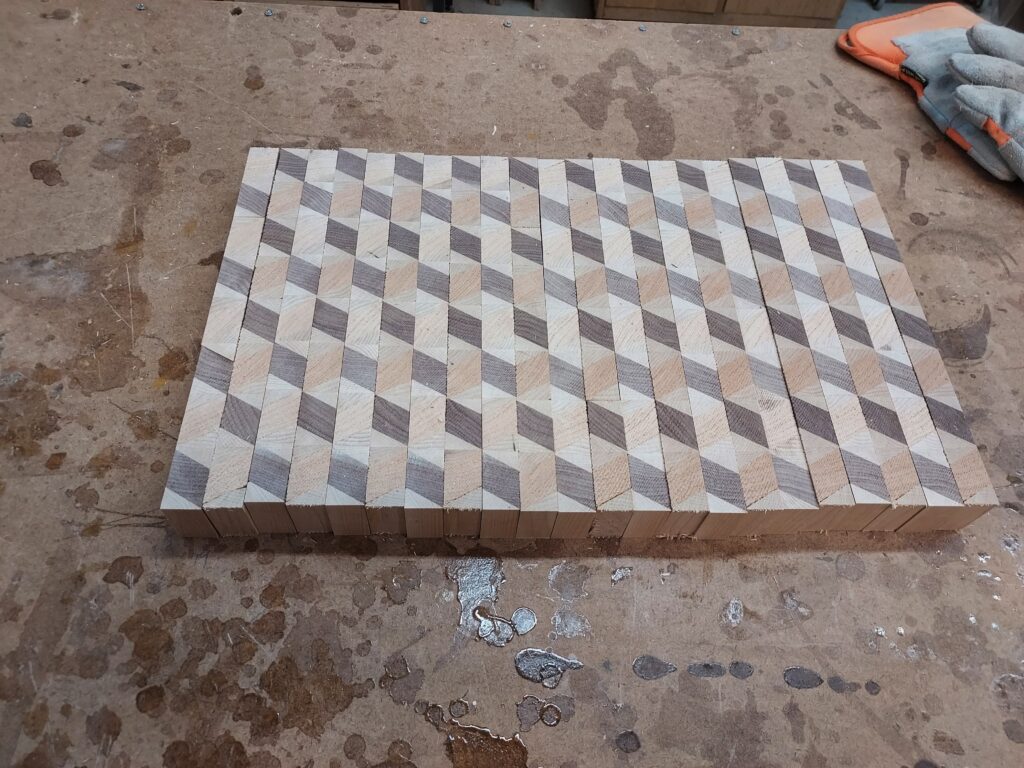
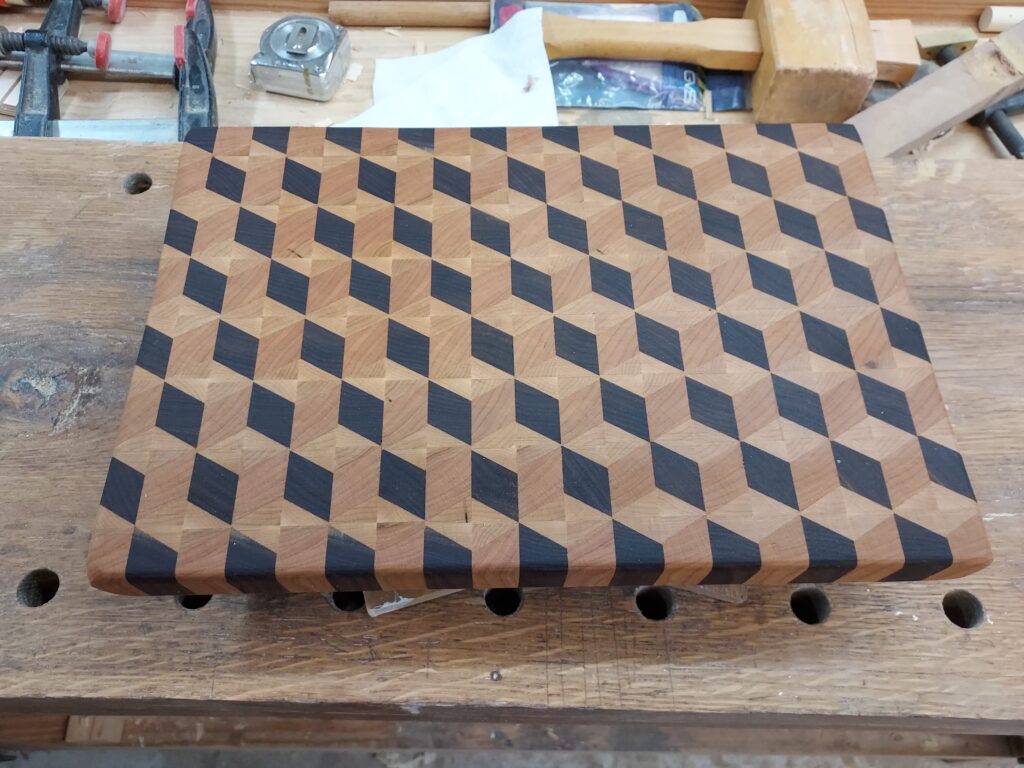
Once that glue has dried, you have a 48 inch long 8-9 inch wide panel. You run that through the planer, then take the flat pieces and crosscut them on the tablesaw. With that done, you have a group of panels with alternating cherry, maple and walnut triangles. By putting them together and alternating them, you create the 3-De patter.
(
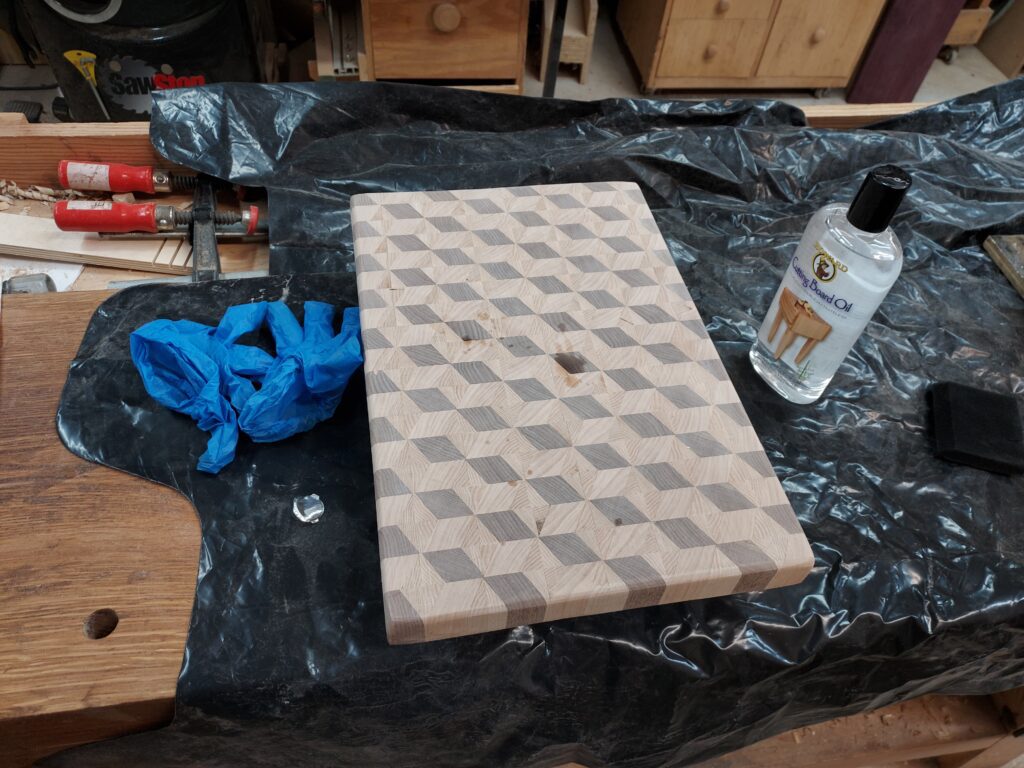
From there, you have to glue it up, then run it through the planer and drum sander to clean up.
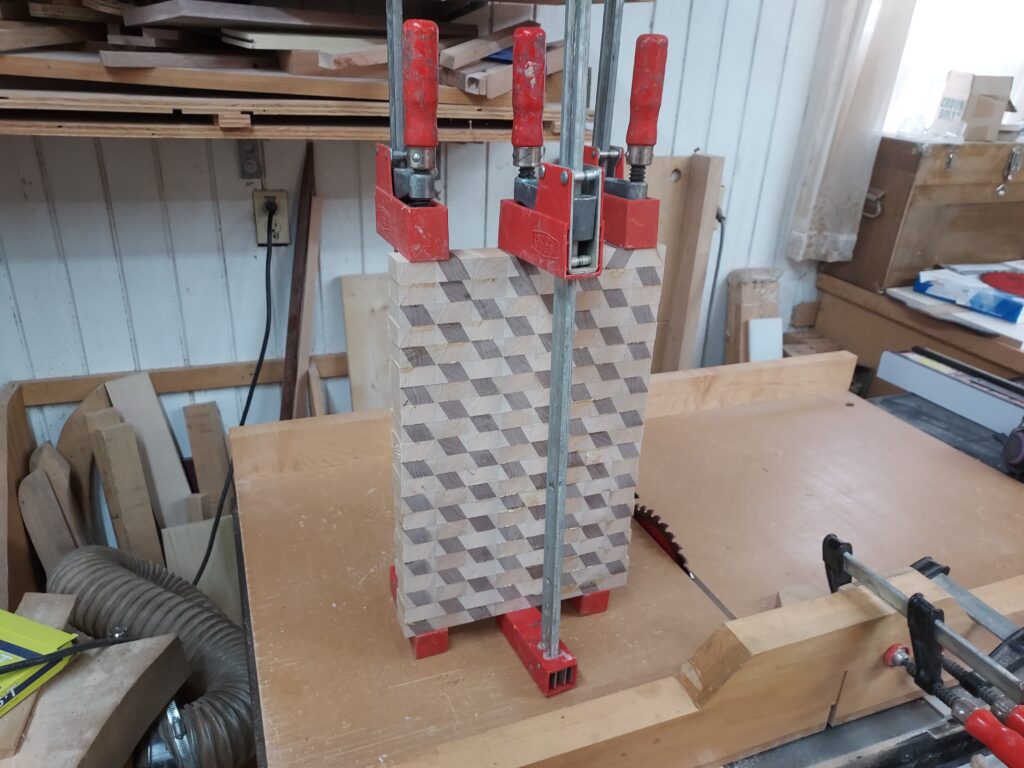
(12)
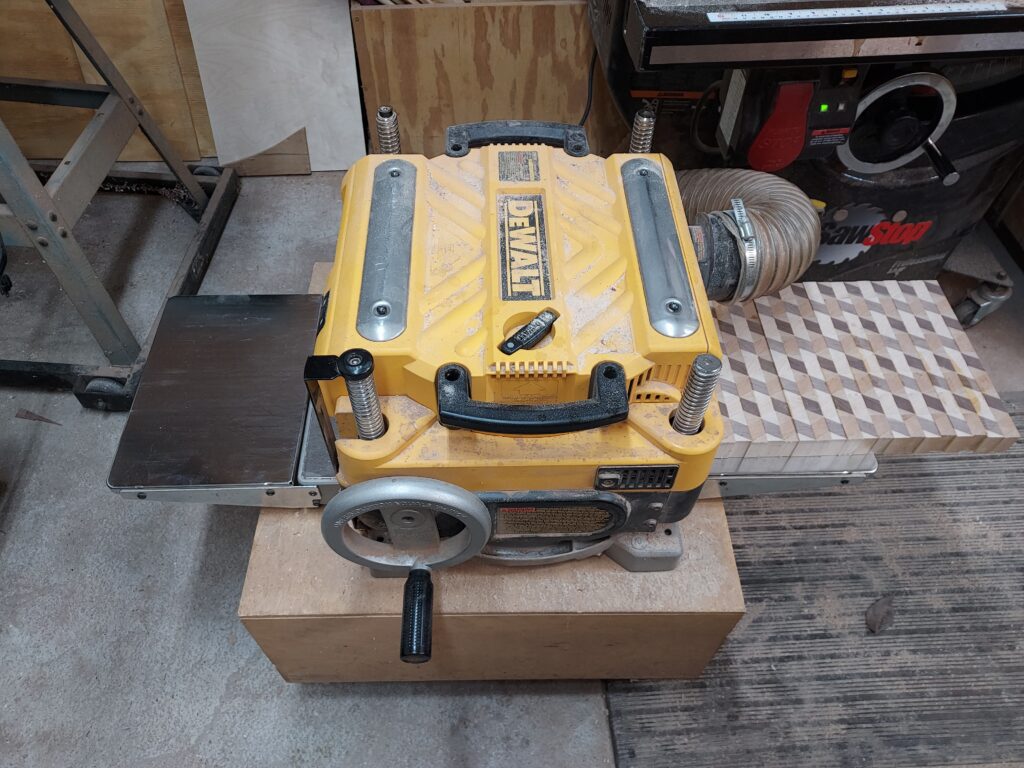
After sanding it down to 220 Grit, I finish with cutting board/butcher block oil. In the end, it looks pretty cool!
Kevin