
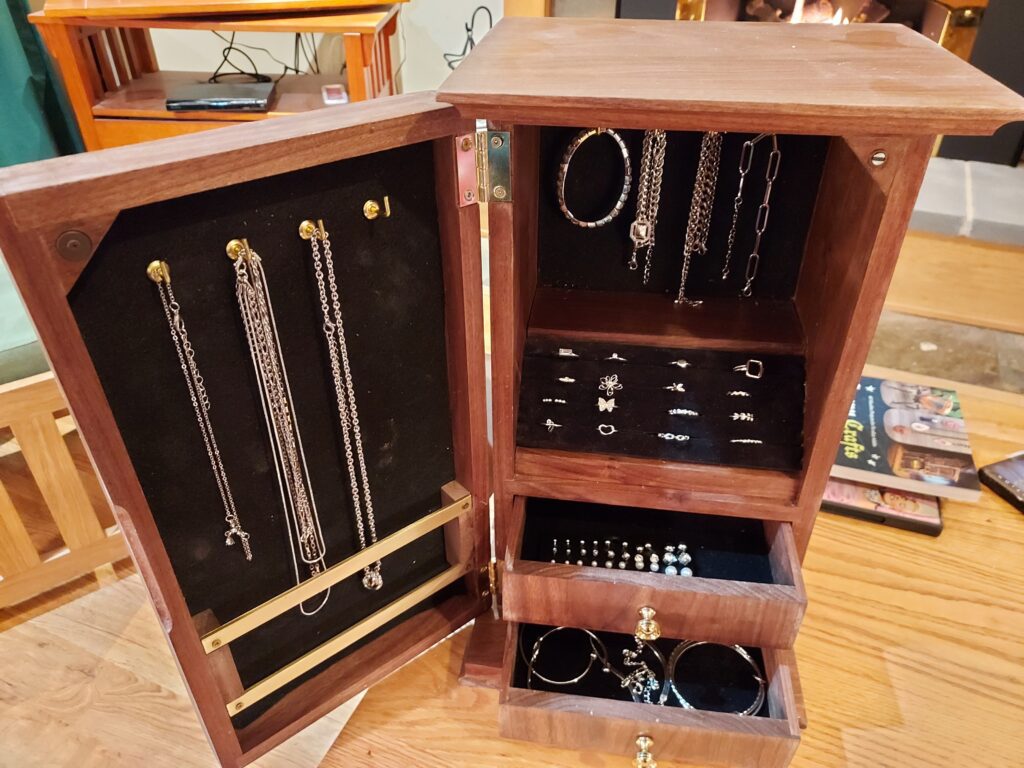
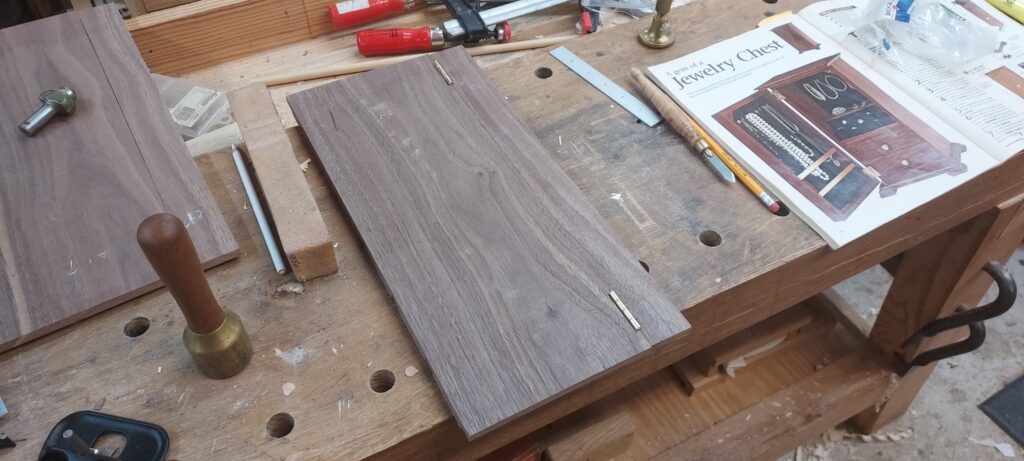
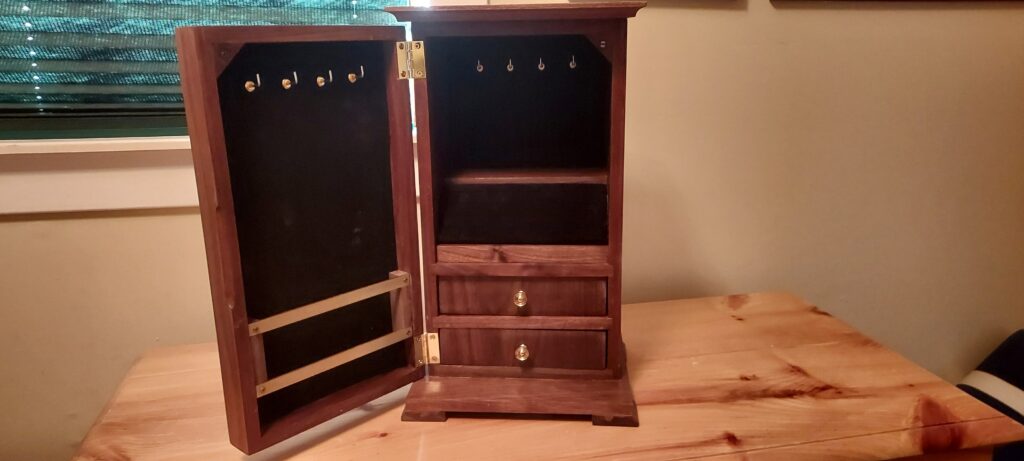
One of the things I wanted for the Farmer’s Markets is some project which “popped” and had folks come in to take a look. I earlier had a craftsman chest which many folks used for a jewelry check (that is what my wife uses hers for). However, I sold my last one, and wanted something different that was definetly used for jewelry. I found this plan in Wood magazine and thought it was great. I made it in walnut, as a lost of folks are interested in the darker woods at this time.
For the process steps:
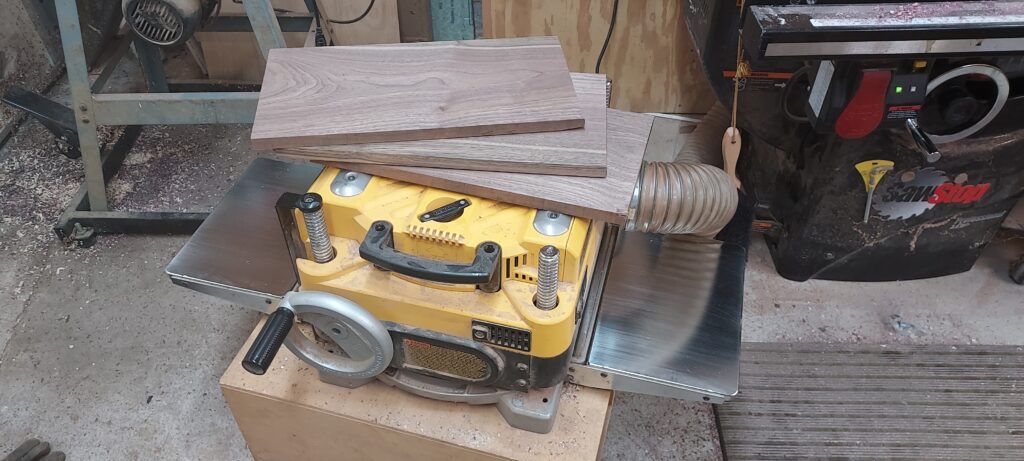
- Mill the wood to size (planning the wood to thickness, crosscutting and ripping to width and length
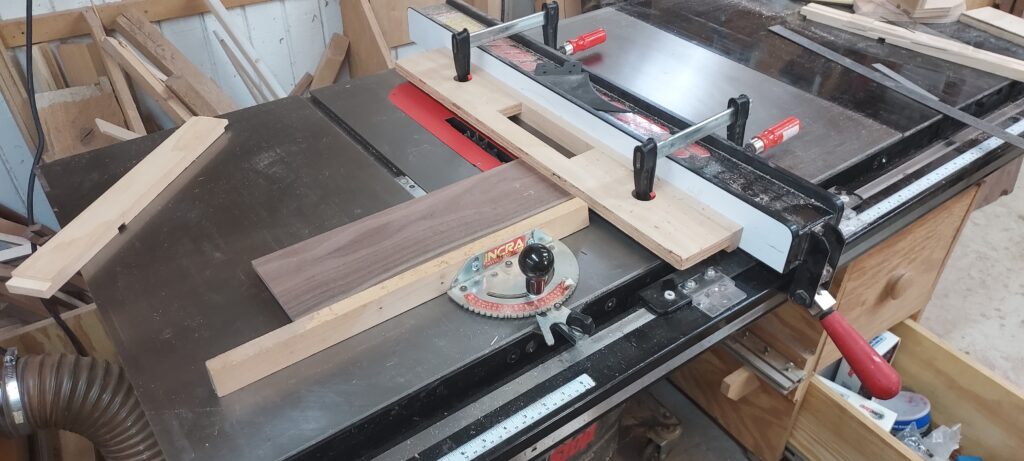
- Layout joinery (dados, grooves, etc.) and cut them on the tablesaw
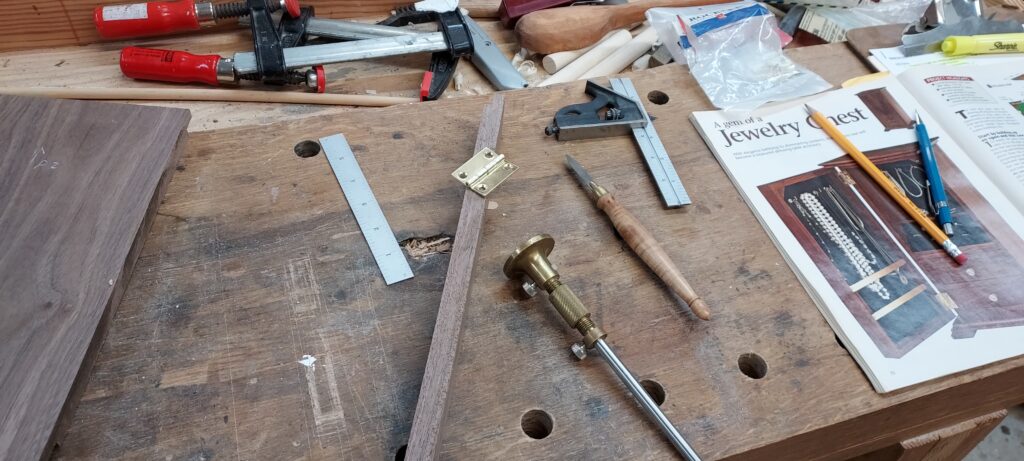

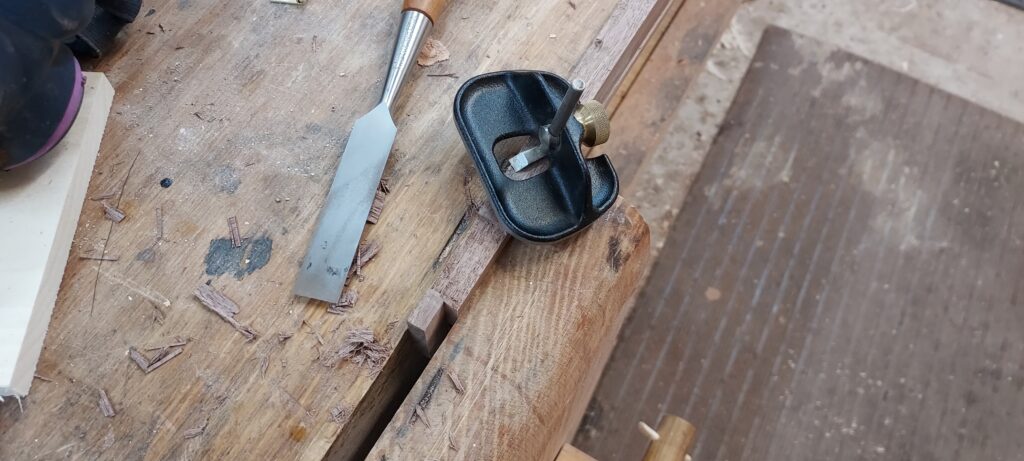
- Layout the mortises for the hinges and use a chisel and small routing plane to place them
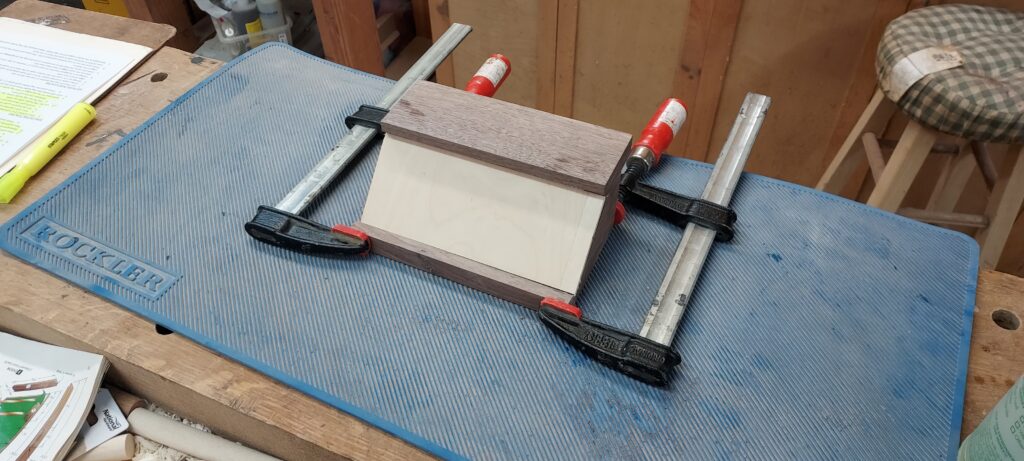
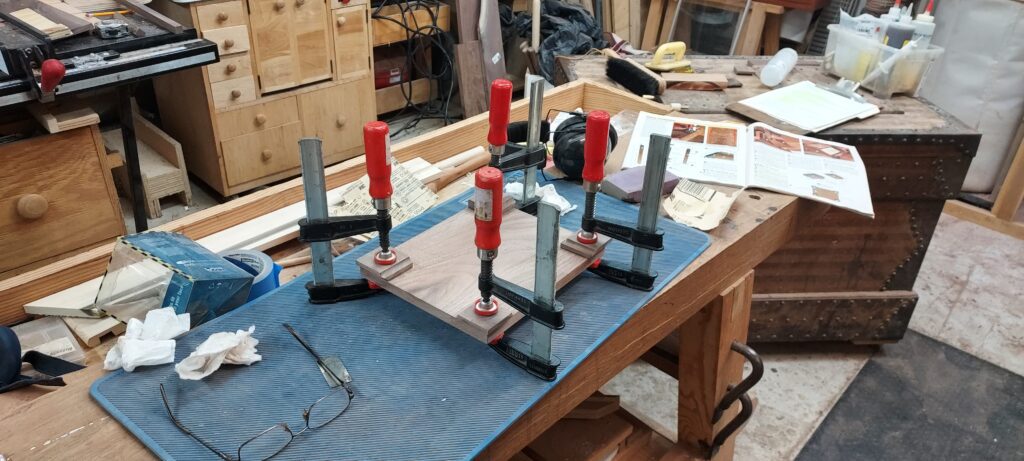
- With the joinery cut, it was time to glue up the various pieces together
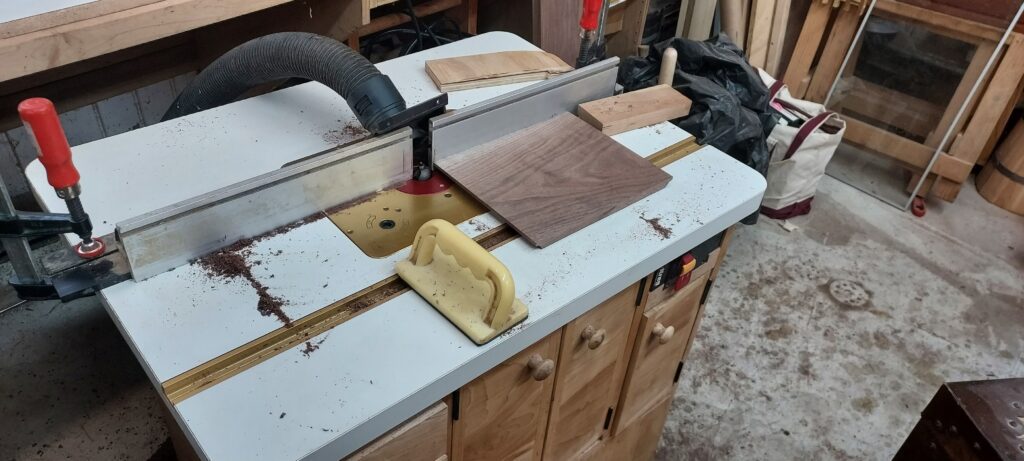
- Then use a router table to cut a 3/8” cove on the top, as well as in the legs

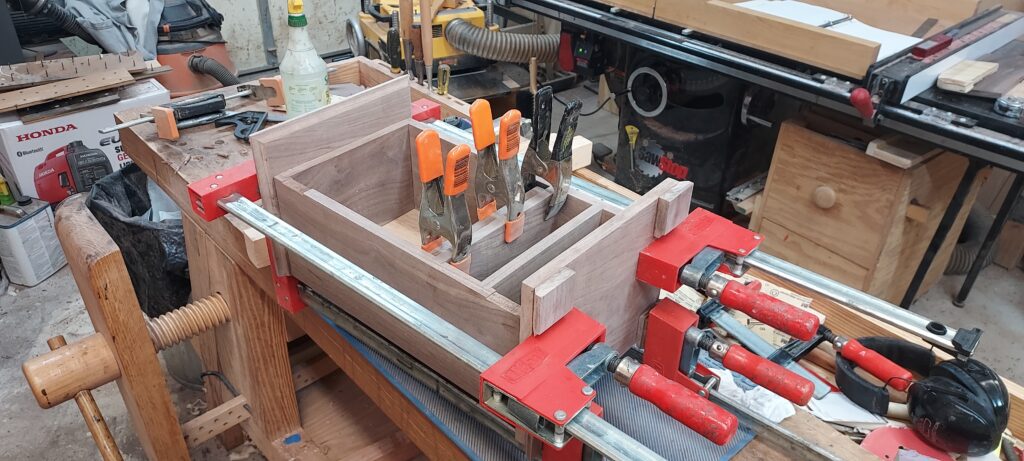
- From there, you glue up the legs and then the whole assembly, including the shelves and locations for the drawers.
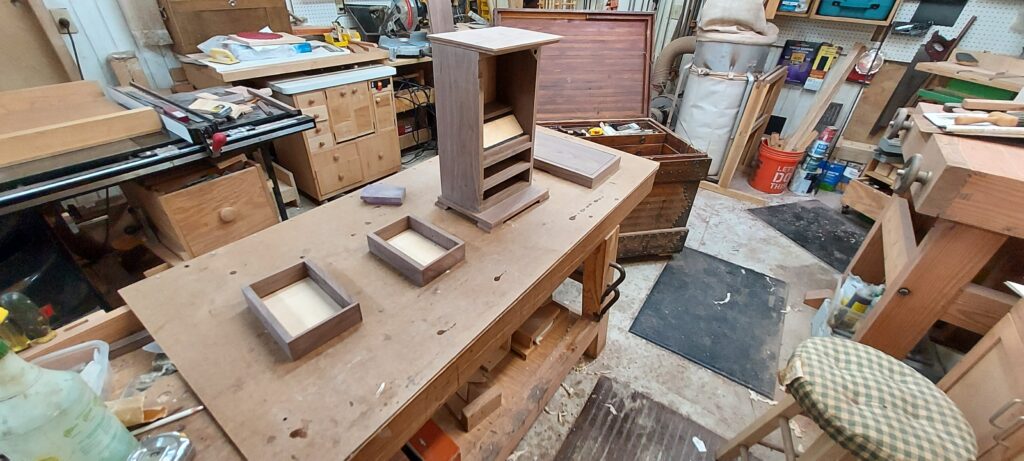
- After building the drawers, you sand the entire unit from 100 Grit to 220 grit, then apply three coats of finish to the jewelry chest
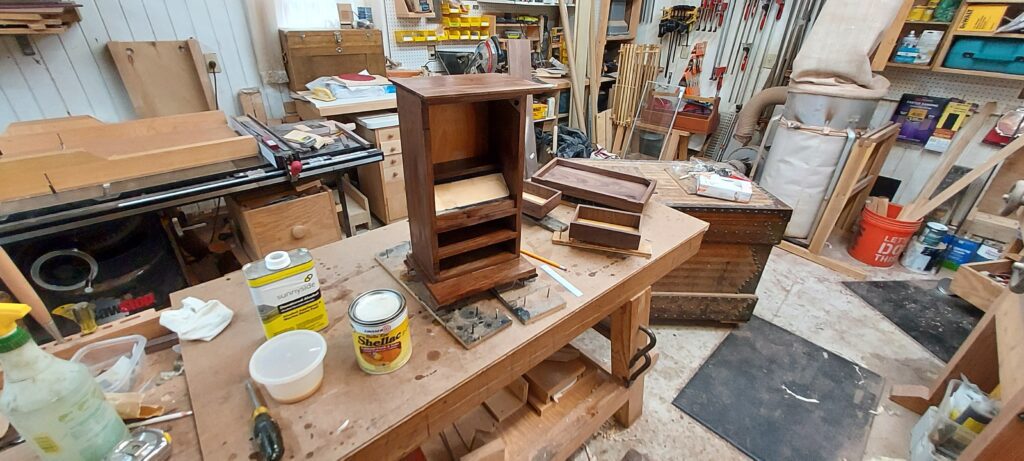
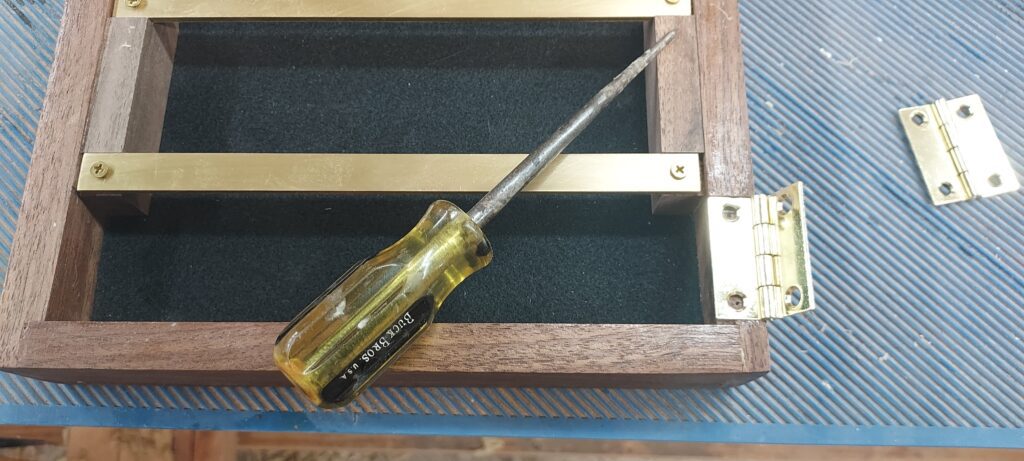
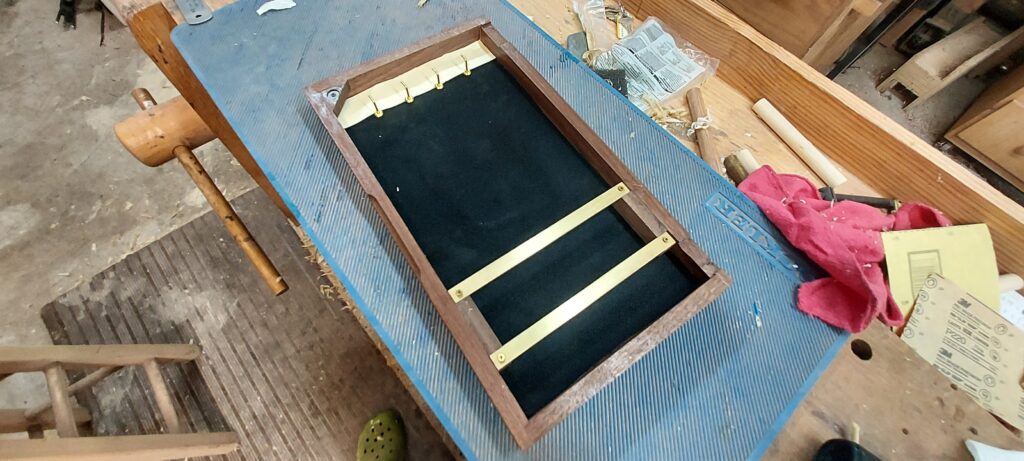
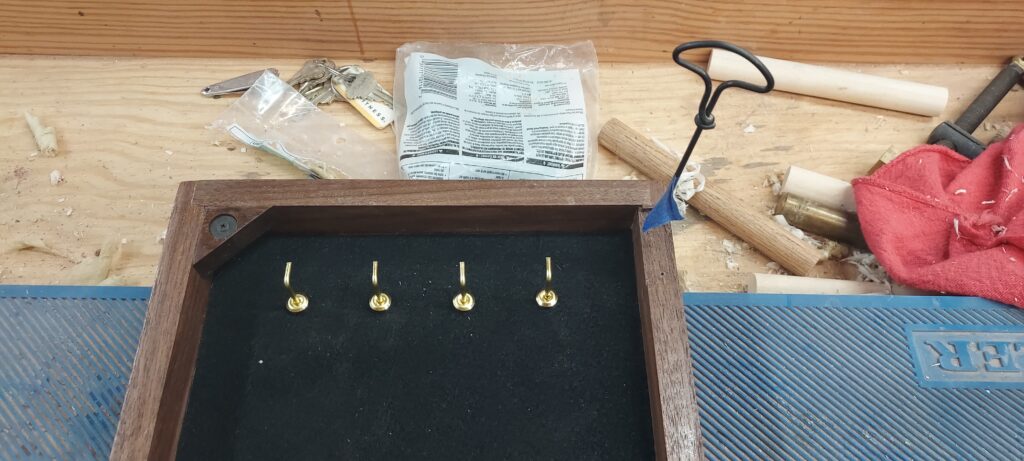
- Once that was done, it was time to install the brass hardware (hooks, bars, knobs, magnets for the door to close, etc.)
With that the cabinet was done! Ready to show off the quality of my work at shows. A lot of time and hours installed, plus some expensive hardware, but I think it came out very well.
Kevin