Sorry for the lack of posting recently, but I had several family emergencies/health issues that I had to take care of, which kept me out of the shop. I’ve also started a new one-year job as an engineer, which is going to keep me away from a lot of my shop time. I still have stuff to do, so I will continue to post my work as I go along.
I am a follower of Paul Sellers, a British woodworker that does almost all his work with just hand tools (he has a bandsaw and a battery drill, but that is about it). I’ve been using his common woodworking (https://commonwoodworking.com/) and woodworking master class (https://woodworkingmasterclasses.com/) sites to identify projects that I can work with to enhance my hand tool skills. The small stool seemed like a good one.
For the project, I purchase a simple 2×4 piece of lumber from the local hardware store, 8ft long. I was going to use this to make the stool.
Cut the pieces to their rough dimensions, including the multiple pieces for the seat.
- Four 13” x 3-1/4” x 1-3/8” pieces to be laminated for the seat. Plane down the edges of the 2×4 so that the rounded corners are somewhat squared up.
- Three legs 13” x 1-3/8” x 1/38” for the legs
- Walnut scraps for wedges
Steps
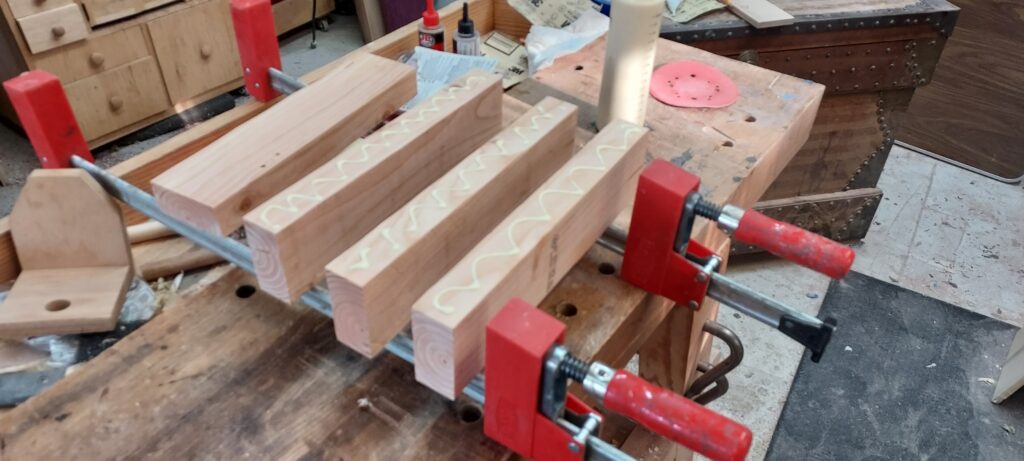
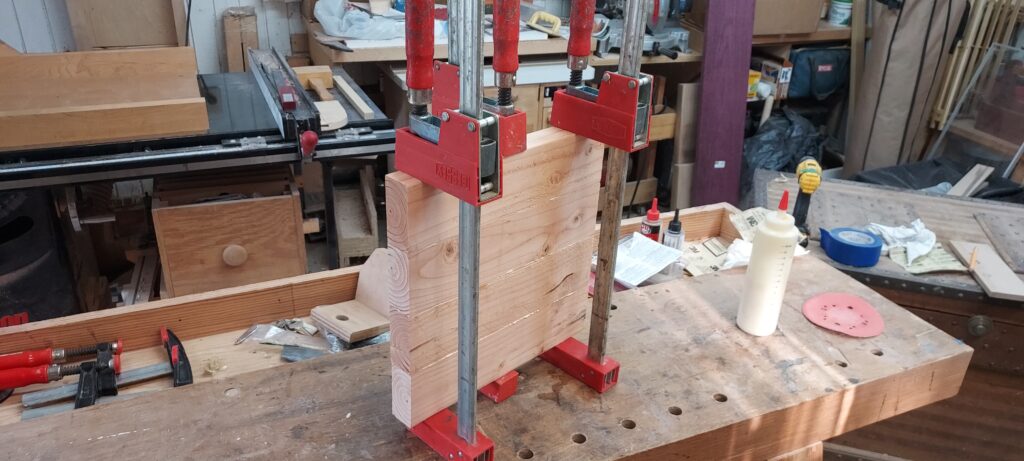
- Glue up the four pieces for the seat
- Use a plane, spokeshave and card scraper to round over the three leg pieces to 1” diameter on the ends
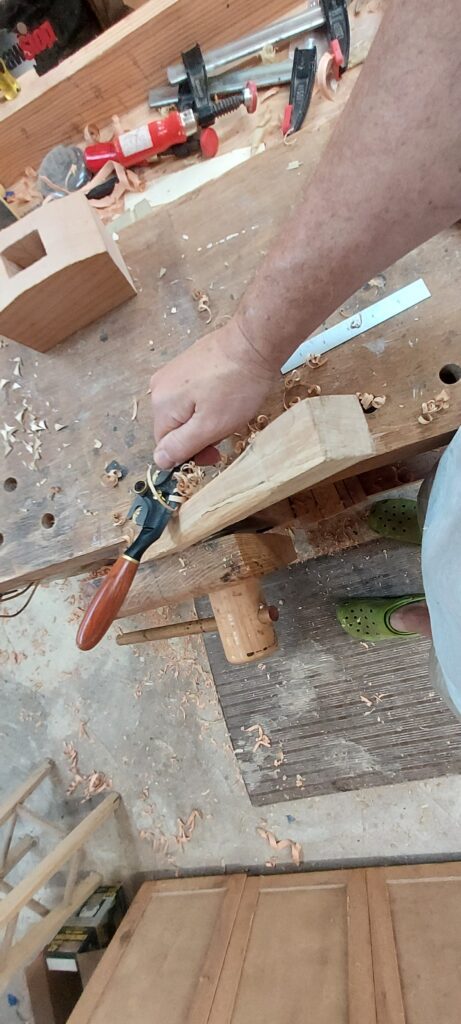
- Create a “jig” by drilling a 1” diameter hole in a spare board. Use this to put your legs in the hole and further refine the leg shape with a spokeshave and card scraper
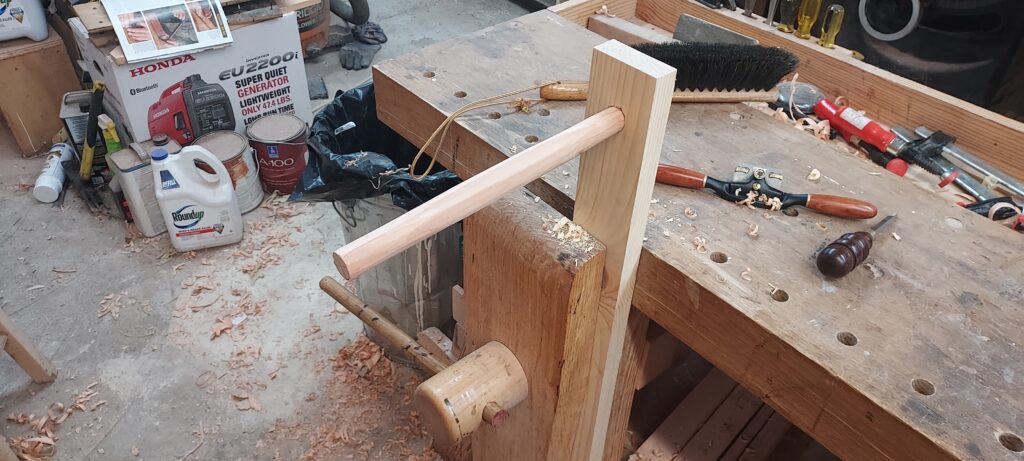
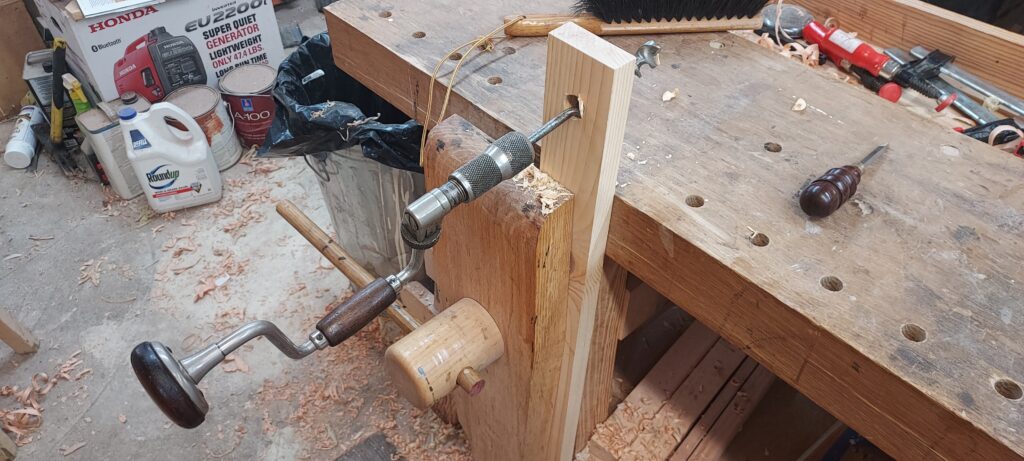
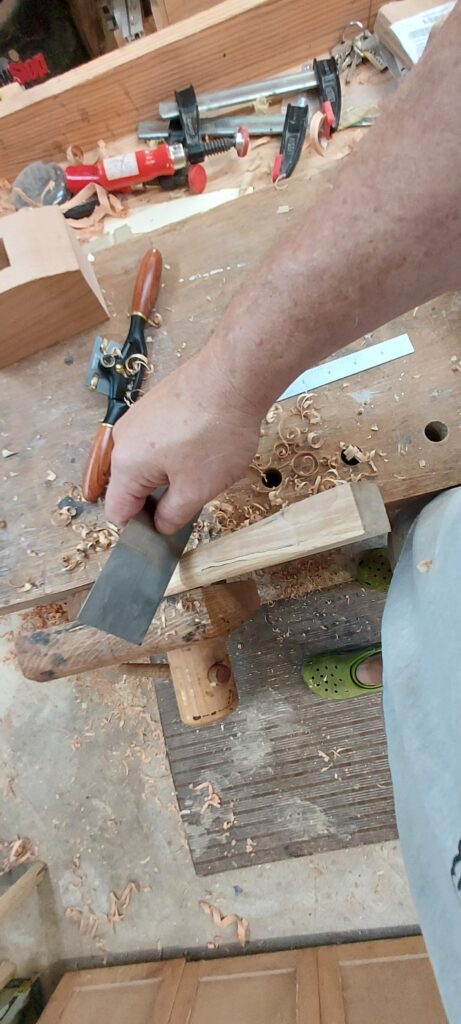

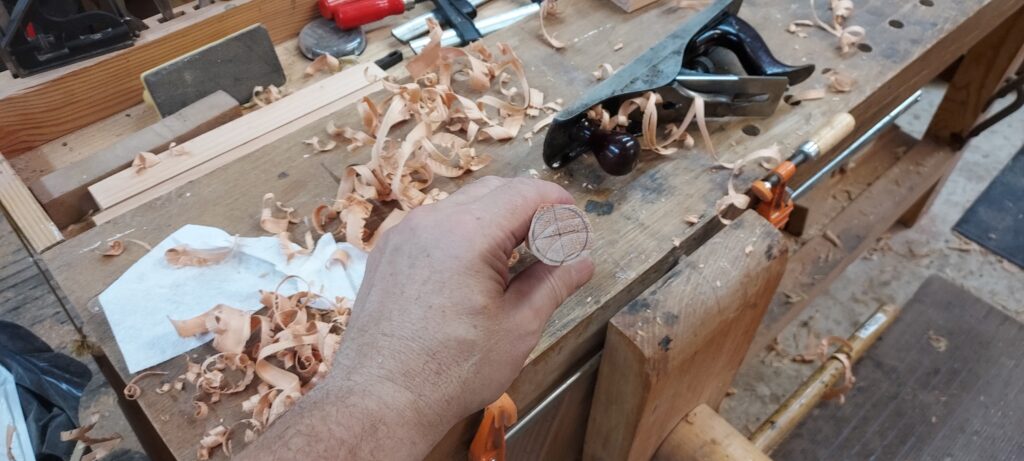
- Take the glued up seat and plane/sand it down till it is smoother. Then mark out the outside diameter (12-1/4”) as well as an inside line for the location of the legs. Saw this out, and use a spokeshave and scraper to refine the curve and curve over the edges. Use a compass to identify the three locations for the leg holes
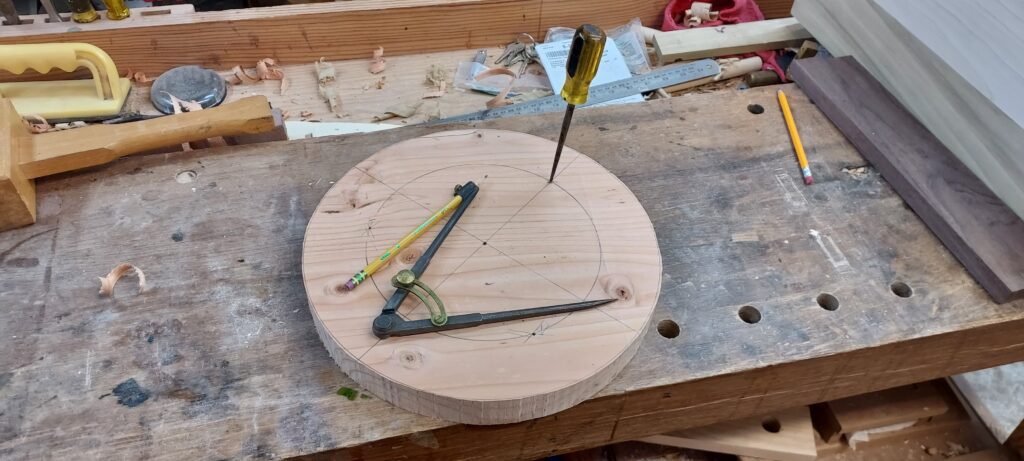
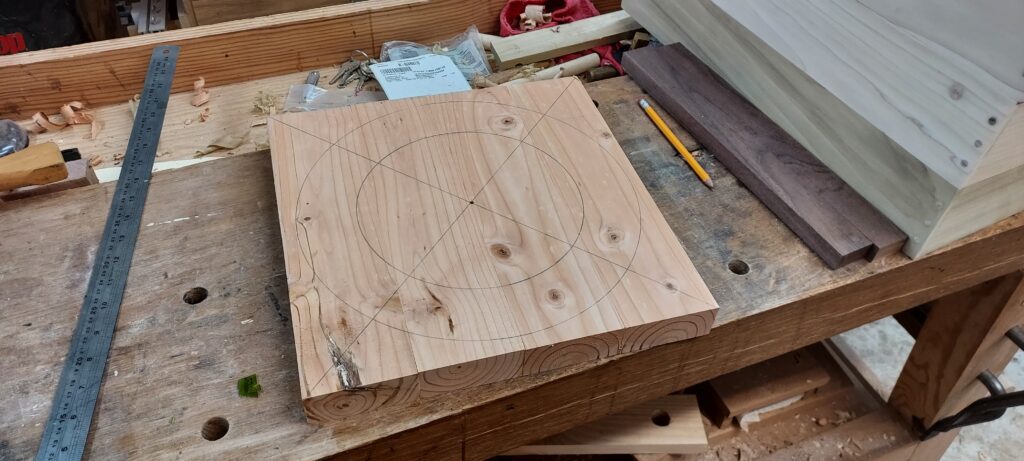
- Drill holes in the bottom at an angle for the legs to “splay out” using your bevel gauge to determine the correct angle.
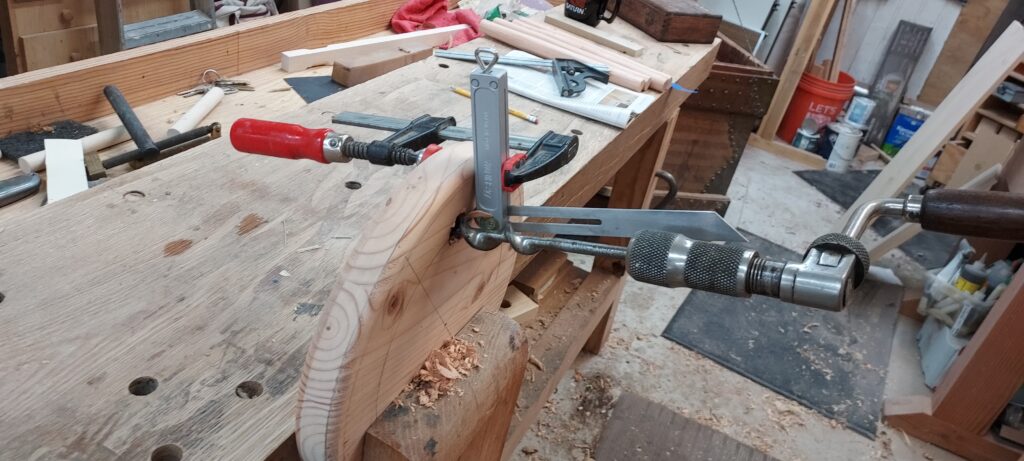
- Test fit your legs into the stool. Once satisfied, mark where you will make kerf cuts in the stool for the wedges. Make sure the kerf cuts are at 90 degree angles to the grain of the stool, or you may split the wood.
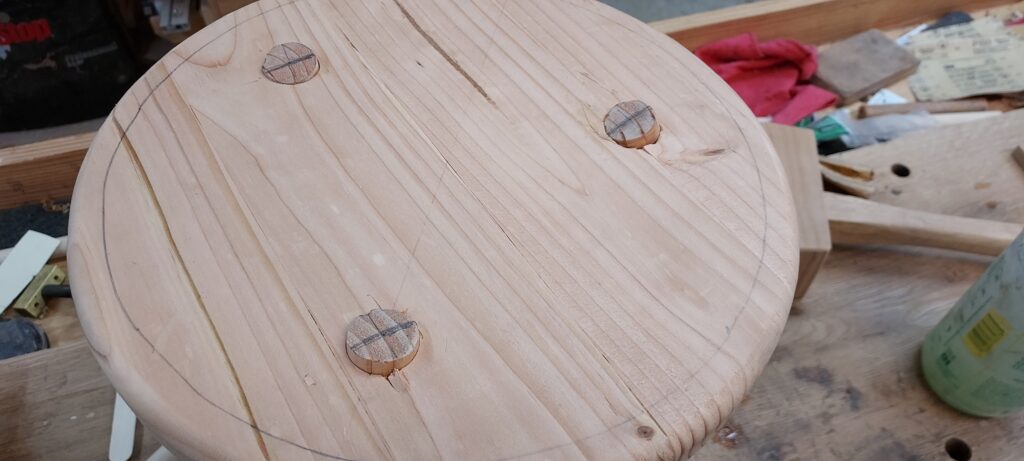
- Sand everything so the legs and stool top/bottom do not show pencil marks or major cuts).
- Saw a kerf in the top of each leg, roughly 1” down. Cut a series of wedges (I used walnut) that are 1” wide and roughly 1-1/4” long. Test fit the legs and wedges to ensure they work out.
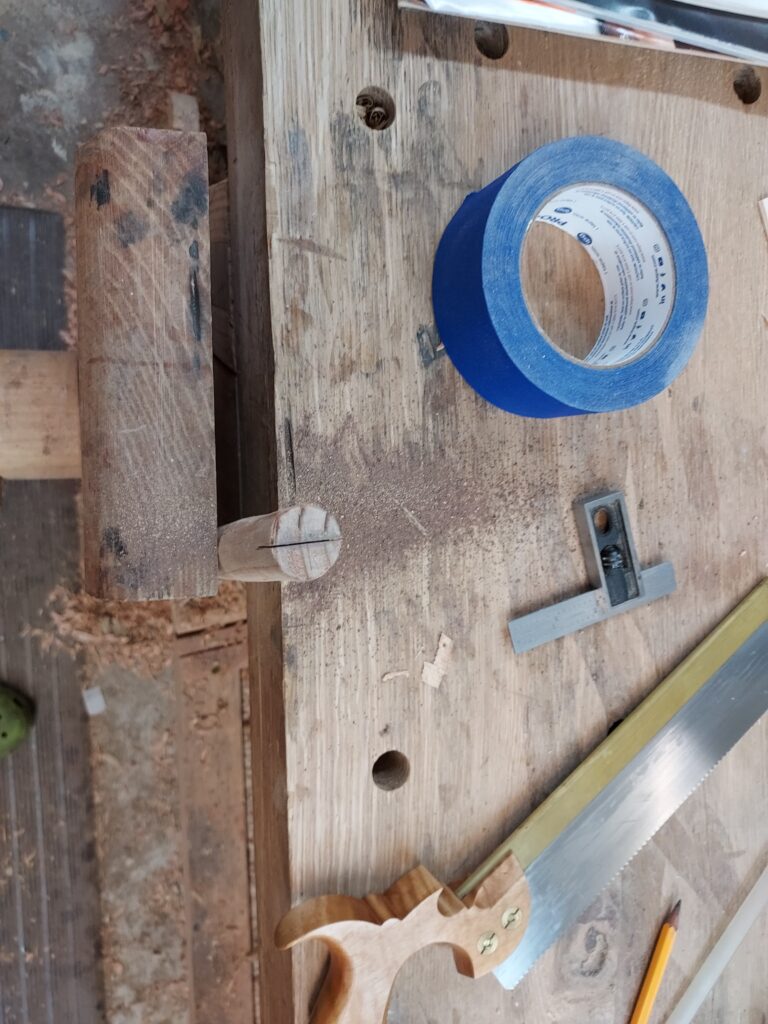
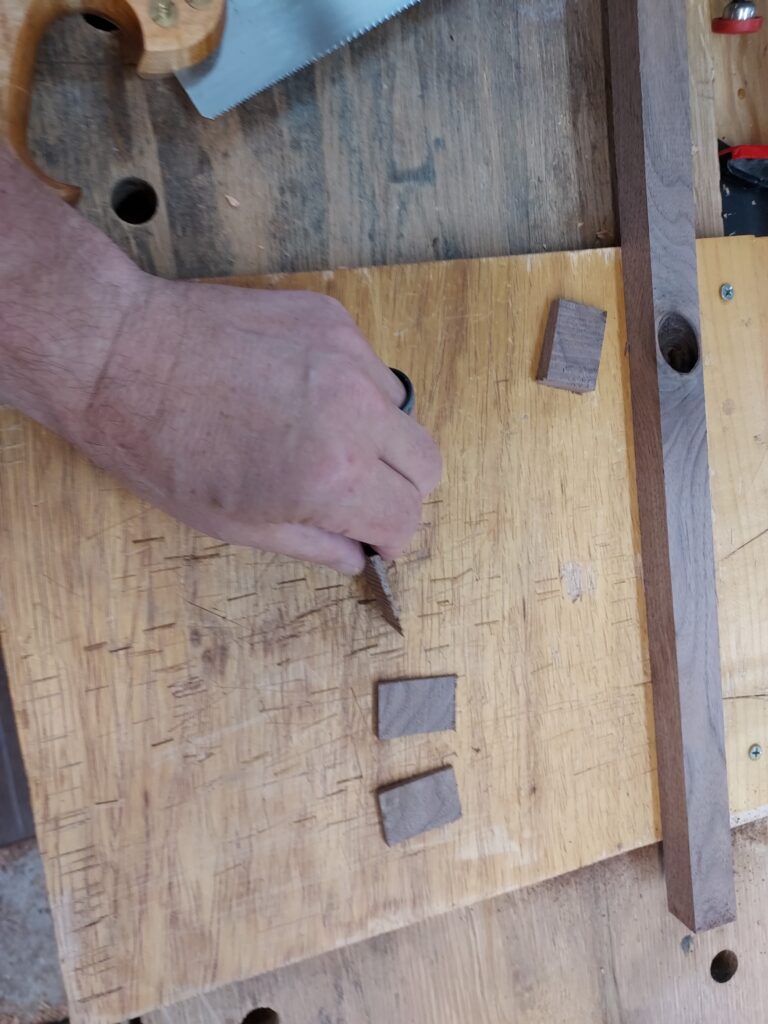

- Time for glue up! Apply glue to leg tops, insert into the stool top, and then glue in the wedges. Let the glue dry overnight
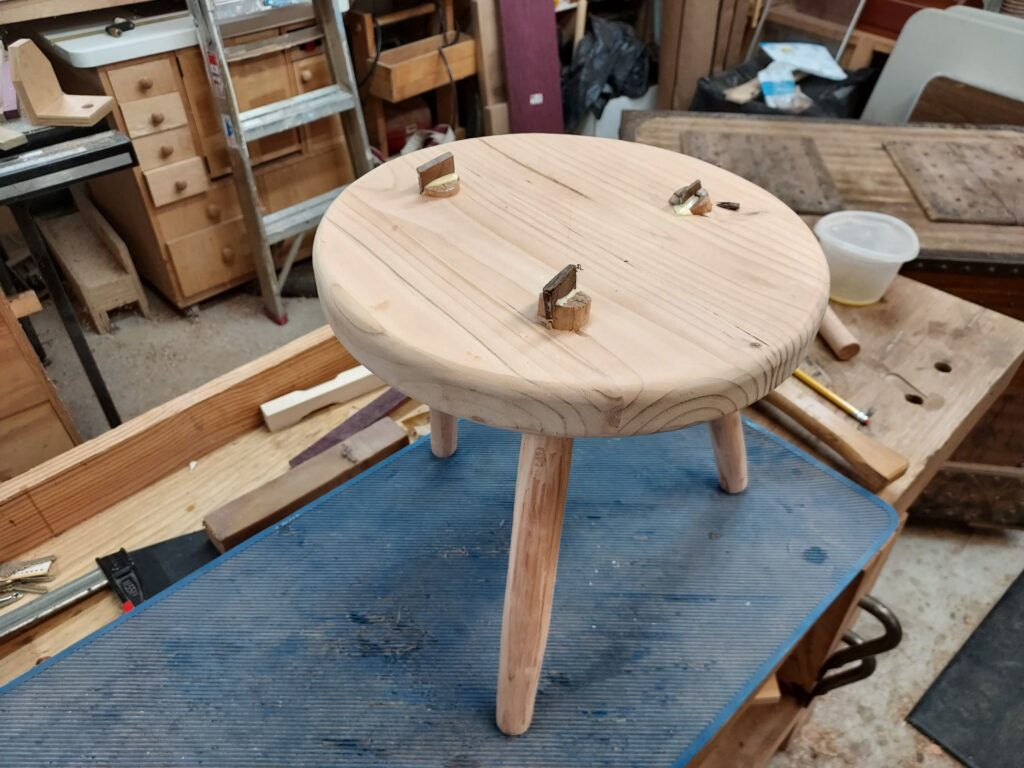
- Saw off the leg pieces sticking out with a 0-clearance saw, then use a plane and sand paper to clean up.
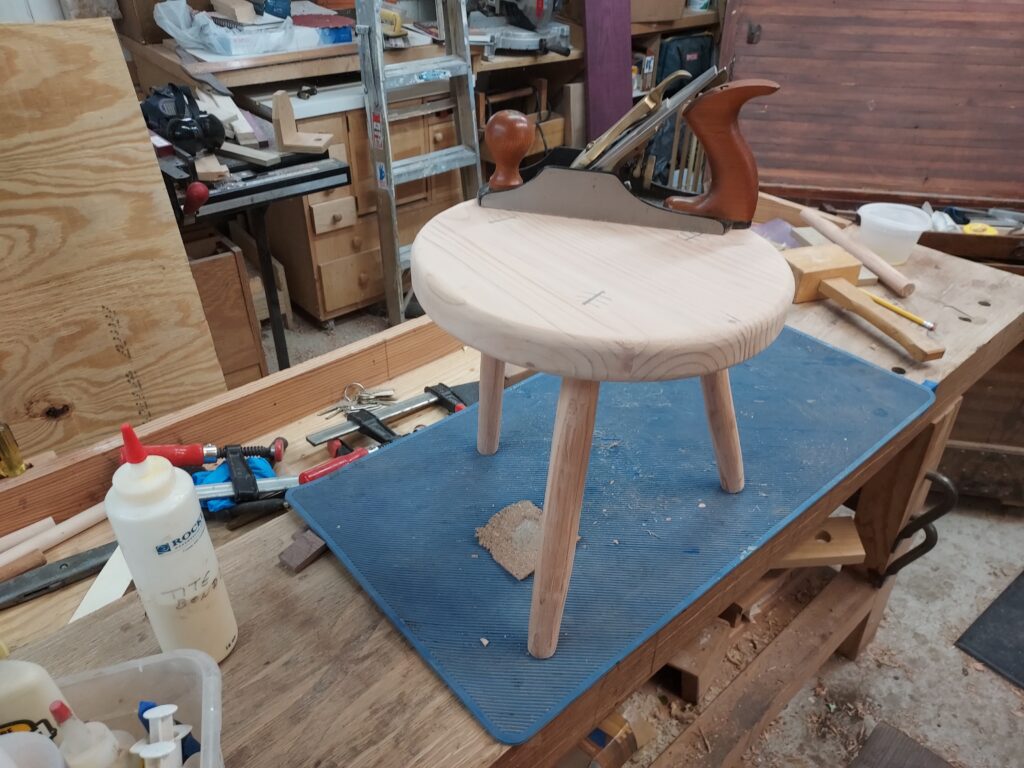
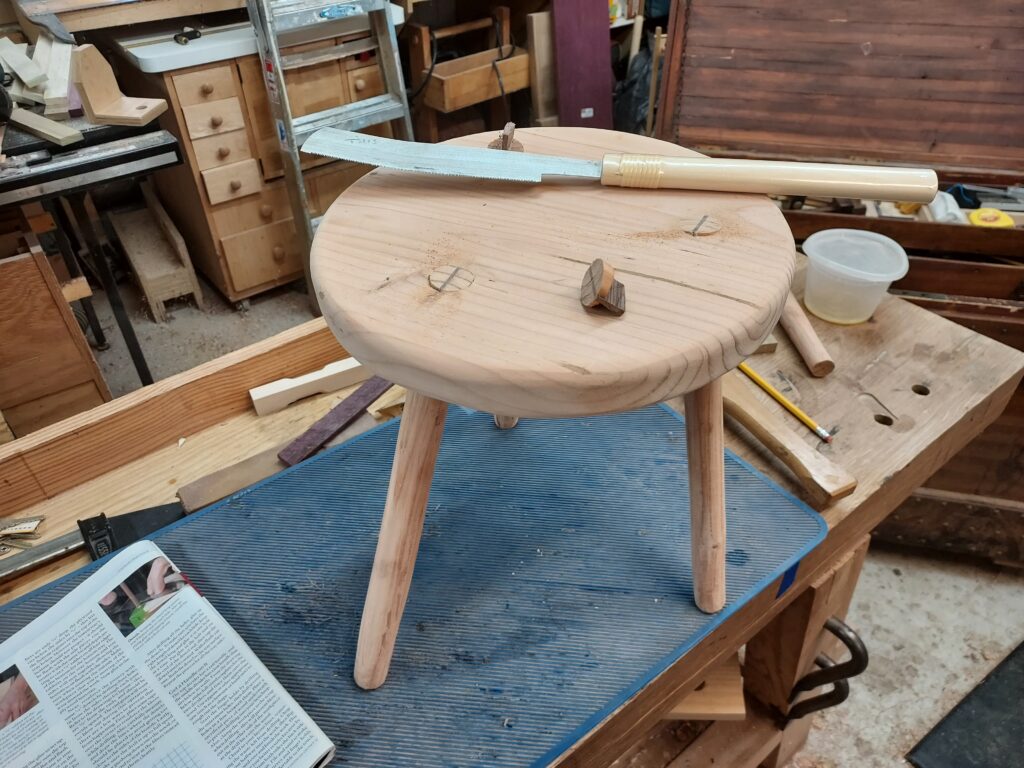
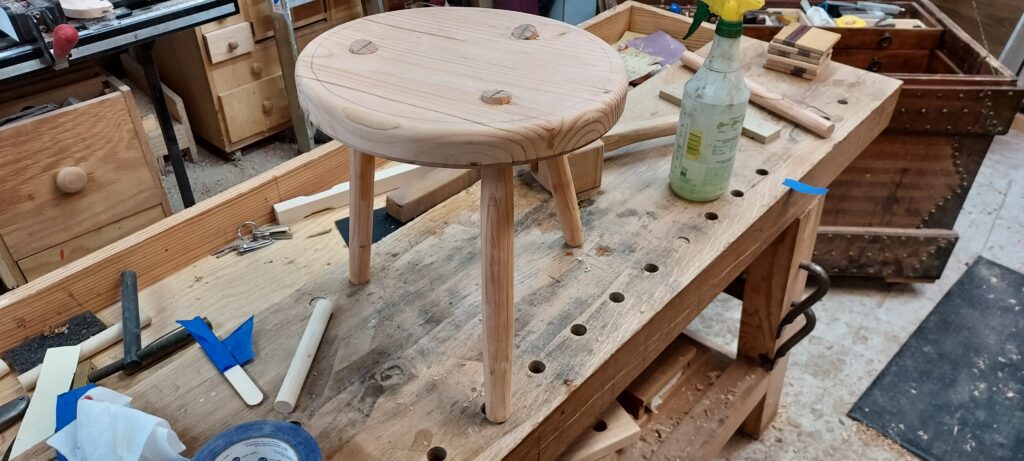
- Completed stool, awaiting the finish. Using just a plain 2×4 piece of lumber
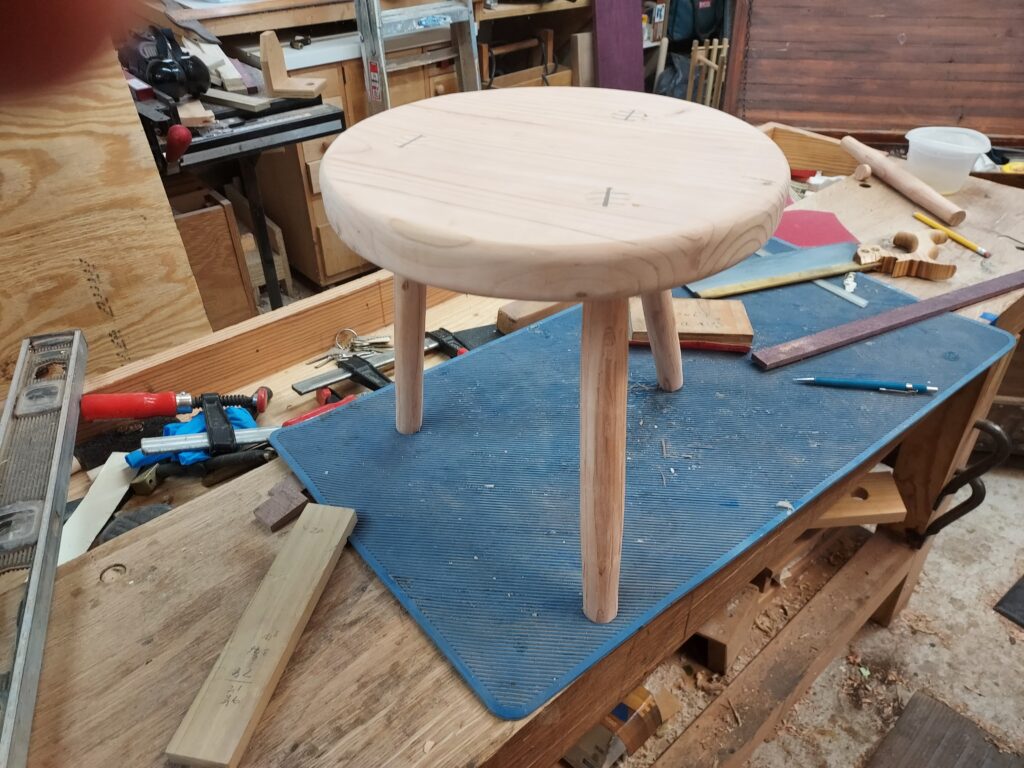
This was a fun project and helped me to further improve my hand tool skills. Didn’t take a lot of tools, either!
Kevin
