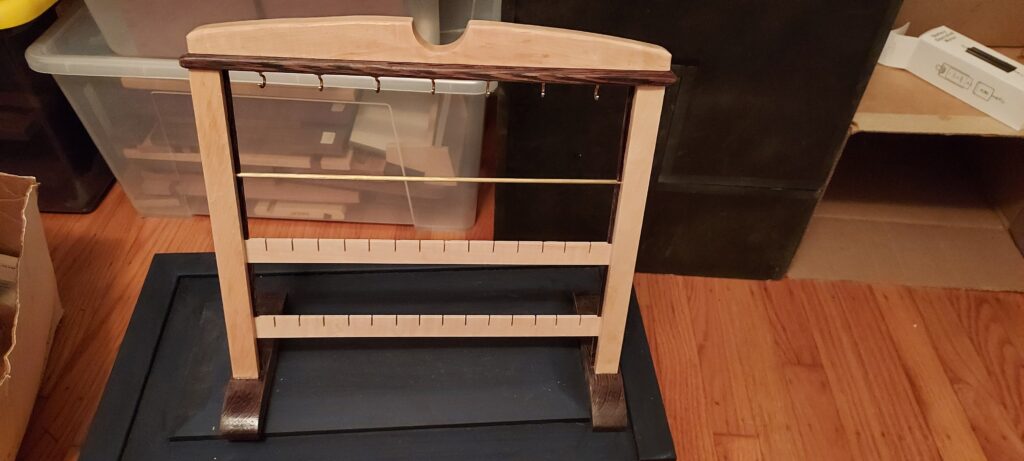
I wanted to make a jewelry stand as a trial piece and try to sell it at the Farmers Market. This one is based on a design I found from Wood magazine, issue #177.
Materials
| Part # | Description | T | W | L | Material | Qty |
| A | Posts | ¾ | ¾ | 10 | Curly Maple | 2 |
| B | Long fillers | 1/8” | 3/8” | 3” | Padauk or Purple Heart | 2 |
| C | Short fillers | 1/8” | 3/8” | 2” | Padauk or Purple Heart | 6 |
| D | Cap | 3/8” | 1-1/8” | 12-7/8” | Padauk or Purple Heart | 1 |
| E | Hangers | 1/8” | ¾” | 11-1/2” | Curly Maple | 2 |
| F | Feet | ¾” | 1-1/8” | 6 | Padauk or Purple Heart | 2 |
| G | Trim | ¾” | 1” | 12-1/2” | Curly Maple | ! |
Process steps
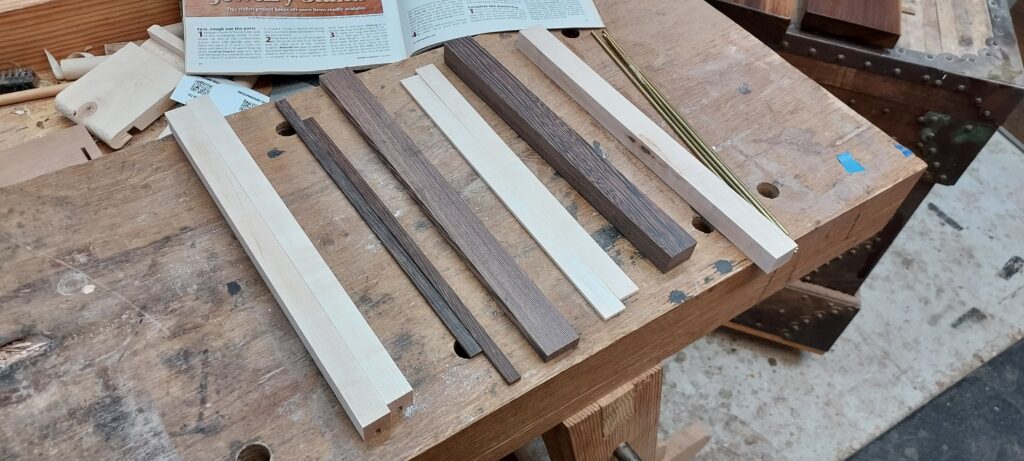
- Rough out the Parts: Joint, plane, rip and crosscut the pieces to size
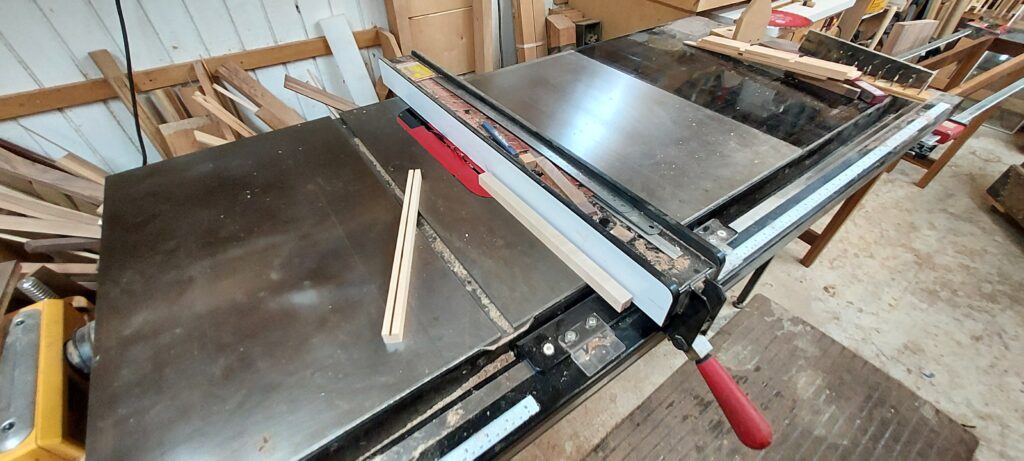
- Cut a groove on the inside face of each post for the fillers and rack pieces
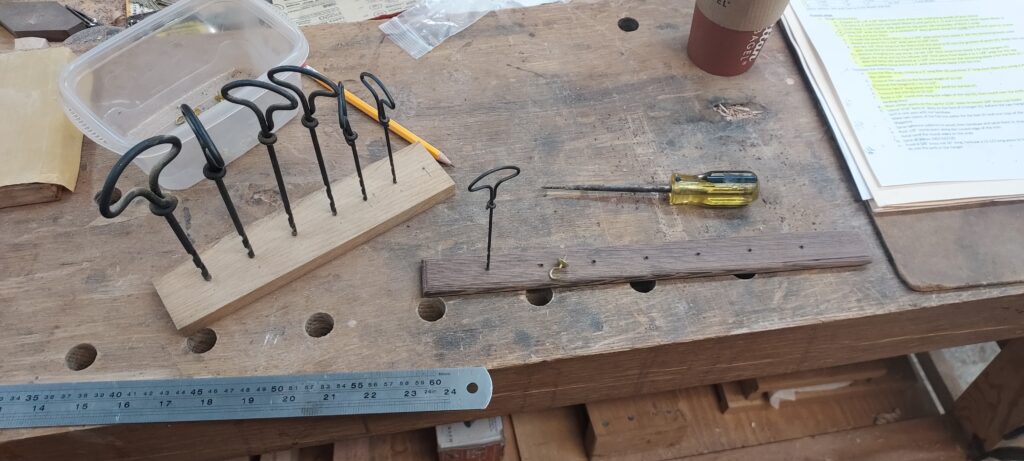
- Use gimlets (small hand powered drill bits) to drill holes for the hangers
- Cut leg pieces to size and shape with a bandsaw, rasps and sandpaper
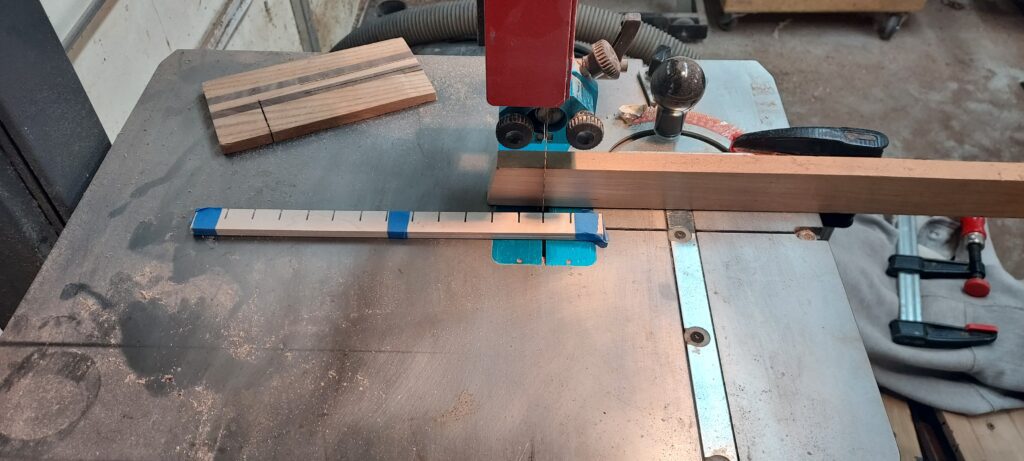
- Use the bandsaw to cut notches for earing holders
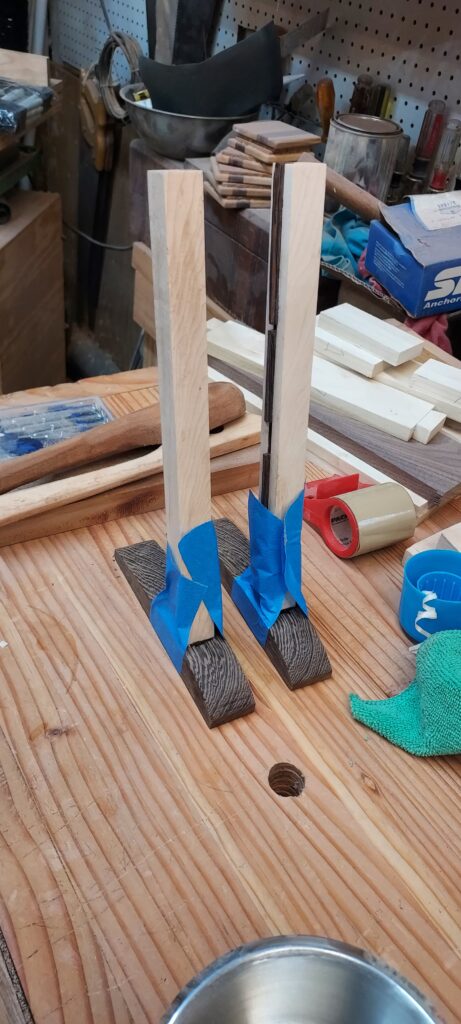
- After cutting angle on posts, glue posts to legs, using blue tape to hold in place. After the glue sets, remove the tape and drill screws through bottom of legs to further secure
- Put it Together. Place the posts together with grooves facing up and glue in dark brown filler strips, while interspersing brass rod and two earing holders
- Mark the center point of the cap, glue and screw that on, as well as the maple top
- Finish sand and then apply finish (spray shellac)
It was a bit of detail work to complete, but overall it was a nice project. I’ll see how it sells, and may make more in the future.
Kevin
