
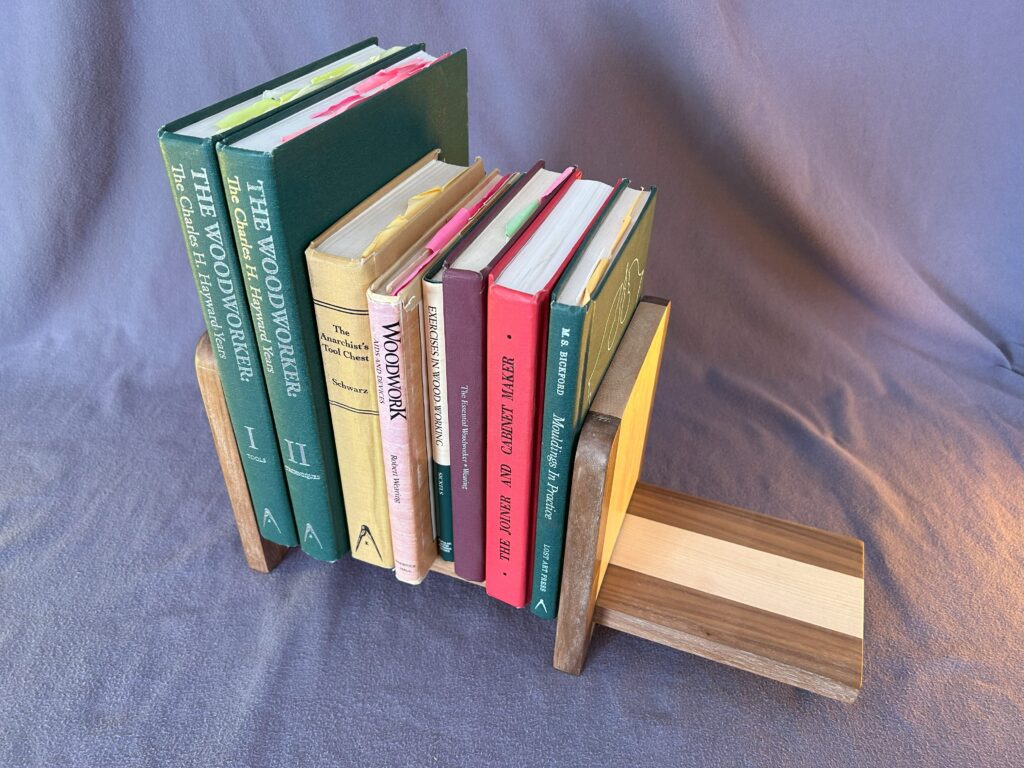
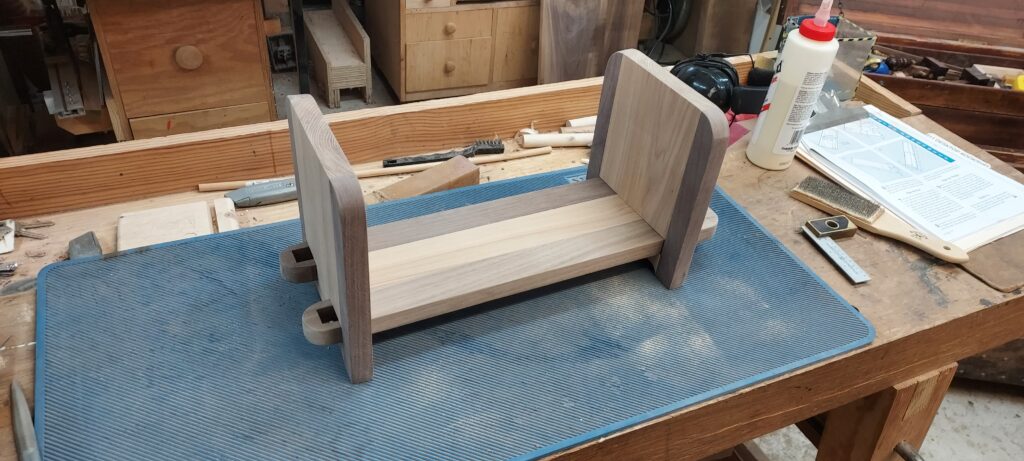
This “Desktop Bookshelf” is based on a design by Woodworker’s Journal. It is made with Hickory and Walnut, some interesting domestic hardwoods. The wedged through-tenons hold one end piece in place, while the other end piece is adjustable and moves back & forth, based on the books in the shelf. The pieces can be disassembled flat, so it is easy to store on ship.
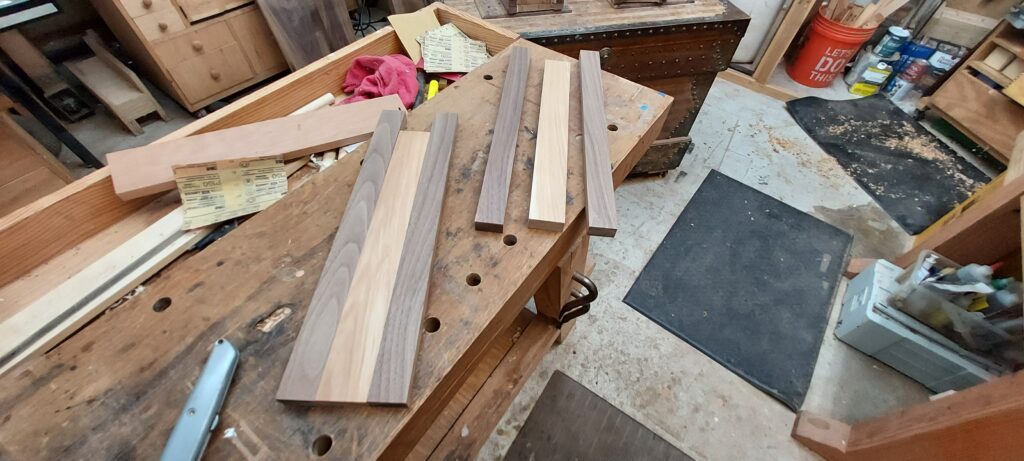
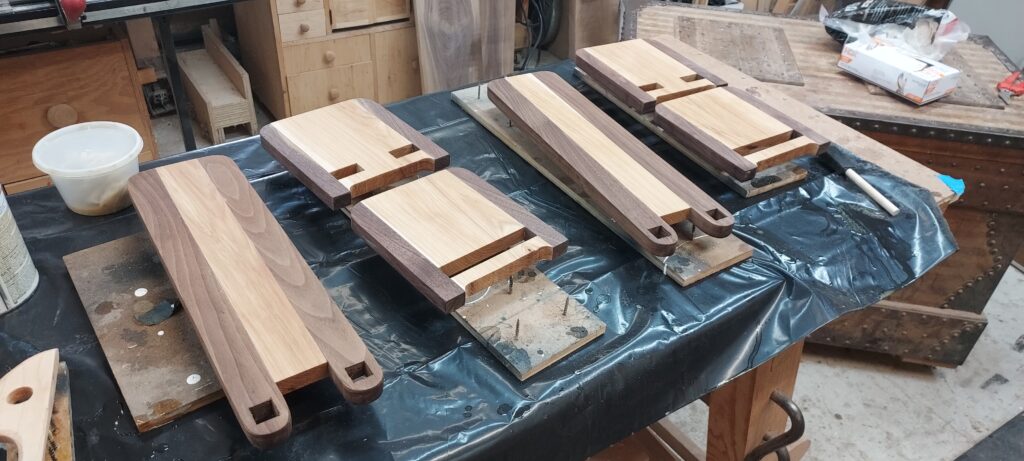
- Mill the pieces to size for the ends. Main piece 5” wide and 16” long. Crosscut into two parts, one 9-1/4” long, the other 6-1/8” long. Also cut a spacer block that is 4” wide x ¾” high, and two side pieces of walnut, 1” wide x 16-5/8” long.
- Use the tablesaw set to 1-1/2” and cut two notches in the side of the 9-1/4” piece. Then glue the two walnut edge pieces to the two hickory pieces, with the spacer in between
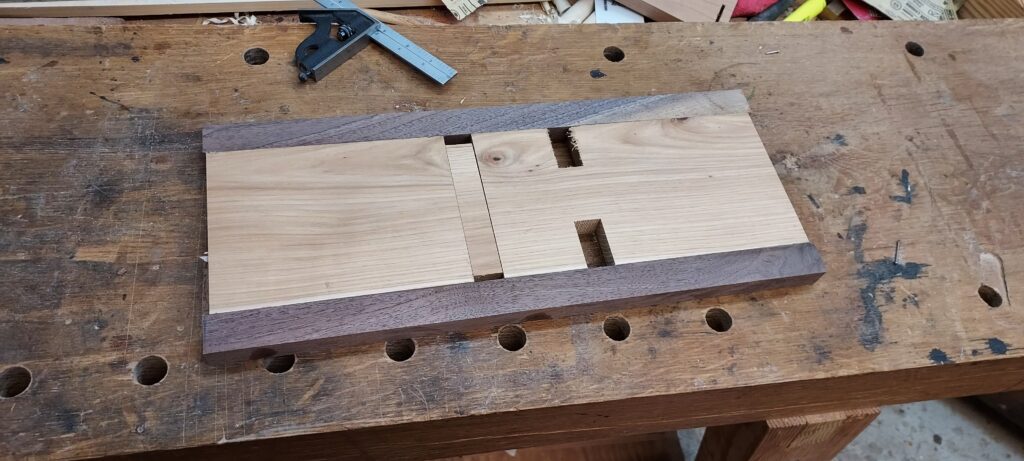
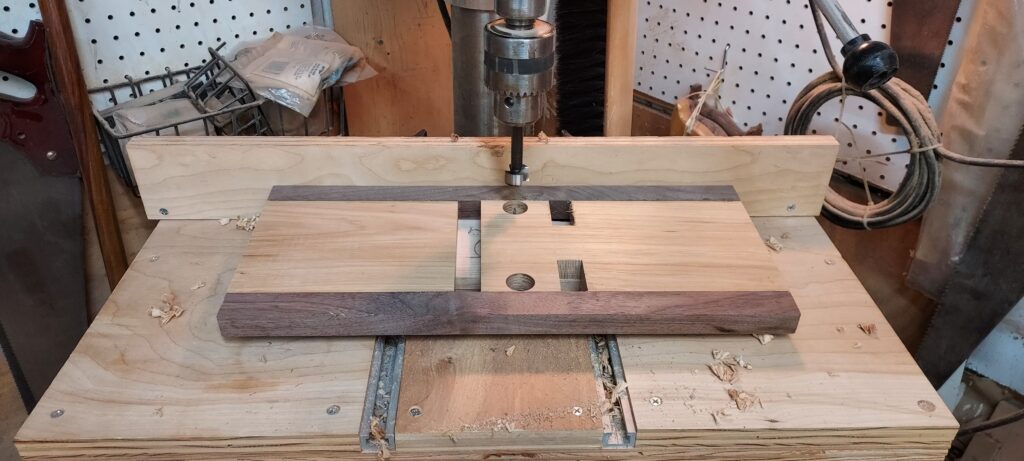
- Remove the spacer block, trim the pieces at each end, and mark the centerline between the pieces. Drill a 7/8” diameter hole on the center line. Once bored, cut the two pieces in half on the tablesaw
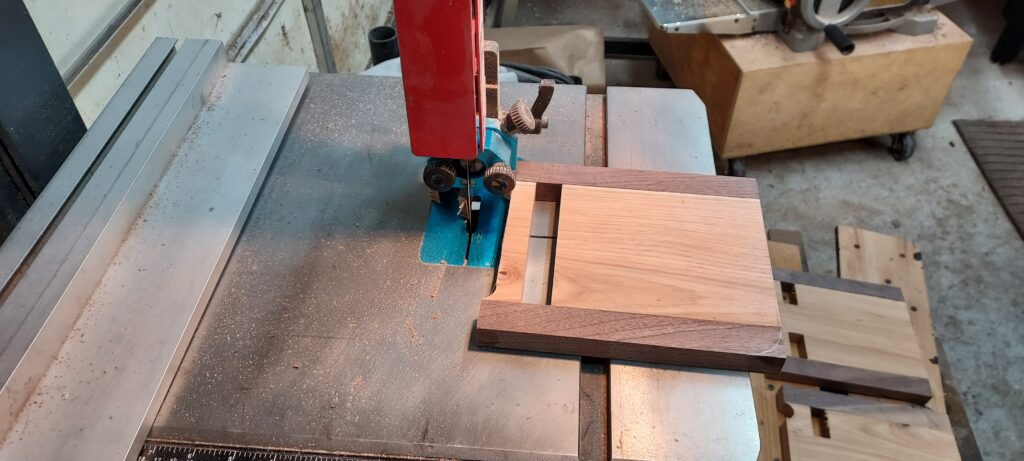
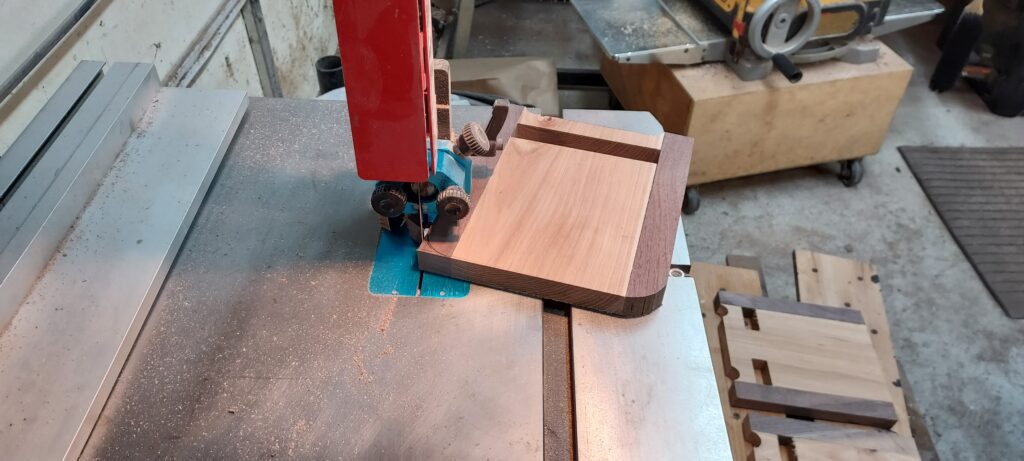
- Draw a line connecting the tops of the two half-rounds, then use the bandsaw to connect the two, creating the feet of the two ends. Also take the opportunity to rough over the tops
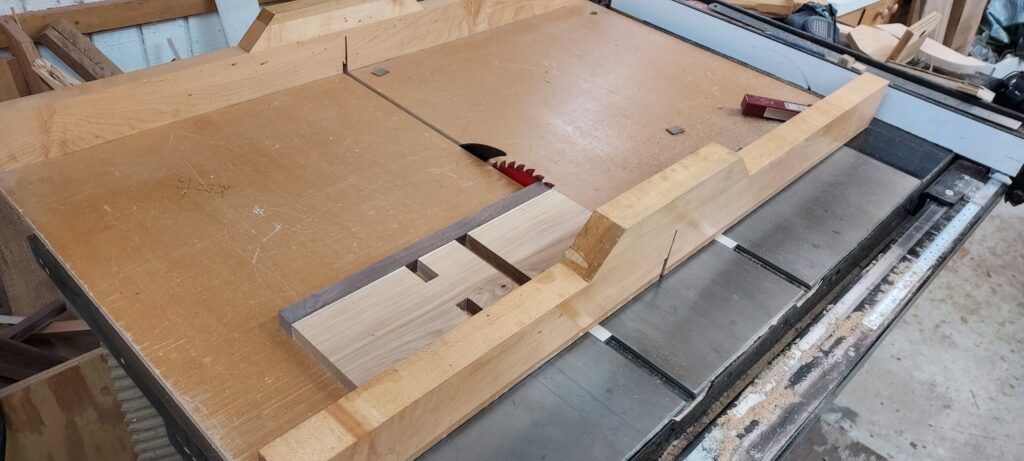
- Time to create the base. Cut a piece of hickory 2” wide and 16” long, and two walnut pieces 1-1/2” wide x 18” long. Glue them up so that one side has all three pieces flush, and one has the two walnut pieces sticking out.
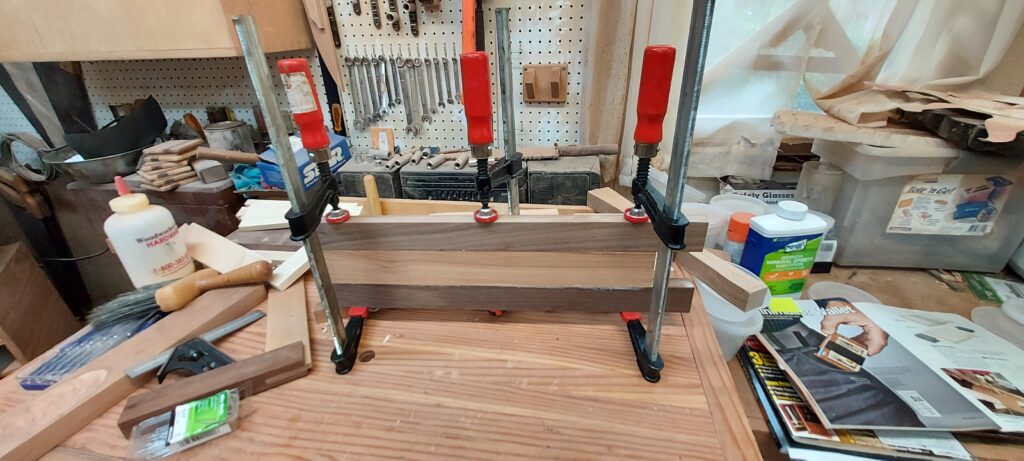
- Layout the ¾” x ¾” mortises, bore a 5/8” diameter hole where they are going to be, then clean them out with a chisel.
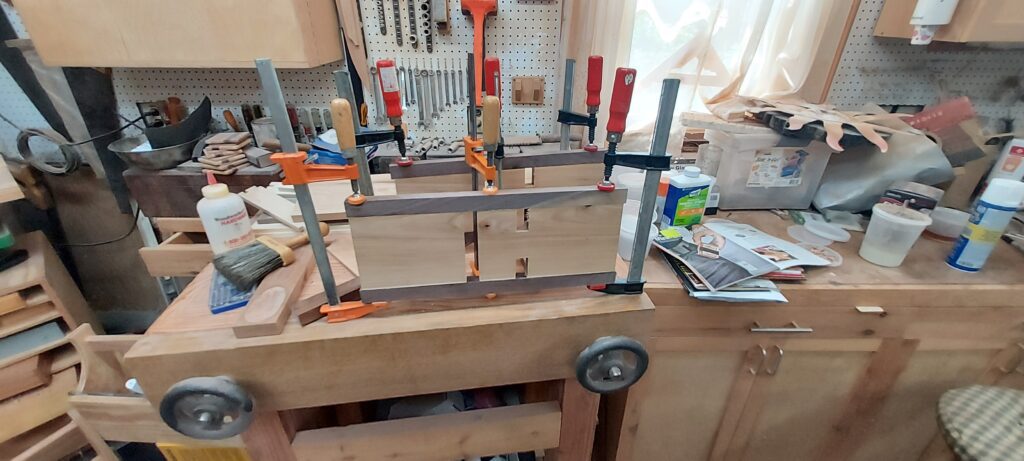
- Scribe a 1” radius at the other corer and a ¾” radius at the tenons, and cut them out with the bandsaw
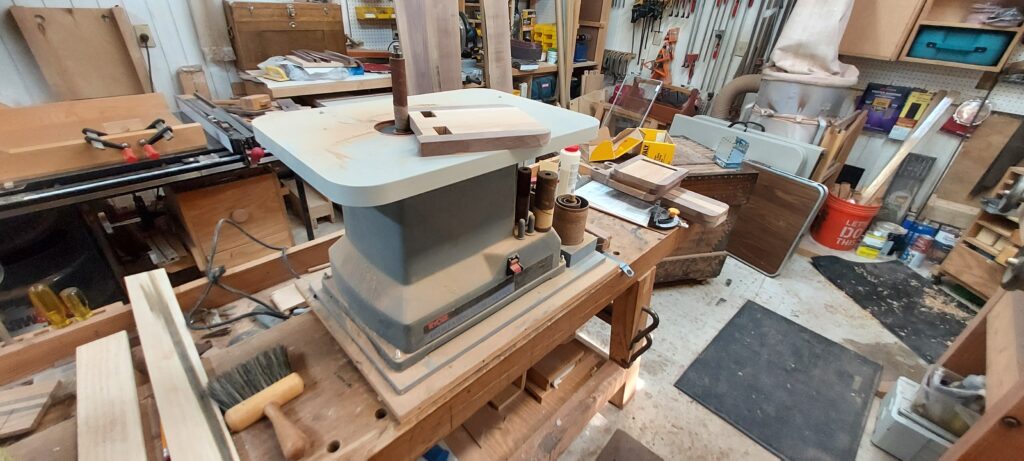
- Use a rasp to clean up the mortises and slots, then sand everything down with 100, 150 and then 220 grit sandpaper.
- For finish, I’m going to use three coats of Shellac. It’s a food/child safe finish, just in case. I prefer to use Shellac or cutting board oil finishes on my product, just in case. Its only when I get something that is going to get a lot of use (like a table top) where I will use something sturdier.
The pegs are sets of walnut and hickory laminated together, and shaped to fit into the mortises and secure the one side of the bookshelf