A customer was looking for a coat hanger with a shelf above for their entryway, with specific dimensions for it (44” long) and couldn’t find one online that would match what they needed – so they approached me. They had a design based on a few pictures in etsy, so I was able to sketch up something, get their approval, determine the dimensions of the pieces and then build it to spec. Hat tip to Family Handyman for ideas on how to build this.
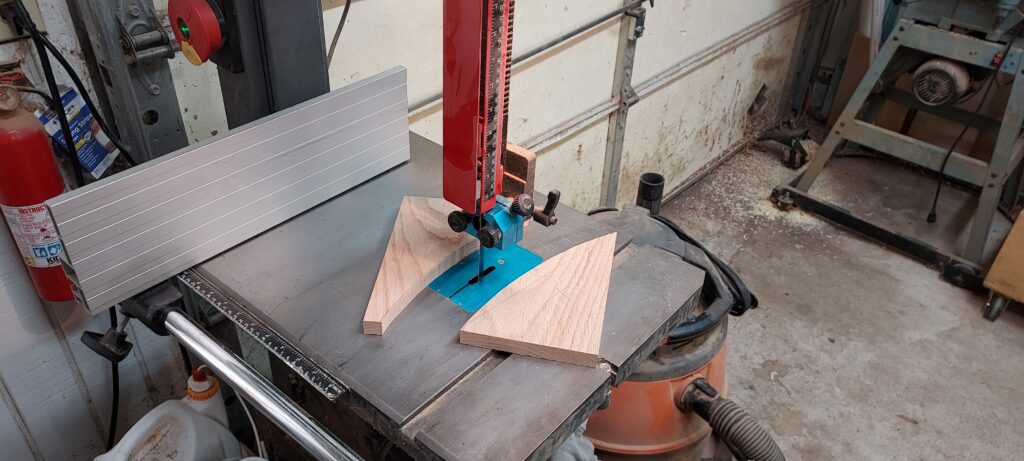
After milling the pieces to length, width and thickness, I had to cut out the two end pieces which will support the upper shelf. I chose to put a slight curve in them, roughly ¾” from the midpoint between the two ends. After rough cutting them on the bandsaw, I used a spokeshave and sandpaper to clean up the saw marks and make the curve look right
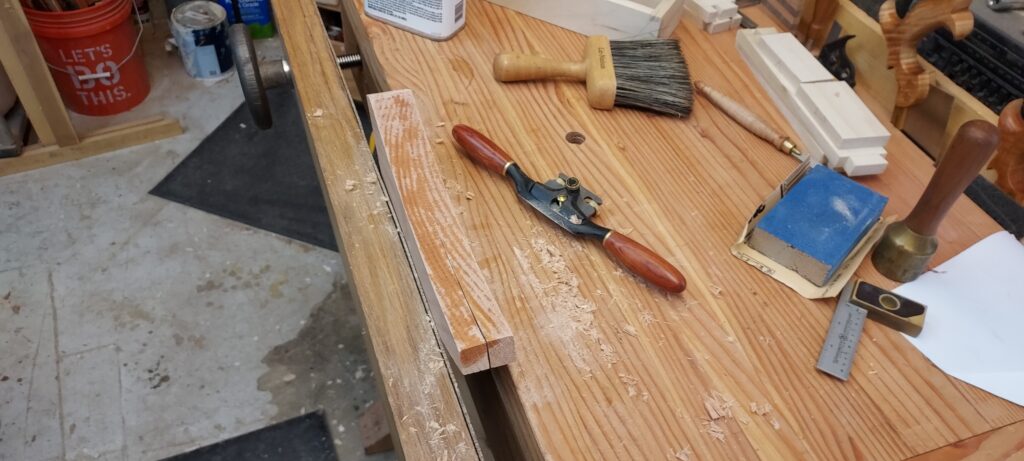
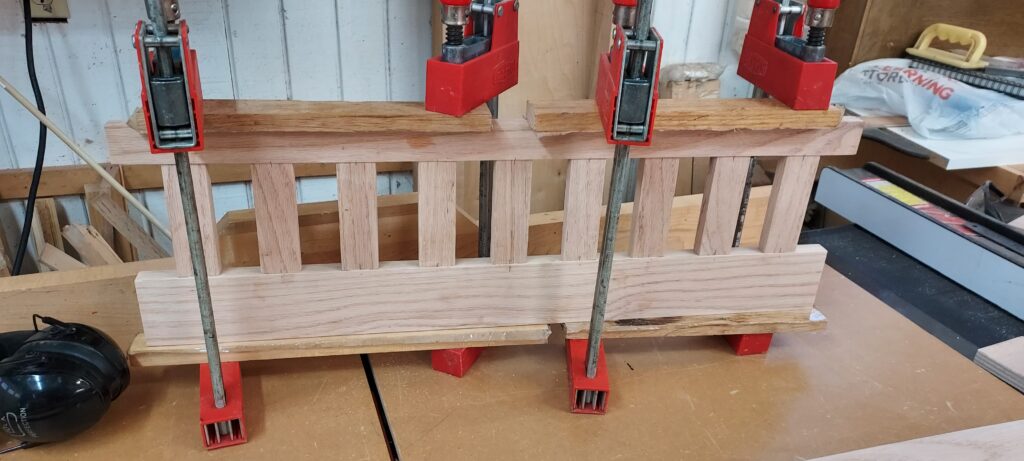
From there it was on to the stiles (the vertical pieces). Each of these is 1-3/8” wide and 4-1/2” long. I made them 5/8” thick to set them back from the horizontal rails (the rest of the pieces are a little under ¾”). I used a domino tool to create mortises for the tenons in the ends of the stiles, and then for measured out for the appropriate location in the two horizontal rails.
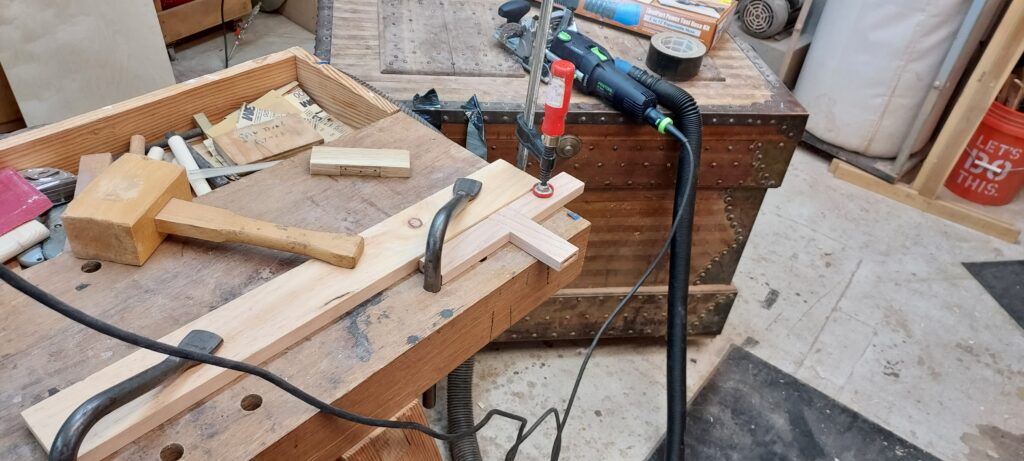
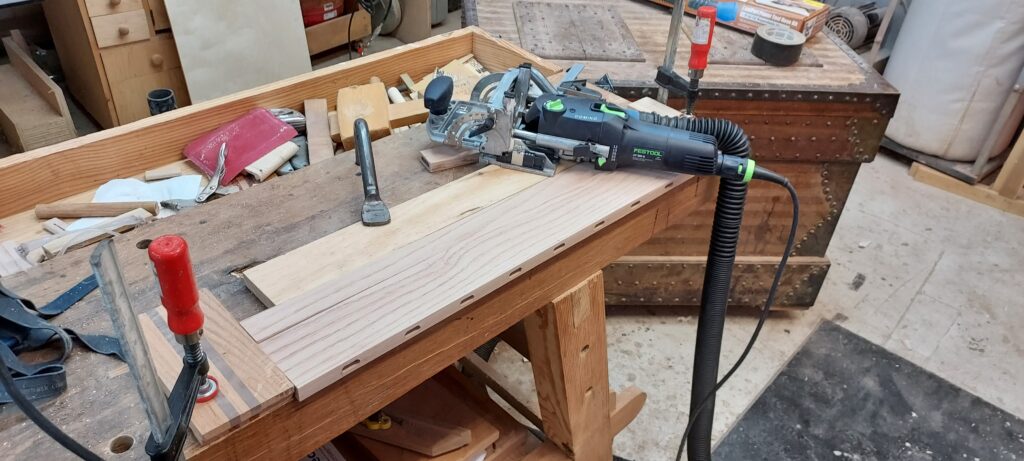
After that is was gluing them up and letting it sit overnight.
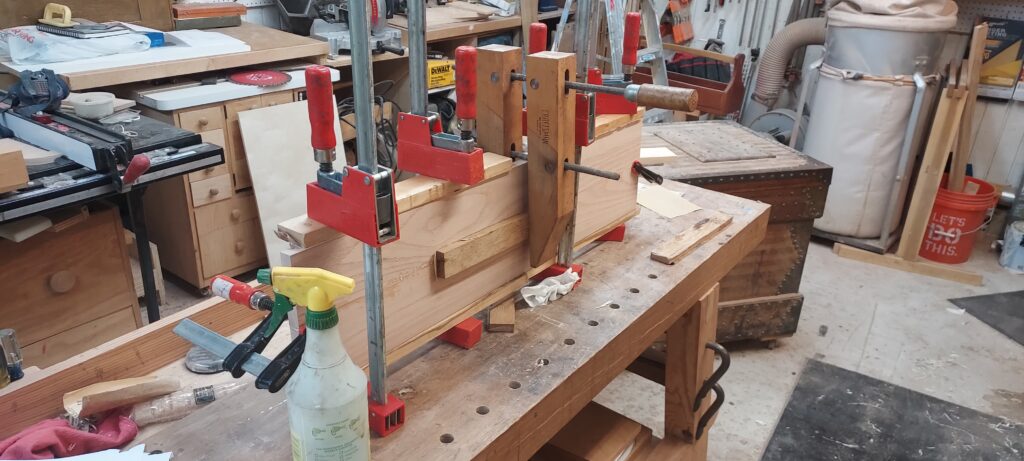
I also took the opportunity to glue the two 4” wide top shelves together into one panel, so it is 8” wide. To do this, I had to joint the ends (make the square and flat across their length) and then edge glue the two together, with clamps on the ends to ensure they stay even with each other.
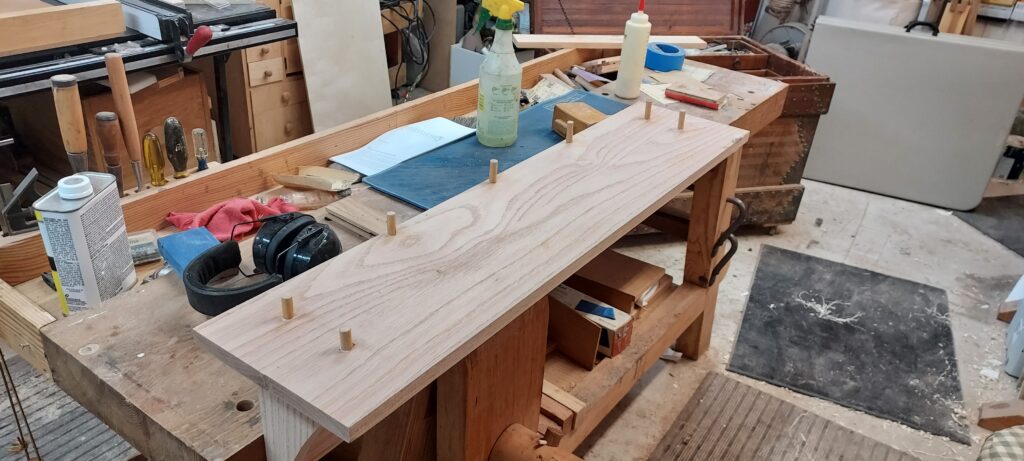
I planed the panel again to ensure it was flat, and then drilled holes in it to secure the panel to the two end pieces. I drilled the pilot holes from underneath so they would not show, and larger holes from the top so the screw heads would sink below the surface. I used 3/8” dowels to cover these up.
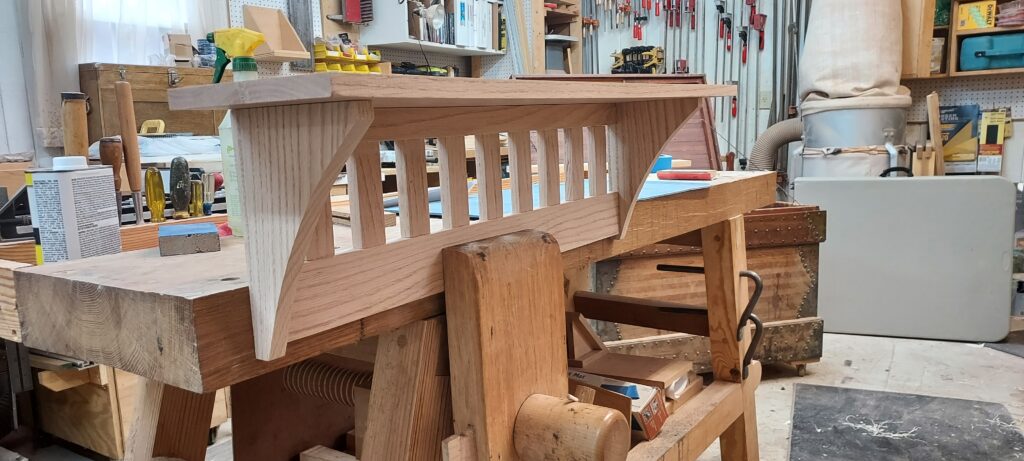
For the finish, I wanted one that was a little more durable than shellac. So I used some wipe on water-based Polyurethane, applied with a foam brush. Put on first coat, which raised the grain. Then sanded with 320 grit sandpaper. After that reapplied a second coat, and once that had hardened after a few days, sanded again with 400 grit to make it smooth.
After this, it was time to install the four hangers for it. Drilled in pilot holes, then screwed them in to complete.

Cost:
- Materials (1x8x8ft Oak, 4 hangers) = $70.78
- Labor: 2.75 hours @$25/hr = $68.75
- Margin @25% (taxes, insurance, business registration) = $34.88
Total: $174.42
