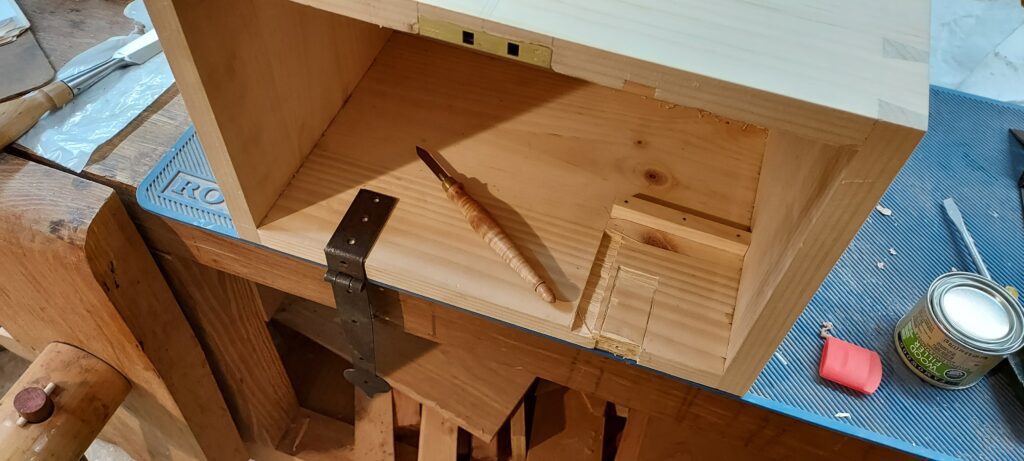
Well, the holiday and work took up a lot of time, but I’m finally back in the shop again. Time to complete the lock and work on the hinges.
For the lock, the mortise was complete and tested out, and the holes for the lock expanded with chisels and files it would operate well. Now I clamped the piece in place, and then used a Gimlet tool to do some base drilling out of the screw holes – rather than using a power drill. It would be difficult to get a drill in there, and I’ve always wanted to use the Gimlets, but haven’t had much of a chance till now.
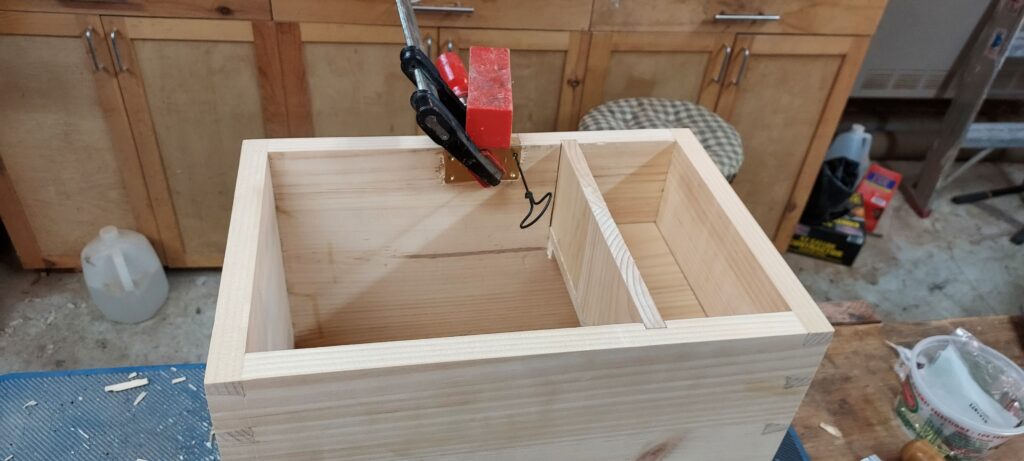
Once I drilled the holes, putting in the screws was very easy. There was some tear out around the lock that I will have to repair, but it appears to work well. First time installed, and it seems OK.
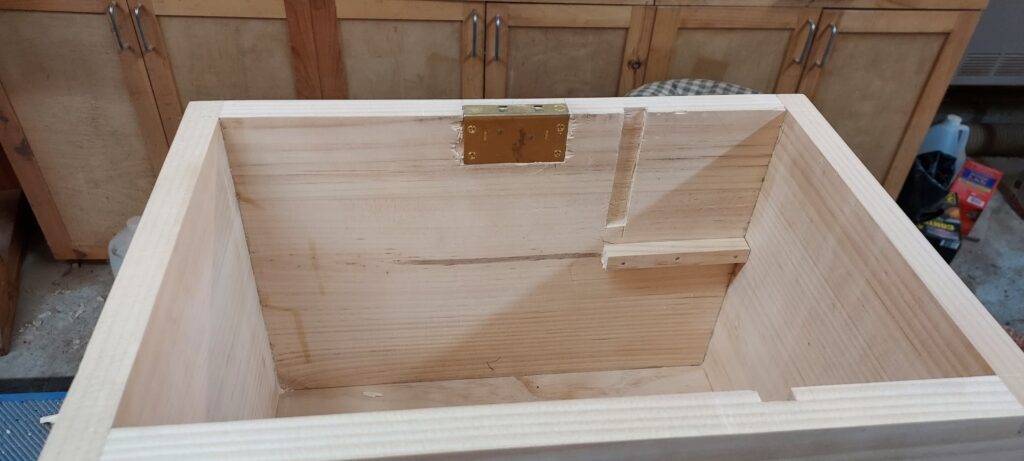
Now on to the hinges. The book suggested you take the back side, find the center point, and then split the difference between these two to identify the centerline of the hinges. However, this would leave one of the hinges right were the till comes in, so I had to shift them a little further towards the outer edges. Not too much, maybe a half inch.
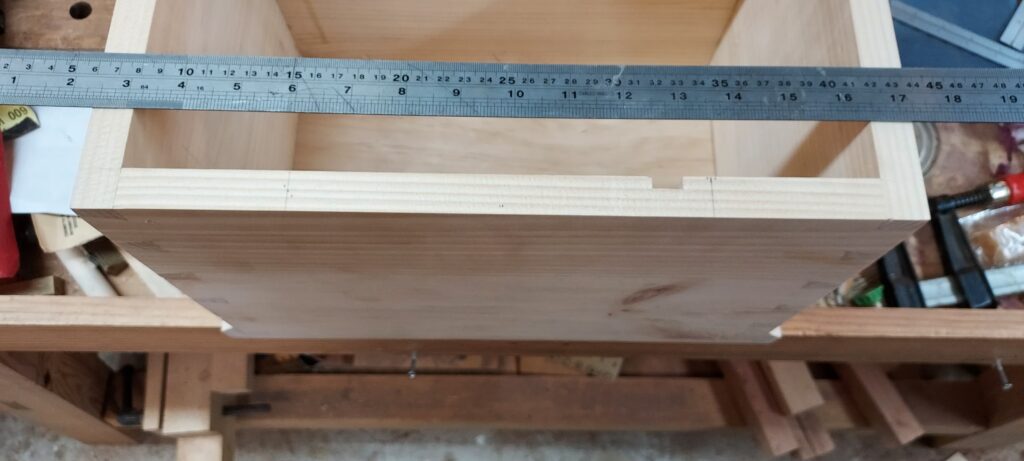
From there, you have to cut in mortises for the hinge width on the top, screw in one hole of the hinge, and then measure over where the hinge needs to be “bent” in order to lap over the top. Once you have that measurement, you can use a metal vise and hammer to bend the hinge in place.
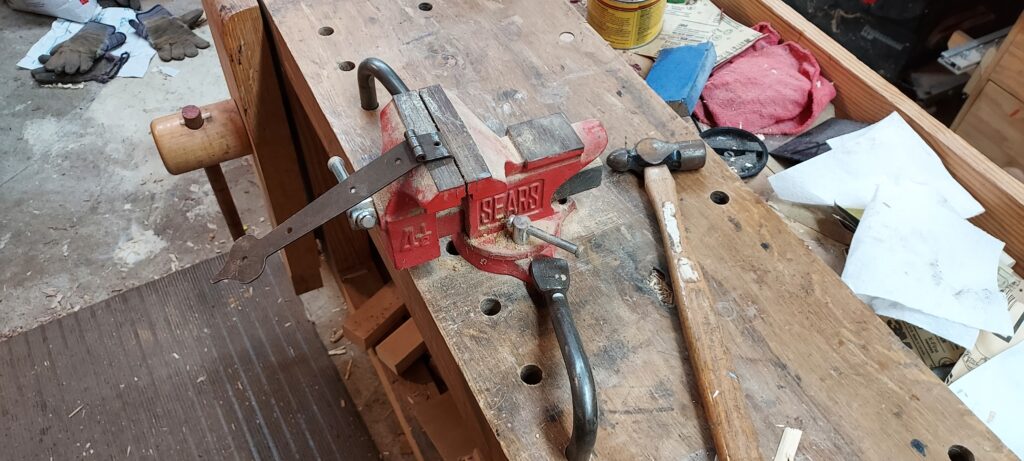
After that, you put the hinge back on and mark out where you need to cut out a 1/8” deep mortise on the back for the hinge to sit into. This will allow the till to be removable.
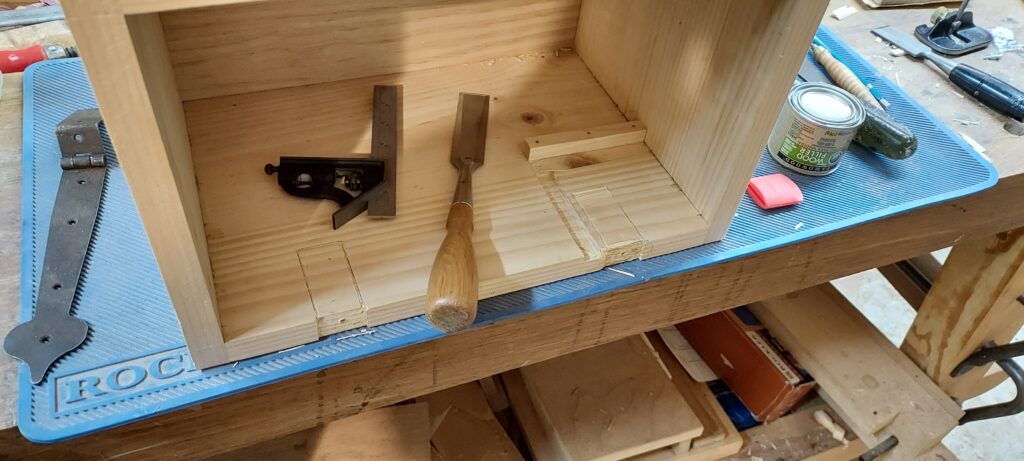
I have some special screws on order. Once those come in, I can attach the hinge, and work on completing the top and the top lock. Making good progress!
Kevin

