
Taking a break on the school box project to build some Christmas presents for the family (as well as a new product to sell at the Farmer’s Market). It’s a simple desk clock, with a battery operated clock that has an Arts & Crafts flair.
The build consists of a main “block” of Mahogany with a hole cut for the clock face, two Walnut trim pieces, and then a Mahogany top & base. Relatively simple, but somewhat stylish, and the Mahogany should look great.
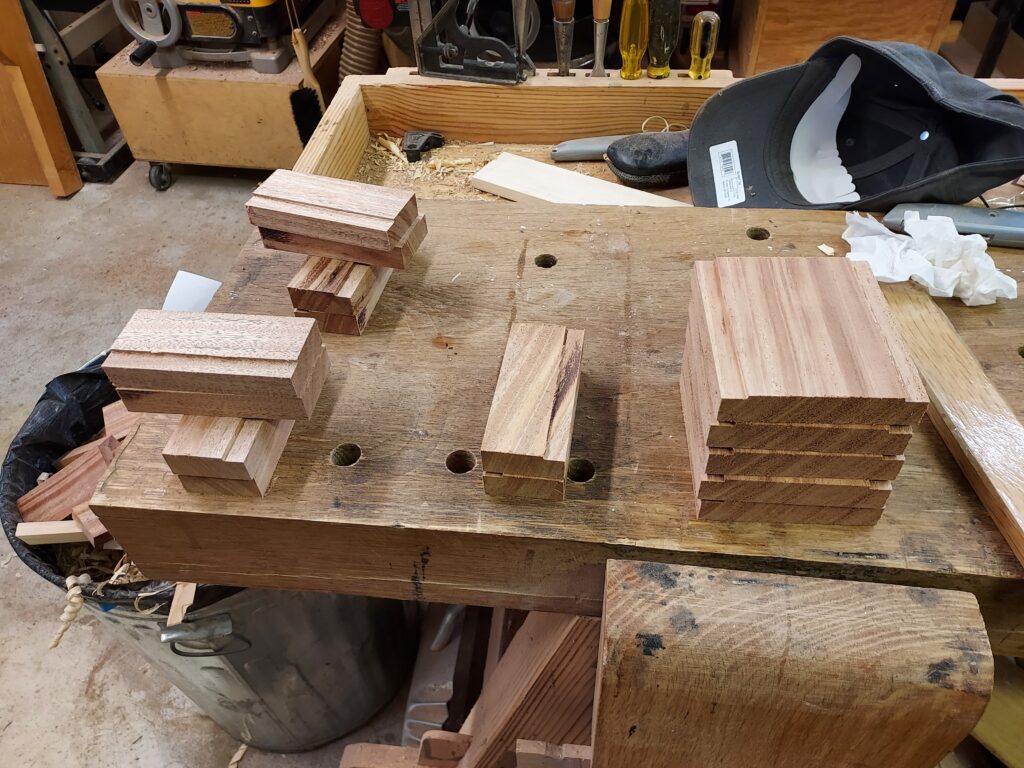
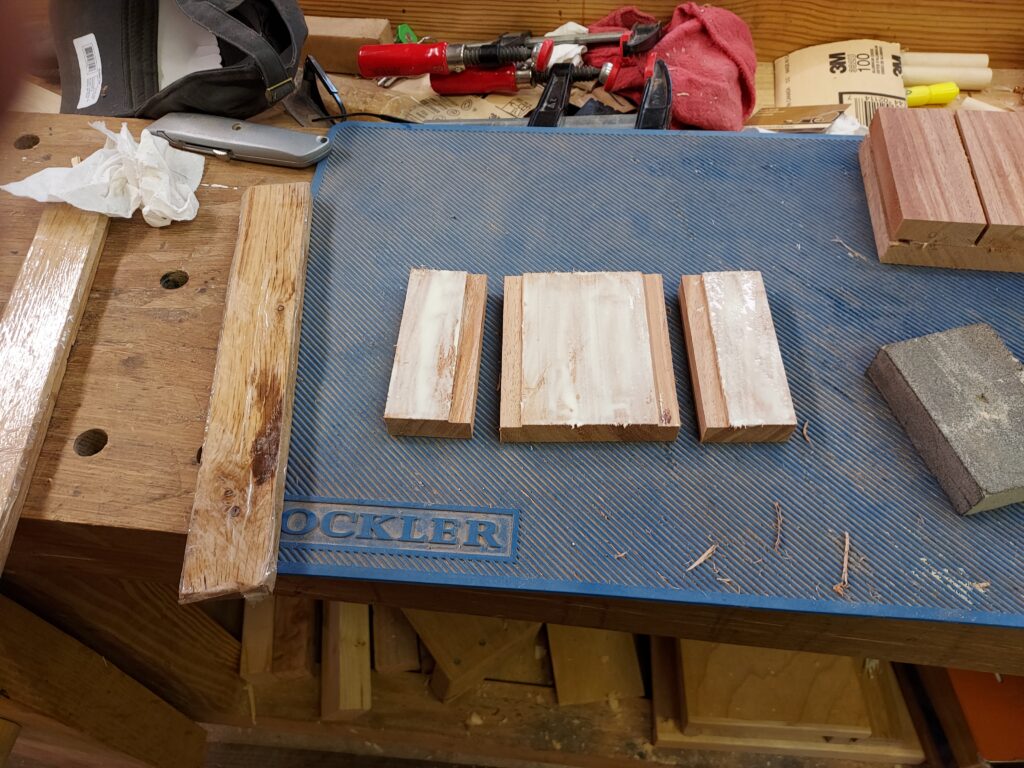
So the initial build consists of two ¾” thick x 4” wide and 4-1/2” tall pieces per clock. You then take one of these blocks and cut them right down the middle, and then cut 1/8” wide dados in the three pieces on the 4-1/2” ends. This adds some “depth” to the clock, rather than just having a monolithic piece of wood.
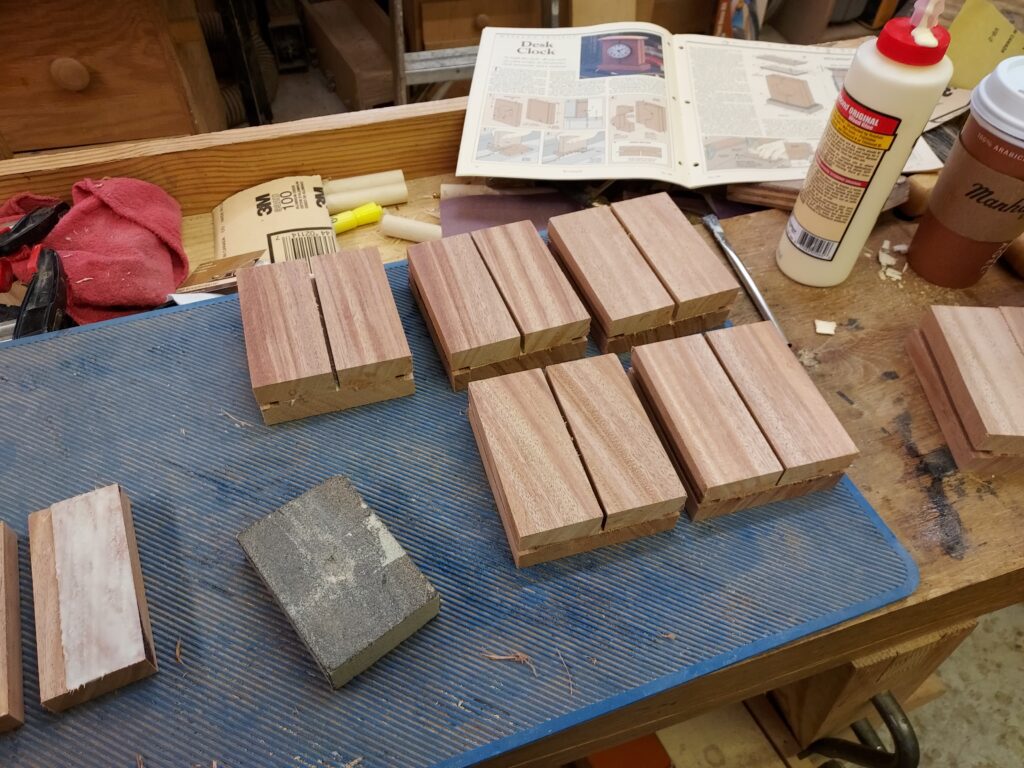
You then glue the three pieces up, and the result is a solid “block” for the clock with openings at the front and both sides of the clock face.
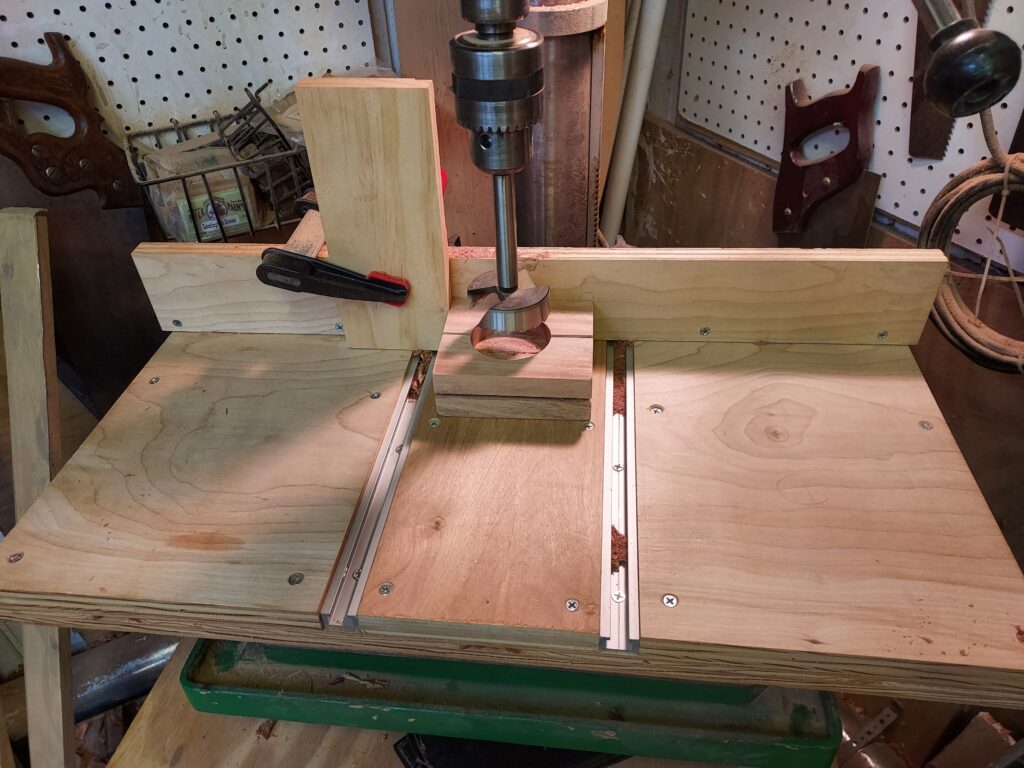
From there, its on to the drill press and drill a hole for the clock. This one required a 2-3/8” forstner bit, which is used to drill large holes in pieces.
With that done, you sand the block down to 220 grit sandpaper, and then set aside to begin work on the Walnut trim pieces.
Kevin