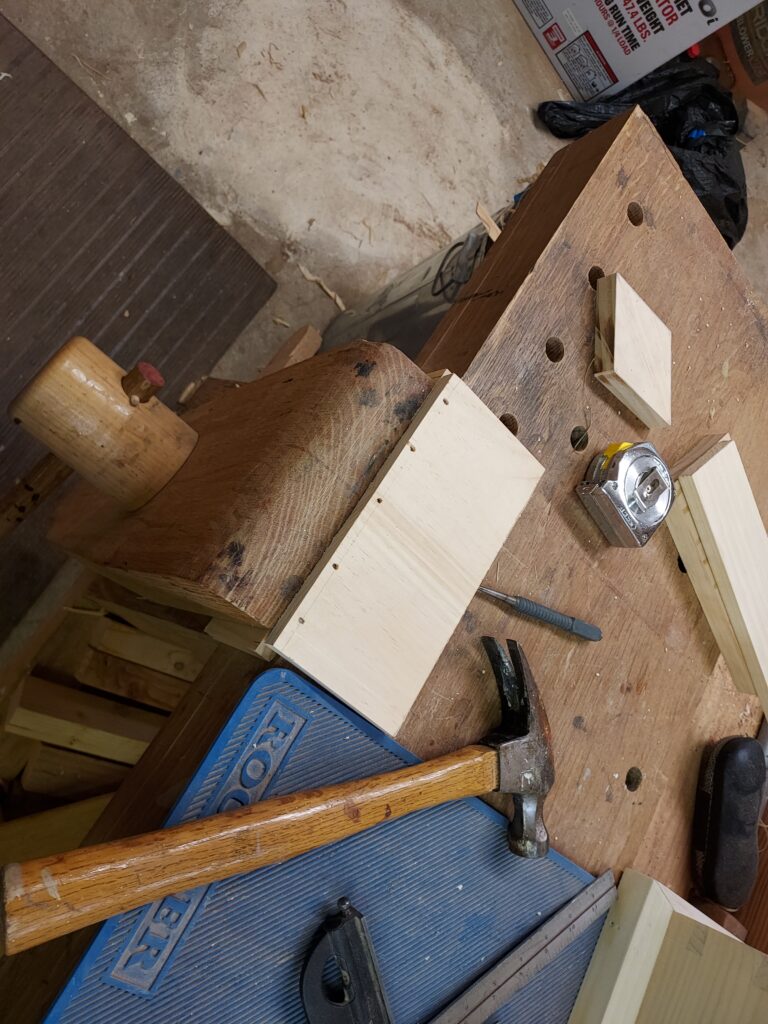
Time to build the movable partition/tray. The wall of the movable partition slides in and out of shallow dados on the inside of the front and back of the carcase. So I started out gluing up two pieces to get the required width. I made the panel large enough for both the tray and the school box top, since they both had a planed down thickness of ½”

After planning it down, I ripped and cross cut it close to the correct size, then used the shooting board to “dial in” the measurement. I actually planed it down a little too much, so the divider is a little loose, but the width and depth were pretty much spot on (just need a few passes with a plane to get its height to match to box’s top).


The tray bottom is ½” longer and ¼” thinner on each side, so that when it is attached, the tray can slide in and be closed up. After again ripping and crosscutting, I used the shooting board to dial in the dimensions, predrilled for nails, and then nailed the bottom to the sliding divider with cut nails.

Overall, its not too bad. Like most folks, I wish the joints were tighter, especially the divider/dado piece. However, with the finish in place, it may swell to the point that its tight enough. It obviously needs to be loose enough be taken in/out.

I still need to put in two cleats below the tray (to help support the bottom). The design has me using 2p nails, so I don’t blow out the sides of the box. I also need to plane down the top of the box and the divider. From there, its going into a place I haven’t been before – installing and fitting a lock! Can’t say I’m confident, but I am excited about the idea.
Kevin

Нellօ, I check yoᥙr new stuff daily. Your humoristic style is witty,
keep up the good work!