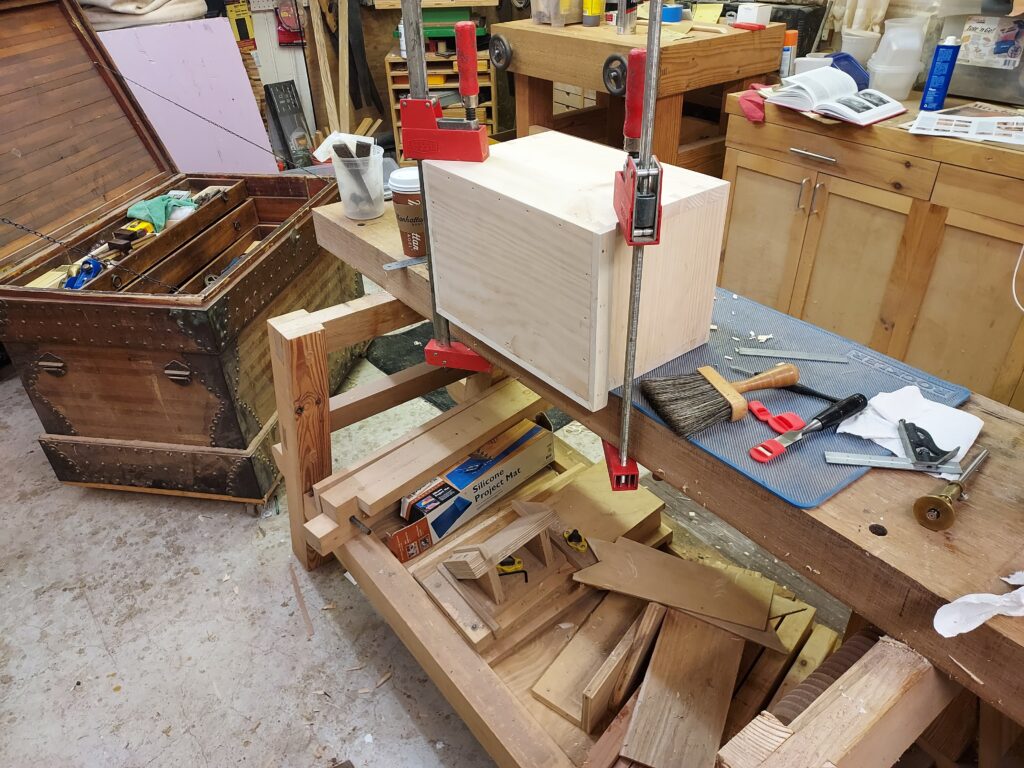
The next step for the cabinet is to cut in a stopped dado in the box to hold the divider and internal shelf. Typically you would cut this before you did the joinery, but in the book, it was done afterwards. Perhaps because there was a concern in lining up the dovetailed panels correctly when you are gluing them together? Not sure, but I decided to follow the way they did it in the book (and Chris did it as well).
One of the advantages of the workbench I have is that the tool well is removable, allowing me to clamp from the backside. Since I had already installed the bottom trim, this worked out well, as I could hang the trim over the back of the bench, and then clamp it down. This let me work on the inside of the school box with it secure.

So the process for doing the stopped dado is to create a pair of blocks of wood the width of the dado from the end (in this case 3-1/2” and 4”, for a 1/2” wide dado) and knife the line in. You also use a cutting gauge to show the end of the dado (in this case, a 4” deep dado)

With that done, you can then use the same blocks to guide your saw as you saw out the two edges of the dado down to the depth of cut (in this case, ¼”). The difficulty here is to make sure you don’t saw too deep into the school box and “blow out” the ends.

From there you can use a chisel (and mallet) to cut out the dado. I used it with the bevel cutting edge down, so that I wouldn’t go too deep. I was constantly checking to make sure I didn’t go beyond the ¼” depth I was trying for.

A while back, I had the opportunity to get one of those small router planes most people use for hinges and other small parts of projects. This was the perfect tool to clean up the bottom of the stopped dado and get it to the exact depth needed.

This was actually and enjoyable part of the project, as I had to do some intricate work that I hadn’t done before – which was the real objective of this entire school box project anyway!
Kevin
