
Recently at the Farmer’s Market, I had a customer come up to me and admired one of my laminated cutting boards which had a “juice groove” around the perimeter. She liked the work, but didn’t want a juice groove on it. So she asked me if I could make a laminated cutting board without one – which I said yes!
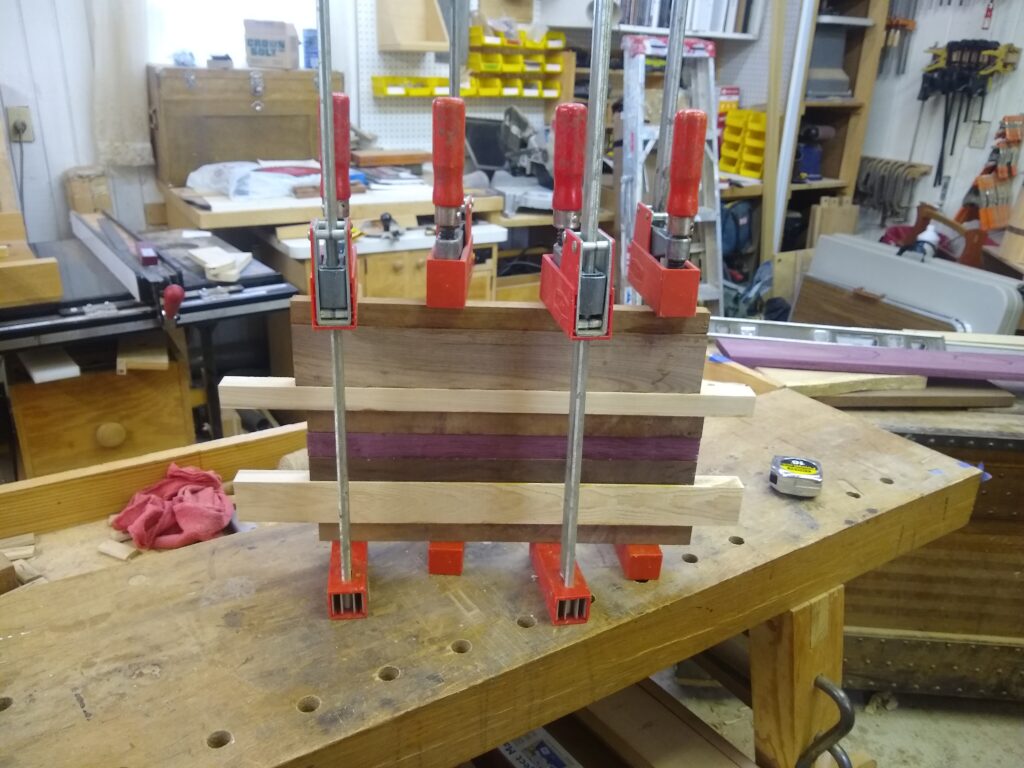
I chose several interesting hardwoods (Walnut, Purple Heart, Ash, Cherry) and cut them into a variety of widths to make it visually appealing. From there, it was on to glue up and clamping
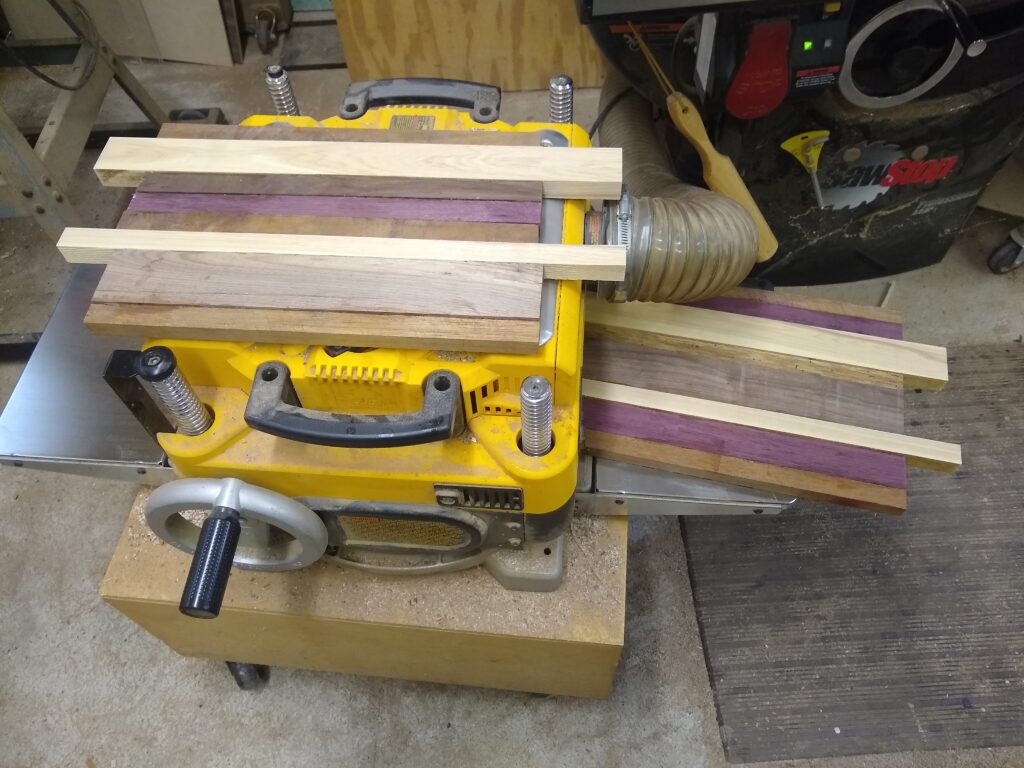
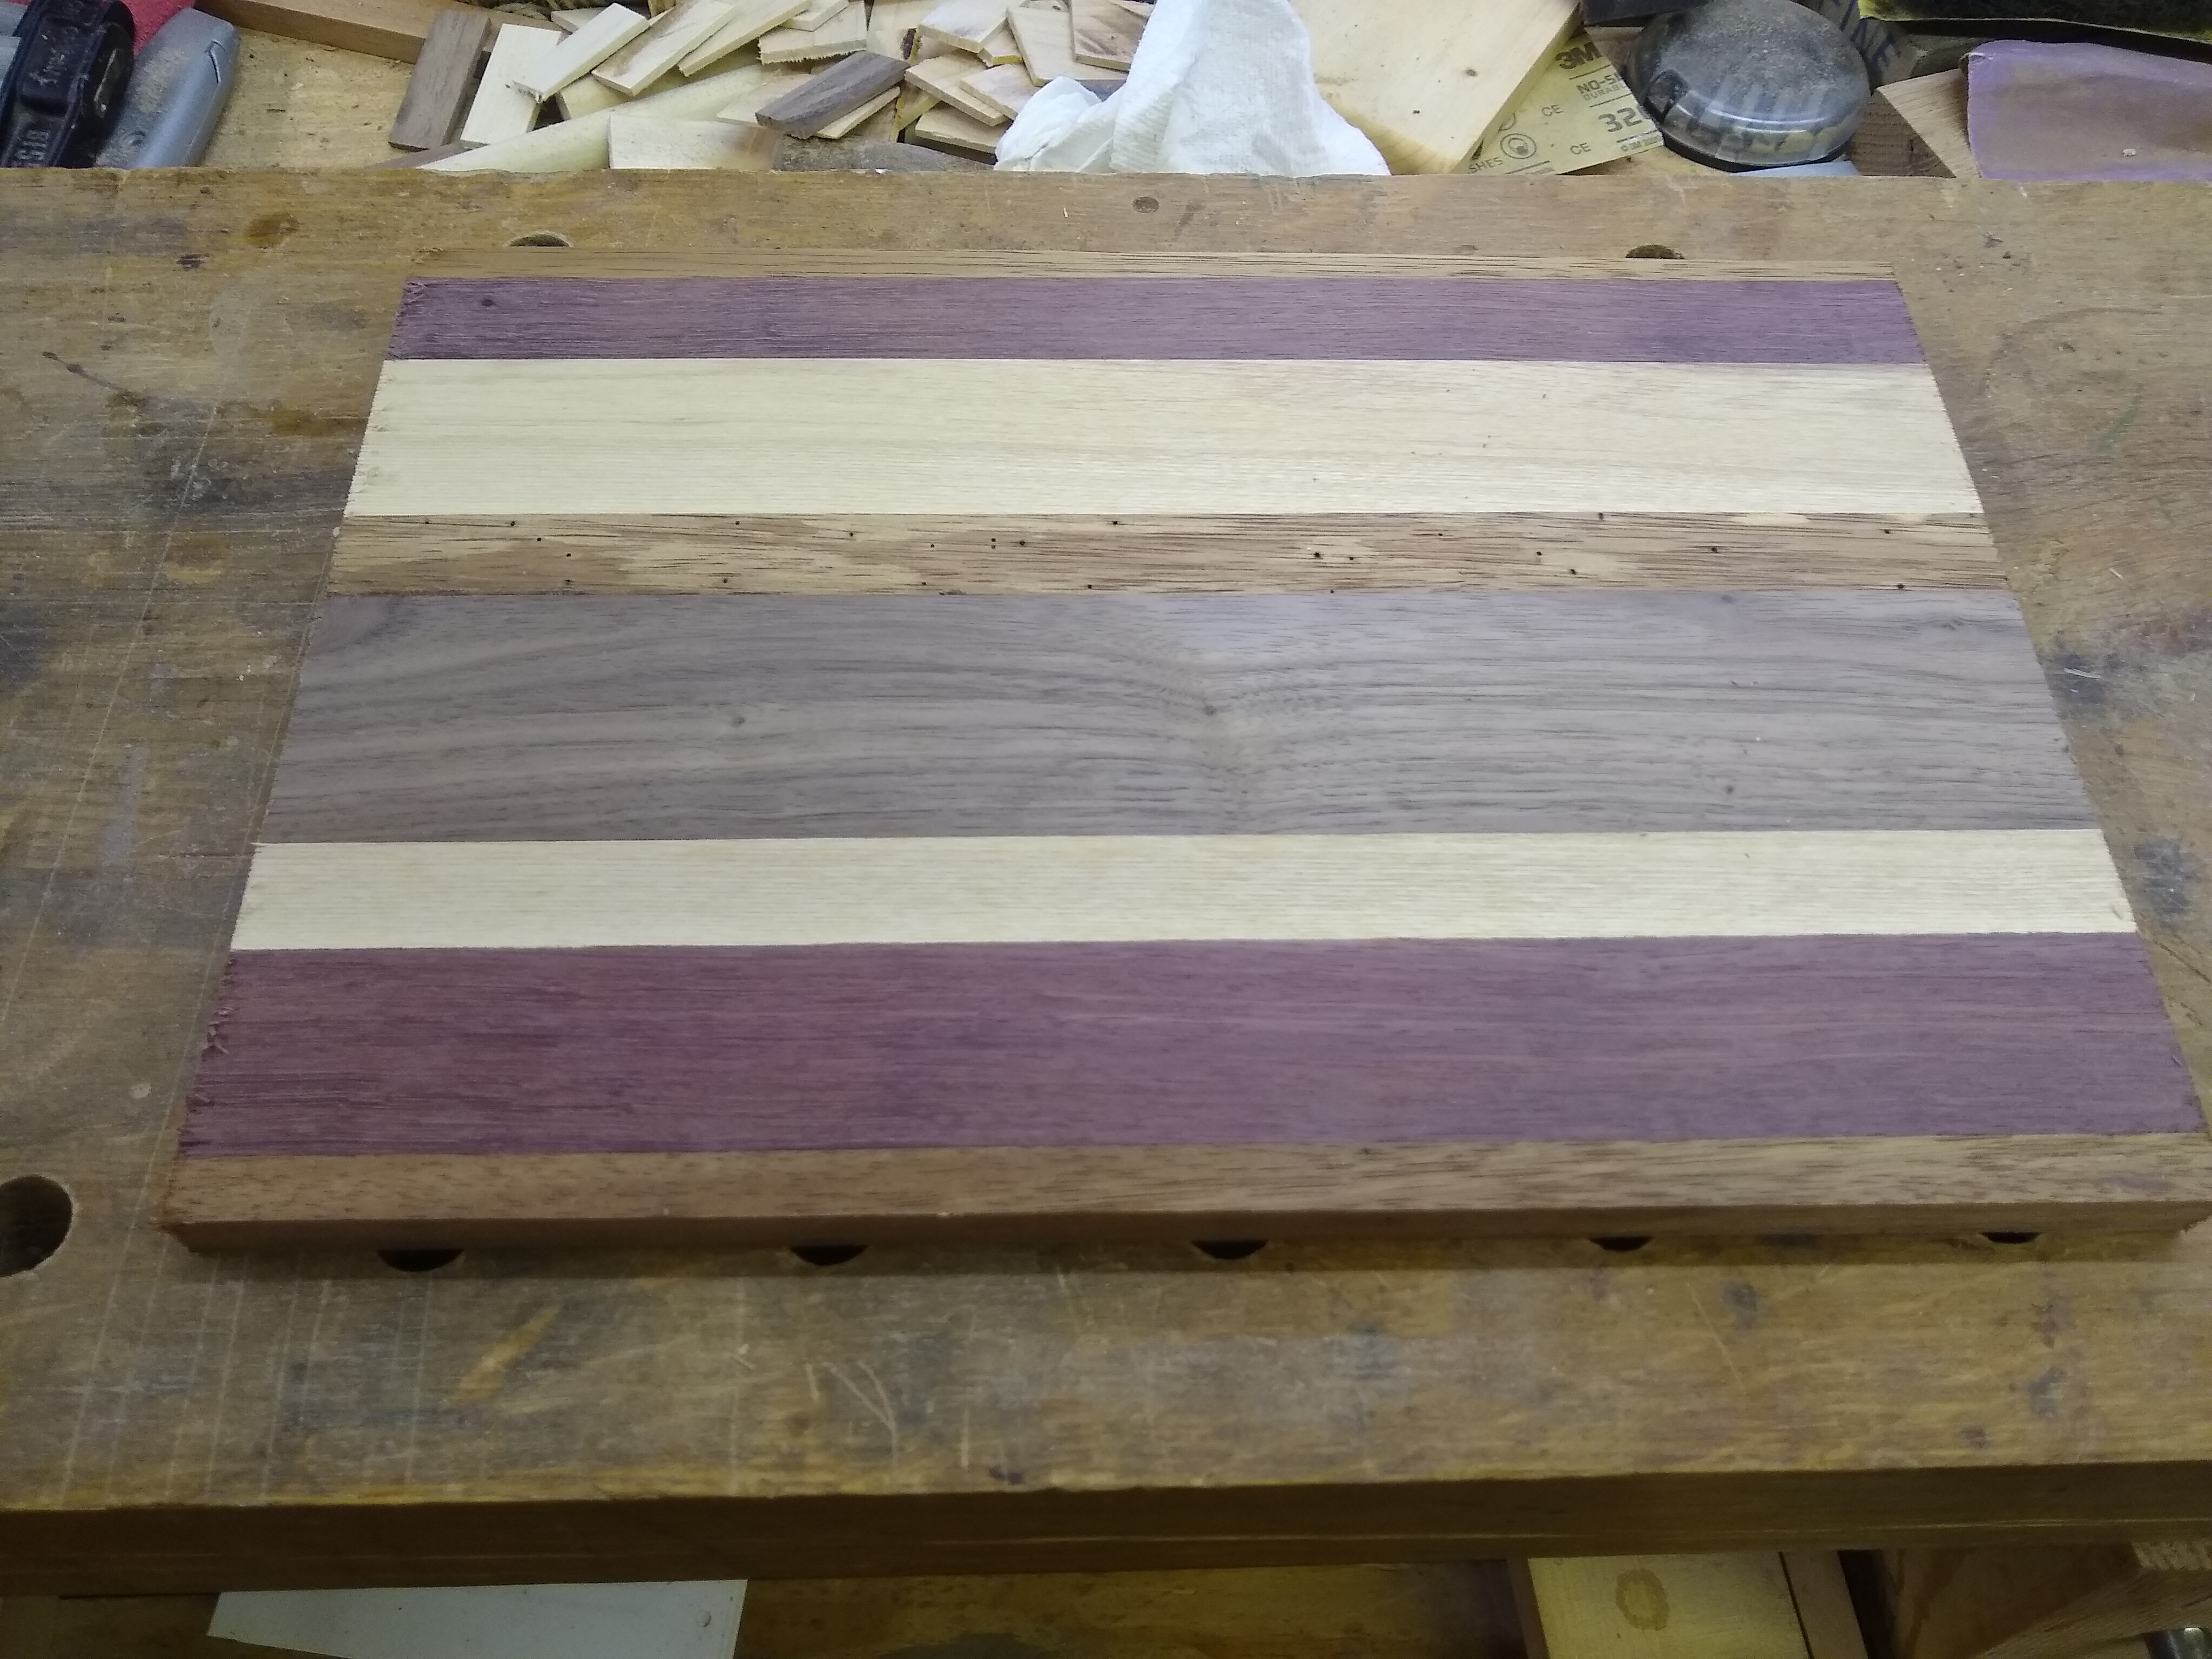
After glue up, I had to plane it down to its final thickness, and then cut it to its final length and width
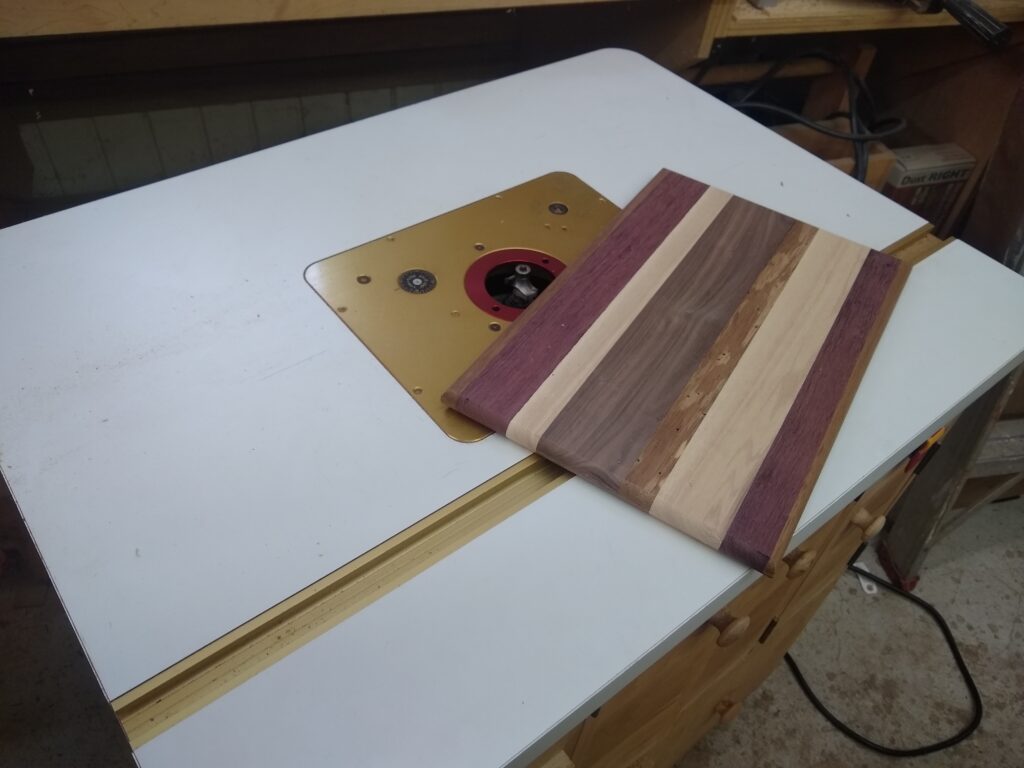
After that it was using a router table to cut ½” round overs on both sides all around the perimeter to make it smooth to handle and easy on the hands.
After sanding with 100, 150 and 220 grit sandpaper, it was time to apply several coats of cutting board oil to the boards. I usually take 24 hours between coats, to ensure they soak in properly.

Hopefully the customer really likes the work.
Kevin
I love it! Beautiful, functional, and exactly what I asked for.
I am glad you like it. Let me know if there is anything else I can do for you