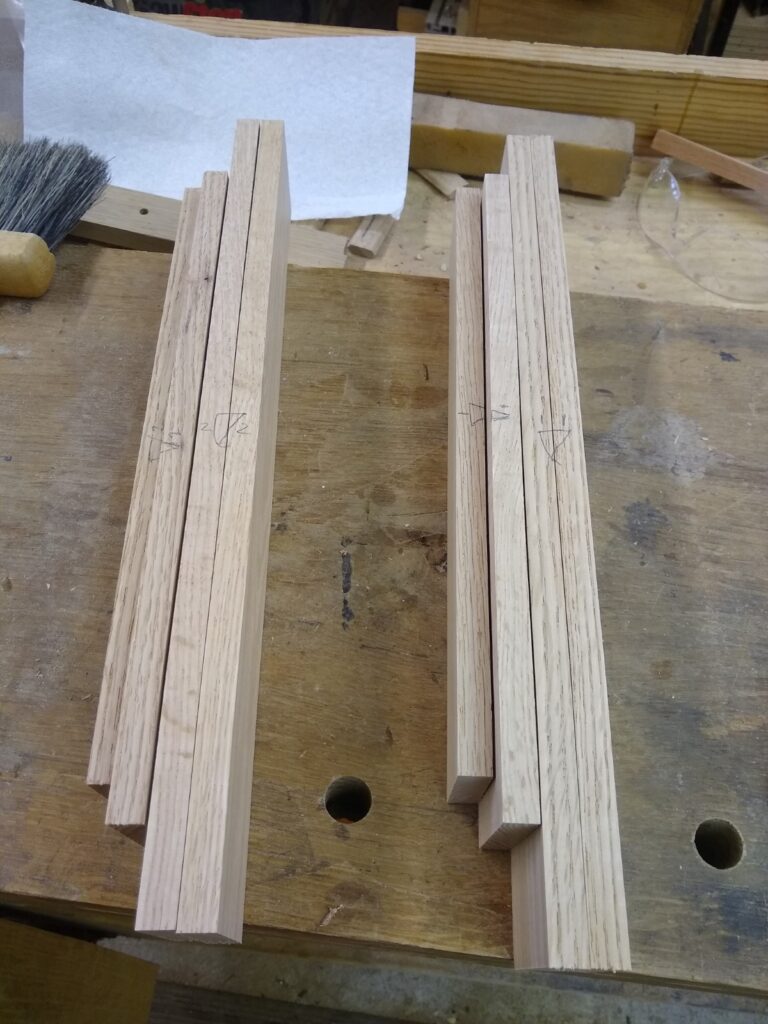
First step is to layout the wood with marking to make sure you orient the boards properly and cut the dovetails in the right place and orientation. I do this with a series of triangles, which is something woodworkers have done for centuries.

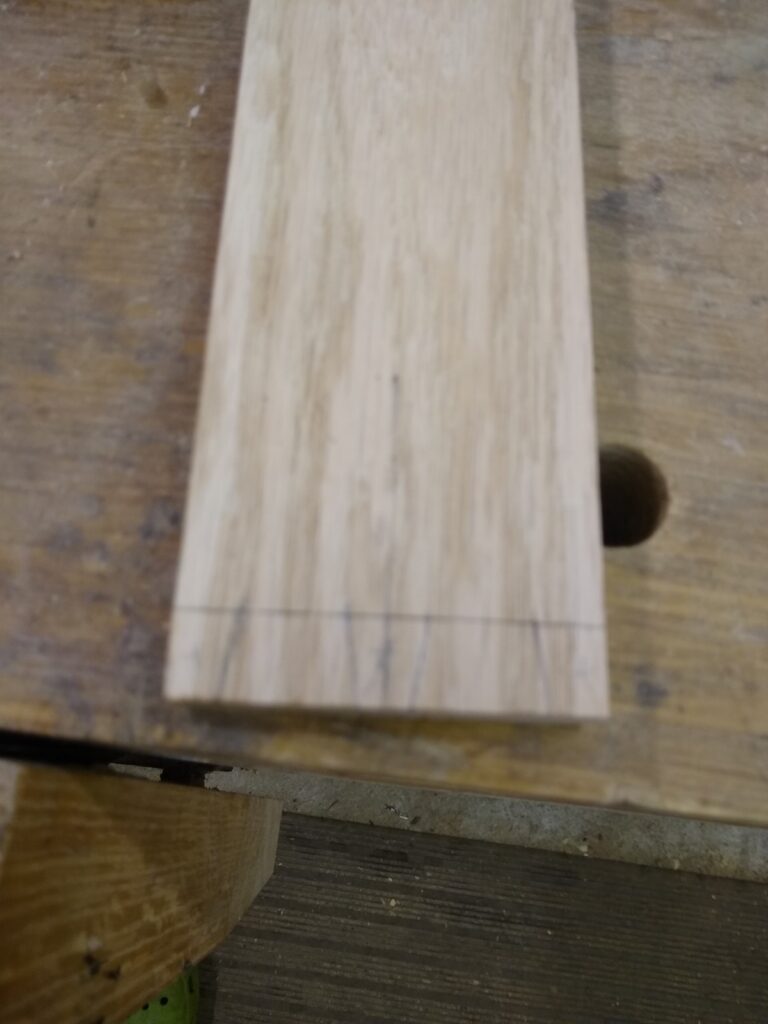
Then you scribe a baseline around the pieces with a marking gauge, set to just a hair length wider than the board. This will be what you saw and chisel to as you cut up the joint.

I like to cut my pins first, so you mark out the location of the tails and what needs to be cut out. I typically make my pin locations the width of one of my chisels, so in this case, I made the pins ½” wide, and the end I made 3/8.” I use a dovetail jig set at 1:8 ratio for the angle of the pins, which I find works well with hard woods. To finish I filled in all the knife and scribe marks with a pencil, so it was easier to see.
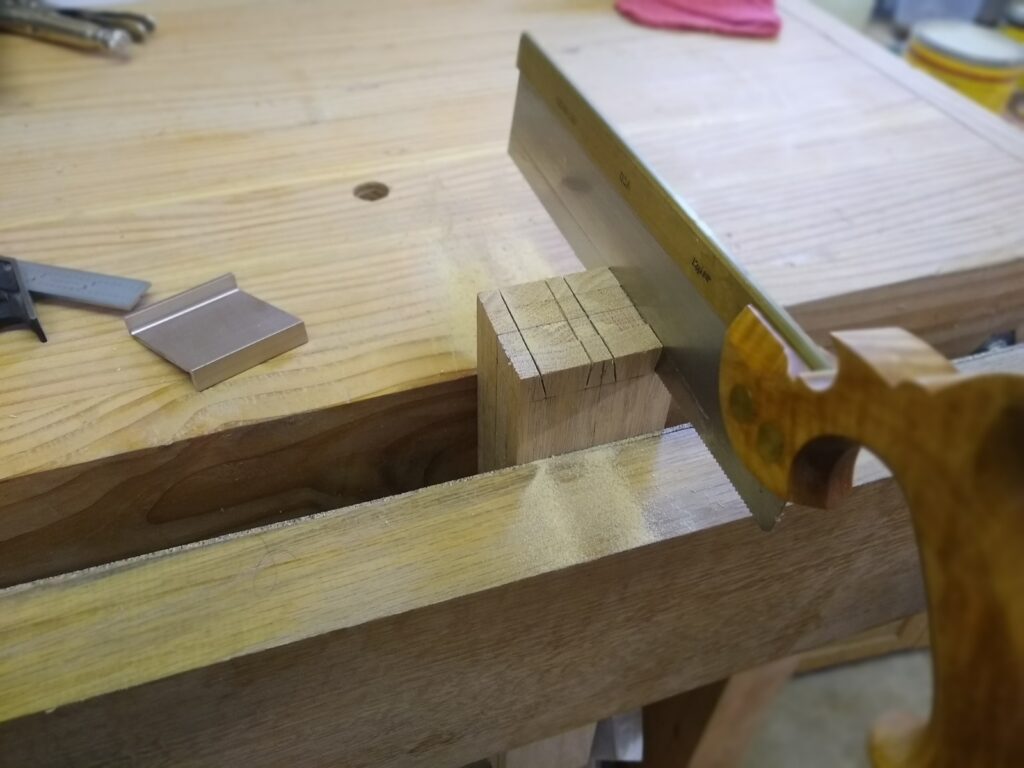
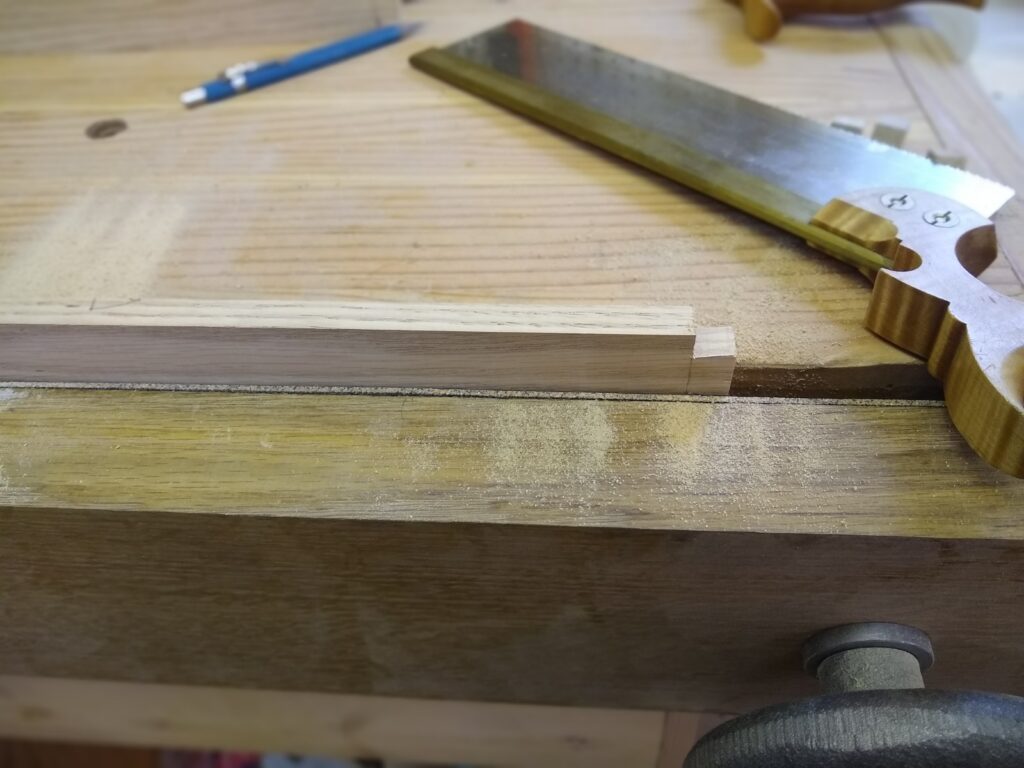
One of the reasons to cut the tails first is that you can “gang” the four pieces together and saw them all at the same time. Since this was only a 2-1/2” wide drawer, I only had four cuts to make to create the two tails. I sawed as close to the line as I could. I then separated the boards out and cut the vertical cuts on the ends

Finally, to get the center area cleared, I used my chisel to make a series of vertical and then horizonal cuts to clean them out. I also used the chisel for the final cleanup.


Next step will be to lay out the pins, based on the finished tails.
Kevin
