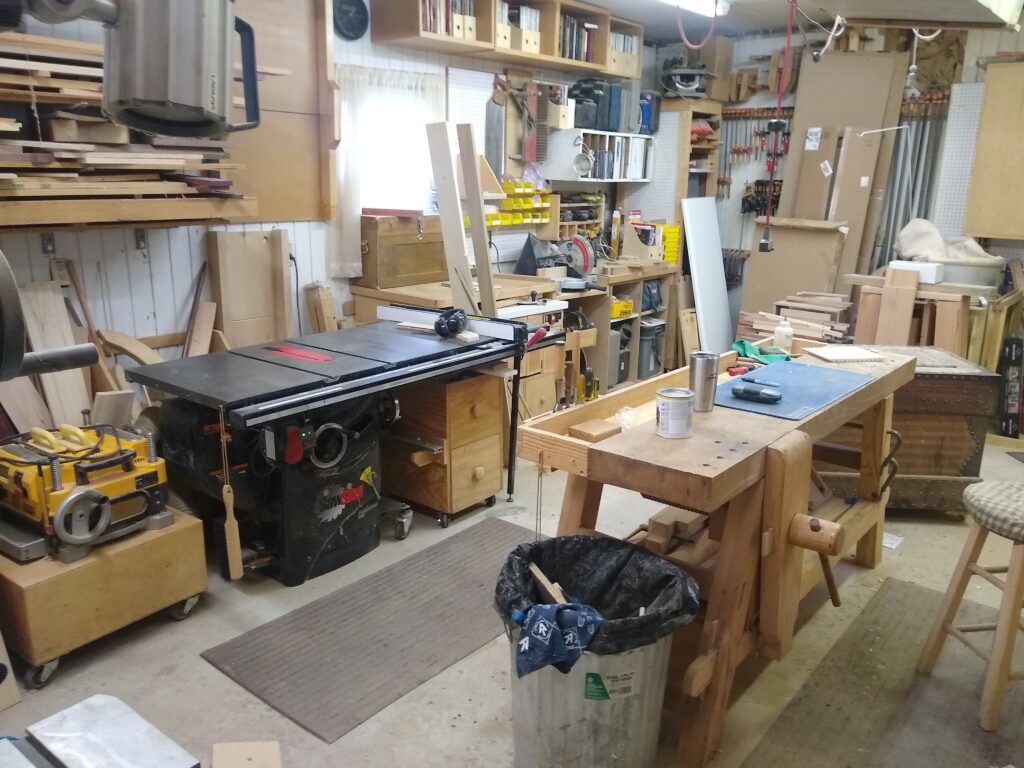
Once a month, usually the first weekend of the month, I try to do a “shop project” or shop improvement. It might be a jig, it might be a new type of storage, or just general preventive maintenance on tools. The idea is to continually improve the function and flow of the shop.
In this case, I’ve finished the jewelry chest/tool chests that I was working on, and its time to put the finish on. In order to do this, I wanted to do a thorough cleaning and reorganization of the shop, so its as “dust free” as possible before applying the finish.
My standard process is:
- Start with a thorough Thinning
- Empty waste cans & Dust Collector
- Throwaway wood <12” long
- Straighten up woodpile
- Shop vac (with bag) to Vaccum/clean up
- Tools: Don’t use ‘em, then lose ‘em
- Collect not using and get rid of them (ebay, give away, etc.)
- Clean Tablesaw blades
- Clean/spray cast iron surfaces of tools (tablesaw, bandsaw, etc.) – Topcoat or Wax
- Clean putty knives with random orbit sander
- Clean glue off of clamps with putty knife, then wax
- Touch up/Sharpen chisels & plane irons on 8000 grit water stone
- Tool Maintenance on one power tool and one hand tool, in this case it was:
- Tablesaw – clean out, grease gears, make a few new push sticks, re-check its accuracy
- Shoulder planes (used mainly for cleaning up tenons for joinery) Re-sharpened and then reset so they are accurate
I actually had some sort of a “blow out” with my dust collection and had sawdust about 3 inches deep in the back of my shop (by the drill press, dust collector and clamps). Took a while just to sweep it out and get rid of it. Tools are putaway, saw blades are clean, and I’m ready to start the finish.

Kevin
